JPA로 DB 연결
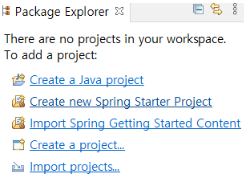
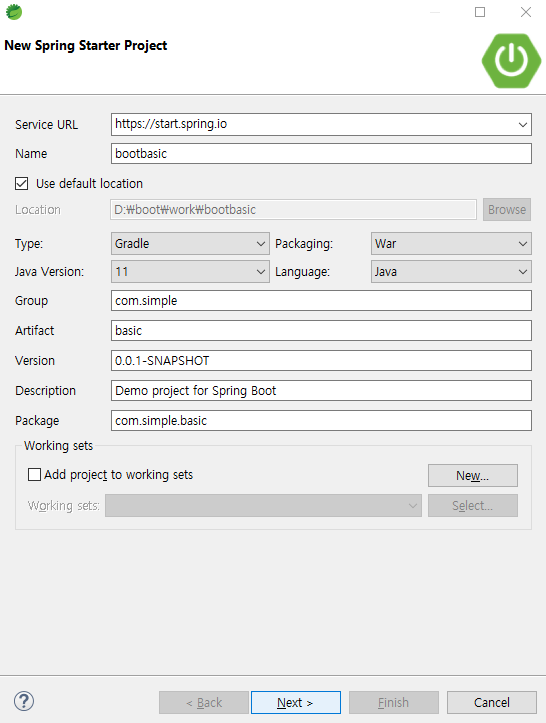
- bootbasic 프로젝트를 생성한다.
-
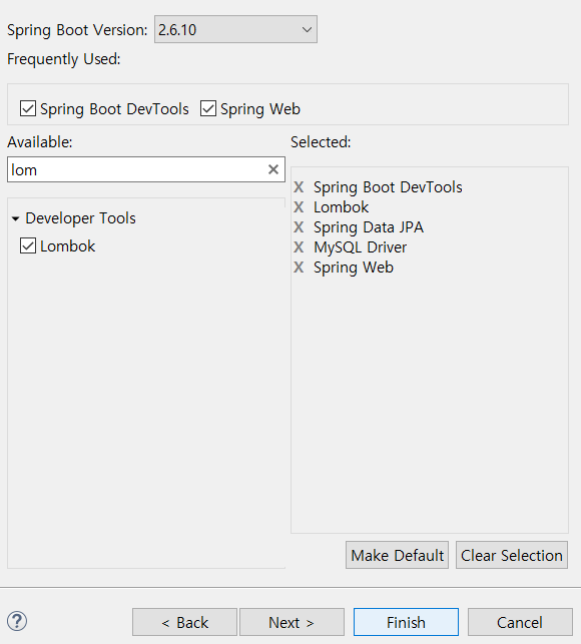
Spring Boot 의 기본 버전 설정과 DB와 연결하기 위한 Spring Data JPA, MySQL Driver, Developer Tools > Lombok에 체크한다.
-
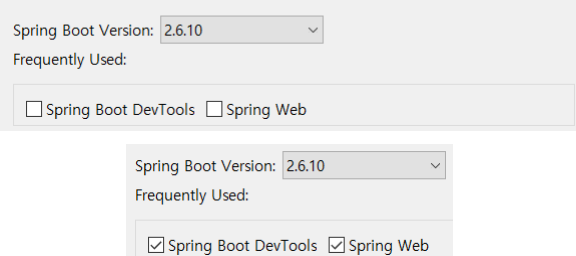
Spring Boot Version은 2.6.10이고 Spring Boot에서 Web을 사용하기 위해 Spring Boot DevTools와 Spring Web에 체크를 해주어야한다.
- JPA로 DB에 연결하기 위해 체크해준다.
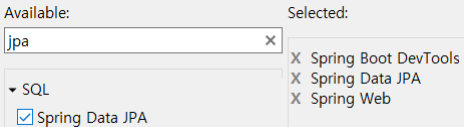
** JPA 모듈을 사용하게되면 Connection Pool과 DB 연결을 자동으로 해주는데, 다만 프로젝트 실행 시 DB 연결이 반드시 선행작업이 되어야한다.
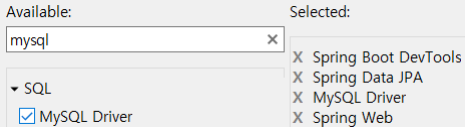
- DB는 MySQL을 사용하기때문에 자바와 MySQL을 연결해주는 Driver에 체크한다.
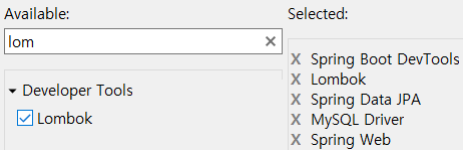
- Vo를 만들 때 @(어노테이션)으로 쉽게 Getter, Setter, ToString 등을 만들기 위해 체크해준다.
- Selected된 것을 확인하고 Finish 버튼을 클릭한다.
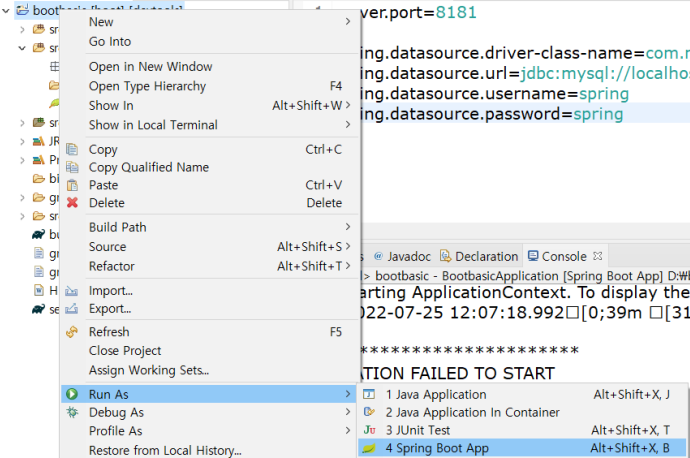
- application.properties 에 DB에 연결하기위한 driver, url, username, password를 입력해주어야한다.

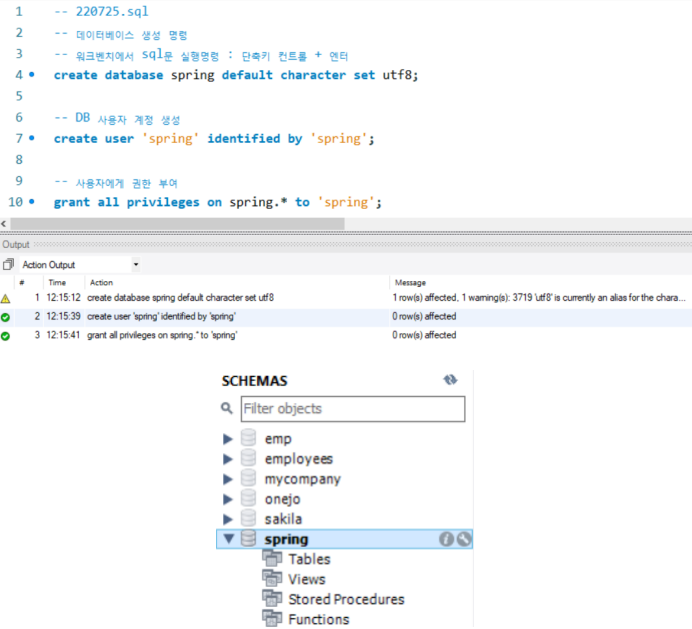
- MySQL의 Workbench를 이용하여 DB생성과 계정을 생성하고 모든 권한을 부여해준다.
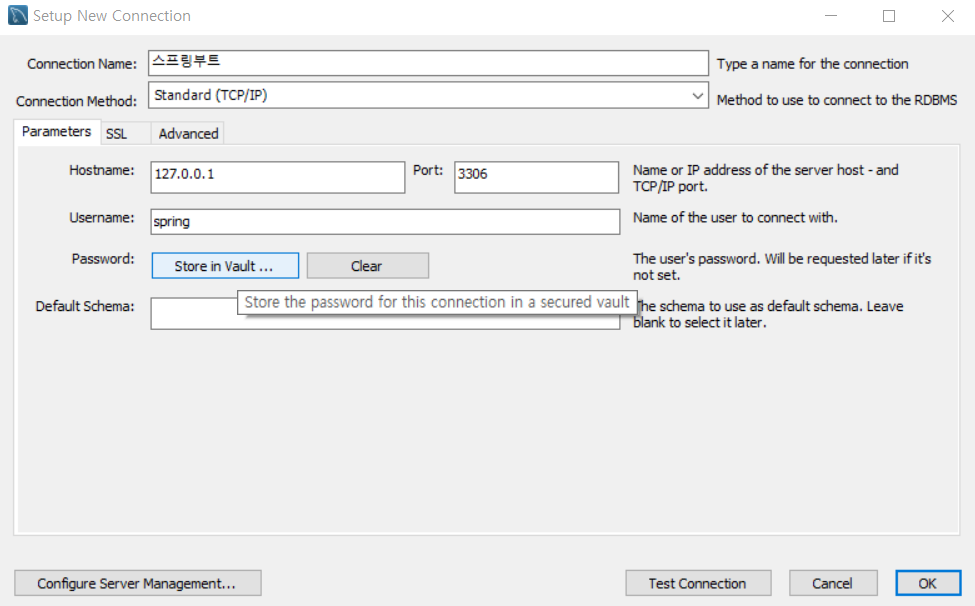
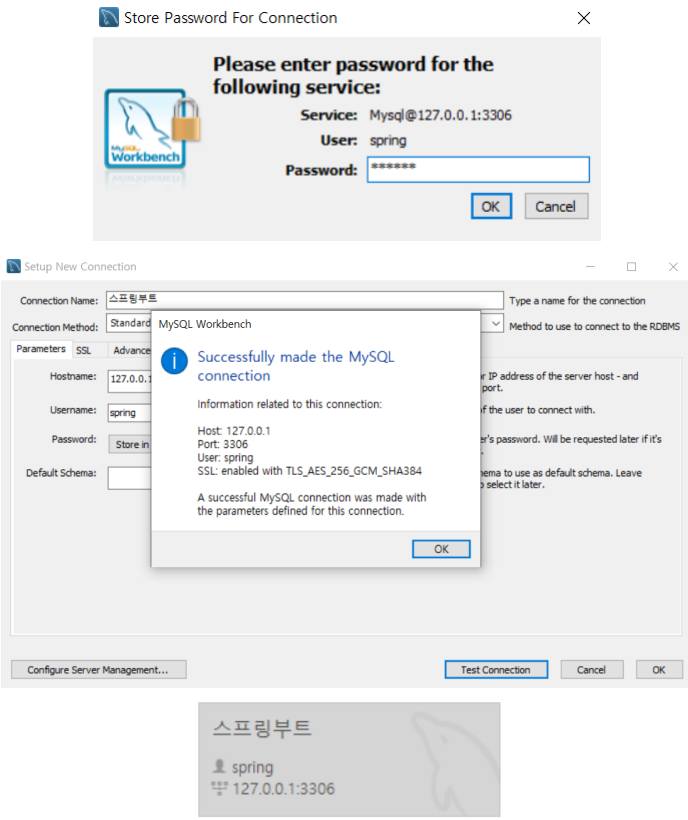
- 만든 계정으로 Workbench에 Connection Card를 추가한다.
- application.properties 에 username과 password를 수정해준다.

** 여기까지해주면 JPA 모듈이 데이터베이스와 자동으로 연결해준다.
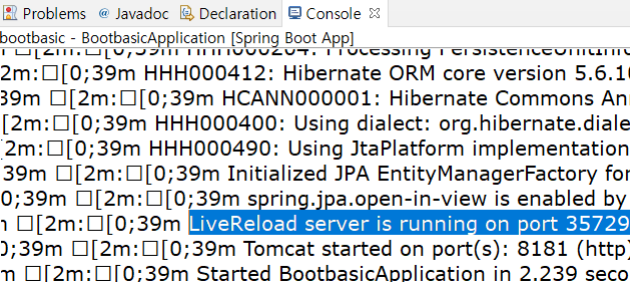
- DB에 연결이 되었는지 확인해보자.
JSP vs Thymeleaf (JSP)
-
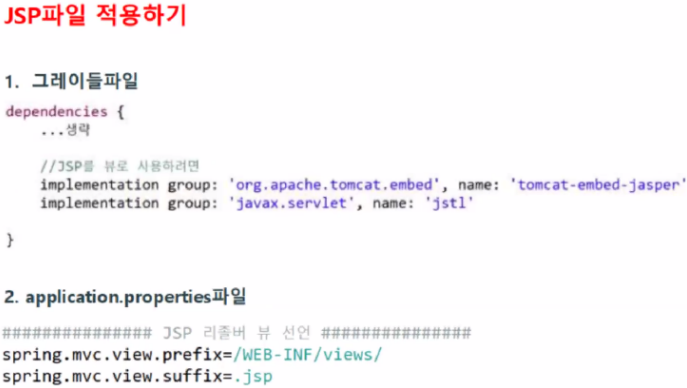
spring-boot-starter-web 에 포함된 tomcat 은 JSP 엔진을 포함하고 있지 않다. jsp 파일은 Springboot 의 templates 폴더안에서 작동하지 않는다. 그래서 jsp를 적용하기 위해서는 아래와 같은 의존성을 추가해야한다.
-
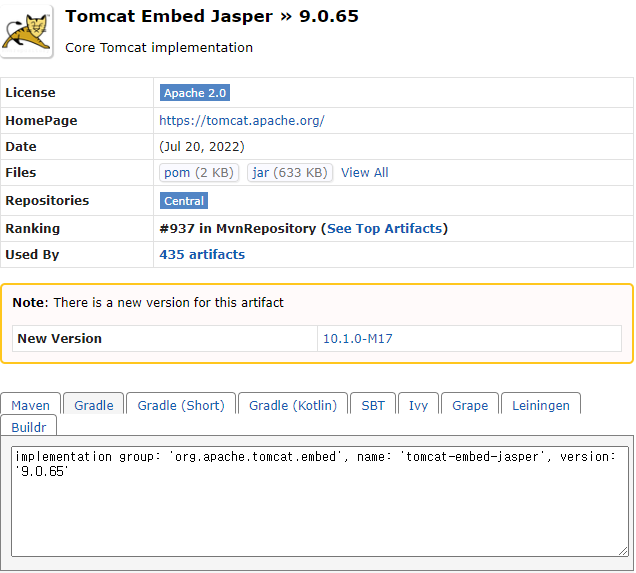
https://mvnrepository.com/ 로 이동해서 검색창에 embed를 입력한다.(Tomcat Embed Jasper를 클릭한다.)
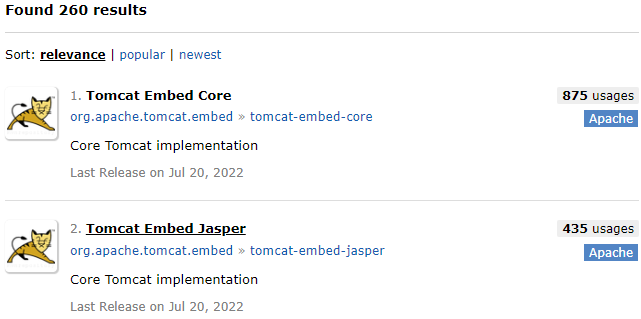
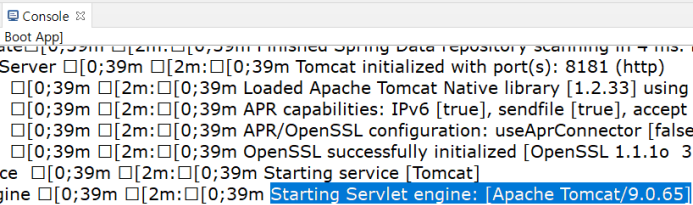
- Spring Boot의 내부 Tomcat과 버전을 맞추기위해 버전을 확인한다.
- 해당 버전의 Gradle 을 복사해서 build.gradle의 dependencies에 추가해준다.

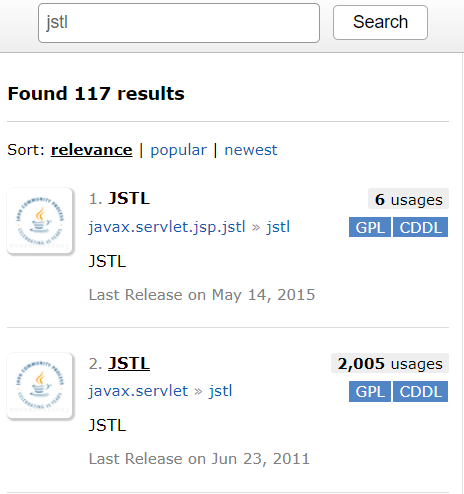
- 마찬가지로 jstl을 사용하기위해 build.gradle의 dependencies에 추가해준다.
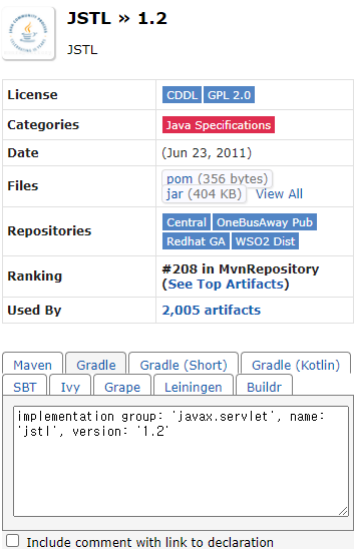
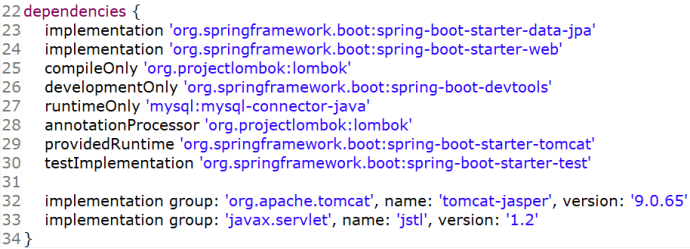
** 라이브러리를 추가할 때 version을 적어주지않으면 Spring Boot가 알아서 버전을 맞춰서 다운로드해준다.

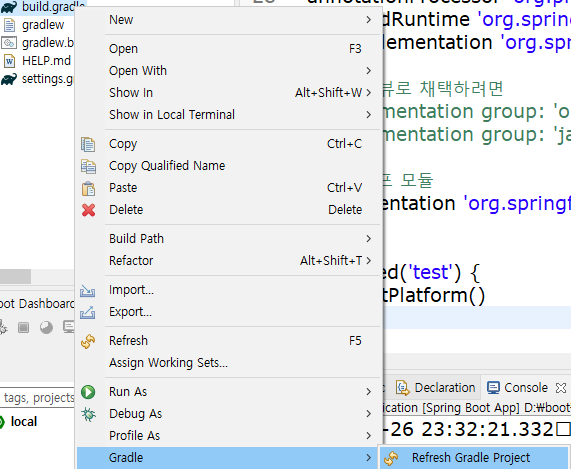
- 필요한 라이브러리를 추가하게되면 Gradle을 Refresh 해주어야한다.

** jar 파일이 잘 받아졌는지는 확인하려면 Explorer 퍼스펙티브에 Project and External Dependencies에서 꿀단지 모양의 아이콘이 하얗게 들어왔다면 잘 받아진것이다.


- Spring에서 servlet-context.xml에 InternalResourceViewResolver 는 컨트롤러가 지정한 뷰 이름으로 부터 실제로 사용될 뷰를 선택.
- 컨트롤러가 지정한 뷰 이름 앞뒤로 prefix 프로퍼티와 suffix 프로퍼티를 붙인 값이 실제로 사용될 자원의 경로가 됨.

- 위의 그림과 같이 Spring에서 ViewResolver가 하는 역할을 SpringBoot 에서도 해주어야한다.(application.properties 파일)

- SpringBoot에서 View를 강제적으로 만들어보자.
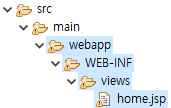
- SpringBoot의 초기 프로젝트는 src 폴더아래에 main 폴더밖에 없기때문에 main 폴더아래에 webapp/WEB-INF/views/home.jsp 파일까지 만들어준다.


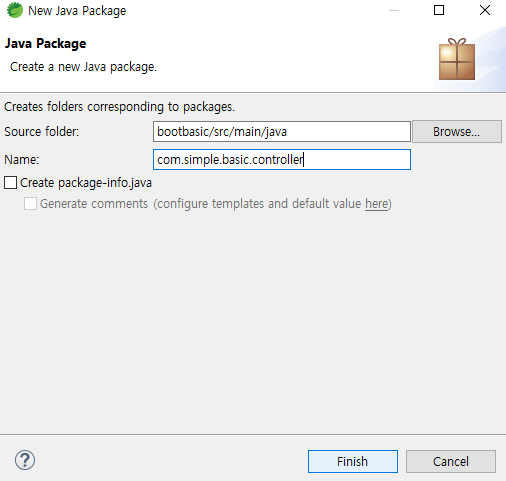
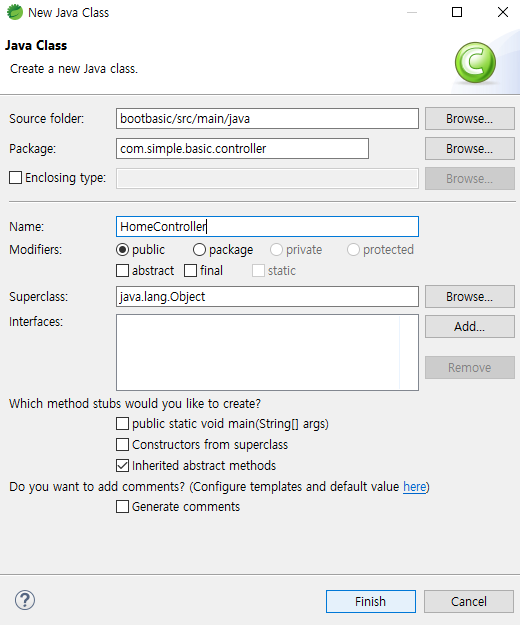
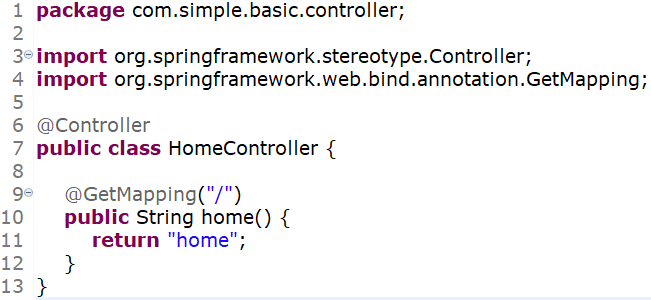
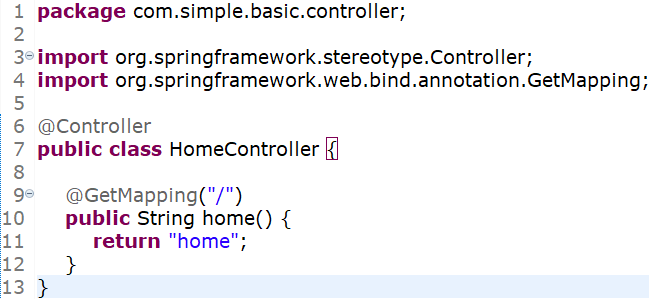
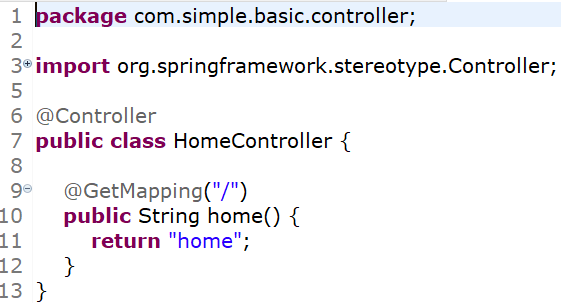
- ViewResolver 에게 "home"을 리턴해줄 HomeController를 만든다.
- jsp page가 잘 뜨는지 확인해보자.
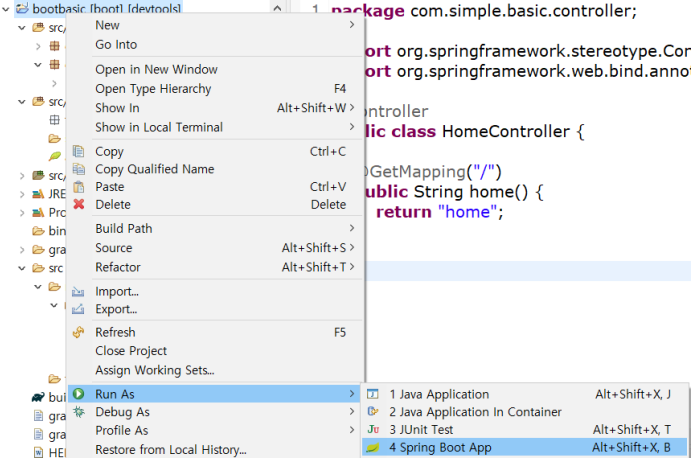
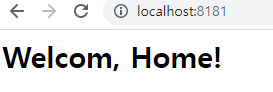
여기까지가 Spring Boot에서 jsp 를 view 사용하는 방법이었다.
JSP vs Thymeleaf (Thymeleaf)
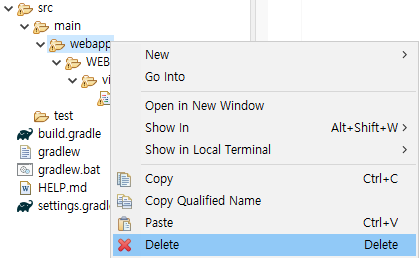
- JSP에서 사용했던 ViewResolver 주석처리한다.

- src/main 폴더 아래에 만들어두었던 webapp/WEB-INF/views/home.jsp 모두를 삭제한다.
- build.gradle 에 추가했던 jar 파일들을 주석처리한다.

- 이제 다시 중앙레파지토리에 가서 입력창에 thymeleaf를 입력한다.
- Spring Boot Starter Thymeleaf를 클릭한다.
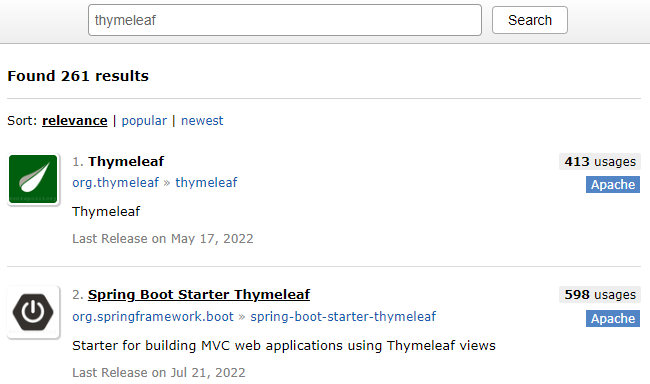
- 버전은 지울꺼니까 버전은 아무거나 클릭한다.
- gradle(short) 로 복사해온다.
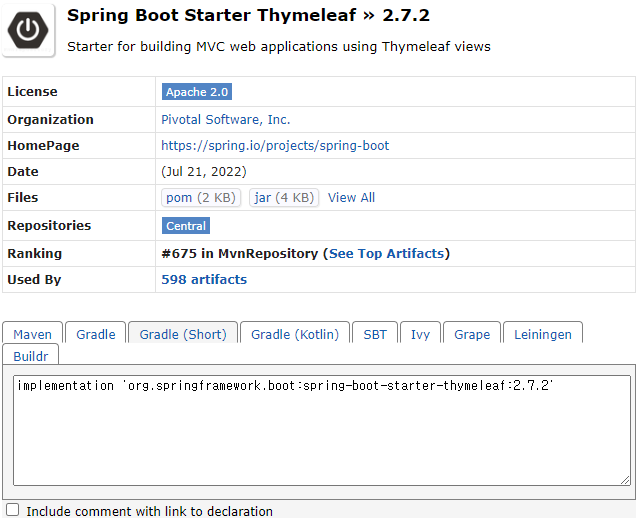
- 타임리프 모듈을 build.gradle의 dependencies 안에 붙여넣기한다.

- gradle을 refresh 해준다.
- JSP에서와 같이 jar 파일이 제대로 받아졌나 확인한다.

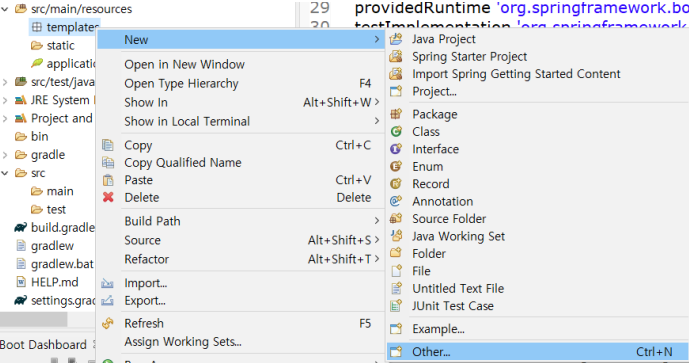
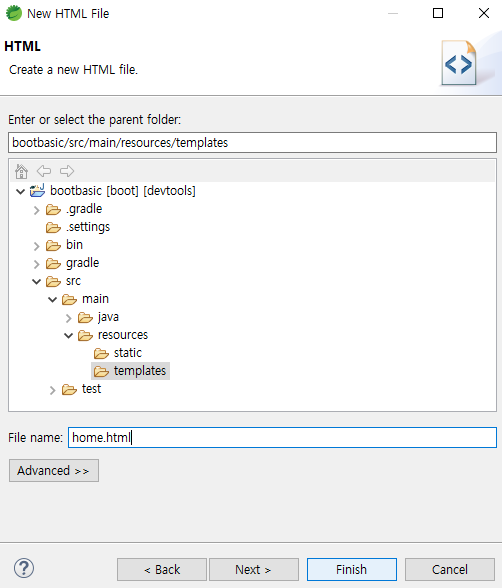
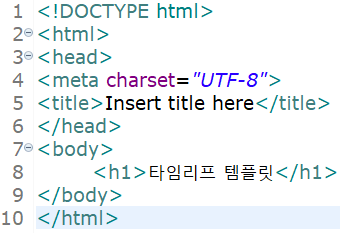
- thymeleaf는 html 기반이기때문에 html 파일을 생성한다.
- html 파일 이름은 home.html 이다.
- Controller는 JSP 를 view로 했을 때 만들어두었던 HomeController를 그대로 사용한다.
** 혹시나 페이지를 찾을 수 없다는 404 에러가 난다면 내부 Tomcat Server를 Stop and Start를 하거나 Restart를 해주고 브라우저에서 home.html로 이동해보자.

** Spring Boot Project 에서 타임리프 문법은 다음 게시글에서 올리겠다.
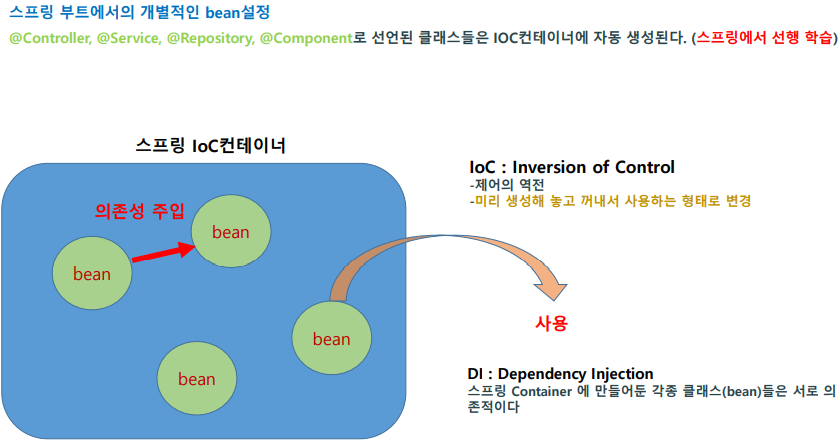
IOC Container
- 스프링에서 가장 중요한 컨테이너이다.
- 스프링 프로젝트에서 필요한 자바의 객체를 모두 IOC 컨테이너에 만들어놓는데, 여기서 객체를 우리는 bean이라 부른다.
(즉, 스프링의 동작방식은 IOC 컨테이너에 bean을 미리 생성하고 필요할 때 꺼내서 사용하는 방식이다.)- IOC : Inversion of Control의 줄임말로 필요한 시점에 특정객체를 이용해서 자바단에 꺼내서 사용할 수 있고, bean 끼리는 DI(의존성 주입) 관계이다. 그래서 @Controller, @Service, @Repository가 모두 DI 관계이다.
- @Controller에서 Autowired로 @Service를 연결하고 @Service는 Autowired로 @Repository(Dao)와 연결하고 Dao는 DB와 연결한다.(의존성관계)
- 스프링에서는 servlet-context.xml 에서 bean 을 만들었었는데, 이를 자바의 객체라 부른다.
- 스프링부트에서는 xml 파일이 .java 파일로 바뀌고, 객체를 자바파일로 꺼내서 사용할 수 있도록 바뀌게 된다.(즉, 가독성이 훨씬 더 좋아진다.)
- 자바 파일을 생성하고 @(어노테이션)만 붙여주면 자동으로 빌드를 생성해준다.
- WebMvcConfigurer는 스프링부트에 내장되어있는 인터페이스이다.
- 클래스가 WebMvcConfigurer를 상속받아서 클래스가 역할을 할 수 있도록 만들어주면 된다.
- WebMvcConfigurer를 상속받은 클래스 안에서 @Bean(빈으로 등록)으로 사용하겠다고 선언을 해준다. 그러면 이 해당 파일을 읽어서 @Bean에 해당하는 것을 객체로 생성해준다.

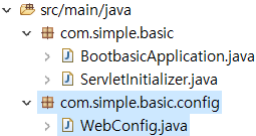
bean을 생성해보자.
- com.simple.basic.config 패키지를 생성한다.
- WebConfig.java 파일을 생성한다.
- 클래스를 설정파일로 선언하기위해 클래스코드 위에 @Configuration 어노테이션을 붙인다.
- WebConfig 클래스는 WebMvcConfigurer 인터페이스를 상속받는다.

** WebMvcConfigurer 인터페이스는 하나 예를들자면 스프링에서 servlet-context.xml 파일에서 bean 객체로 InternalResourceViewResolver 클래스가 브라우저의 url을 조각나져있는 경로들을 prefix(접두사)는 WEB-INF/viwes/ 두고, suffix(접미사)는 .jsp로 지정하여 Controller에서 리턴한 값을 실제 jsp의 파일이름과 동일하게 받아서 해당하는 jsp파일로 이동하게끔 해준다. WebMvcConfigurer 인터페이스의 기능은 엄청 많지만 하나의 예를들은 것이다.(필자는 스프링에서의 기본으로 설정한 기능들을 스프링부트에서도 사용할 수 있도록 일반클래스에 WebMvcConfigurer 인터페이스를 상속받음으로써 WebConfig 클래스에서 오버라이딩해서 WebMvcConfigurer의 기능들을 살짝씩 바꿔서 객체를 사용할 수 있다는것까지 이해하고 넘어간다.)

- 잘 동작되는지 내장되어있는 tomcat 서버를 재시작해서 bean 생성 문구가 출력되는지 확인한다.
Application Context의 참조
-
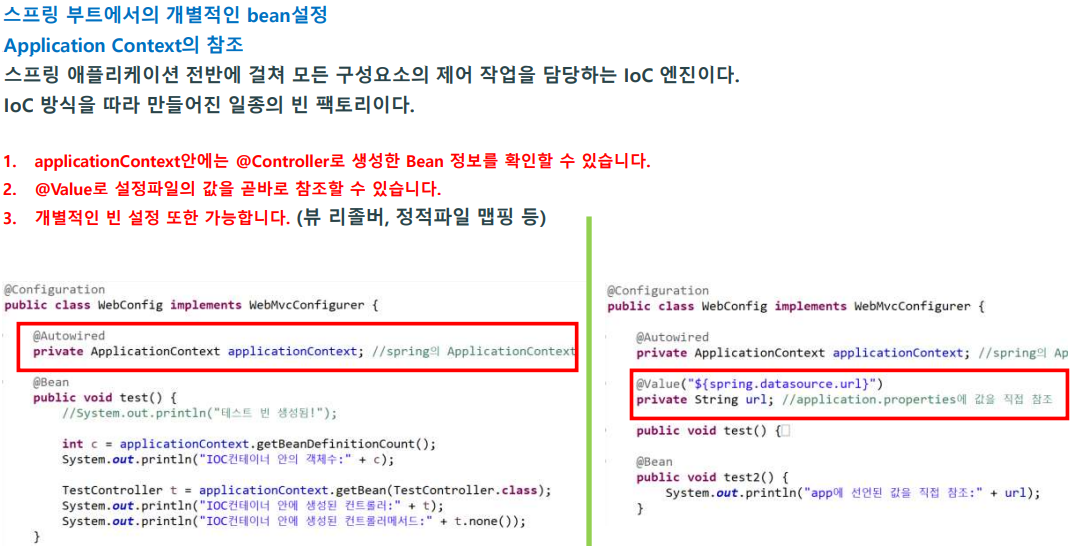
ApplicationContext 객체는 자바로 정의된 것을 뽑을 수 있는 스프링부트에 IOC Container 안에 들어있는 값들을 참조할 수 있는 핵심적인 객체이다.(즉, IOC Comtainer 안에 들어있는 Bean 정보를 실제로 확인할 수 있다.)
-
WebConfig 클래스에서 ApllicationContext 객체를 사용해보자.
-
@Autowired는 필요한 의존 객체의 "타입"에 해당하는 Bean을 찾아 주입한다.(생성자, Setter, 필드)
그렇기때문에 ApplicationContext ctx = new ApplicationContext() 라고 생성하지 않아도 된다.

-
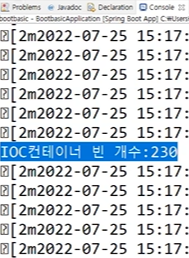
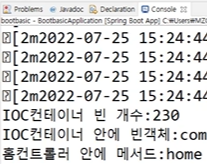
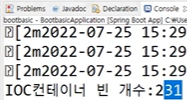
test 메서드 안에서 IOC Container 안에 들어있는 Bean 들의 숫자를 찍어보자.
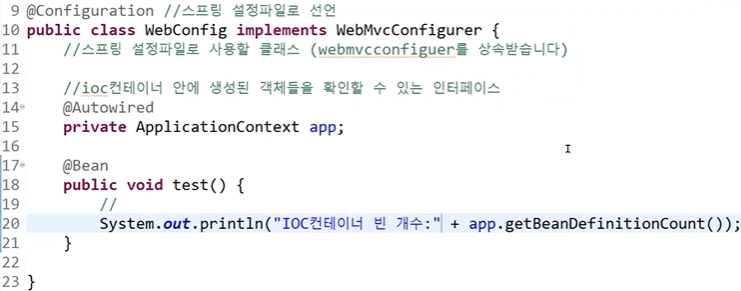
- 어떠한 Bean이 들어있는지는 모르나 230개의 Bean이 들어있다는 것을 확인할 수 있다.
- HomeController 도 들어있는데, 진짜로 들어있는지 확인해보자.
- Bean의 홈컨트롤러 클래스는 HomeController 타입으로 반환이 된다.
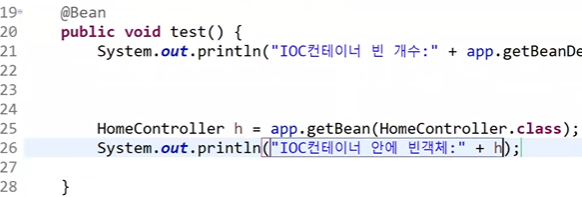
- 이렇게 생성이 되어있는 것을 확인할 수 있다.
- 여기서 중요한것은 new라는 키워드가 없어졌다는 것이다.(스프링에서는 new 대신에 .getBean(xx.class)로 해당 클래스의 Bean을 뽑아올 수 있다.)

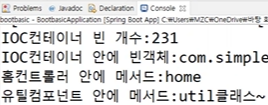
- 홈컨트롤러 안에 들어있는 메서드도 확인이 가능하다.
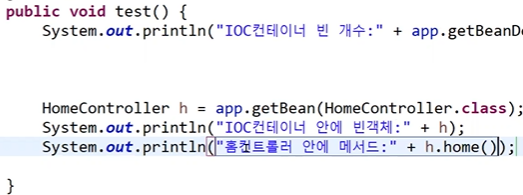
** 앞으로 사용할 메서드들은 IOC컨테이너에 Bean으로 다 만들어질 것이라는 것을 기억하자.
UtilComponent
- com.simple.basic.util이라는 패키지를 생성한다.
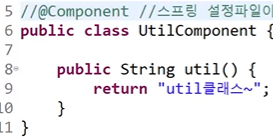
- 여기다가 UtilComponent라는 클래스를 생성한다.
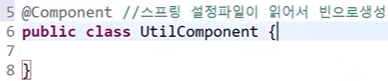
- 유틸컴포넌트에 Bean으로 생성해주라는 어노테이션이 있는데 스프링에서 servlet-context.xml 파일에 component-scan이 읽게되는 어노테이션은 1.@Controller, 2.@Service, 3.@Repository, 4.@Component가 있다.

- 그래서 직접적으로 @Controller,@Service,@Repository가 아닌 클래스를 Bean으로 만들어주기위해서는 @Component라고 클래스 위에 적어준다.
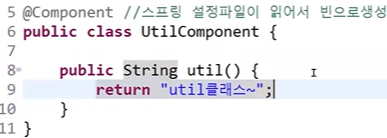
- 여기다가 개별적인 또 다른 기능을 만들수도 있다. 예를들어서 util() 메서드를 만든다.
- 빈이 230개에서 231개로 1개 더 늘어난 것을 확인할 수 있다.
- Util 메서드를 WebConfig 클래스에서 실행해보자.

- 어노테이션으로 Bean을 만들어내는 방법이 아닌 고전적인 방법으로 직접생성해내는 방법도 있다.
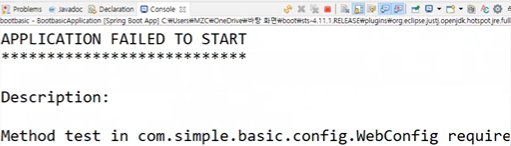
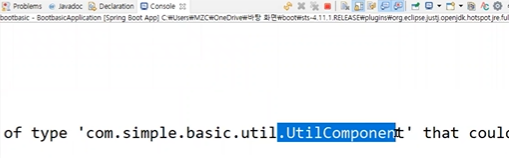
- UtilComponent 클래스의 @Component를 주석처리해보자. 당연히 UtilComponent 클래스가 없다고 에러가 날것이다.(그렇게되면 Bean으로 만들어지지않았기때문에 IOC Container 안에 존재하지않기때문이다.)
- WebConfig 클래스에 test()안에 만들었던 UtilComponent 안에 메서드를 확인했던 코드도 주석처리하자.

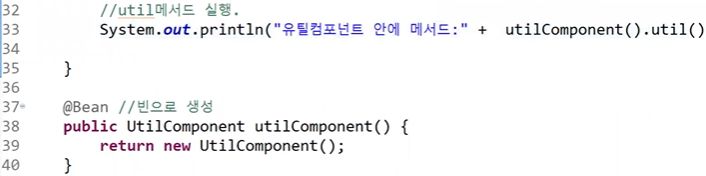
- 두번째 방법은 WebConfig 클래스 안에서 직접 생성한다.
- 반환유형을 UtilComponent로 하고 utilComponent()라는 메서드를 만들자.
- 리턴에 new UtilComponent()를 써서 객체를 직접생성하고 반환해주는것이다.

- 스프링에서 보았었던 14번 그림을 스프링부트에서는 13번의 그림처럼 바뀌어 들어가는것이다.

- 그렇기때문에 아래그림과 같이 스프링부트에서는 빈으로 생성하고 바로 util 메서드를 호출해서 사용할 수 있게되는 것이다.

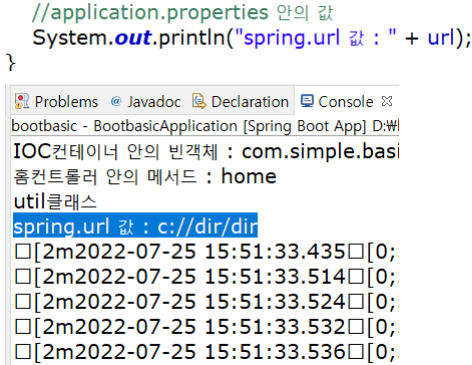
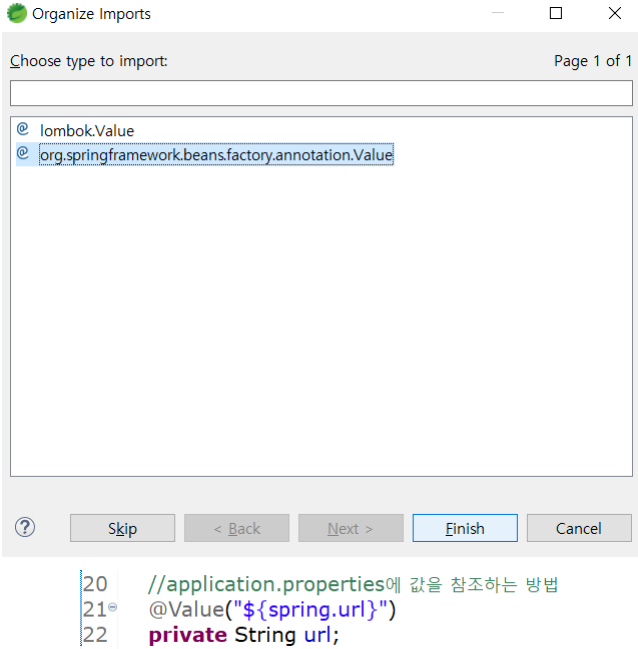
@Value 어노테이션으로 application.properties에 값을 참조하는 방법
- WebConfig 클래스에 url 변수를 만든다.

- application.properties에서 아무경로나 적어보자.

- Value라는 어노테이션으로 application.properties에 있는 값을 참조할 수 있다.
- 밑에 있는 test()메서드 Bean에서 값을 찍어보자.