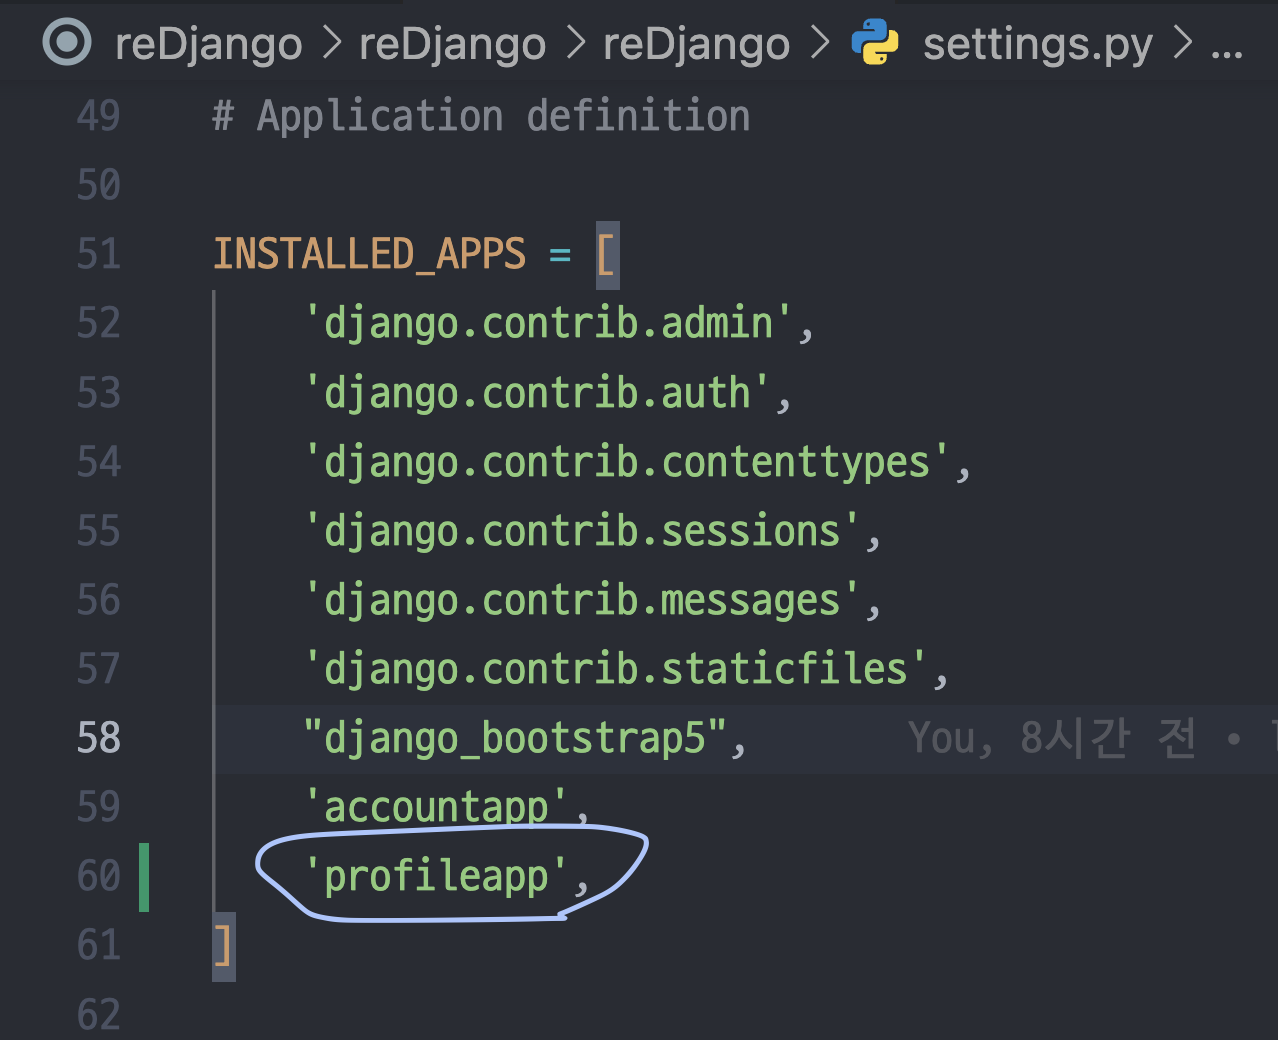
1. profileapp 만들기
1) settings.py에 새 앱 등록
python manage.py startapp profileapp 으로 만들고, 그걸 settings.py에 등록한다.
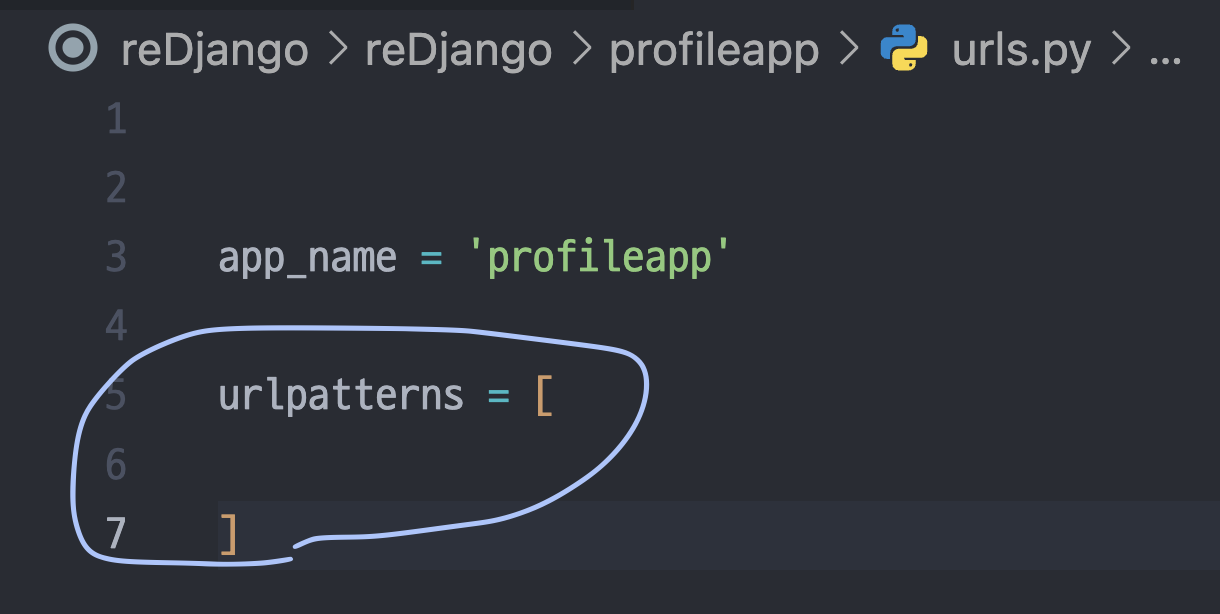
2) urls.py에 profile 라우팅

profileapp 폴더 안에 urls.py 만든다.
3) models.py에 모델정의
from django.db import models
from django.contrib.auth.models import User
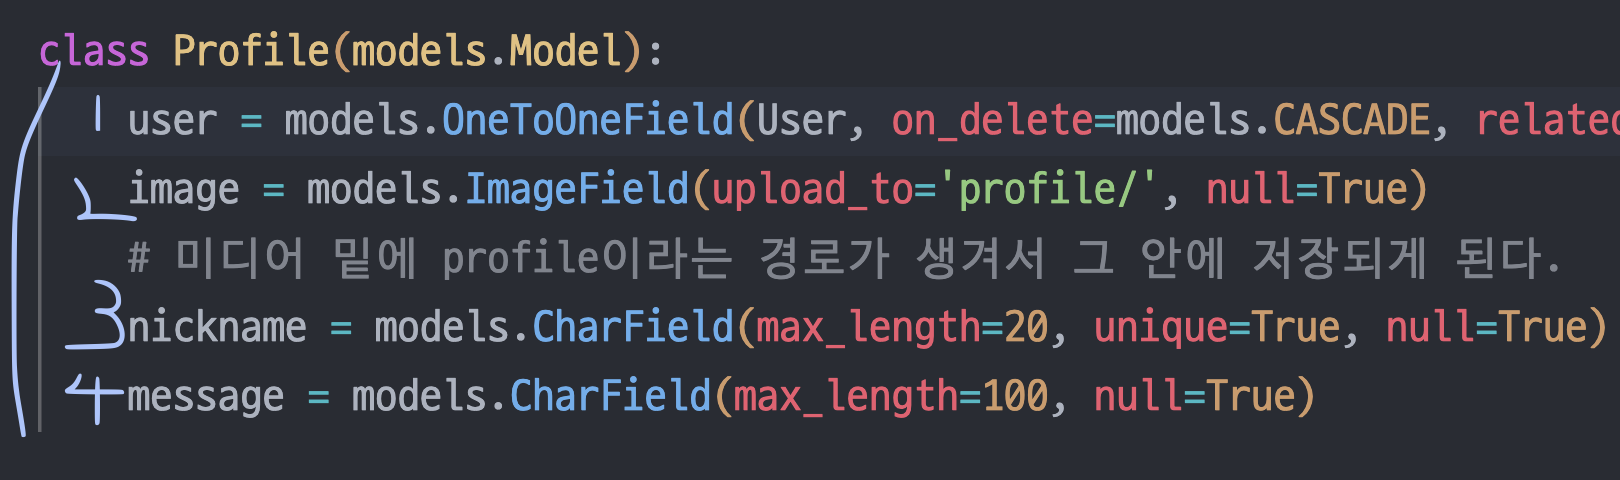
class Profile(models.Model):
user = models.OneToOneField(User, on_delete=models.CASCADE, related_name='profile')
image = models.ImageField(upload_to='profile/', null=True)
# 미디어 밑에 profile이라는 경로가 생겨서 그 안에 저장되게 된다.
nickname = models.CharField(max_length=20, unique=True, null=True)
message = models.CharField(max_length=100, null=True)models 모듈은 Django ORM에서 모델(테이블)을 정의할 때 쓰는 기본 모듈이다. user는 models의 1대1대응필드. User와 1대1대응이며 삭제시 user도 삭제된다.
4) 모델 만들었으니까 migrate하기
python manage.py makemigrations
python manage.py migrate
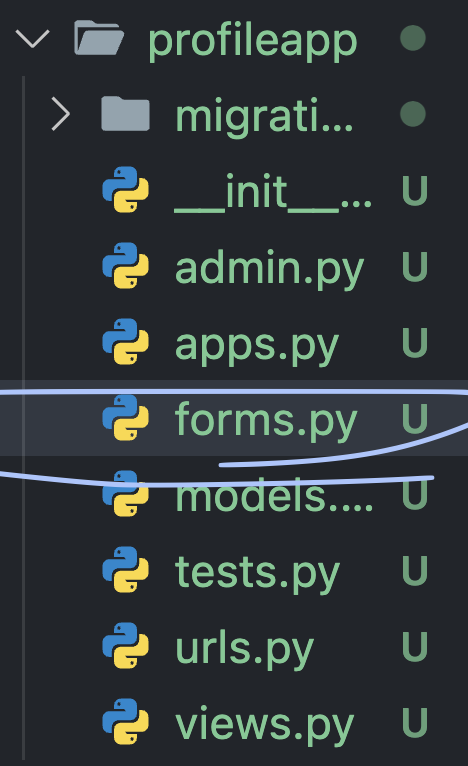
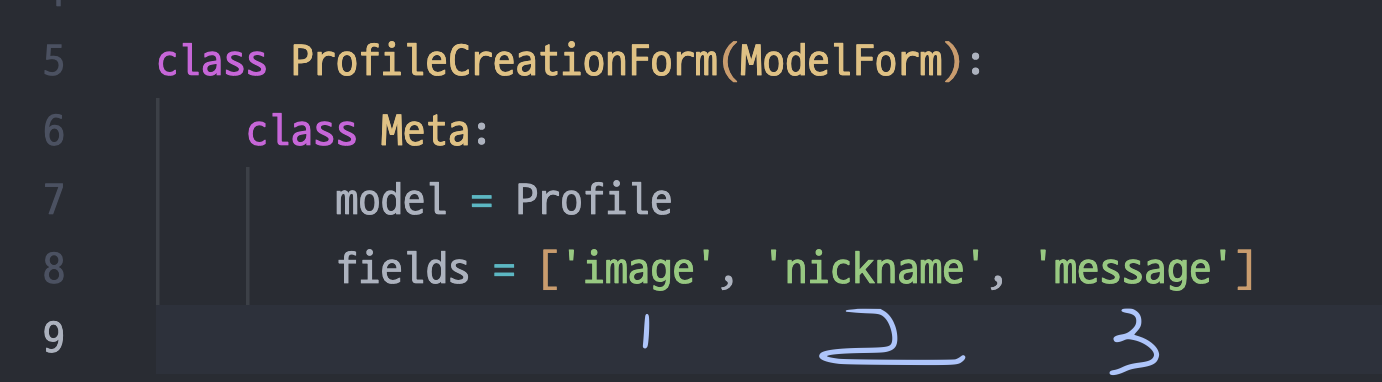
5) Form도 정의
Model Form 기능을 써서 기존 모델을 쉽게 폼으로 옮기자.
우선 forms.py를 생성해준다.
이후에는 modelform을 활용해서 아주 간단하게 form 생성해준다.
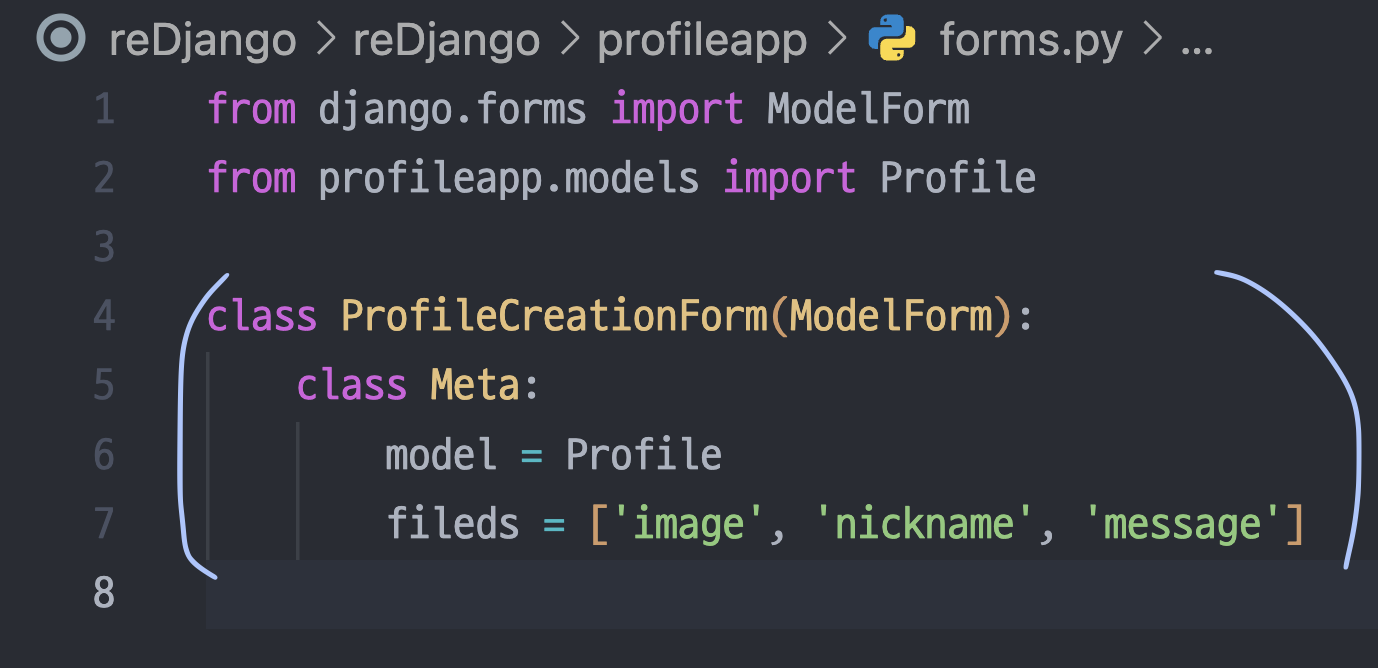
오탁다 났는데 fileds가 맞습니다.
2. 프로필 생성(profileCreateView) 구현
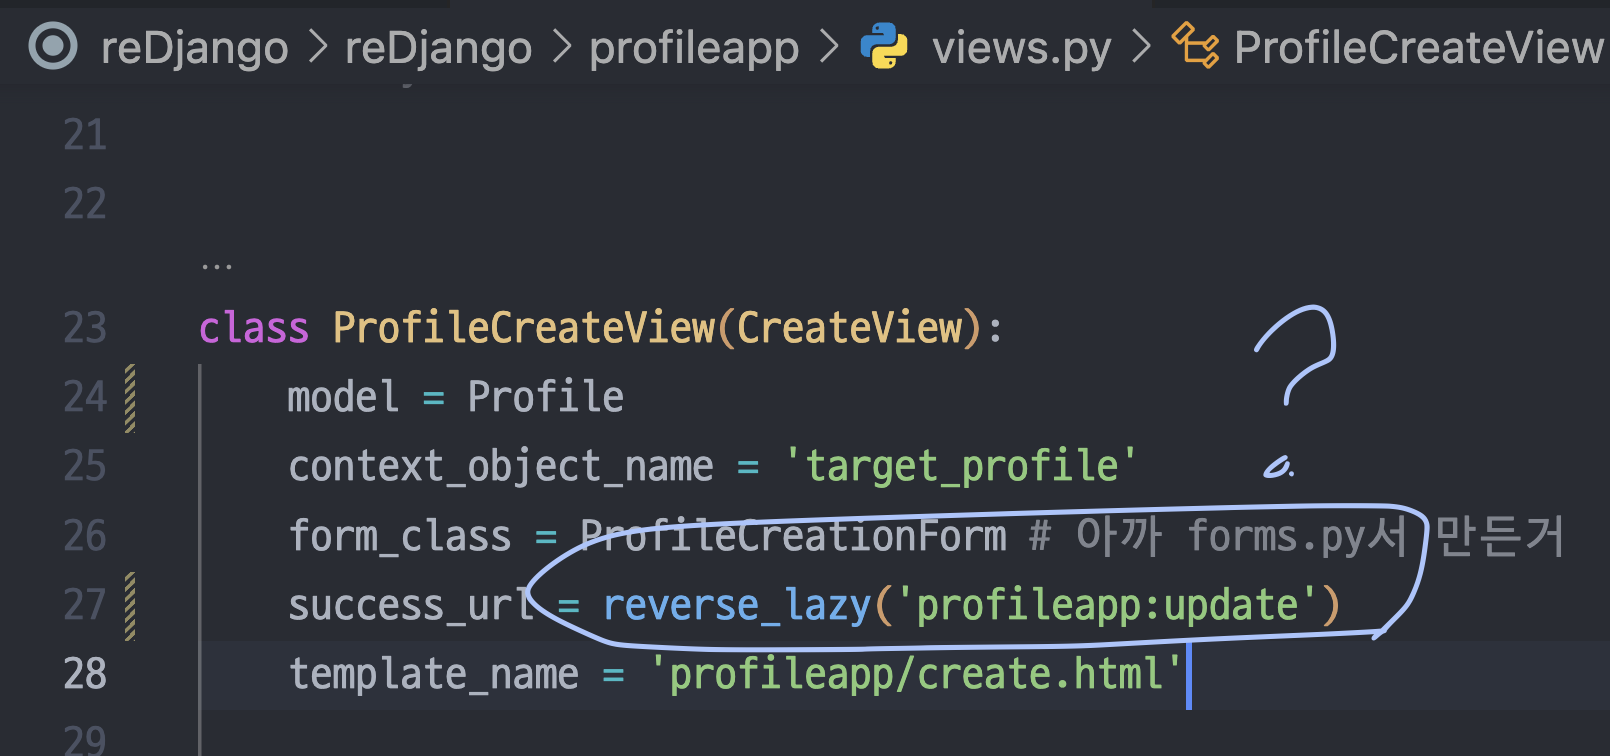
1) views.py에 create부터만들기
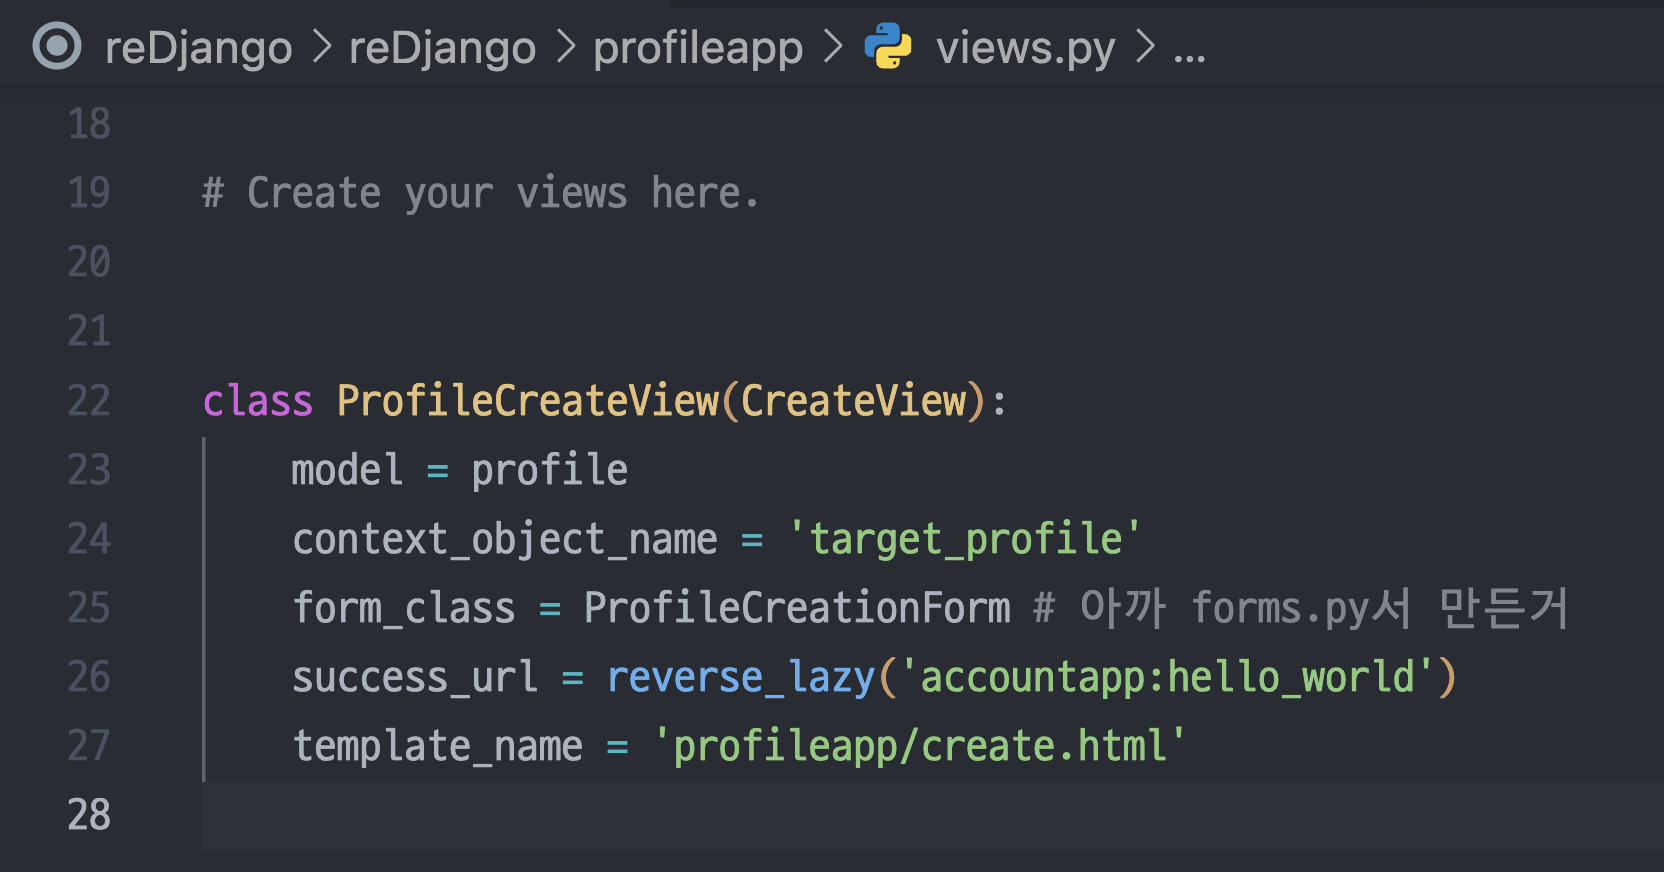
class ProfileCreateView(CreateView):
model = Profile
context_object_name = 'target_profile'
form_class = ProfileCreationForm # 아까 forms.py서 만든거
success_url = reverse_lazy('accountapp:helloworld')
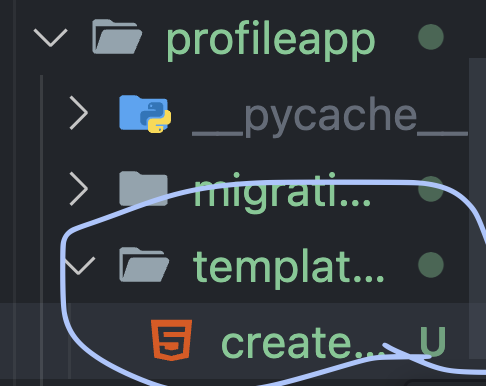
template_name = 'profileapp/create.html'2) create.html 만들기
{% extends 'base.html' %}
{% load django_bootstrap5 %}
{% block content %}
<div style="text-align: center; max-width: 500px; margin: 4rem auto;">
<div class="mb-4">
<h4>Profile Create</h4>
</div>
<form action="{% url 'profileapp:create' %}" method="post">
{% csrf_token %}
{% bootstrap_form form %}
<input type="submit" class="btn btn-dark rounded-pill col-6 mt-3">
</form>
</div>
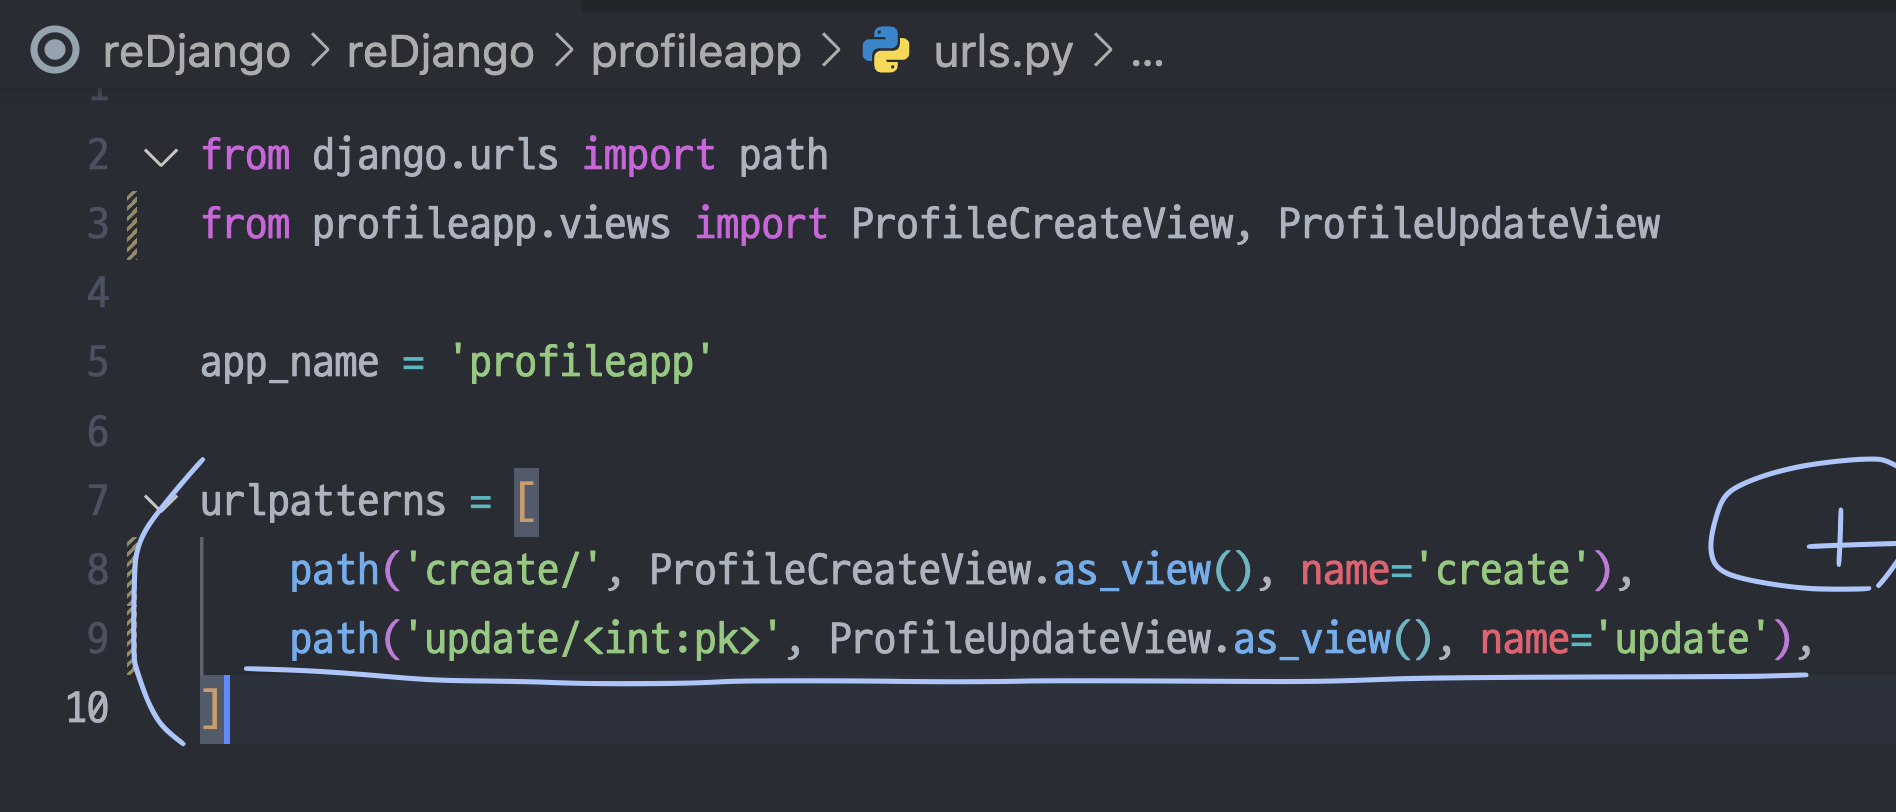
{% endblock %}3) profileapp/urls.py에서 라우팅
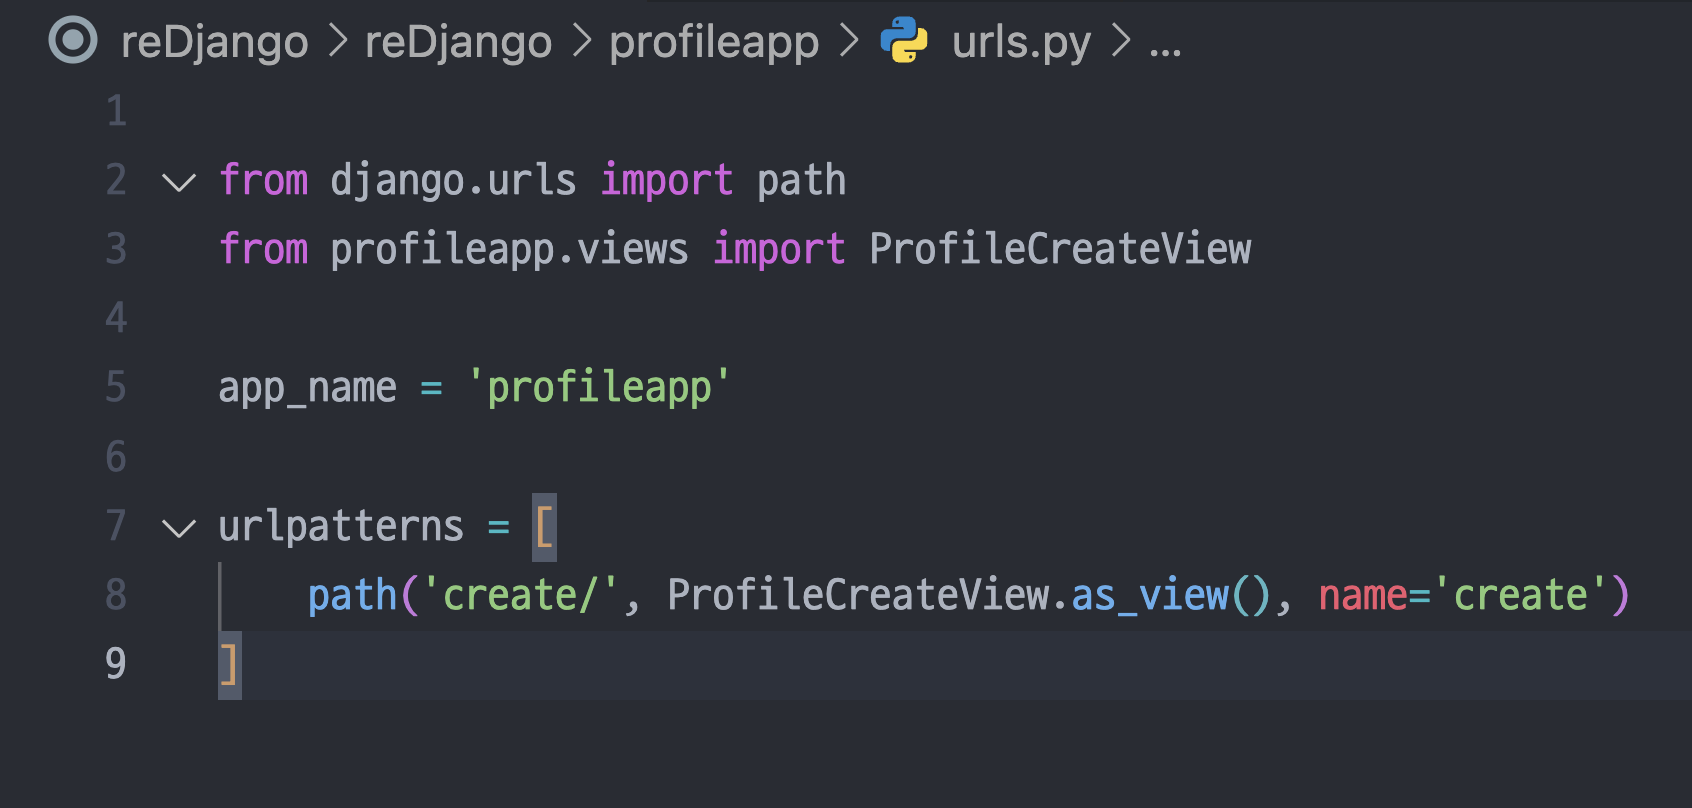
from django.urls import path
from profileapp.views import ProfileCreateView
app_name = 'profileapp'
urlpatterns = [
path('create/', ProfileCreateView.as_view(), name='create')
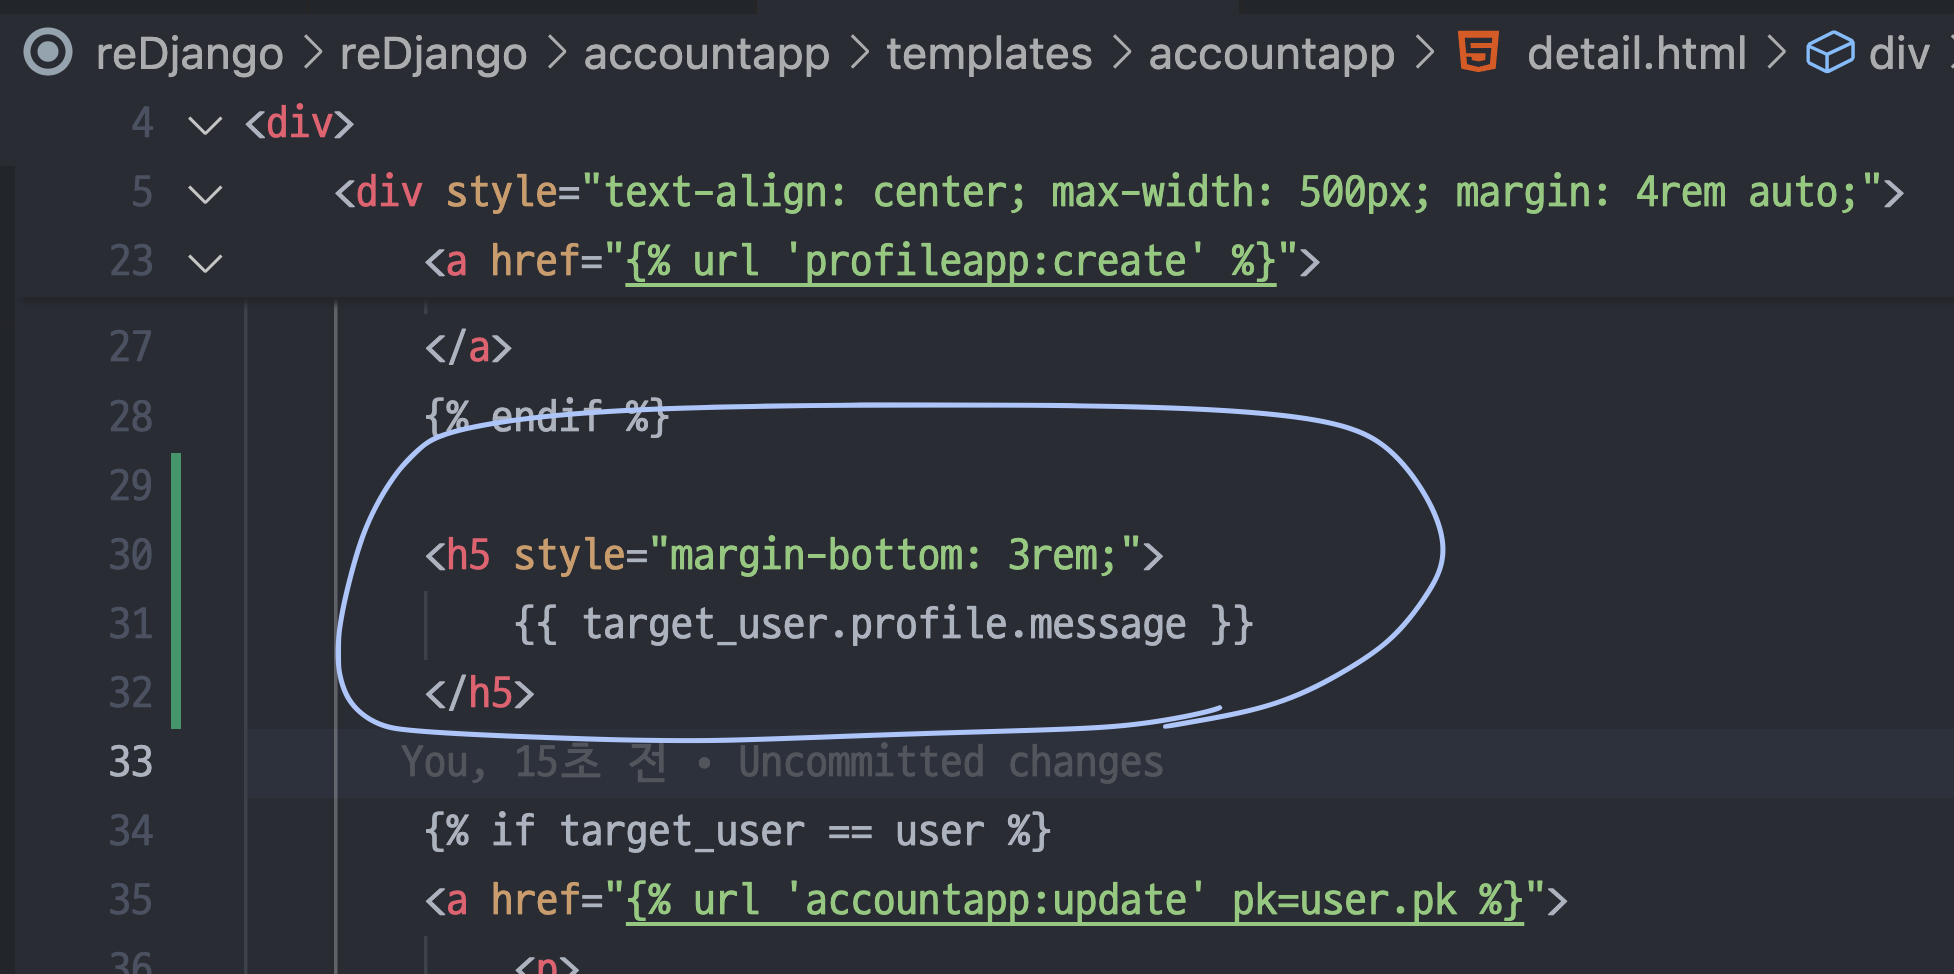
]4) detail 페이지에서 profile create 버튼 만들기
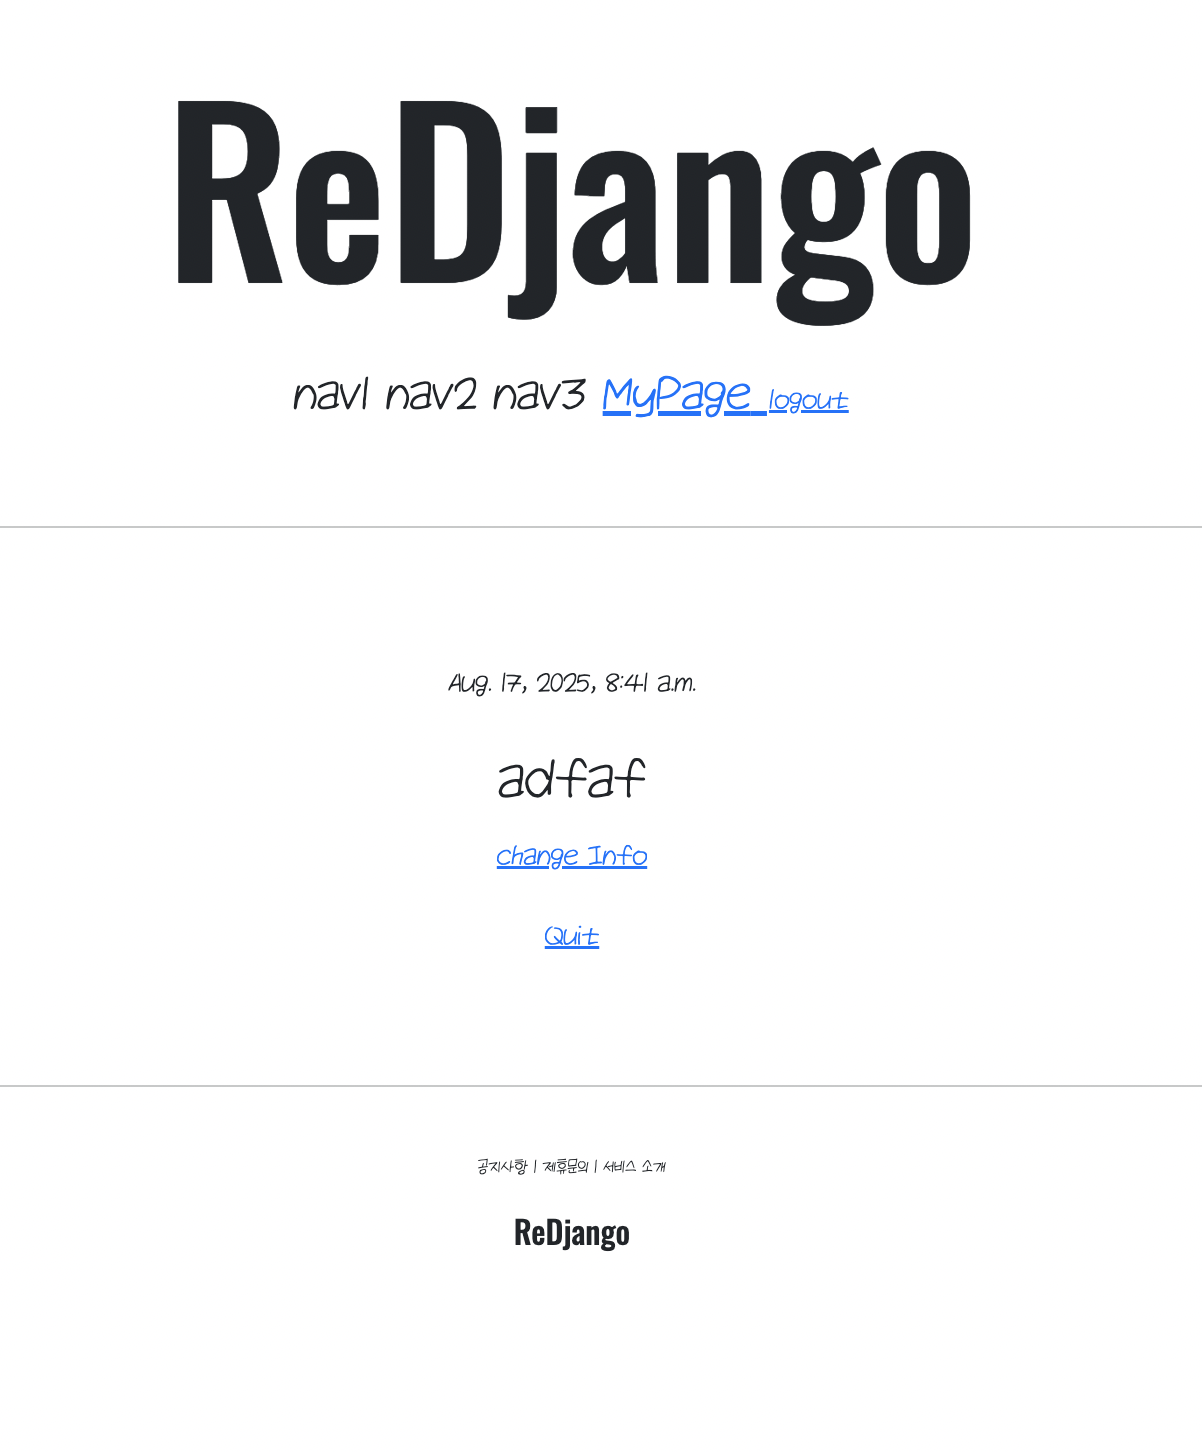
{% if target_user.profile %}
        <h2 style="font-family: 'NanumGoDigANiGoGoDing';">
            {{ target_user.profile.nickname }}
        </h2>
{% else %}
        <a href="{% url 'profileapp:create' %}">
            <h2 style="font-family: 'NanumGoDigANiGoGoDing';">
                Create Profile
            </h2>
        </a>
{% endif %}
id가 노출되면 좀 그러니깐 닉네임이 노출되도록 함.
만약에 닉네임이 없으면...? 그럼 create profile 앵커태그를 생성.
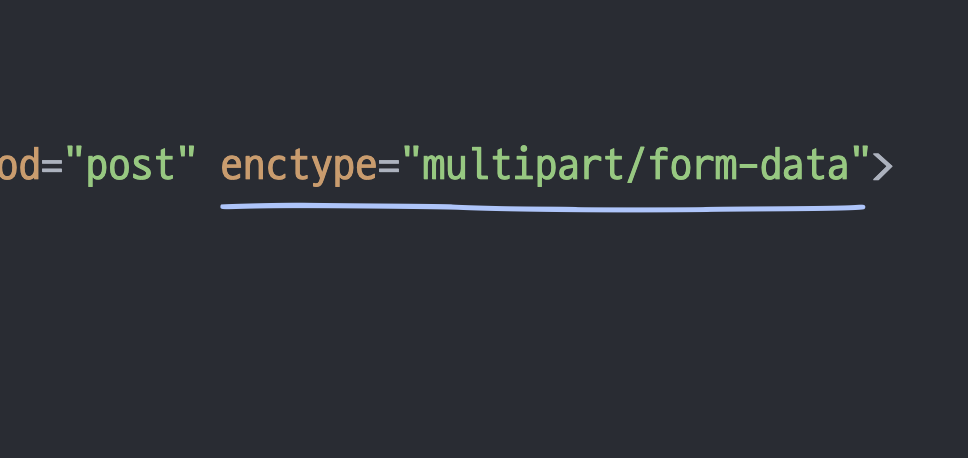
5) 이미지가 안들어가는 문제: create.html에서 해결
폼태그에서 <form action="{% url 'profileapp:create' %}" method="post" enctype="multipart/form-data">
이부분. enctype="multipart/form-data" 를 추가해줘야 함.
6) profile 생성이 안되는 문제: view를 커스텀해서 해결
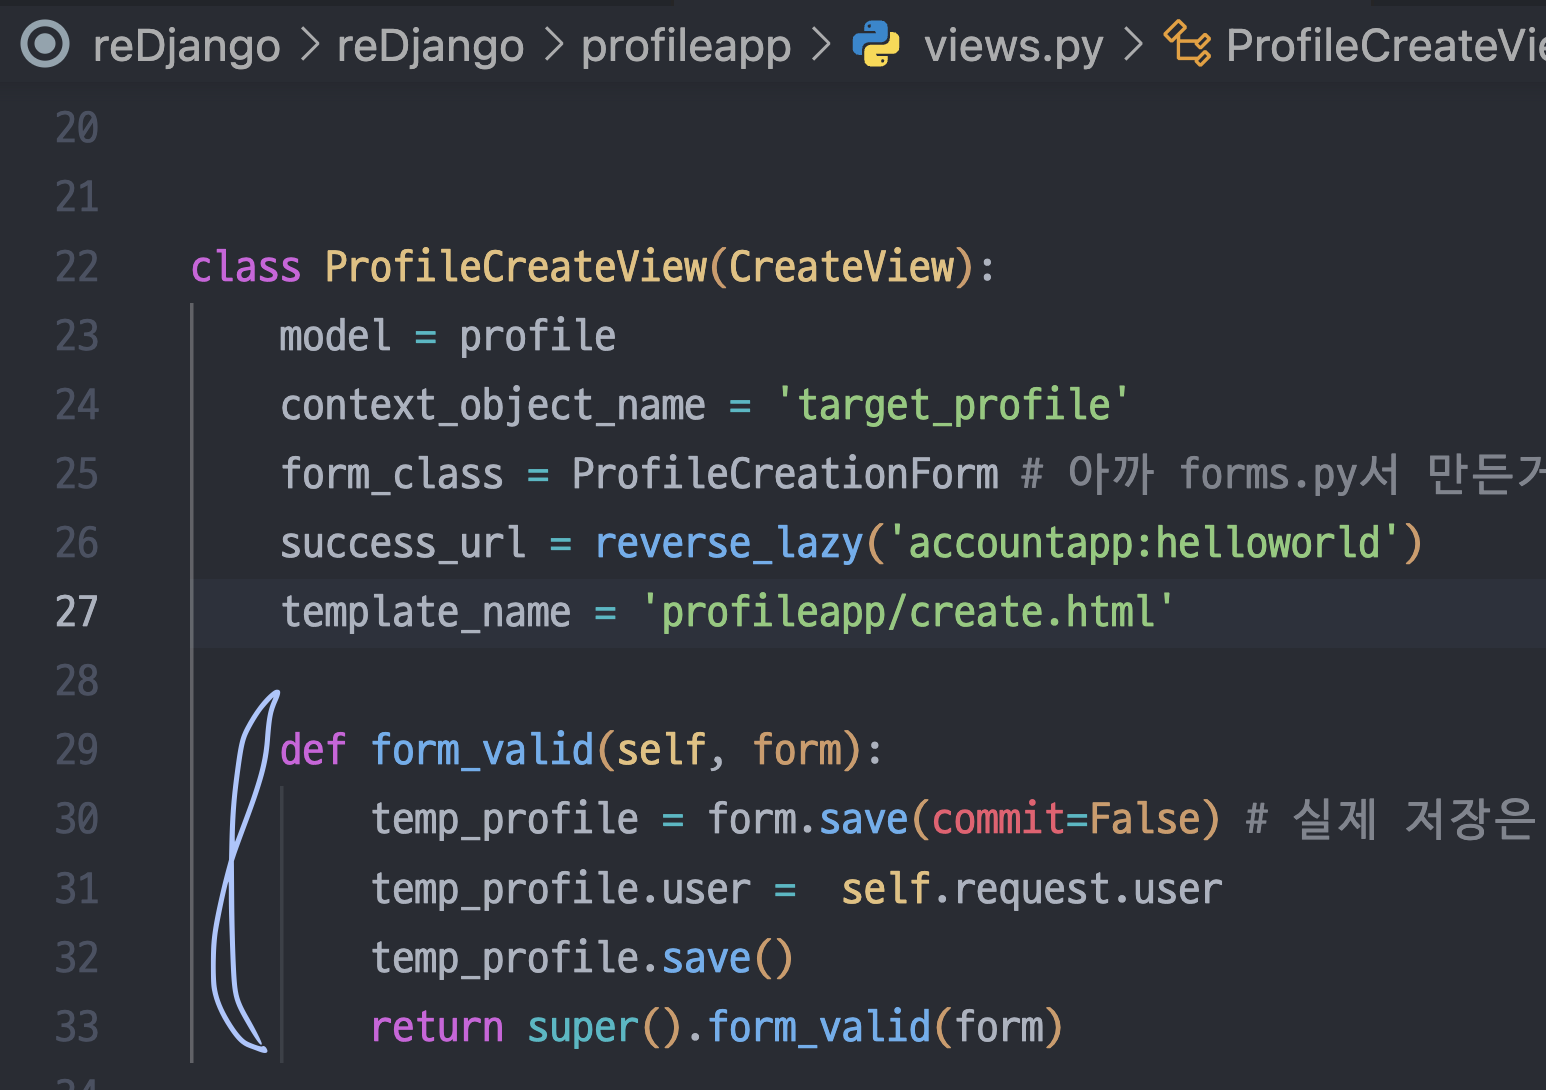
    def form_valid(self, form):
        temp_profile = form.save(commit=False) # 실제 저장은 안되지만 임시로 저장한다.
        temp_profile.user =  self.request.user
        temp_profile.save()
        return super().form_valid(form)
폼에서는 image nickname message는 있는데 model 보면 user도 있다.
그래서 저장 직전에 user를 서버에서 꽂아 넣는 과정이 필요하다.
form_valid는 그걸 하기 위한 오버라이드이다.
temp_profile = form.save(commit=False)
=> DB에 아직 안 적고 객체만 만든다는 의미. temp_profile에는 이미지, 닉네임, 메시지는 다들어있겠지만 유저가 없다. 폼에 없으니까.
temp_profile.user = self.request.user
=> 이제 거기다가 유저도 넣습니다. 현재 로그인한 사람을 유저로 넣으면 됨.
3. 프로필 업데이트 구현하기
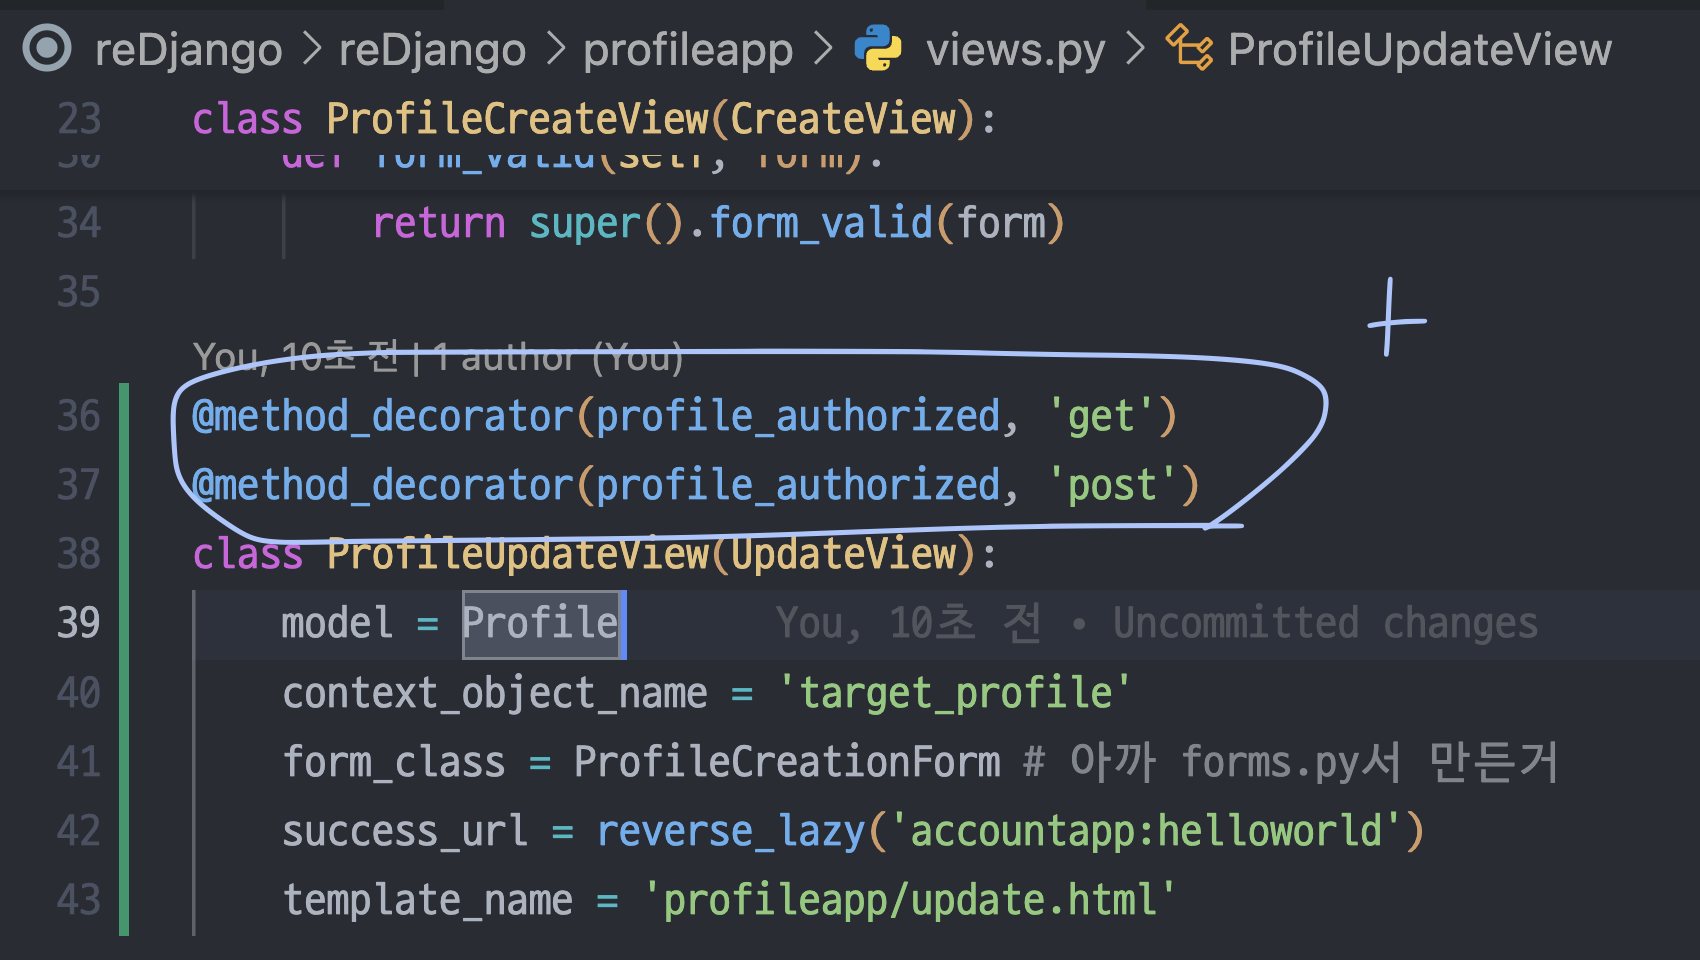
1) views.py에 profileupdateview 생성
class ProfileUpdateView(UpdateView):
    model = Profile
    context_object_name = 'target_profile'
    form_class = ProfileCreationForm # 아까 forms.py서 만든거
    success_url = reverse_lazy('accountapp:helloworld')
    template_name = 'profileapp/update.html'
model = profile로 적어서 에러가 난 적이 있다.
model = Profile인지 잘 봐주자.
2) urls.py에 path 추가
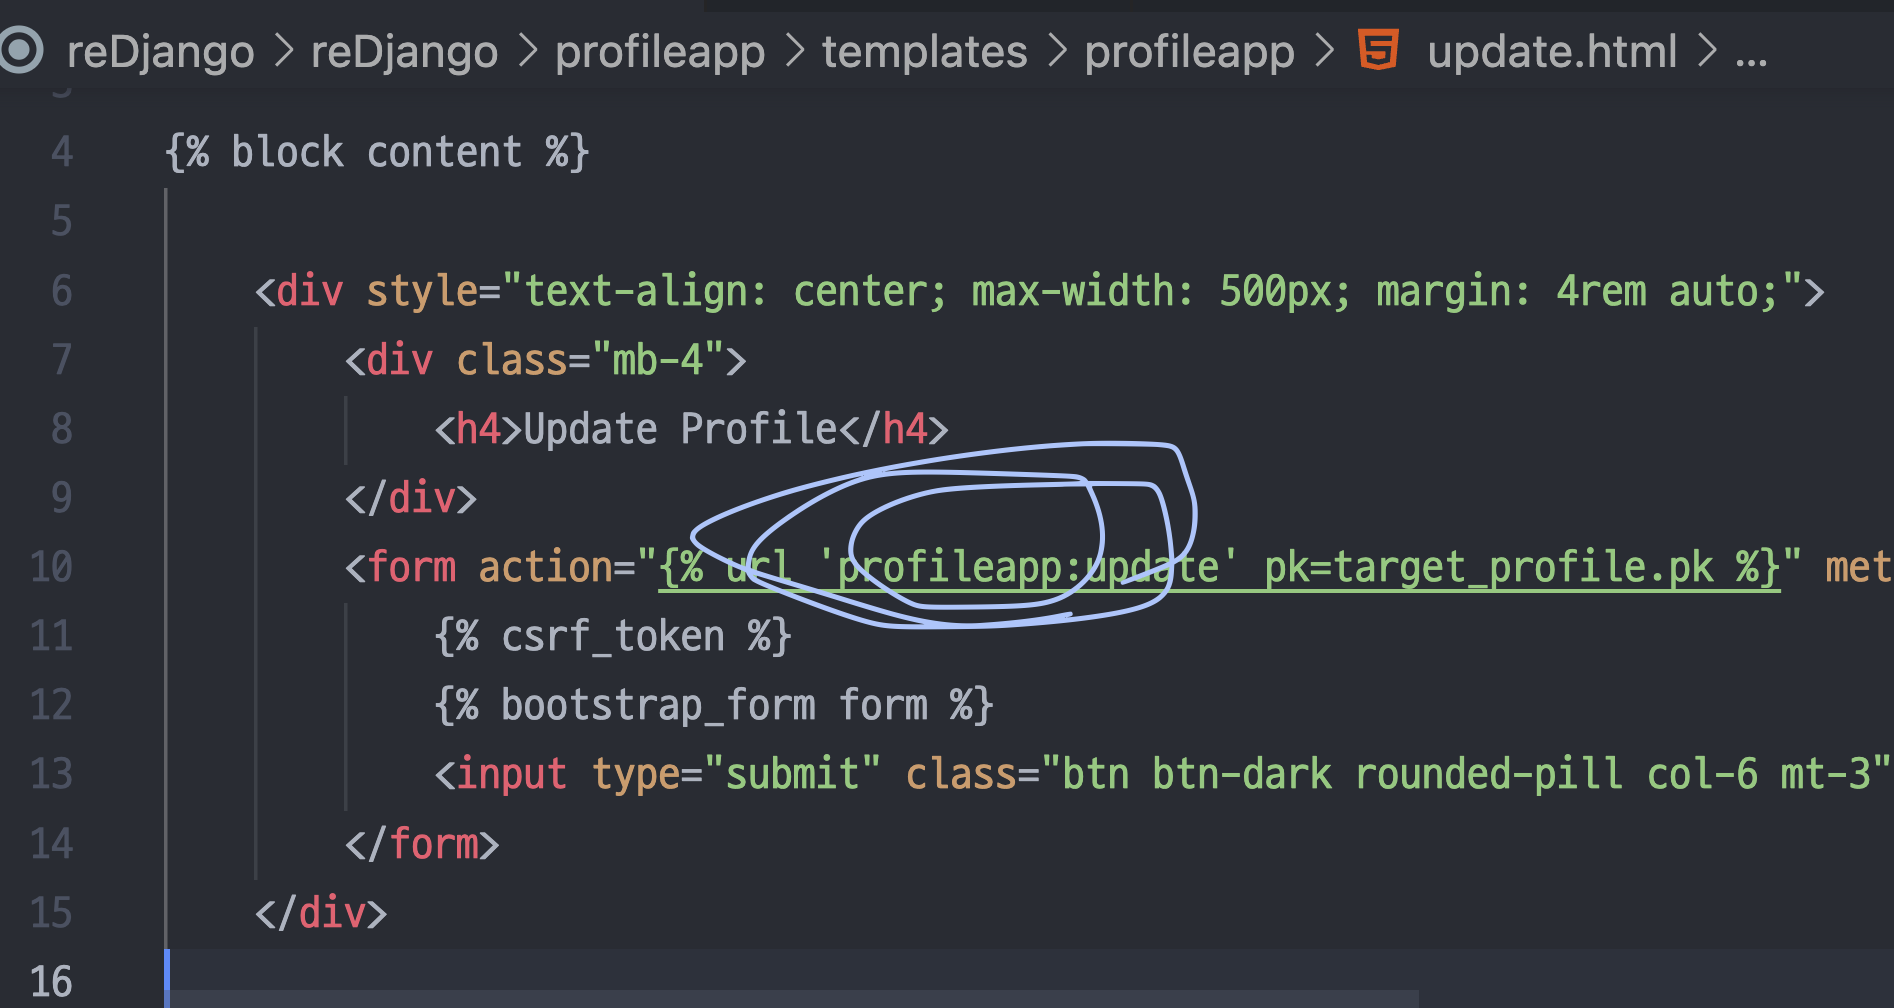
3) update.html 만들기
{% extends 'base.html' %}
{% load django_bootstrap5 %}

{% block content %}

    <div style="text-align: center; max-width: 500px; margin: 4rem auto;">
        <div class="mb-4">
            <h4>Update Profile</h4>
        </div>
        <form action="{% url 'profileapp:update' pk=target_profile.pk %}" method="post" enctype="multipart/form-data">
            {% csrf_token %}
            {% bootstrap_form form %}
            <input type="submit" class="btn btn-dark rounded-pill col-6 mt-3">
        </form>
    </div>

{% endblock %}
accountapp의 update.html을 가져와서 갖다붙인다.
약간의 변화가 필요한데 이렇게 두 부분이다.
4) detail.html에 수정버튼 만들기
그래야 updateview로 연결될거니까.

<a href="{% url 'profileapp:update' pk=target_user.profile.pk %}">
  edit
</a>
4. 프로필 사진 띄우기
1) detail.html에 코드생성

2) reDjango/urls.py
urlpatterns = [
    path('admin/', admin.site.urls),
    path('accounts/', include('accountapp.urls')),
    path('profiles/', include('profileapp.urls')),
] + static(settings.MEDIA_URL, document_root=settings.MEDIA_ROOT)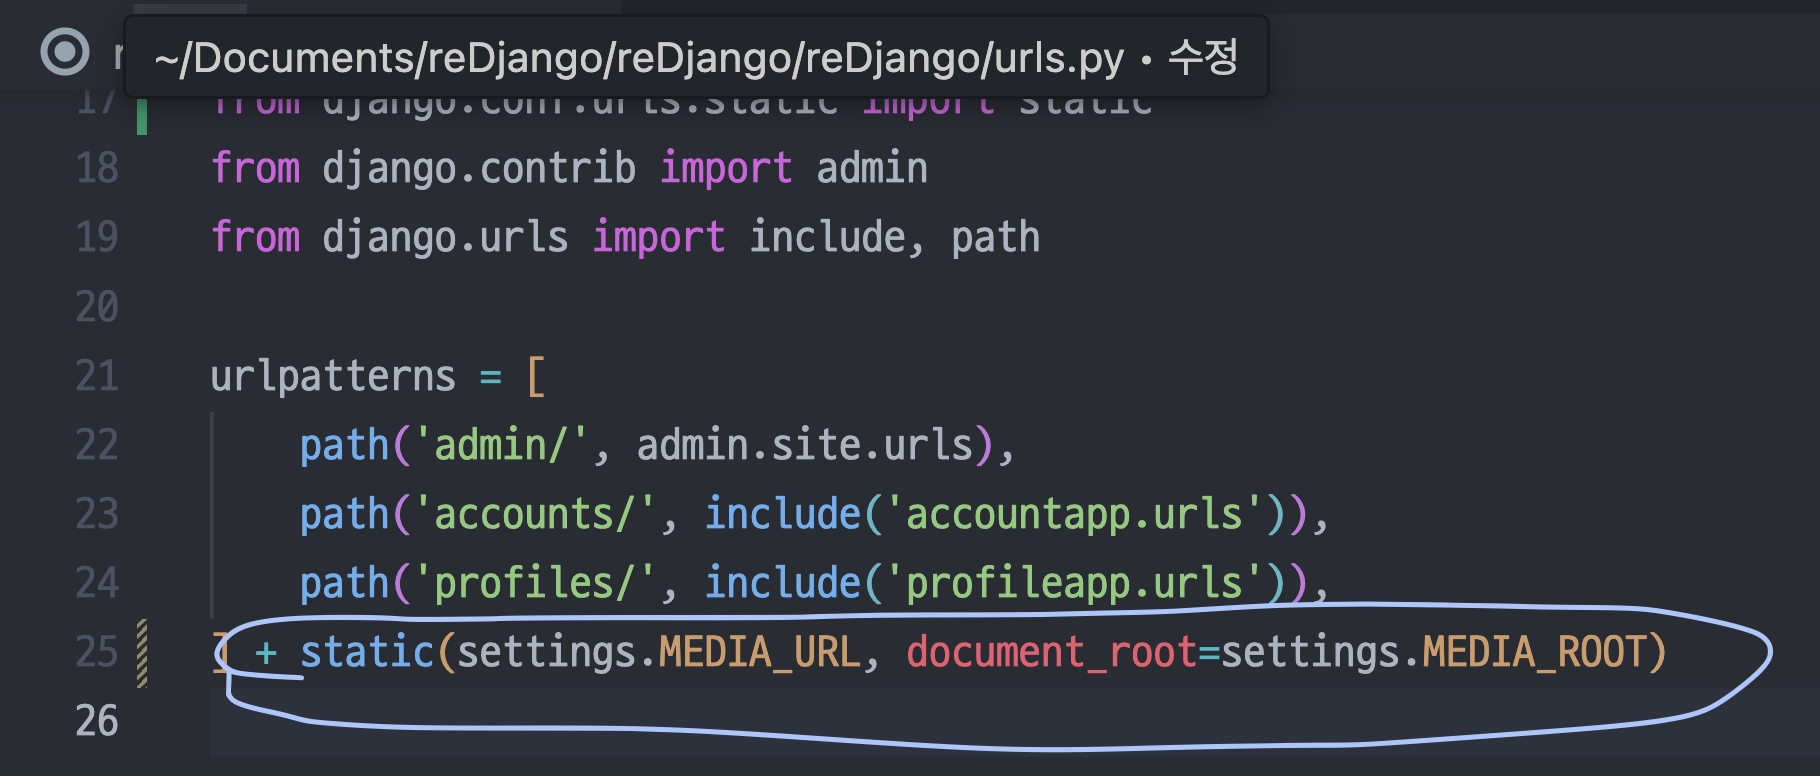
3) detail.html 프사 크기 디자인 수정
<img src="{{ target_user.profile.image.url }}" alt="" style="height: 12rem; width: 12rem; border-radius: 10rem;">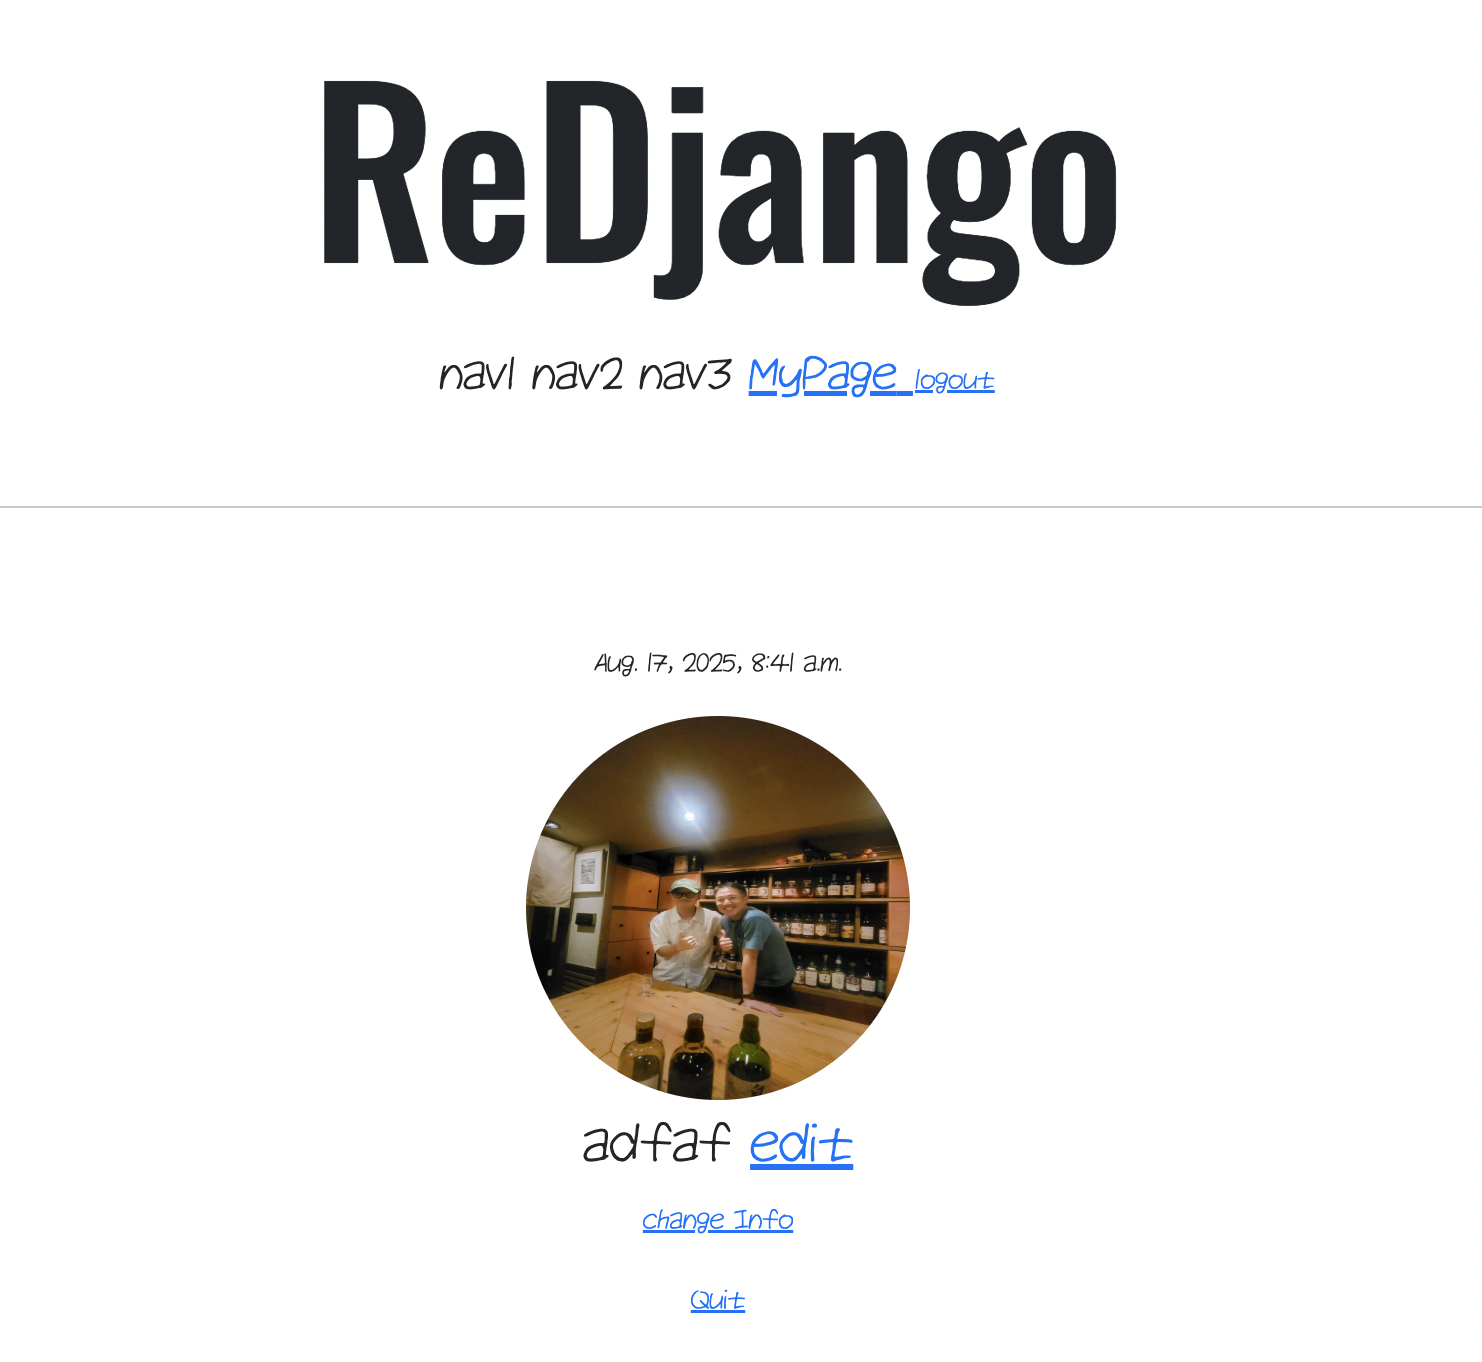
4) detail.html에 프메 넣기
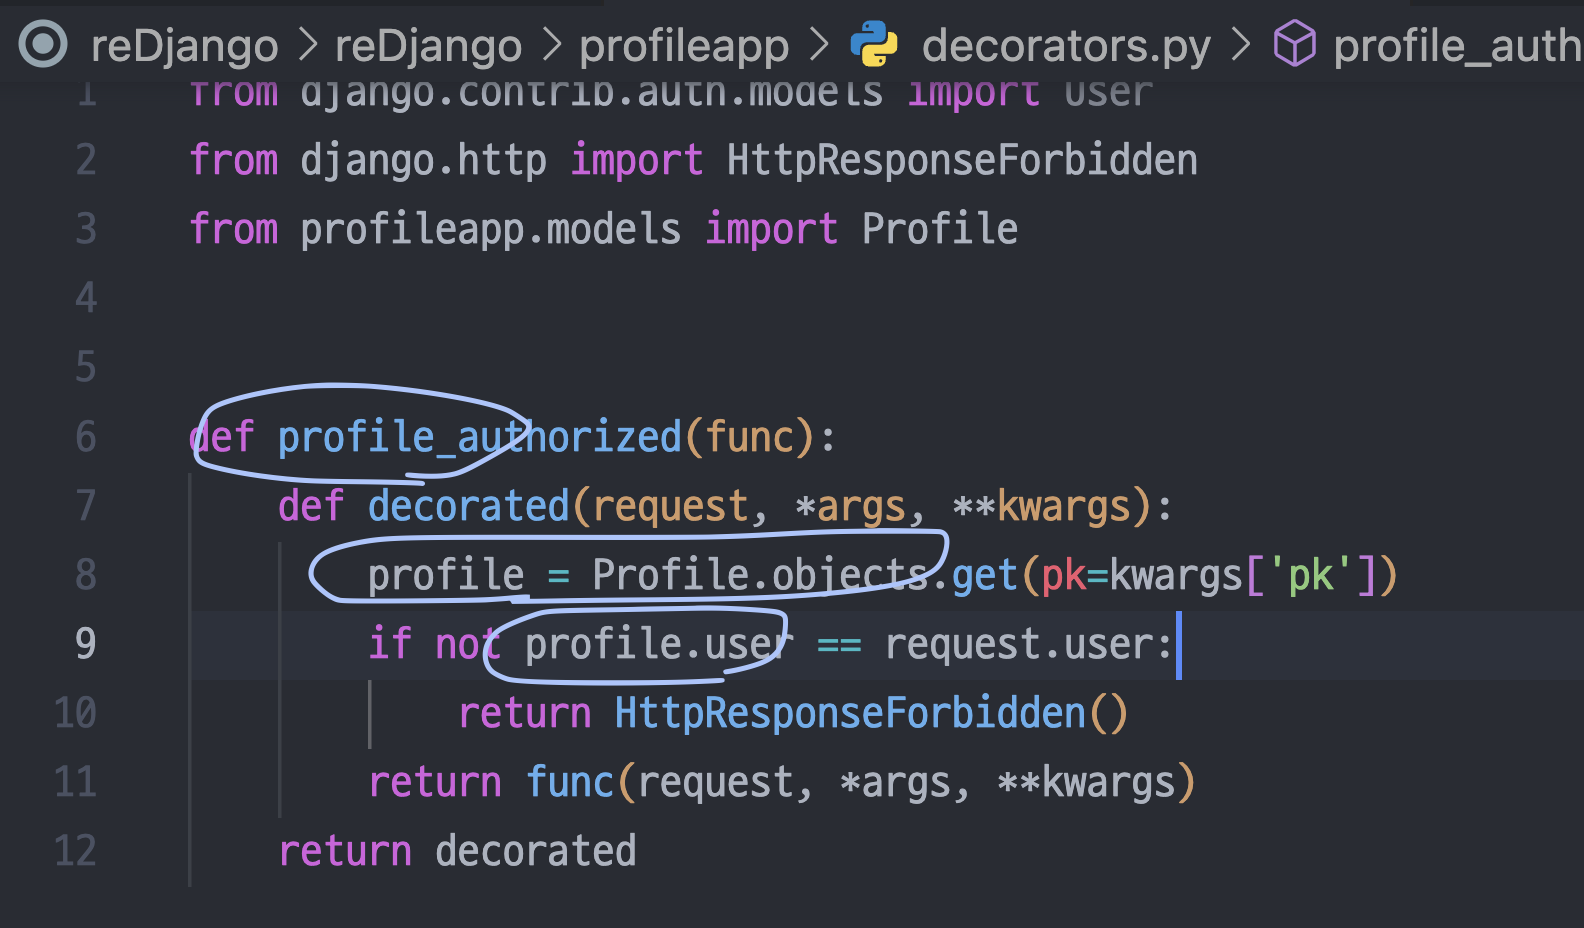
5) 데코레이터 설정
약간의 수정사항들
1) 프로필 만들고 리다이렉션은 계정으로
Views.py에서 profileCreateView 수정
근데 이런식으로 수정하면 안먹는다.
왜냐면 urls.py를 보자...

이런 식으로 int:pk 까지 같이 넘겨야 하기 때문.
근데 reverse에는 그런 동적인 기능이 없다. 결국 또 메소드 오버라이드 해야 함.
Method Override
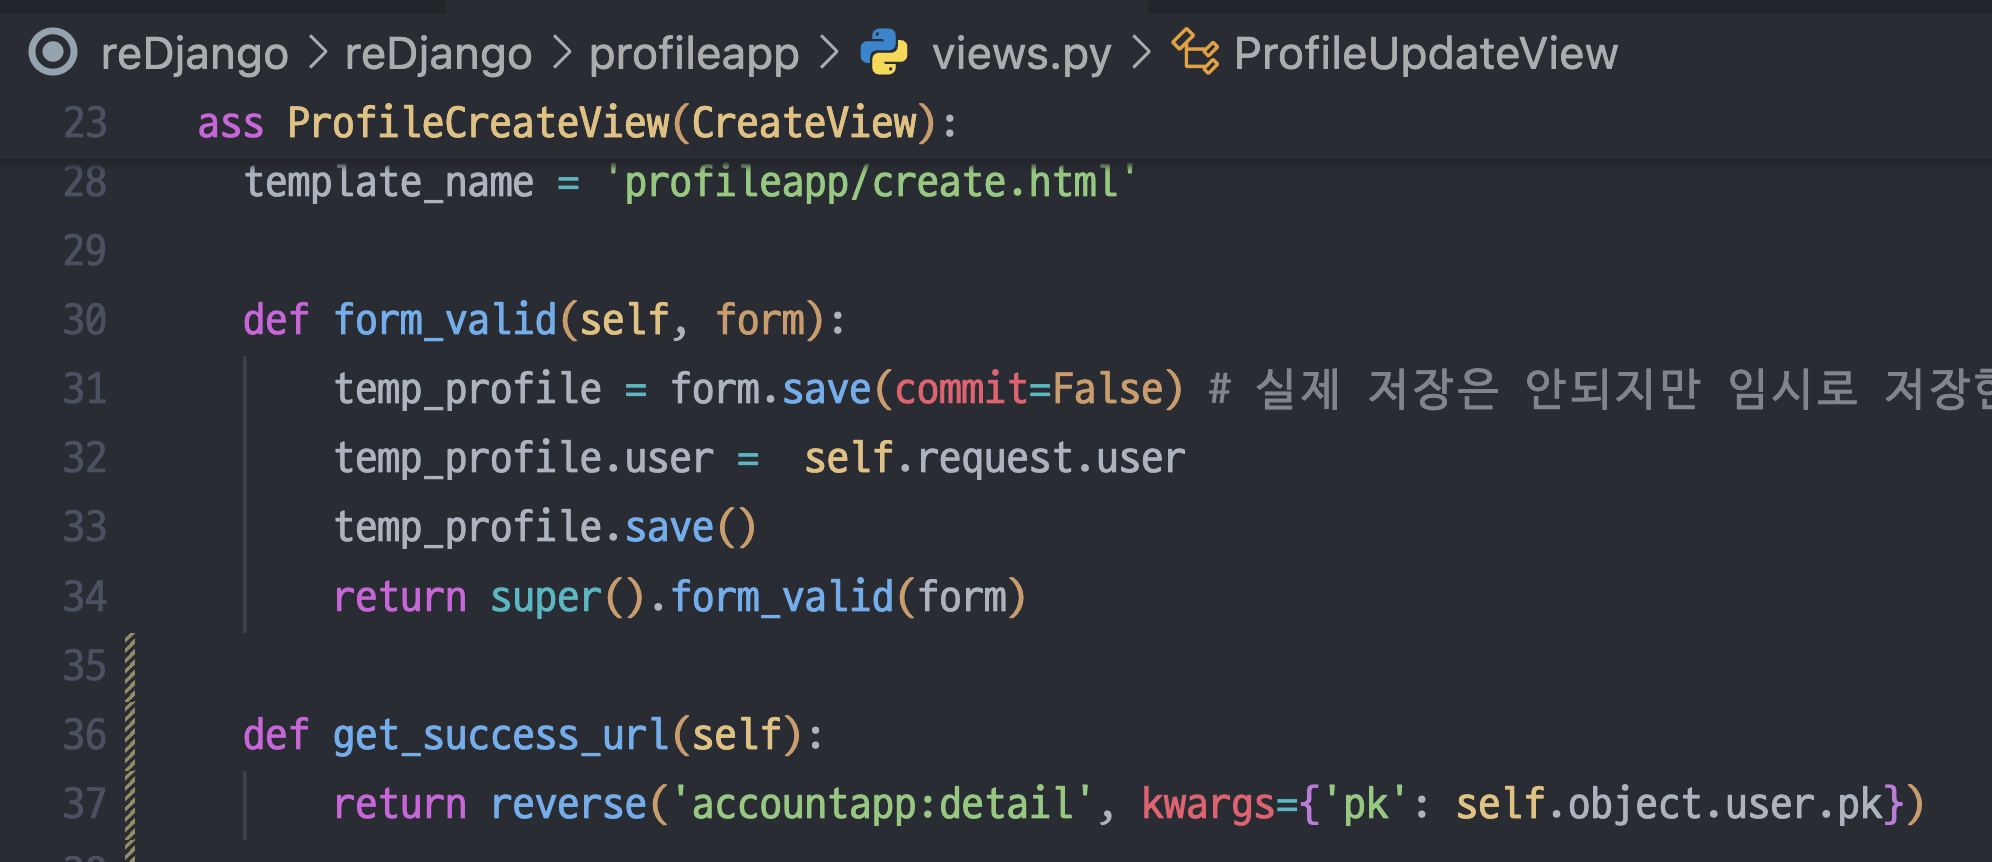
    def get_success_url(self):
        return reverse('accountapp:detail', kwargs={'pk': self.object.user.pk})
2) 로그인 되어있을 때만 보여야 하는 것들 정리
이미지태그