1.테스트 코드 소개
- TDD
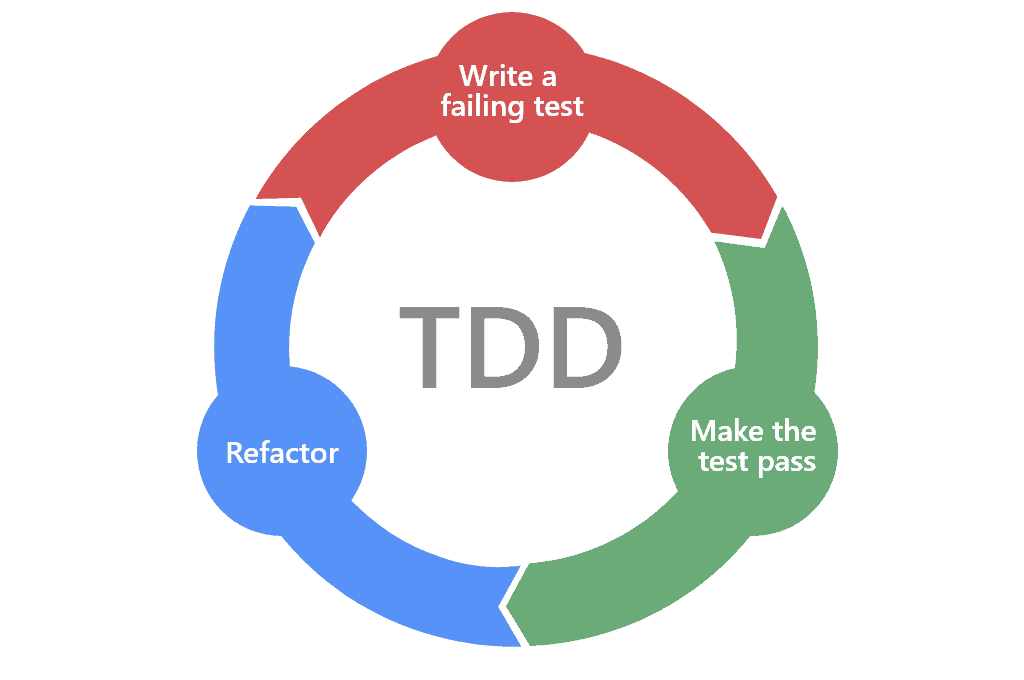
테스트가 주도하는 개발
- 단위 테스트 코드
TDD의 첫 번째 단계인 기능 단위의 테스트 코드를 작성하는 것.
단위 테스트 코드를 사용하는 이유?
- 빠른 피드백
- system.out.println이라는 수동검증을 하지 않아도 됨
- 개발자가 만든 기능을 안전하게 보호
즉, 새로운 기능이 추가될 때, 기존 기능이 잘 작동되는 것을 보장해 주는 것이 테스트 코드입니다.
2. JUnit
= 자바의 테스트 도구 (프레임워크)
JUnit 사용 설정
Spring boot에는 Build.gradle을 확인해보면 이미 JUnit 사용을 위한 환경설정이 되어있다.

3. 테스트 코드 작성
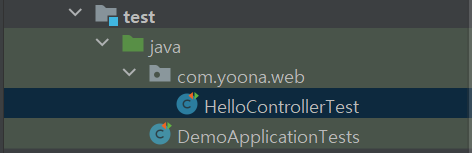
- 테스트 파일 생성하기
테스트 파일은 main과 똑같은 패키지에 똑같은 파일 형식으로 들어가있어야한다.
main > web > HelloController > 우클릭 > Generate > test
(window Generate = Alt + insert)
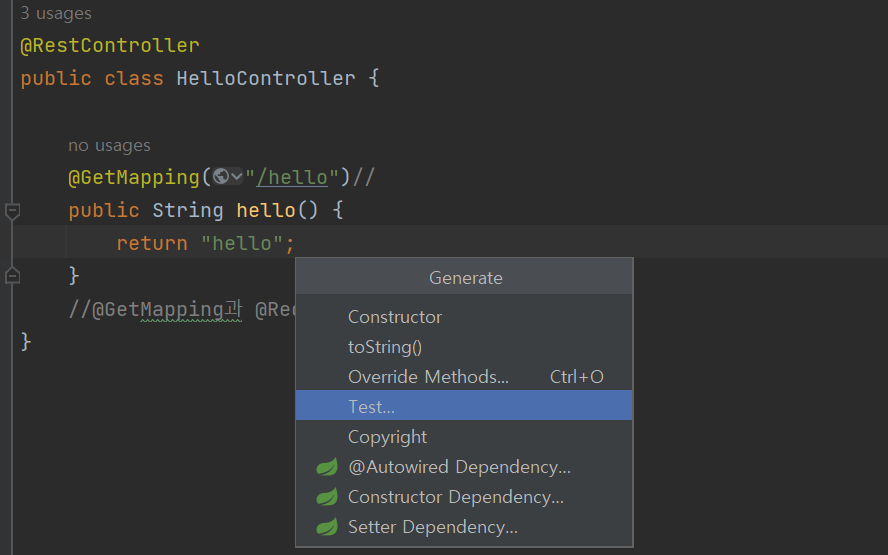
이렇게 하면 테스트 부분에 메인과 똑같이 생성된 것을 볼 수 있다.
JUnit Main Annotation
@SpringBootTest
- 통합 테스트 용도로 사용됨
- @SpringBootApplication을 찾아가 하위의 모든 Bean을 스캔하여 로드함
- 그 후 Test용 Application Context를 만들어 Bean을 추가하고, MockBean을 찾아 교체
@ExtendWith
- JUnit4에서는 @RunWith로 사용되던 어노테이션이 ExtendWith로 변경됨
- @ExtendWith는 메인으로 실행될 Class를 지정할 수 있음
- @SpringBootTest는 기본적으로 @ExtendWith가 추가되어 있음
@WebMvcTest( Controller = Class명.class )
- ()안에 작성된 클래스만 실제로 로드하여 테스트를 진행
- 매개변수를 지정해주지 않으면 @Controller, @RestController, @RestControllerAdvice 등 컨트롤러와 연관된 Bean이 모두 로드됨.
- 단, @Service, @Component, @Repository 등은 사용할 수 없음.
- 스프링의 모든 Bean을 로드하는 @SpringBootTest 대신 컨트롤러 관련 코드만 테스트할 경우 사용
@Autowired
- Controller의 API를 테스트하는 용도인 MockMvc 객체를 주입 받음 (스프링을 관리하는 Bean을 주입받음)
- Perform()메소드를 활용하여 컨트롤러의 동작을 확인할 수 있음
- andExpect(), andDo(), andReturn() 등의 메소드를 같이 활용함
테스트 코드 작성
package com.yoona.web;
import org.junit.jupiter.api.Test;
import org.junit.jupiter.api.extension.ExtendWith;
import org.springframework.beans.factory.annotation.Autowired;
import org.springframework.boot.test.autoconfigure.web.servlet.WebMvcTest;
import org.springframework.test.context.junit.jupiter.SpringExtension;
import org.springframework.test.web.servlet.MockMvc;
import static org.junit.jupiter.api.Assertions.*;
import static org.springframework.test.web.servlet.request.MockMvcRequestBuilders.get;
import static org.springframework.test.web.servlet.result.MockMvcResultMatchers.content;
import static org.springframework.test.web.servlet.result.MockMvcResultMatchers.status;
@ExtendWith(SpringExtension.class)
@WebMvcTest(controllers = HelloController.class)
class HelloControllerTest {
@Autowired
private MockMvc mvc;
// 1. 웹 api 테스트할 때 사용
// 2. 스프링 mvc 테스트의 시작점
// 3. 이 클래스를 통해 HTTP, GET, POST 등에 대한 API 테스트를 할 수 있음
@Test
public void hello() throws Exception{
String hello = "hello";
mvc.perform(get("/hello"))
//MockMvc를 통해 /hello 주소로 HTTP GET 요청을 한다.
.andExpect(status().isOk())
//mvc.perform의 결과를 검증
//HTTP Header의 Status 검증
//200, 404, 500 등의 상태를 검증
//여기선, Ok 즉, 200인지 아닌지를 검증
.andExpect(content().string(hello));
//mvc.perform의 결과 검증
//응답 본문의 내용을 검증
//Controller에서 "hello"를 리턴하기 때문에 이 값이 맞는지 검증
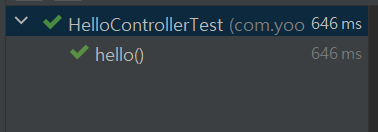
}
}hello() 를 돌려보면 테스트를 통과했음을 알 수 있다.
ERROR 나왔던 경우
처음에 JUnit5인지 모르고 @ExtendWith를 안쓰고 JUnit4에 호환되는 @Runwith로 작성해서 계속 오류가 났다. 확인해보고 작성하자...!

개발자가 되고싶은 초보