데이터 저장
1) 디렉토리 정리
- server2
mkdir ~/work/es_data
cd ~/work/es_data
2) 데이터 생성
- json형태의 데이터를 넣어보기
vi data.json

----
{"name" : "yoonjae", "age":20, "city": "New York"}
---
3) 인덱스 생성
- XPUT : HTTP 요청 메소드 지정
- H : HTTP Header 지정
- d : 본문 내용
curl -XPUT "http://localhost:9200/example-index" -H 'Content-Type: application/json' -d '
{
    "mappings": {
        "properties": {
            "name": { "type": "text" },
            "age": { "type": "integer" },
            "city": { "type": "text" }
        }
    }
}'
4) 인덱스 생성 확인
- 코멘드 창에서 확인
# 확인해보기
curl -X GET "http://localhost:9200/_cat/indices?v" 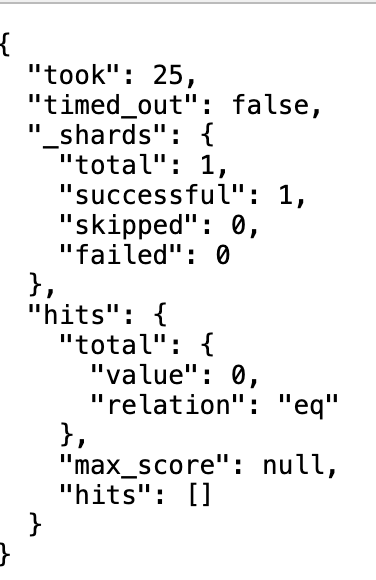
5) 인덱스에 데이터 넣기
- 파일을 넣기 위해서는 "@파일이름" 이렇게 넣어줘야함
- 파일 경로를 잘 확인하고 넣어줘야함
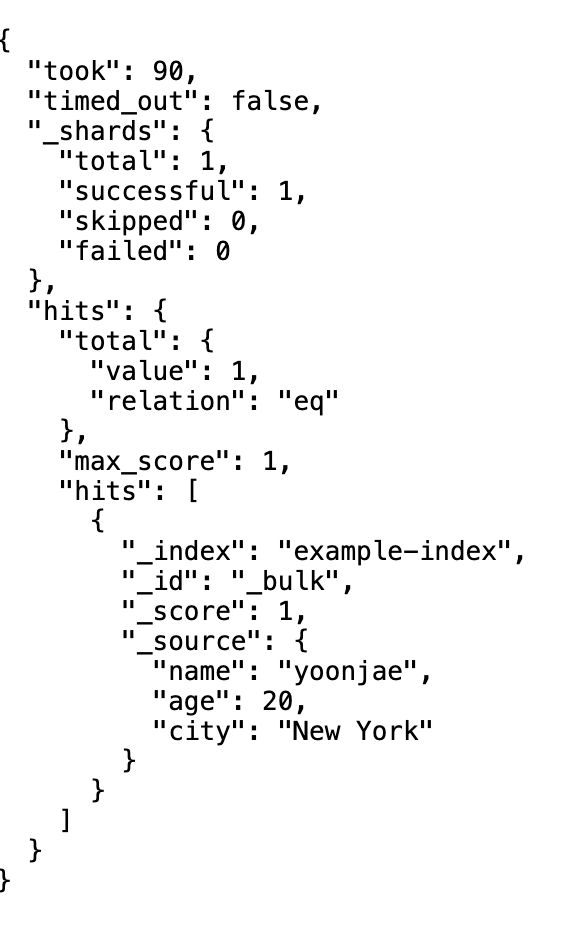
curl -XPOST "http://localhost:9200/example-index/_doc/_bulk" -H 'Content-Type: application/json' --data-binary "@data.json"- 사이트 새로고침하면!! 데이터가 들어가있음
데이터 불러오기 - 스파크
mavenlibs - 다운로드 받을 python 라이브러리 확인
- 8.8.2 버전 쓸려고 함.
1) 주피터 노트북 띄우기
- server1
2) 연결
# 모듈
from pyspark.sql import SparkSession

# 스파크 세션 만들기
spark = SparkSession.builder\
.appName("PySpark ES")\
.config("spark.jars.packages", 'org.elasticsearch:elasticsearch-spark-30_2.12:8.8.2')\
.config("spark.es.nodes", "localhost")\
.config("spark.es.port", "9200")\
.getOrCreate()

# es 설정
es_read_conf =  {
    "es.nodes" : "localhost",
    "es.port" : "9200",
    "es.resource" : "example-index",
    "es.input.json" : "true"
}

# spark로 es 연결
df = spark.read.format("org.elasticsearch.spark.sql").options(**es_read_conf).load()

# 데이터 확인
df.show()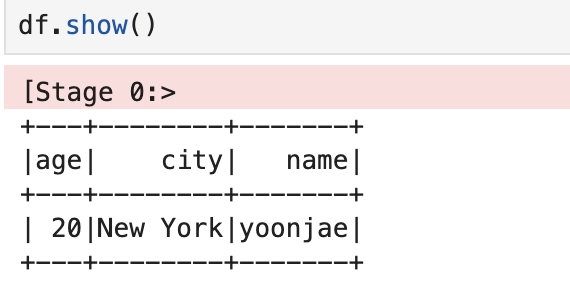

신윤재입니다