기존에 나와있는 (적어도 내가 본) 모든 Realm에 관한 한국어 글들이 다 레거시 버전이었다.
대표적으로 이전 버전에선 @objc 를 이용하여 애트리뷰트를 선언하지만, 최신 버전은 @Persisted를 사용한다.
이와 같이 문법 또한 최신 버전과 다소 호환이 되지 않는 부분이 있어 공식문서를 보며 살짝 정리해봤다.
설치하기
- CocoaPods repositories를 업데이트 하기
- 터미널에서
pod repo update를 통해 코코아팟이 최신 Realm 버전에 접근할 수 있도록!
pod init- 생성된 Podfile에서
use_frameworks!가 없다면 추가해주고,pod 'RealmSwift', '~>10'를 적어주고 저장
Podfile의 모습은 다음과 같다.
platform :ios, '12.0'

target 'MyRealmProject' do
  # Comment the next line if you don't want to use dynamic frameworks
  use_frameworks!

  # Pods for MyRealmProject
  pod 'RealmSwift', '~>10'

end
pod install후 .xcworkspace 파일을 앞으로 사용한다.
CRUD
import는 import RealmSwift 를 통해서 한다.
** RealmSwift를 불러오지 못한다면 https://teqoo.tistory.com/248 를 참고
Object Model은 다음과 같이 작성한다.
요지는
Product > Schemes > New Scheme...
reamswift 선택 후 확인
Build the RealmSwift target (cmd + b)
//
//  Person.swift
//  realm_intro
//
//  Created by YOONJONG on 2021/08/11.
//

import Foundation
import RealmSwift

class Person: Object{
    @Persisted(primaryKey: true) var _id : ObjectId
    @Persisted var name: String = ""
    @Persisted var age: Int?
    convenience init(name: String) {
        self.init()
        self.name = name
    }
}
_id는 기본키로 설정하고, name, age를 각각 스트링과 정수형으로 선언했다.
Create
func createPerson(){
        let realm = try! Realm()
        let person1 = Person()
        person1.name = "철수"
        person1.age = 10
        let person2 = Person()
        person2.name = "영희"
        person2.age = 11
	print(Realm.Configuration.defaultConfiguration.fileURL!)
        try! realm.write{
            realm.add(person1)
            realm.add(person2)
        }
}
let realm = try! Realm() 는 Realm을 열기 위한 줄이다.
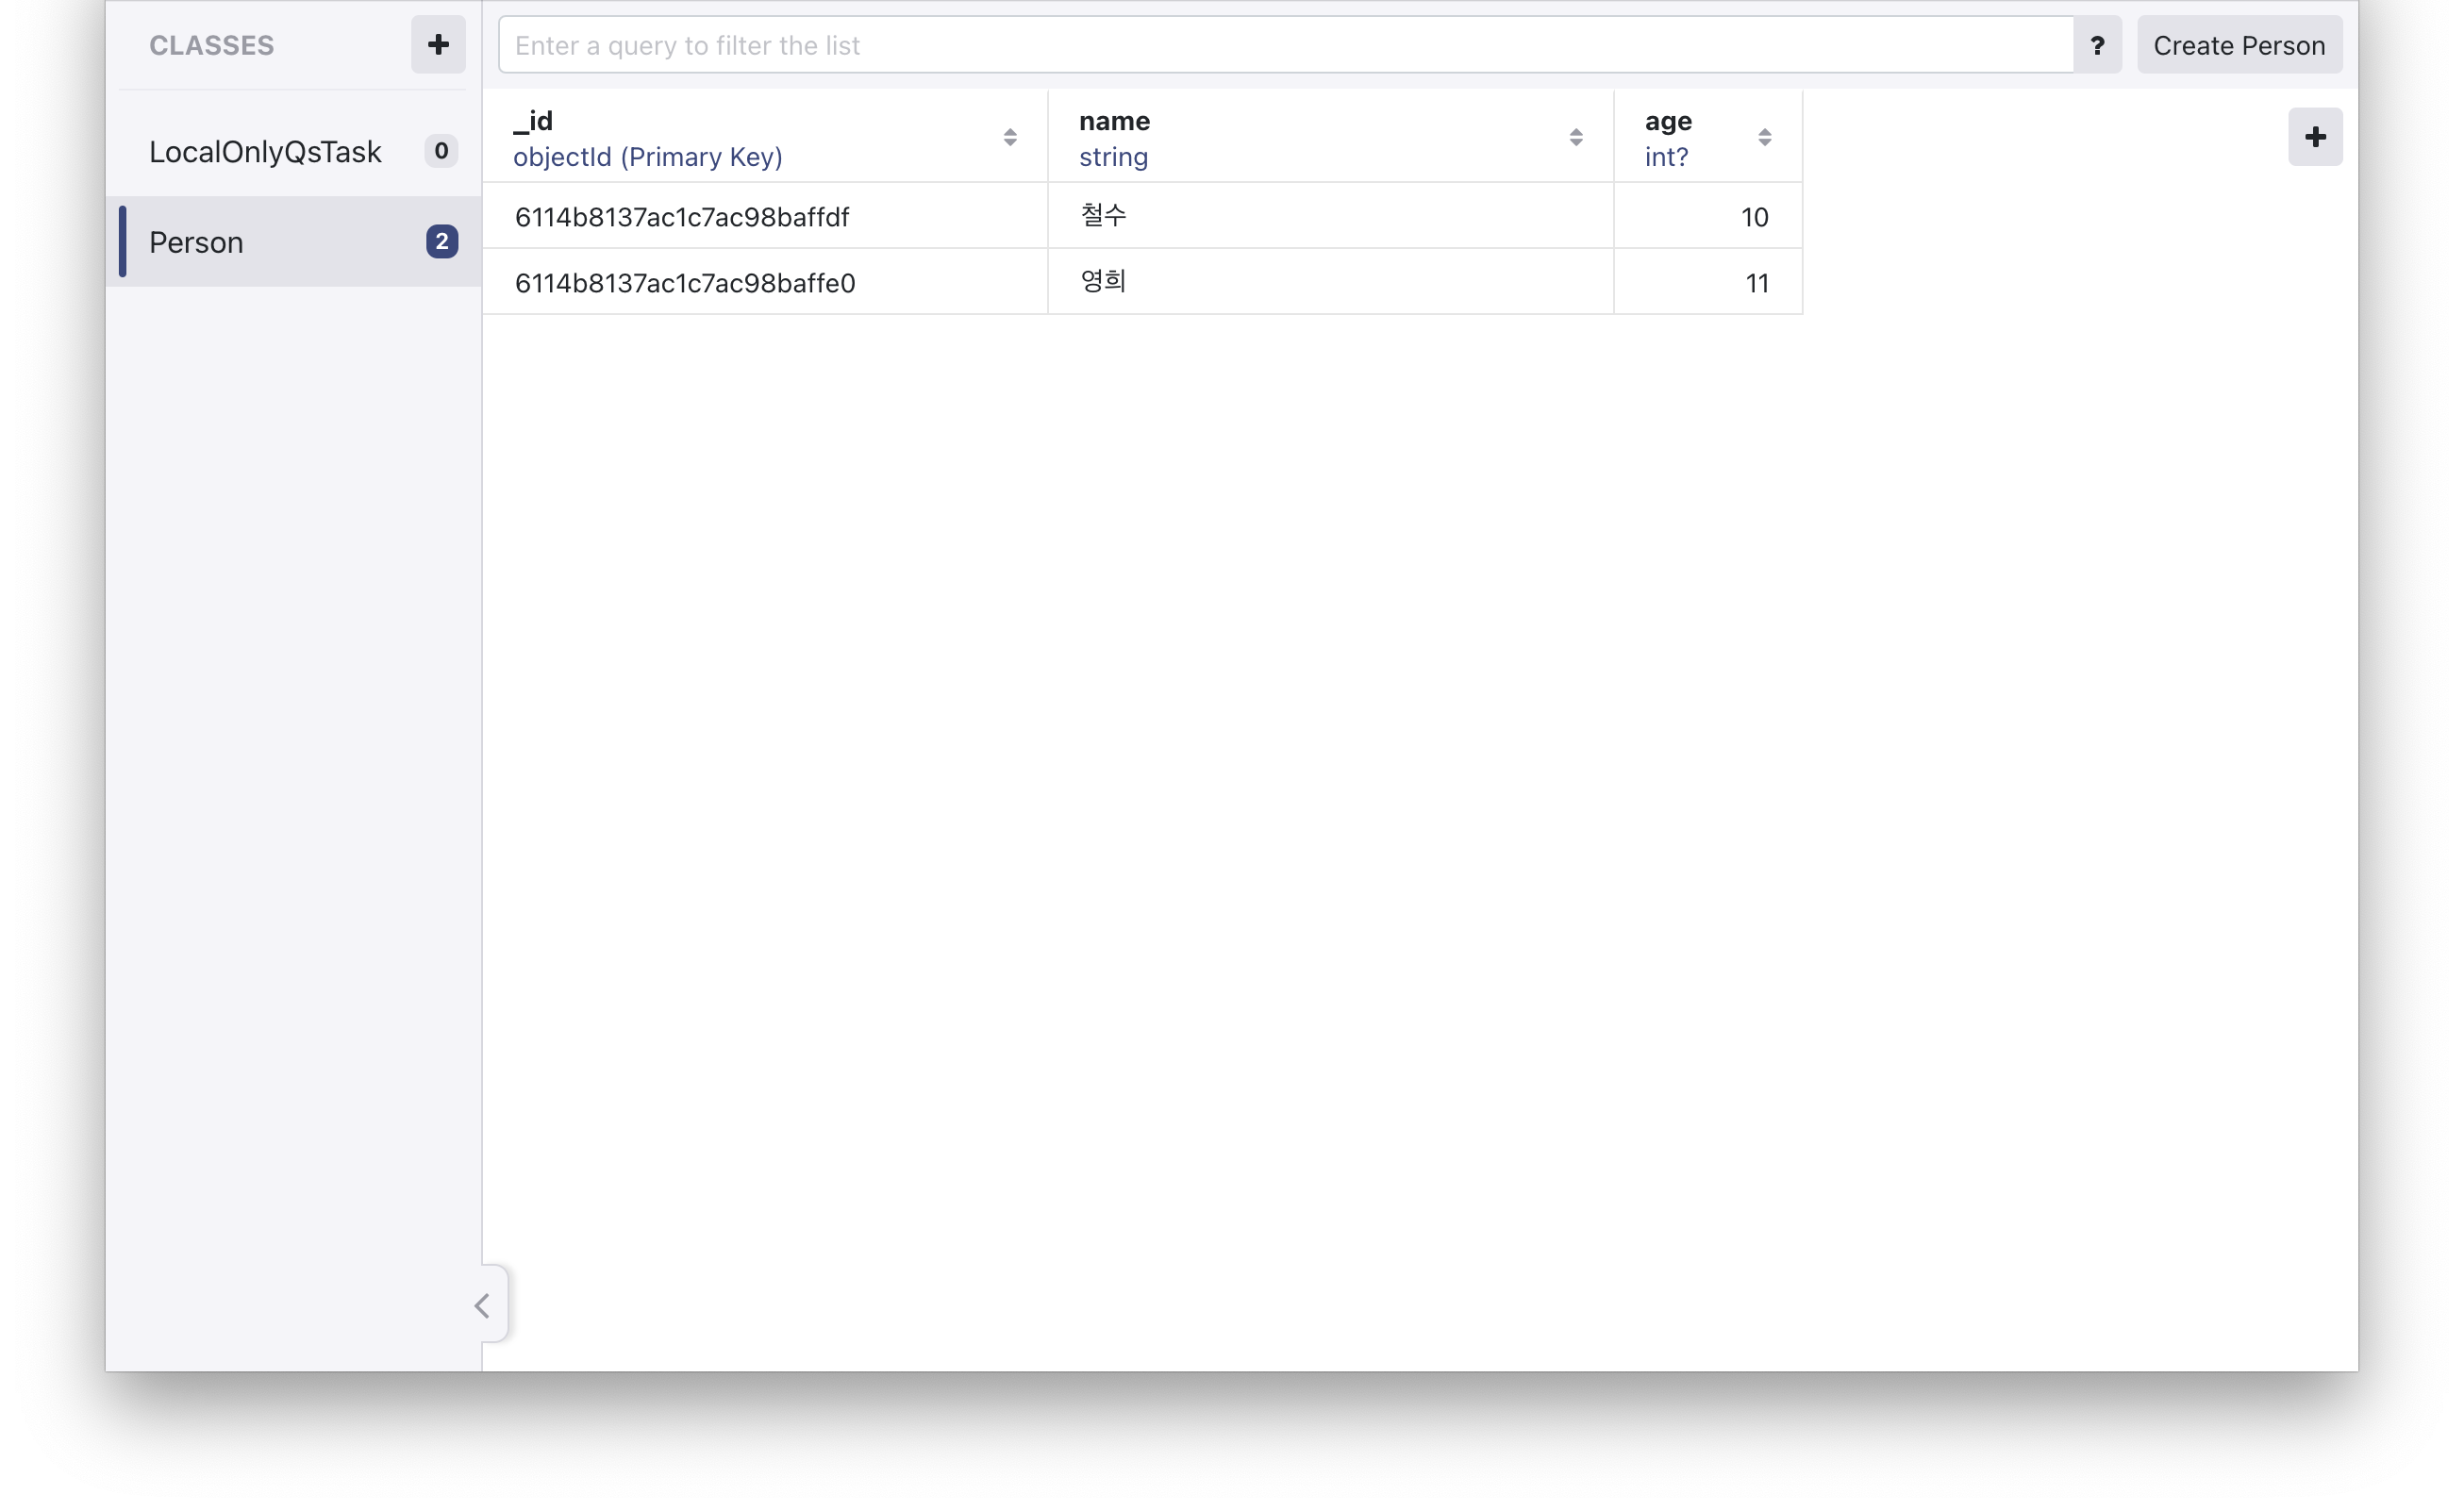
이제 Realm Studio를 통해 들어간 데이터를 확인해보자.
https://docs.mongodb.com/realm/studio/ 에서 앱을 다운받고, xcode에서 print(Realm.Configuration.defaultConfiguration.fileURL!) 를 입력하면
현재 Realm 데이터가 저장된 위치를 확인할 수 있다.

Read
이제 저장된 데이터를 읽어보자.
func readPerson(){
        print(Realm.Configuration.defaultConfiguration.fileURL!)

        let realm = try! Realm()
        let savedPerson = realm.objects(Person.self)
        let filter1 = savedPerson.filter("name == '철수'")
        print("-> Person : ", savedPerson)
        print("filter1 : ", filter1)
    }
let savedPerson = realm.objects(Person.self)를 통해 realm에 들어있는 collection을 읽을 수 있으며,
filter를 통해 원하는 데이터만 읽어들일 수 있다.
Update & Delete
Update와 Delete는
	// UPDATE
let taskToUpdate = savedPerson[0]
try! realm.write {
   taskToUpdate.age = 17
}
	// DELETE
let taskToDelete = savedPerson[0]
try! realm.write{
   realm.delete(taskToDelete)
}
와 같이 가능하다.
스키마를 수정해야 한다면,
참고로, 만약 나이 애트리뷰트를 삭제하거나 주소 애트리뷰트를 추가해주는 것과 같이 스키마를 수정해줘야 한다면, schemaVersion을 증가시켜줘야 한다. 이는
func createPerson(){
        let config = Realm.Configuration(schemaVersion: 2)
        Realm.Configuration.defaultConfiguration = config
        let realm = try! Realm()
        let person1 = Person()
        person1.name = "철수"
        ...
    }
와 같이 configuration을 건드리면 된다.

@Persisted로 바뀐걸 몰라서 두시간 삽질하다가 이 글을 발견했네요... 감사합니다ㅜㅜ