pip install pillow
pip install selenium
스크롤 캡처 프로그램(테스트 결과 네이버 블로그는 막혀있으나 웹툰은 저장이 된다)
import os
from selenium import webdriver
from PIL import Image
import io
import time

def capture_full_page_screenshot(url, output_filename):
    # 사용자 홈 디렉토리 경로 가져오기
    home_directory = os.path.expanduser("~")
    # 다운로드 폴더 경로 생성
    download_folder = os.path.join(home_directory, 'Downloads')
    # 출력 파일 경로 생성
    output_path = os.path.join(download_folder, output_filename)

    # 웹 드라이버 초기화
    driver = webdriver.Chrome()  # 크롬 드라이버 사용, 다른 브라우저도 가능
    driver.get(url)

    # 페이지 로딩 대기
    time.sleep(3)

    # 스크롤 높이 가져오기
    scroll_height = driver.execute_script("return document.body.scrollHeight")
    viewport_height = driver.execute_script("return window.innerHeight")

    # 스크린샷 저장을 위한 빈 리스트
    screenshots = []

    # 현재 스크롤 위치
    current_scroll = 0

    while current_scroll < scroll_height:
        driver.execute_script(f"window.scrollTo(0, {current_scroll});")
        time.sleep(1)  # 스크롤 후 로딩 대기

        # 스크린샷 캡처
        screenshot = driver.get_screenshot_as_png()
        screenshots.append(Image.open(io.BytesIO(screenshot)))

        current_scroll += viewport_height

    # 드라이버 종료
    driver.quit()

    # 전체 스크린샷 이미지를 하나의 이미지로 병합
    total_width = screenshots[0].width
    total_height = sum(image.height for image in screenshots)

    merged_image = Image.new('RGB', (total_width, total_height))
    y_offset = 0
    for screenshot in screenshots:
        merged_image.paste(screenshot, (0, y_offset))
        y_offset += screenshot.height

    # 이미지 저장
    merged_image.save(output_path)

# 사용 예시
capture_full_page_screenshot('사이트주소', '저장할파일이름.png')
실행하면 크롬창이 생기면서 자동으로 스크롤을 하면서 화면을 캡처해준다
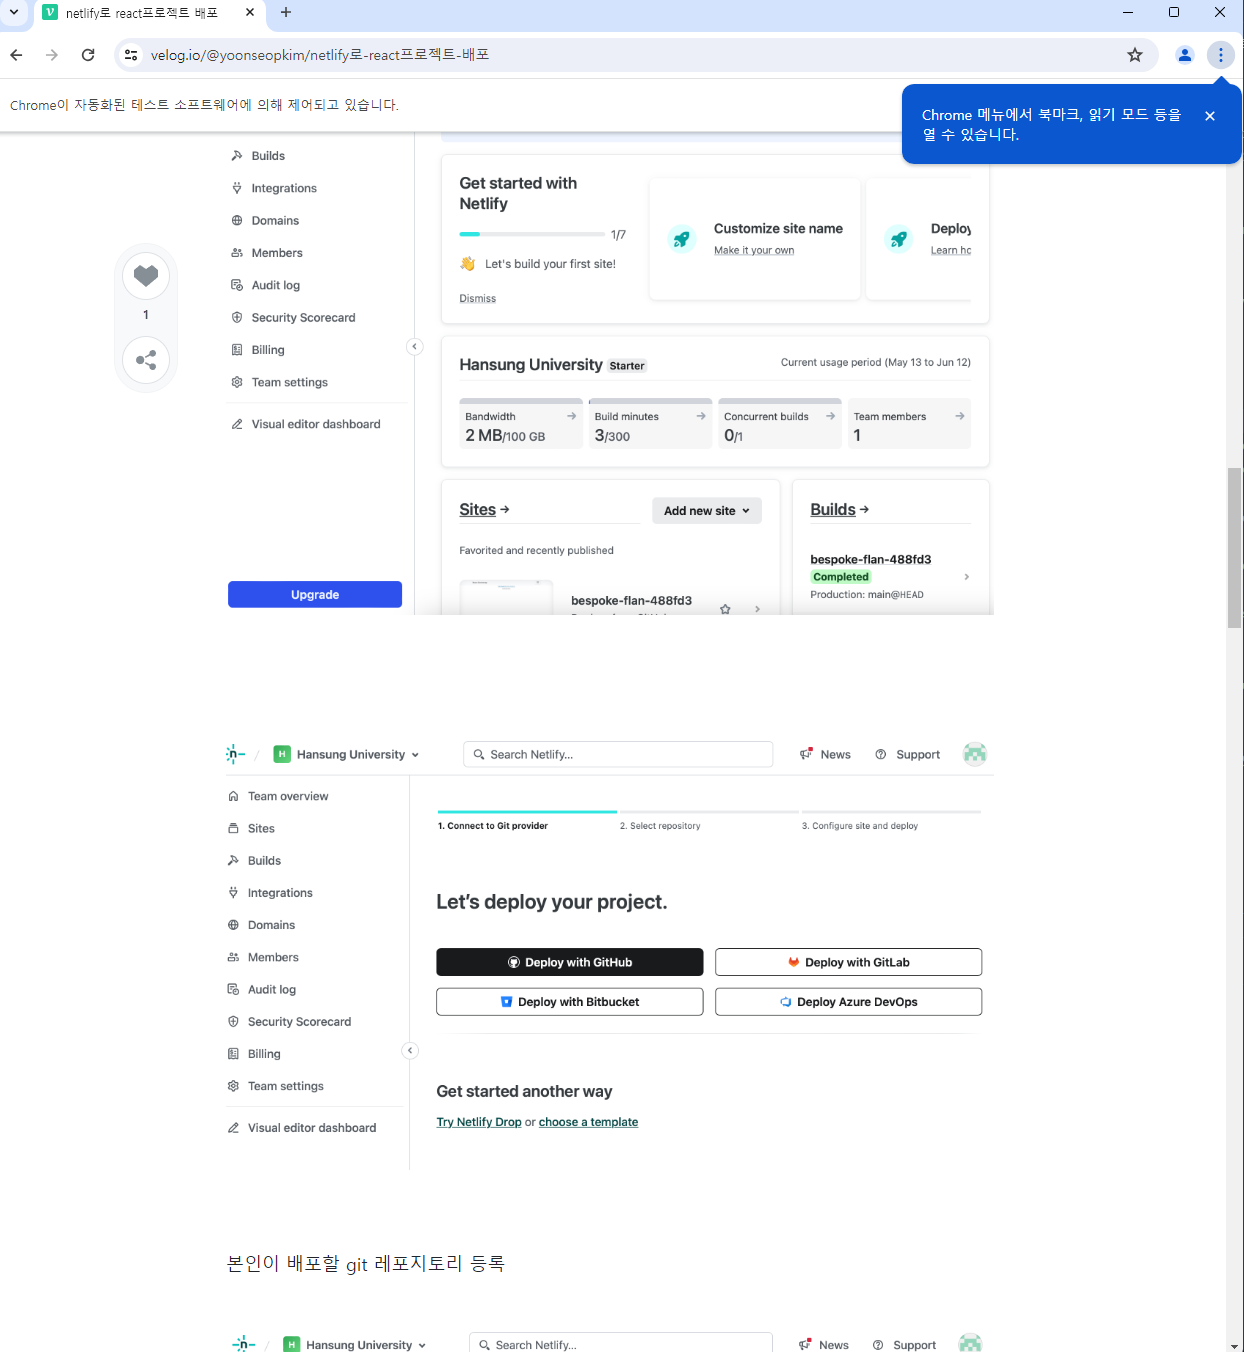
고해상도 이미지로 캡처가 된 모습. 영화 필름 같아보이기도 하다.
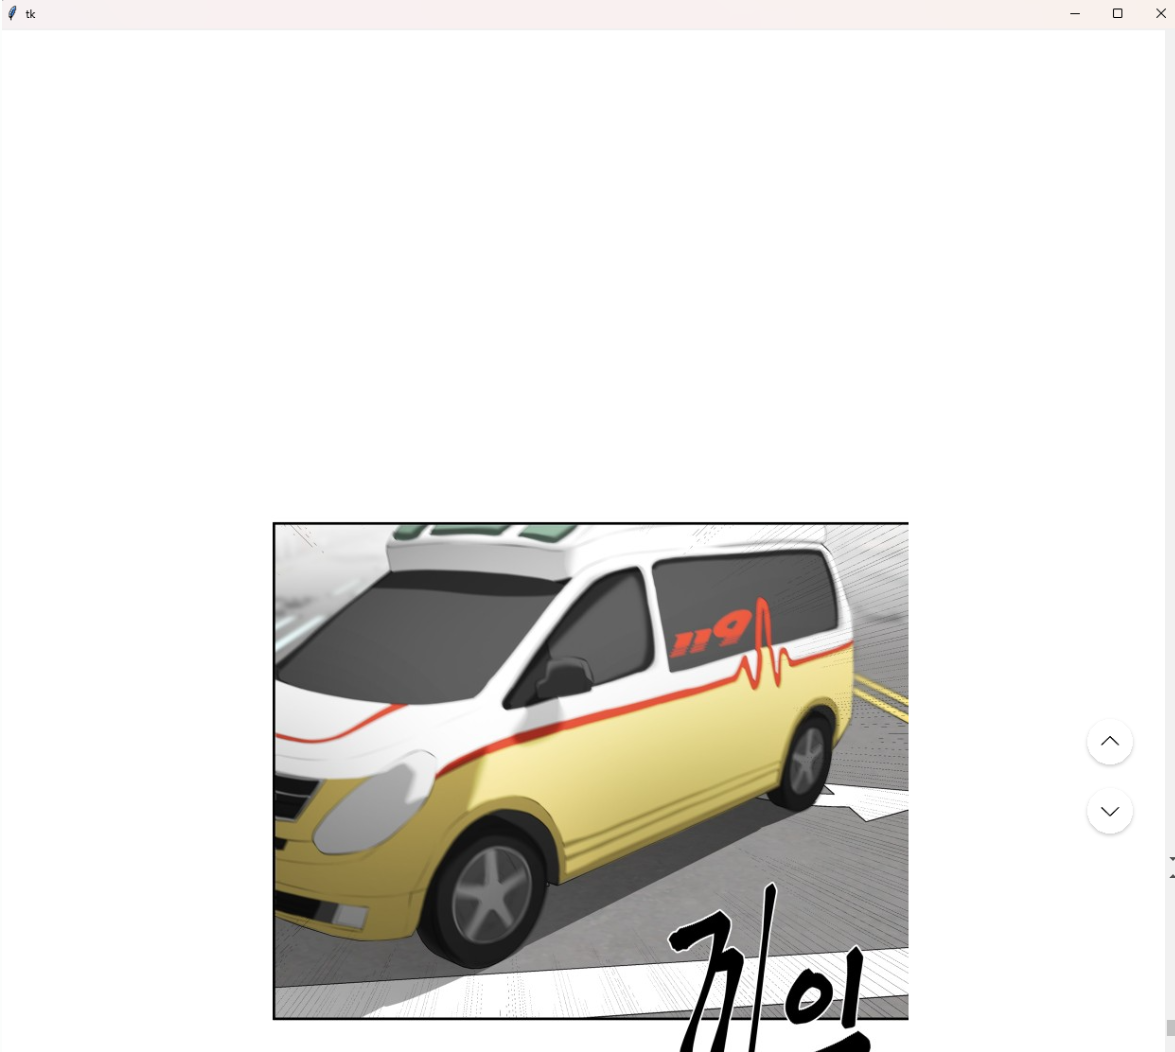
캡처한 이미지를 화면 크기에 맞춰 자르고 키보드 <- , -> 버튼 누르면 책처럼 넘기게 해주는 프로그램
import os
from PIL import Image, ImageTk
import tkinter as tk
from tkinter import filedialog
# Pillow 이미지 크기 제한 증가
Image.MAX_IMAGE_PIXELS = None
def split_image(input_path, output_folder, viewport_height):
try:
# 이미지 열기
img = Image.open(input_path)
img_width, img_height = img.size
# 출력 폴더가 존재하지 않으면 생성
if not os.path.exists(output_folder):
os.makedirs(output_folder)
# 이미지를 자르고 저장
num_slices = img_height // viewport_height + (1 if img_height % viewport_height > 0 else 0)
for i in range(num_slices):
top = i * viewport_height
bottom = (i + 1) * viewport_height if (i + 1) * viewport_height < img_height else img_height
img_slice = img.crop((0, top, img_width, bottom))
img_slice.save(os.path.join(output_folder, f'slice_{i + 1}.png'))
except Exception as e:
print(f"Error processing image: {e}")
def view_images(image_folder, viewport_height):
class ImageViewer:
def __init__(self, root, image_folder):
self.root = root
self.image_folder = image_folder
self.images = self.load_images()
self.current_image_index = 0
self.label = tk.Label(root)
self.label.pack()
self.show_image(self.current_image_index)
root.bind("<Left>", self.prev_image)
root.bind("<Right>", self.next_image)
def load_images(self):
def numeric_key(filename):
return int(os.path.splitext(filename.split('_')[-1])[0])
image_files = sorted(
[f for f in os.listdir(self.image_folder) if f.endswith('.png')],
key=numeric_key
)
images = []
for f in image_files:
img_path = os.path.join(self.image_folder, f)
try:
img = Image.open(img_path)
images.append(img)
except Exception as e:
print(f"Error loading image {img_path}: {e}")
return images
def show_image(self, index):
img = self.images[index]
img_tk = ImageTk.PhotoImage(img, master=self.root) # master=root로 지정
self.label.config(image=img_tk)
self.label.image = img_tk # 이미지 참조 유지
print(f"Showing image {index + 1}/{len(self.images)}") # 디버그 메시지 추가
def prev_image(self, event):
if self.current_image_index > 0:
self.current_image_index -= 1
self.show_image(self.current_image_index)
def next_image(self, event):
if self.current_image_index < len(self.images) - 1:
self.current_image_index += 1
self.show_image(self.current_image_index)
root = tk.Tk()
viewer = ImageViewer(root, image_folder)
root.mainloop()
def main():
# 파일 탐색기 열기
root = tk.Tk()
root.withdraw() # 기본 Tkinter 창을 숨깁니다.
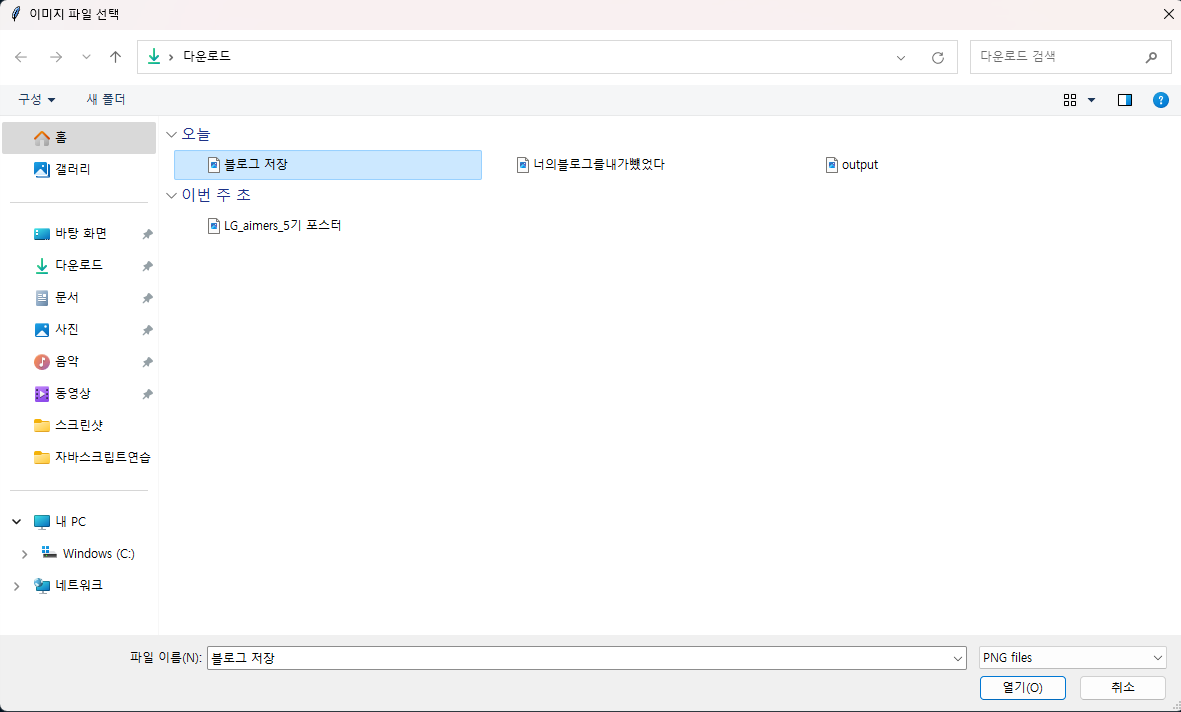
file_path = filedialog.askopenfilename(title="이미지 파일 선택", filetypes=[("PNG files", "*.png"), ("All files", "*.*")])
if not file_path:
return # 파일을 선택하지 않으면 종료
# 이미지 자르기
split_image(file_path, 'slices', 1080) # 화면 해상도 높이를 1080으로 설정
# 이미지 뷰어 실행
view_images('slices', 1080)
if __name__ == "__main__":
main()
자르고자 하는 이미지 선택 (자동 스크롤로 전체 캡처한 PNG 파일)
키보드 좌우키로 편하게 이미지 보기
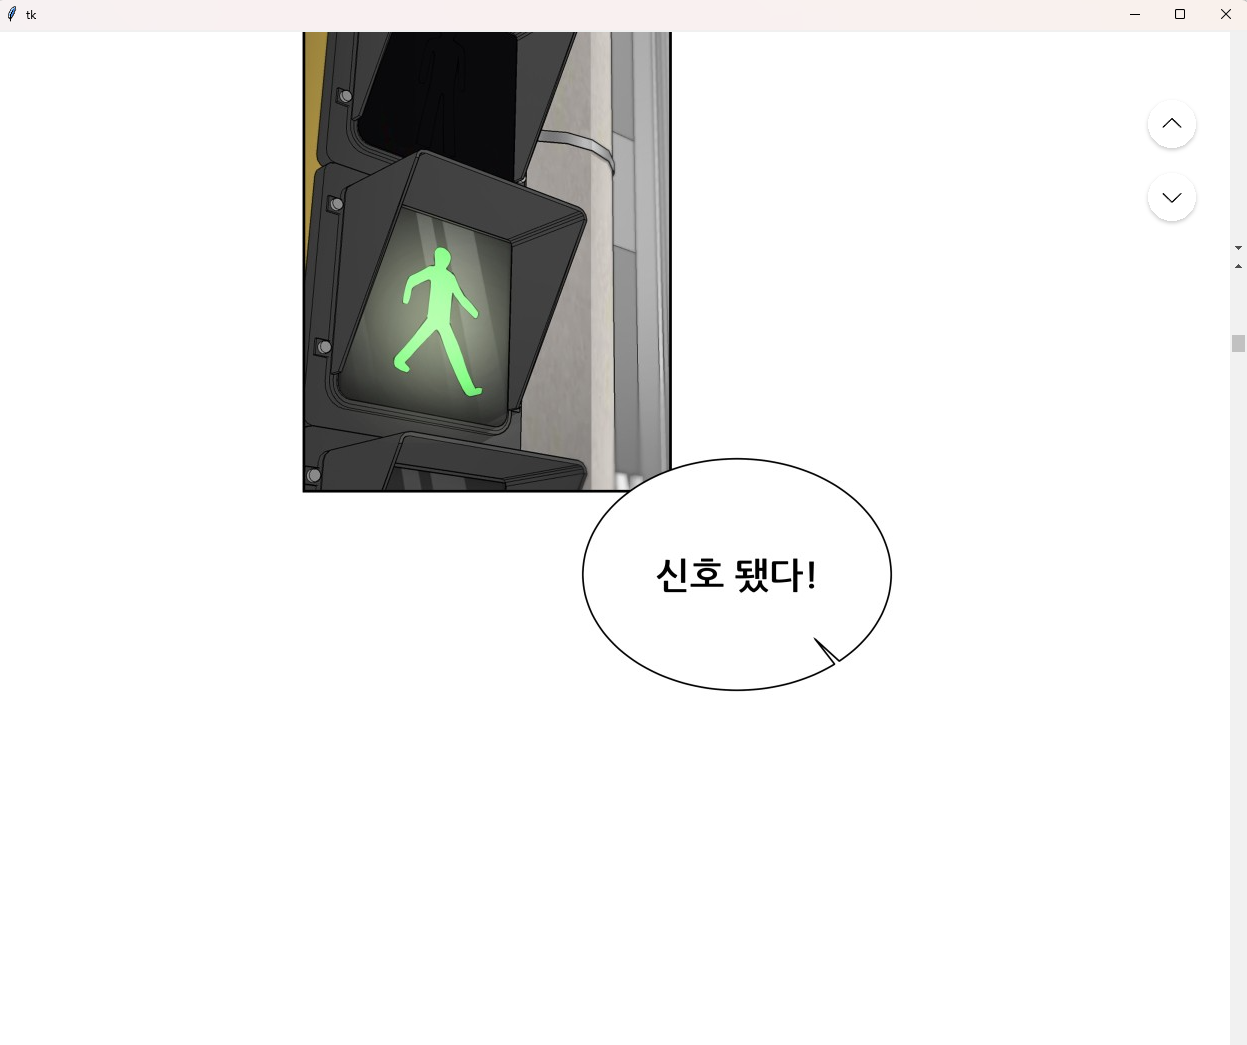
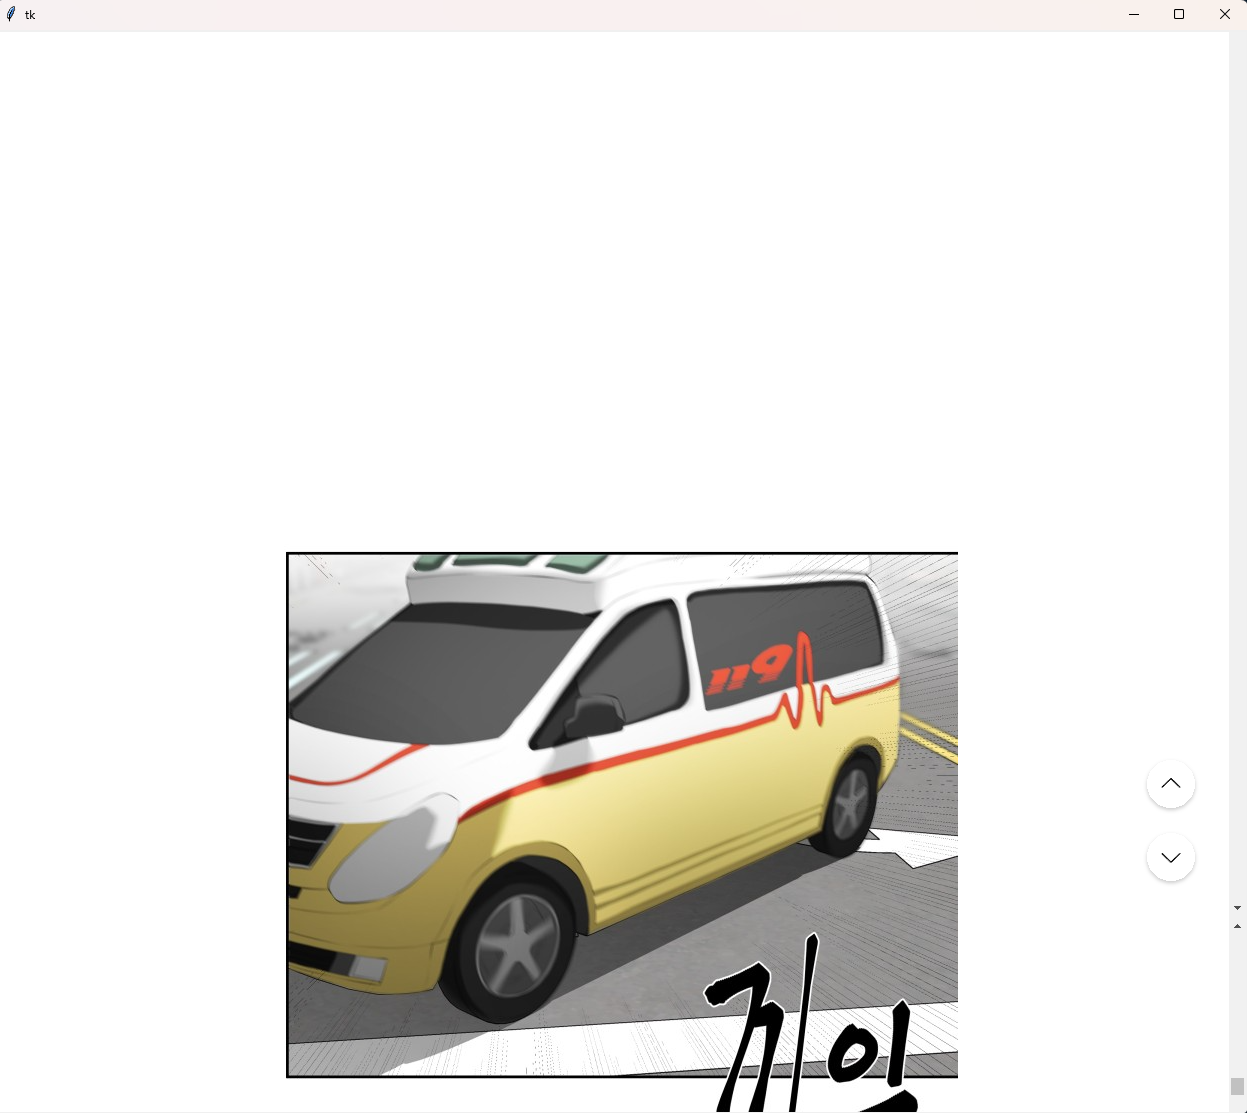
페이지업,페이지 다운 버튼을 눌러도 스크롤 대용으로 쓸수 있기는 하나 이 프로그램은 중간 애니메이션없이 한번에 페이지가 넘어가기 때문에 화면 전환할 때 잔상이 심한 e-book 으로 웹툰과 같은 온라인 컨텐츠를 볼 때 도움이 될 것같다.
느낀 점
브라우저나 운영체제의 내장 기능으로도 전체 화면 캡처 (실제 모니터 스크린 크기를 넘어서는) 기능이 있다. 그거를 직접 파이썬으로 구현해보면서 그 과정 자체가 즐거웠다. 그리고 네이버 블로그 캡처를 막아둔 것에 대해선 매우 놀랐다. 그 원리가 궁금하기도 했고 추후에 더 자세히 알아봐야 할 것 같다.

🥃