Edge Functions이란
- Edge Functions는 서버측 TypeScript 함수로, 사용자에게 가장 가까운 에지에서 전역적으로 배포된다.
- Edge Functions을 통해 네트워크 가장자리에서 실행되는 서버리스 기능을 최종 사용자에 가깝게 작성하고 배포할 수 있어 지연 시간을 줄이고 성능을 향상시킬 수 있다.
Edge Function 생성
터미널에 다음 명령어를 입력한다.
npx supabase functions new 함수이름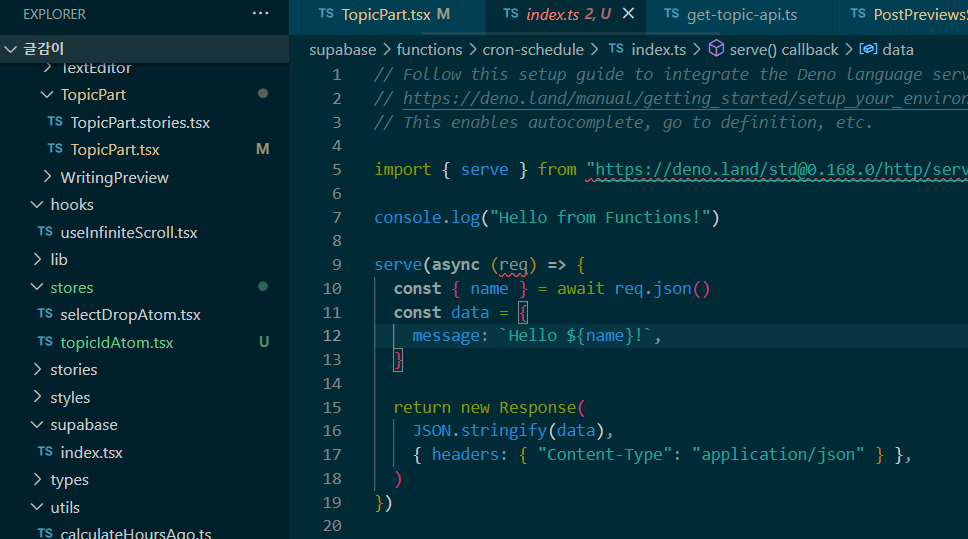
deno를 사용하기 때문에 deno설정을 해줘야한다.
Deno 설정
- deno설치(window)
irm https://deno.land/install.ps1 | iexwindow가 아니라면 deno 설치 공식문서에서 참고하면 된다.
- Deno extetion설치

VS Code에서 F1을 누른 다음에 deno: Init 명령어를 실행하면 된다. 그러면 settings.json의 허용 설정이 알아서 생긴다.
- settings.json
{
	// 허용 설정
    "deno.enable": true,
    "deno.unstable": false,
	// 작업영역 폴더의 특정 경로에 대해서만 Deno Language Server를 사용할 수 있는지 여부를 제어합니다. 기본값은 빈 목록입니다.
    "deno.enablePaths":[
        "./supabase/functions/cron-schedule"
    ],
    "deno.importMap": "./supabase/functions/import_map.json"
}
deno.enablePaths에 deno를 사용할 파일의 위치를 적어준다.
- import_map.json생성
- supabase/functions/import_map.json
{
    "imports": {
        "std/server": "https://deno.land/std@0.168.0/http/server.ts",
        "lodash": "https://cdn.skypack.dev/lodash"
    }
}
Edge Function 내용 작성
- supabase/functions/cron-schedule/index.ts
import { serve } from 'https://deno.land/std@0.168.0/http/server.ts';

import { getChatGpt } from '../../../src/apis/chatGPT/get-chat-gpt.ts';
import { createTopicApi } from '../../../src/apis/topic/create-topic-api.ts';

const supabaseUrl = Deno.env.get('SUPABASE_URL') as string;
const supabaseKey = Deno.env.get('SUPABASE_ANON_KEY') as string;
const openaiApiKey = Deno.env.get('OPENAI_API_KEY') as string;

serve(async (req: any) => {
  let result = '';

  await getChatGpt(openaiApiKey)
    .then((res) => {
      createTopicApi(res, supabaseUrl, supabaseKey)
        .then((res) => {
          console.log(res);
        })
        .catch((err) => console.log(err));
    })
    .catch((err) => {
      result = err;
      console.log(err);
    });

  const data = {
    message: result,
  };
  return new Response(JSON.stringify(data), { headers: { 'Content-Type': 'application/json' } });
});
chat Gpt의 응답으로 topic테이블에 데이터를 추가해주는 함수를 작성했다.
- src/apis/topic/create-topic-api.ts
import { createClient } from 'https://esm.sh/@supabase/supabase-js@2';
import { Database } from '../../types/supabase.ts';
export const createTopicApi = async (topic: string, supabaseUrl: string, supabaseKey: string) => {
const supabase = createClient<Database>(supabaseUrl, supabaseKey);
console.log('topic : ', topic);
const { data: newTopic, error } = await supabase
.from('topic')
.insert([{ name: topic.replace(/"/g, '') }])
.select();
if (error) {
return [];
} else {
return newTopic;
}
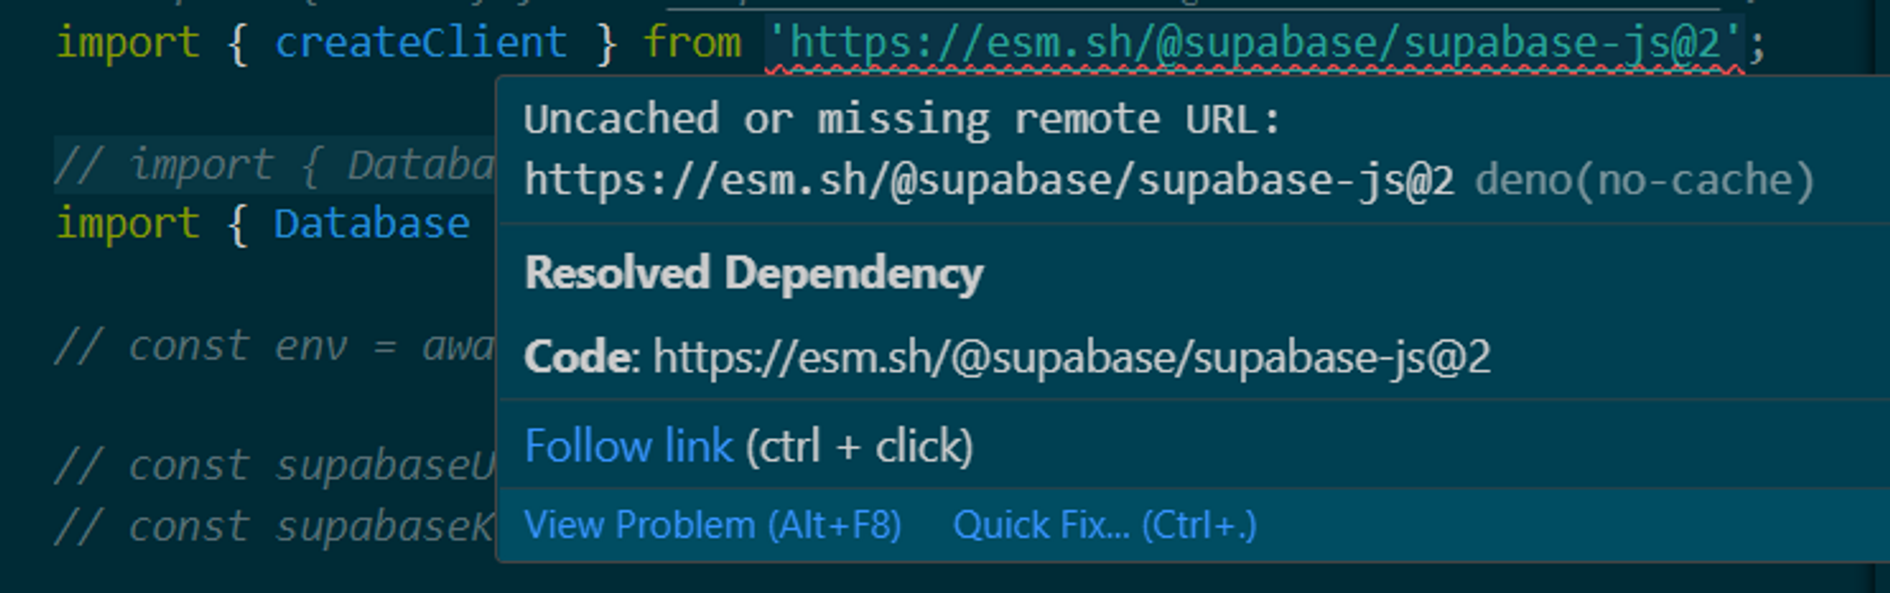
};createClient를 불러오는 것을 deno로 변경했다. 또한 deno를 사용시 절대경로가 아닌 상대경로로 호출한다.
deno로 라이브러리 불러올 때 오류
번역하면 웹팩은 기본적으로 "data:" 및 "file:" URI를 지원합니다.
"https:" URI를 처리하려면 추가 플러그인이 필요할 수 있습니다라고 한다.
=> 웹팩에 플러그인을 추가해줘야 한다.
- next.config.js
const nextConfig = {
  compiler: {
    styledComponents: true,
  },
  experimental: {
    urlImports: ['https://esm.sh']
  }
};supabase에서 환경변수 사용법
- Deno에서 환경변수 부르는 방법
Deno.env.get('SUPABASE_URL')하지만 supabase에서 단순히 .env 파일에 넣는다고 불러와지지 않는다. 따로 설정을 해야한다.(안그러면 아무리 불러도 undefined만 뜬다..)
- supabase secrets확인
npx supabase secrets list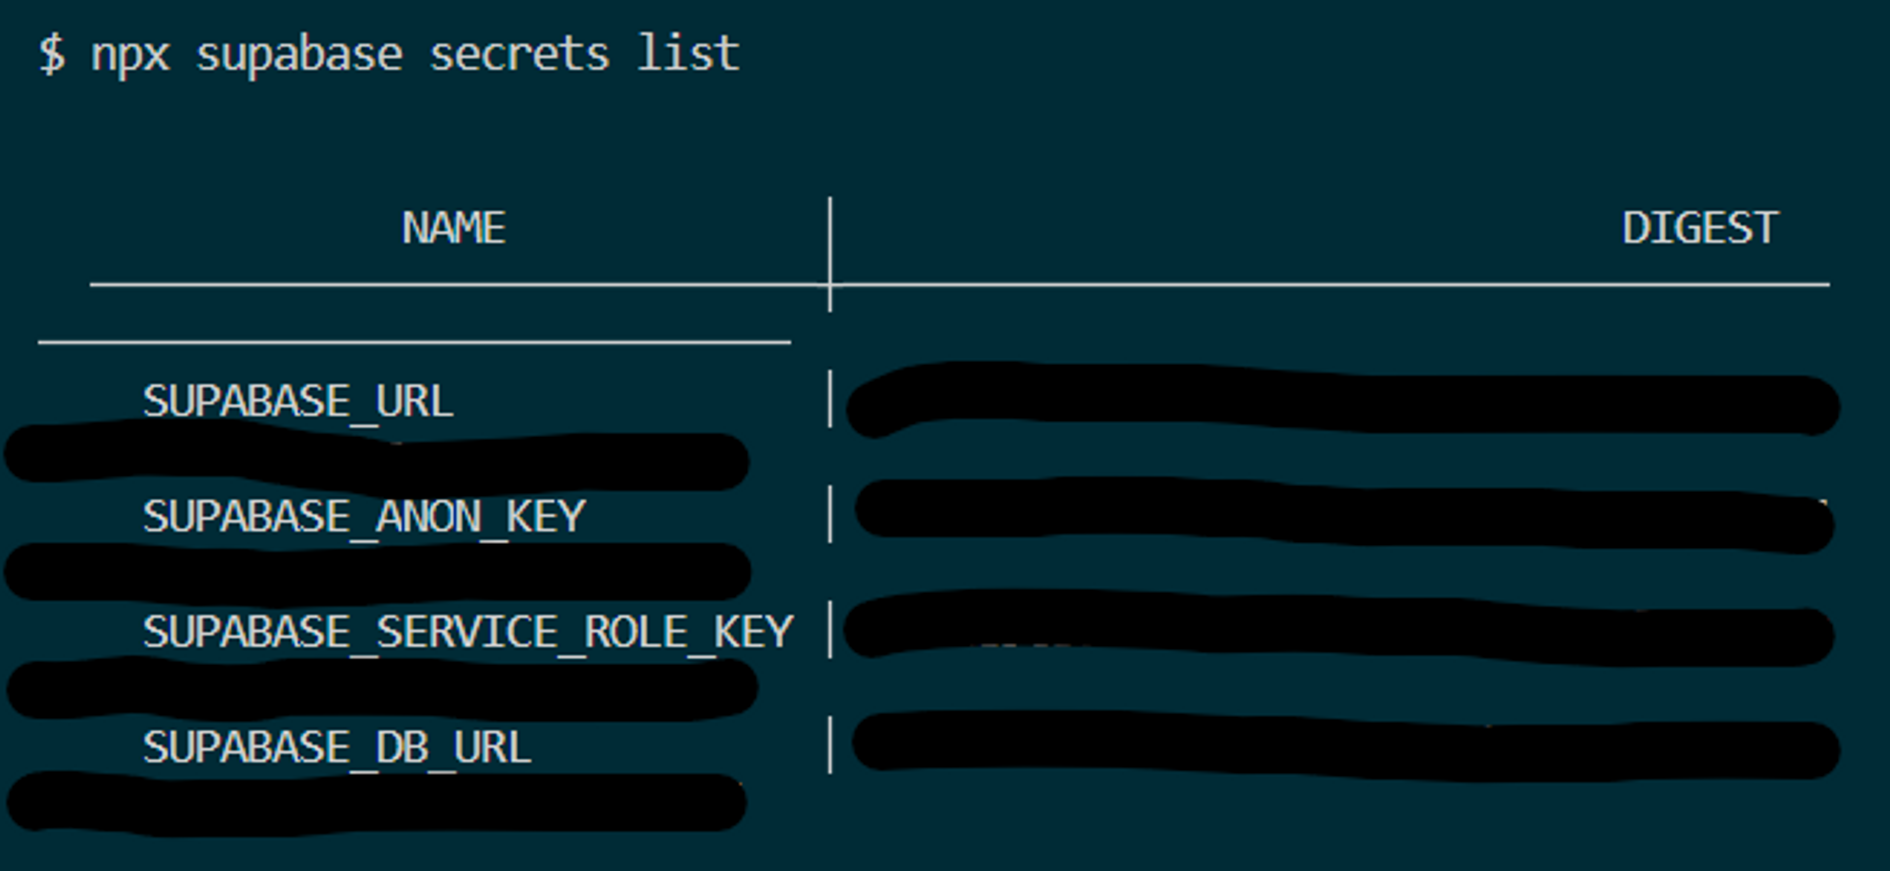
기본적으로 저 변수들이 저장되어 있다.
- supabase secrets 추가
npx supabase secrets set OPENAI_API_KEY=api_key값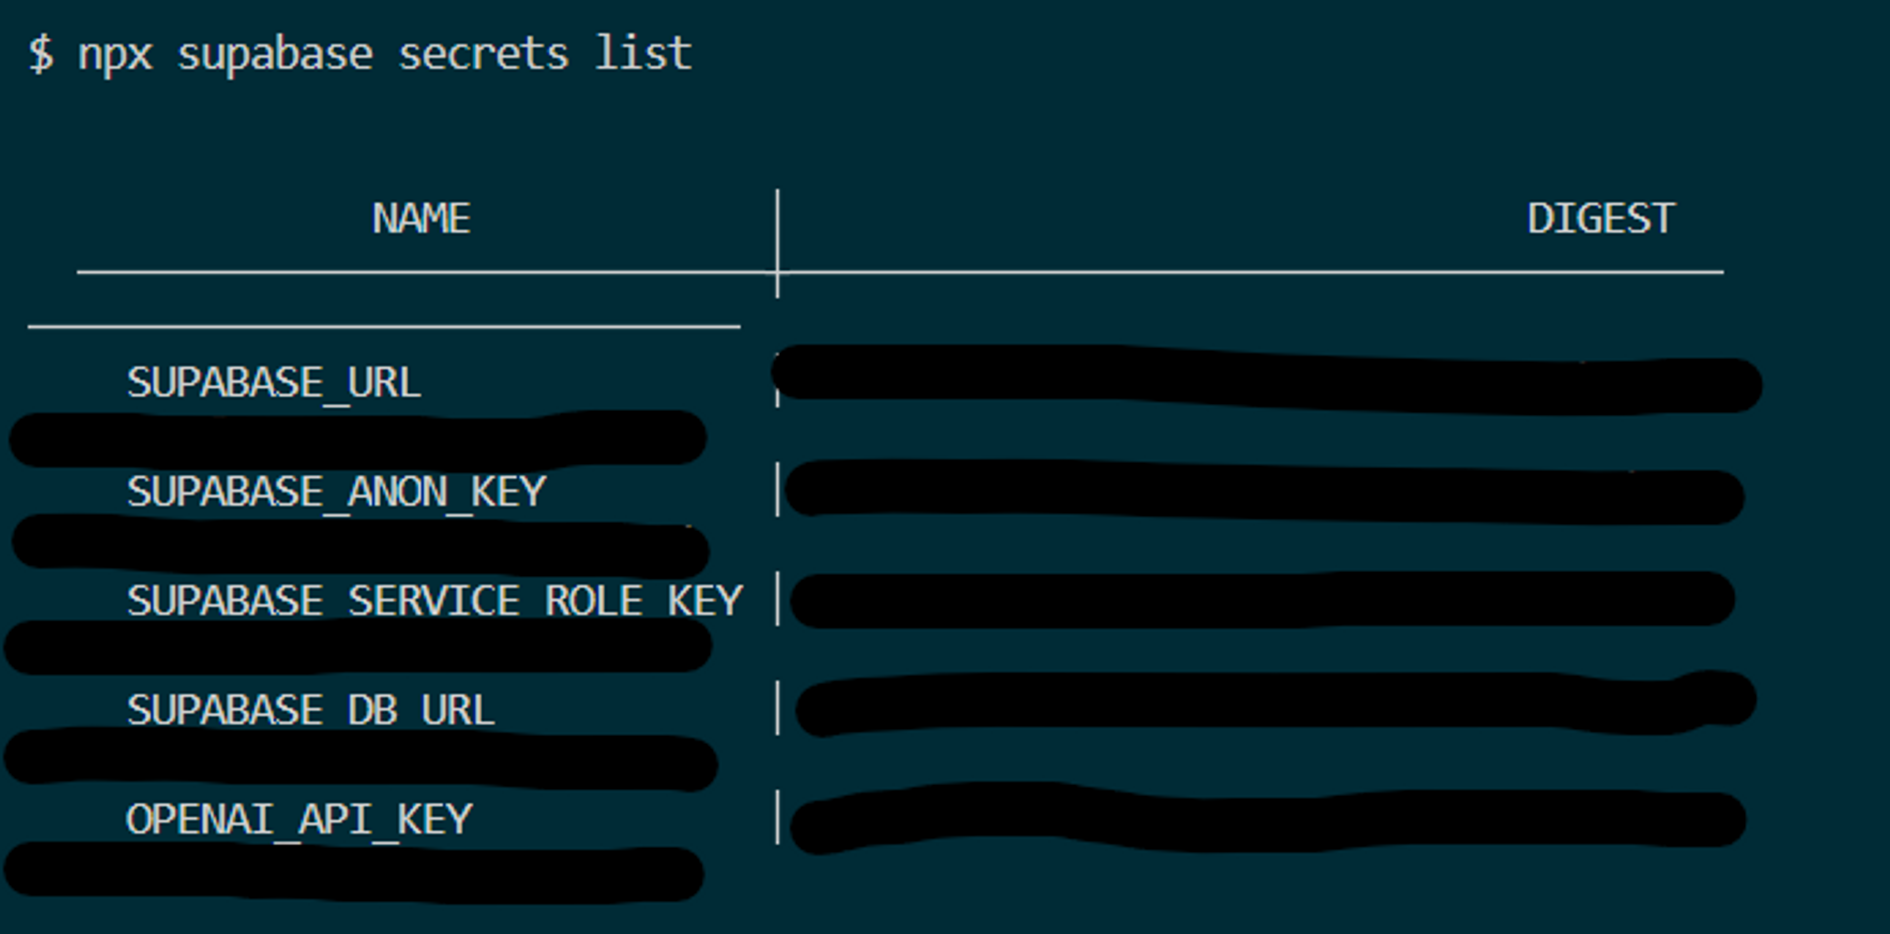
필요한 값이 들어갔다. 이렇게 변수를 추가하고 다면 원래 저장된 값이 아니더라도 Deno로 잘 불러올 수 있다.
Edge Function 연동
함수를 모두 작성한 후 deploy하면 대시보드와 연동된다.
npx supabase functions deploy 함수이름 --project-ref 프로젝트ref여기서 프로젝트ref는 Project Settings에서 Reference ID를 복사해오면 된다.

이렇게 뜬다면 성공적으로 배포된 것이다.
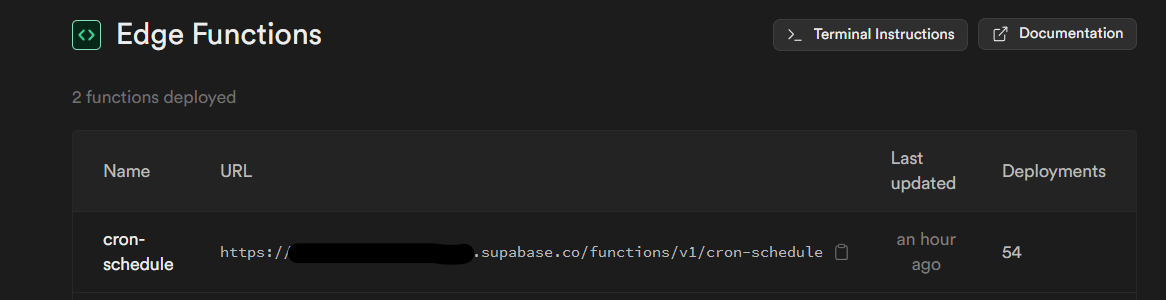
대쉬보드에서 Edge Functions에 들어가보면 생성한 함수가 연동되어있다.
함수 호출
포스트맨에서 배포한 Edge Functions이 제대로 작동하는지 확인할 수 있다.
curl --request POST 'https://<project_ref>.functions.supabase.co/hello-world' \
  --header 'Authorization: Bearer ANON_KEY' \
  --header 'Content-Type: application/json' \
  --data '{ "name":"Functions" }'
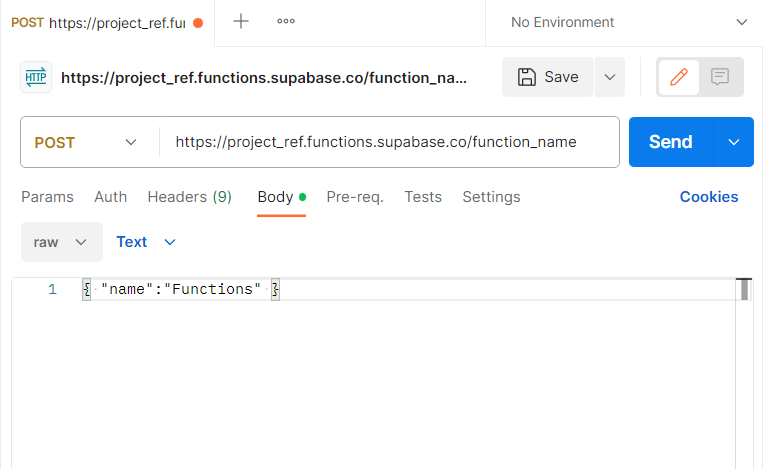
url에 Edge Functions을 입력하고 header와 body에 각각 입력해주고 확인한다.
[참고]
Supabase Edge Function Tutorial 유튜브
Edge Functions 예시 깃허브 레포지토리
Supabase공식문서 - Edge Functions
edge functions 설명 참고 글
