메모리 스왑 (선택)
Selenium을 설치하면서 메모리를 다소 소모하기 때문에 본인은 메모리를 스왑 해줬다.
스왑 파일 생성
sudo fallocate -l 2G /swapfile
2G는 스왑하고싶은 메모리만큼 써준다. 저장공간이 허용하는만큼 해준다.
df -h저장공간 확인
free -m메모리 확인스왑 파일 권한 설정
sudo chmod 600 /swapfile스왑 파일 포맷 및 활성화
sudo mkswap /swapfile
sudo swapon /swapfile부팅시 바로 마운트하게 설정
sudo nano /etc/fstabnano editor로 연다
/swapfile none swap sw 0 0마지막에 추가한다.스왑 확인한다.
sudo swapon --show
free -h
크롬설치
리눅스용 크롬 다운로드
wget https://dl.google.com/linux/direct/google-chrome- stable_current_amd64.deb다운받은 크롬 설치
sudo apt install ./google-chrome-stable_current_amd64.deb환경변수 설정
sudo mv /usr/bin/google-chrome-stable /usr/bin/google-chrome잘 설치되었나 확인
google-chrome –-version
크롬 드라이버 설치
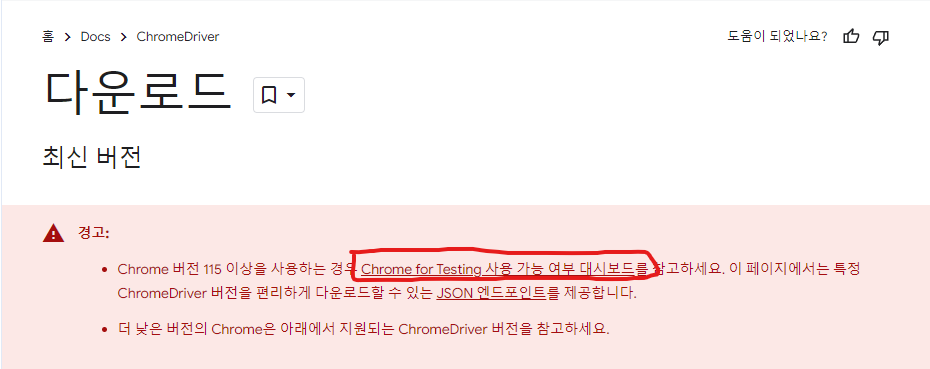
크롬드라이버 사이트
https://developer.chrome.com/docs/chromedriver/downloads?hl=ko
여기에 들어가서
최신 드라이버를 모아둔곳으로 간다.
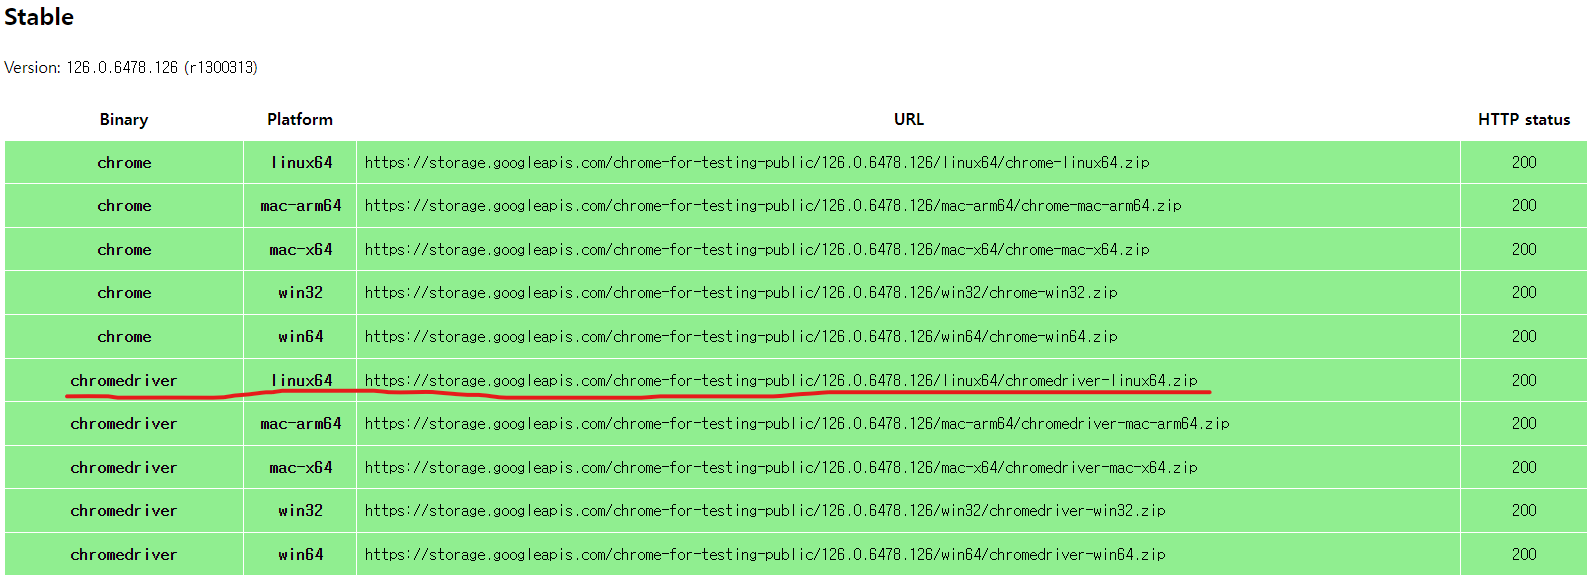
크롬 버전에 맞는 드라이버를 선택하자.
wget https://storage.googleapis.com/chrome-for-testing-public/126.0.6478.126/linux64/chromedriver-linux64.zip압축해제
mkdir chromedriver
unzip chromedriver-linux64.zip -d chromedriver권한설정
chmod +x chromedriver/chromedriver환경변수 설정
sudo mv chromedriver/chromedriver /usr/local/bin/