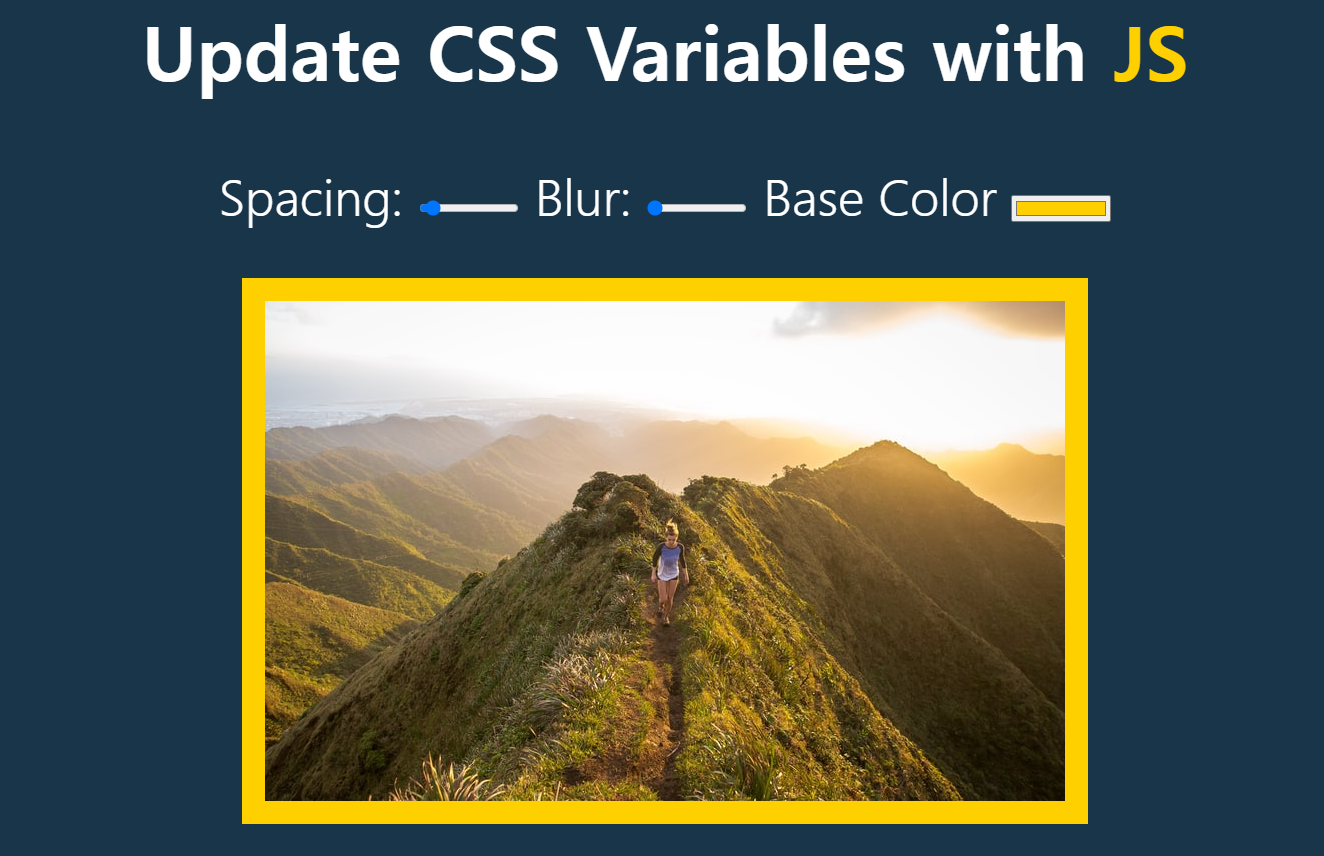
주제: JS로 style 다루기
👨🏻💻 강의 영상

배운 거
1. input type="color"
<input type="color" value="#ffc600"/>color picker를 가장 손쉽게 쓸 수 있는 방법이 아닐까 싶다.
위 사진에서 'Base Color' 옆에 있는 노란 박스(value에 적힌 값에 따라 색깔이 바뀜) 클릭하면 색상을 선택할 수 있다.
2. css var
:root {
  --main-bg-color: pink;
}

body {
  background-color: var(--main-bg-color);
}
css에서 var는 css 변수의 값을 다른 속성의 값으로 지정할 때 사용한다.
-- 는 아래에서 $ 쓰는거랑 같다고 보면 된다.
<script>
    const blurInput = document.querySelector("#blur");
    const img = document.querySelector("img");
    img.style.filter = `blur(${blurInput.value}px)`;	// 이 부분!!
</script>3. input type="range" & mousemove event
<label for="spacing">Spacing:</label>
<input id="spacing" type="range" name="spacing" min="10" max="200" value="10" data-sizing="px">
input type을 range로 주면 사진처럼 양 옆으로 드래그를 해서 value를 조절할 수 있다.
이 때 드래그를 하는 동시에 바뀌는 value로 이벤트를 발생시키기 위해서는 addEventListener에 mouseover를 사용하면 된다.
4. querySelectorAll 반환값은 NodeList
이 NodeList는 array는 아니지만 forEach를 사용해서 반복할 수 있음!!!!
나는 모든 input들을 querySelector를 써서 가져온 다음에 각각에 addEventListener썼었다.
그런데 querySelectorAll을 사용하면 input을 한 번에 가져온 다음에 forEach써서 addEventListener도 한번에 적용할 수 있었음...
5. 데이터 속성 (data-attribute) -> dataset사용하기
<input id="spacing" type="range" name="spacing" min="10" max="200" value="10" data-sizing="px"><script>
const space = document.querySelector('#spacing');
console.log(space.dataset.sizing) // px
</script> 참고 코드: MDN HTMLElement.dataset
참고 코드: MDN 데이터 속성 사용하기
6. setProperty(propertyName, value)
<script>
	const img = document.querySelector("img");
    img.style.setProperty("padding", "10px");
</script>
코드 비교
내 코드
  <script>
    const spaceInput = document.querySelector("#spacing");
    const blurInput = document.querySelector("#blur");
    const colorInput = document.querySelector("#base");

    const title = document.querySelector(".hl");
    const img = document.querySelector("img");

    img.style.padding = `${spaceInput.value}px`;
    img.style.backgroundColor = colorInput.value;
    img.style.filter = `blur(${blurInput.value}px)`;
    title.style.color = colorInput.value;

    const handleUpdate = () => {
      img.style.setProperty("padding", `${spaceInput.value}px`);
      img.style.setProperty("background-color", `${colorInput.value}`);
      img.style.setProperty("filter", `blur(${blurInput.value}px)`);
      title.style.setProperty("color", `${colorInput.value}`);
    }

    spaceInput.addEventListener('mousemove', handleUpdate);
    spaceInput.addEventListener('change', handleUpdate);
    blurInput.addEventListener('mousemove', handleUpdate);
    blurInput.addEventListener('change', handleUpdate);
    colorInput.addEventListener('mousemove', handleUpdate);
    colorInput.addEventListener('change', handleUpdate);
  </script>
제공된 코드
css 코드
    :root {
      --base: #ffc600;
      --spacing: 10px;
      --blur: 10px;
    }

    img {
      padding: var(--spacing);
      background: var(--base);
      filter: blur(var(--blur));
    }

    .hl {
      color: var(--base);
    }
JS 코드
  <script>
    const inputs = document.querySelectorAll('.controls input');

    function handleUpdate() {
      const suffix = this.dataset.sizing || '';
      document.documentElement.style.setProperty(`--${this.name}`, this.value + suffix);
    }

    inputs.forEach(input => input.addEventListener('change', handleUpdate));
    inputs.forEach(input => input.addEventListener('mousemove', handleUpdate));
  </script>
JS뿐만 아니라 css까지 골고루 많이 배울 수 있었던 주제였다! 🙂
