✔ 요즘 이슈 security가 중요해서 배움.
✔ Legacy와 Boot의 중간으로 알려주신다 하셨다. ❓
🙄이해가 잘 안됨 (참고 보고 이해하기) :
💼 och09_security1
- 👨🏫 주신
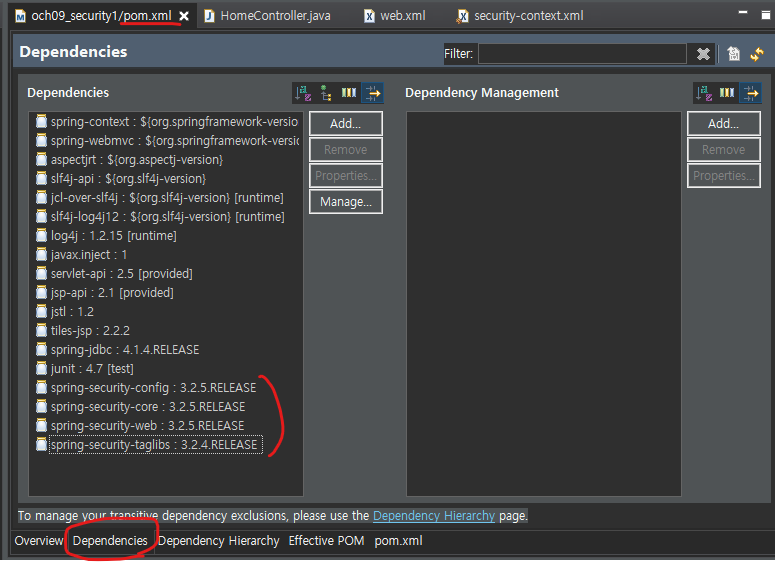
pom.xml으로 덮기pom.xmlservlet 주석풀기.
📋 web.xml
- 아래 코드를 입력. + 한글처리
<param-value>/WEB-INF/spring/root-context.xml
					 /WEB-INF/spring/appServlet/security-context.xml
<filter>
        <filter-name>springSecurityFilterChain</filter-name>
        <filter-class>org.springframework.web.filter.DelegatingFilterProxy</filter-class>
    </filter>
    <filter-mapping>
        <filter-name>springSecurityFilterChain</filter-name>
        <url-pattern>/*</url-pattern>
    </filter-mapping>
<?xml version="1.0" encoding="UTF-8"?>
<web-app version="2.5" xmlns="http://java.sun.com/xml/ns/javaee"
	xmlns:xsi="http://www.w3.org/2001/XMLSchema-instance"
	xsi:schemaLocation="http://java.sun.com/xml/ns/javaee https://java.sun.com/xml/ns/javaee/web-app_2_5.xsd">

	<!-- The definition of the Root Spring Container shared by all Servlets and Filters -->
	<context-param>
		<param-name>contextConfigLocation</param-name>
		<param-value>/WEB-INF/spring/root-context.xml
					 /WEB-INF/spring/appServlet/security-context.xml
		</param-value>
	</context-param>

	<filter>
        <filter-name>springSecurityFilterChain</filter-name>
        <filter-class>org.springframework.web.filter.DelegatingFilterProxy</filter-class>
    </filter>
    <filter-mapping>
        <filter-name>springSecurityFilterChain</filter-name>
        <url-pattern>/*</url-pattern>
    </filter-mapping>


	<!-- Creates the Spring Container shared by all Servlets and Filters -->
	<listener>
		<listener-class>org.springframework.web.context.ContextLoaderListener</listener-class>
	</listener>


   <!--  한글처리       -->
   <filter>
      <filter-name>encodingFilter</filter-name>
      <filter-class>org.springframework.web.filter.CharacterEncodingFilter</filter-class>

      <init-param>
         <param-name>encoding</param-name>
         <param-value>UTF-8</param-value>
      </init-param>
      <init-param>
         <param-name>forceEncoding</param-name>
         <param-value>true</param-value>
      </init-param>
   </filter>
   <filter-mapping>
      <filter-name>encodingFilter</filter-name>
      <url-pattern>/*</url-pattern>
   </filter-mapping>


	<!-- Processes application requests -->
	<servlet>
		<servlet-name>appServlet</servlet-name>
		<servlet-class>org.springframework.web.servlet.DispatcherServlet</servlet-class>
		<init-param>
			<param-name>contextConfigLocation</param-name>
			<param-value>/WEB-INF/spring/appServlet/servlet-context.xml</param-value>
		</init-param>
		<load-on-startup>1</load-on-startup>
	</servlet>

	<servlet-mapping>
		<servlet-name>appServlet</servlet-name>
		<url-pattern>/</url-pattern>
	</servlet-mapping>

</web-app>
security-context.xml 만들기
📋 security-context.xml
ROLE_USER: 권한 유저
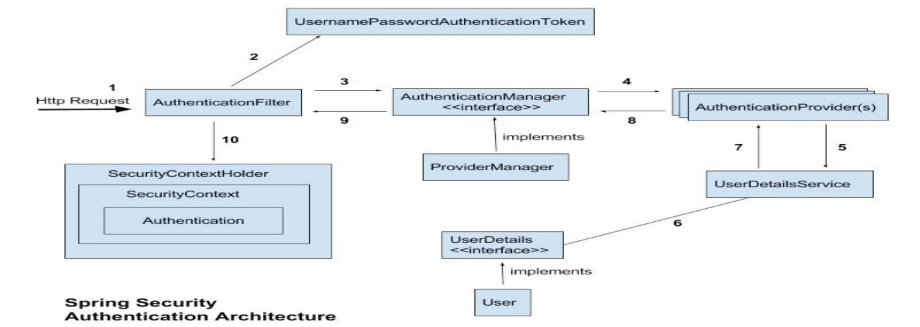
authentication인증관리자
authorities권한
전체파일 :
<?xml version="1.0" encoding="UTF-8"?>
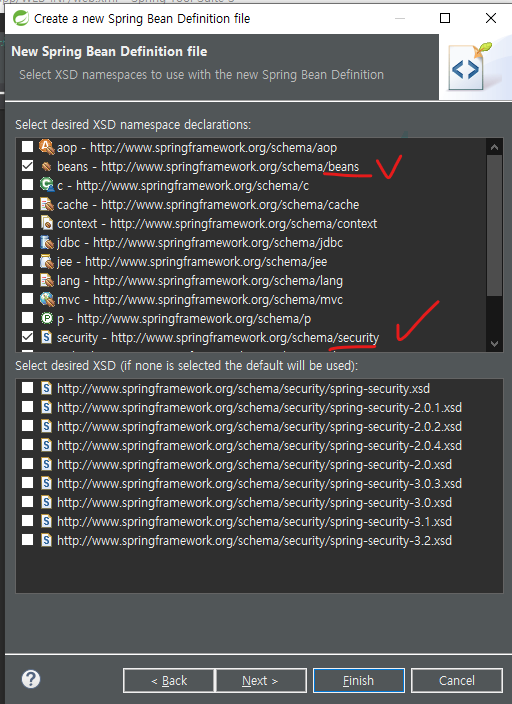
<beans xmlns="http://www.springframework.org/schema/beans"
xmlns:xsi="http://www.w3.org/2001/XMLSchema-instance"
xmlns:security="http://www.springframework.org/schema/security"
xsi:schemaLocation="http://www.springframework.org/schema/beans http://www.springframework.org/schema/beans/spring-beans.xsd
http://www.springframework.org/schema/security http://www.springframework.org/schema/security/spring-security-3.2.xsd">
<security:http auto-config="true">
<security:intercept-url pattern="/login.html" access="ROLE_USER" />
<security:intercept-url pattern="/welcome.html" access="ROLE_ADMIN" />
</security:http>
<security:authentication-manager>
<security:authentication-provider>
<security:user-service>
<security:user name="user" password="123" authorities="ROLE_USER"/>
<security:user name="admin" password="123" authorities="ROLE_ADMIN"/>
</security:user-service>
</security:authentication-provider>
</security:authentication-manager>
</beans>📌📋 HomeController.java
아래 추가.
login,welcome
@RequestMapping("/login.html")
public String login(Model model) {
logger.info("Welcome login.html");
return "security/login";
}
@RequestMapping("/welcome.html")
public String welcome(Model model) {
logger.info("Welcome welcome.html");
return "security/welcome";
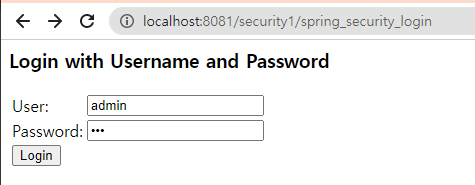
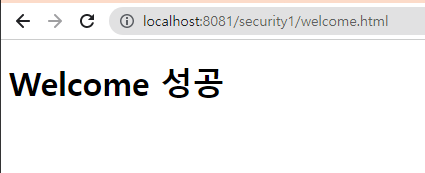
}💻 결과화면 :
- 맞는 아이디로 로그인시
welcome.html으로 접속. admin,123을 입력
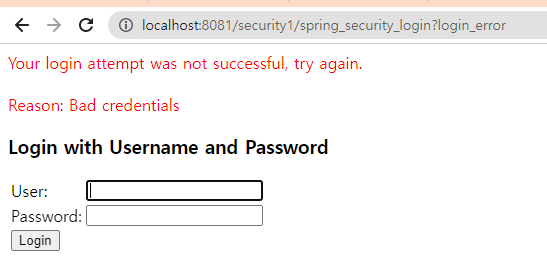
- 틀린 아이디로 로그인시
admin,1을 입력
📋 login.jsp
<%@ page language="java" contentType="text/html; charset=UTF-8"
    pageEncoding="UTF-8"%>
<!DOCTYPE html>
<html>
<head>
<meta charset="UTF-8">
<title>Insert title here</title>
</head>
<body>
	<h1>Login OK</h1>
</body>
</html>
📋 welcome.jsp
<%@ page language="java" contentType="text/html; charset=UTF-8"
    pageEncoding="UTF-8"%>
<!DOCTYPE html>
<html>
<head>
<meta charset="UTF-8">
<title>Insert title here</title>
</head>
<body>
	<h1>Welcome 성공</h1>
</body>
</html>
🌱 내가 만드는 Security Login Form
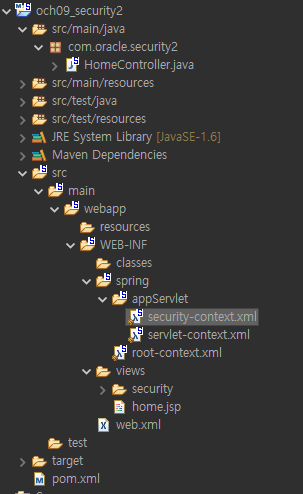
💼 och09_security2
📋 security-context.xml
security1과 다른점은admin은 모든 권한을 주었다. (admin + user)
<?xml version="1.0" encoding="UTF-8"?>
<beans xmlns="http://www.springframework.org/schema/beans"
	xmlns:xsi="http://www.w3.org/2001/XMLSchema-instance"
	xmlns:security="http://www.springframework.org/schema/security"
	xsi:schemaLocation="http://www.springframework.org/schema/beans http://www.springframework.org/schema/beans/spring-beans.xsd
		http://www.springframework.org/schema/security http://www.springframework.org/schema/security/spring-security-3.2.xsd">

	<security:http auto-config="true">
		<security:form-login login-page="/loginForm.html" authentication-failure-url="/loginForm.html?error" />
		<security:intercept-url pattern="/login.html" access="ROLE_USER" />
		<security:intercept-url pattern="/welcome.html" access="ROLE_ADMIN"/>

	</security:http>
	<security:authentication-manager>
		<security:authentication-provider>
			<security:user-service>
				<security:user name="user"  password="123" authorities="ROLE_USER"/>
				<security:user name="admin" password="123" authorities="ROLE_ADMIN, ROLE_USER"/>
			</security:user-service>
		</security:authentication-provider>

	</security:authentication-manager>
</beans>
📌📋 HomeController.java
아래 추가.
login,welcome,loginForm
✔ 작성 후 login, welcome, loginForm 각각 jsp 파일 만들기.
	@RequestMapping("/login.html")
	public String login(Model model) {
		System.out.println("HomeController Welcome login.html Start...");
		return "security/login";
	}

	@RequestMapping("/welcome.html")
	public String welcome(Model model) {
		System.out.println("HomeController Welcome welcome.html Start...");
		return "security/welcome";
	}

	@RequestMapping("/loginForm.html")
	public String loginForm(Model model) {
		System.out.println("HomeController Welcome loginForm.html Start...");
		return "security/loginForm";
	}
📋 welcome.jsp
이전파일 그대로 넣기.
+<h1>Welcome 성공</h1>추가.
📋 login.jsp
core넣기. ->c:사용하기 위해서.j_spring_security_logout: j_로 시작하는것은 spirng에서 제공하는 예약어이다.
🙄 : ${empty pageContext.request.userPrincipal}이게 뭔지 잘 모르겠다.
<%@ page language="java" contentType="text/html; charset=UTF-8"
    pageEncoding="UTF-8"%>
<%@ taglib prefix="c" uri="http://java.sun.com/jsp/jstl/core" %>
<!DOCTYPE html>
<html>
<head>
<meta charset="UTF-8">
<title>Insert title here</title>
</head>
<body>
	<h1>Login 성공</h1>
	<c:if test="${not empty pageContext.request.userPrincipal}">
		${pageContext.request.userPrincipal}
		<p> is Log-In</p>
	</c:if>

	<c:if test="${empty pageContext.request.userPrincipal}">
		<p> is Log-Out</p>
	</c:if>

	USER ID : ${pageContext.request.userPrincipal.name}<br/>
	<a href="${pageContext.request.contextPath}/j_spring_security_logout">Log Out</a><br/>

</body>
</html>
📋 loginfForm.jsp
var="loginUrl"에서 loginUrl란 이름으로 보냄.${loginUrl}
🙄 :
<%@ page language="java" contentType="text/html; charset=UTF-8"
pageEncoding="UTF-8"%>
<%@ taglib prefix="c" uri="http://java.sun.com/jsp/jstl/core" %>
<!DOCTYPE html>
<html>
<head>
<meta charset="UTF-8">
<title>Insert title here</title>
</head>
<body>
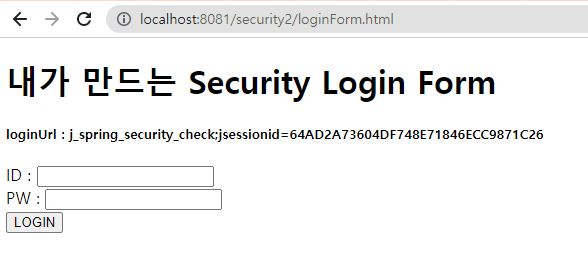
<h1>내가 만드는 Security Login Form</h1>
<!-- j_ : spirng에서 제공하는 예약어 -->
<c:url value="j_spring_security_check" var="loginUrl"/>
<h5> loginUrl : ${loginUrl}</h5>
<form action="${loginUrl}" method="post">
<c:if test="${param.error != null}">
<p>
LogIn Error! <br/>
<c:if test="${SPRING_SECURITY_LAST_EXCEPTION != NULL}"> <!-- EXCEPTION 이 있으면 -->
message : <c:out value="${SPRING_SECURITY_LAST_EXCEPTION.message}"/>
</c:if>
</p>
</c:if>
<!-- j_username, j_password 값은 강제. >> 바꾸면 security가 안돌아감 -->
ID : <input type="text" name="j_username"> <br/>
PW : <input type="text" name="j_password"> <br/>
<input type="submit" value="LOGIN"> <br/>
</form>
</body>
</html>💻 결과화면 :
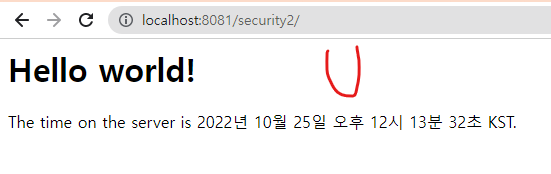
처음화면
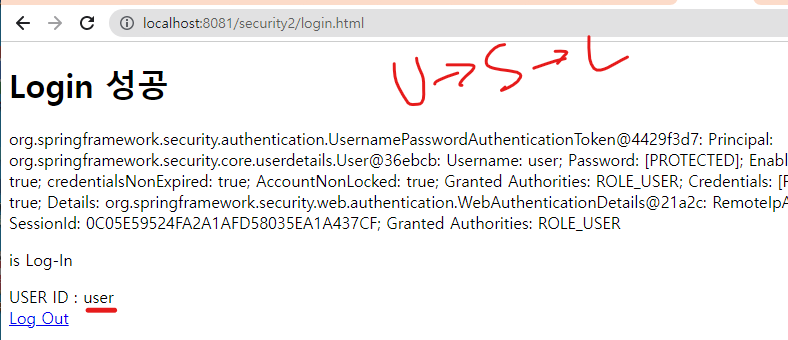
- 로그인시 유저로 로그인
로그인 성공 :
로그인 실패 :

/login.html으로 접속시
/welcom.html으로 들어가면 승인거부됨 (admin만 접근가능.)

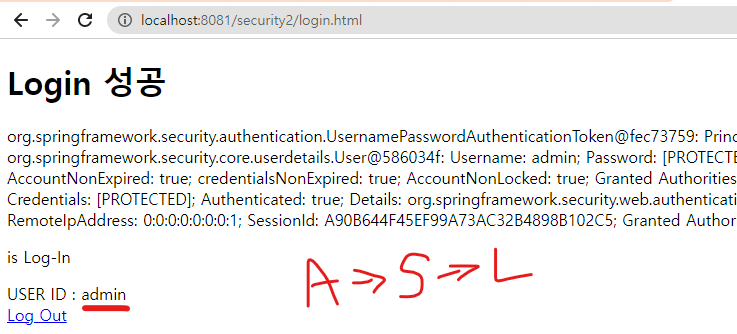
- 로그인시 amdin로 로그인
/login.html으로 접속시
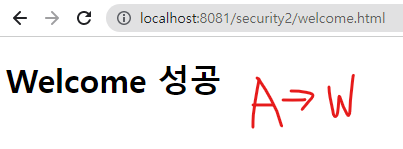
/welcom.html으로 들어가면 성공됨 (admin은 모든 권한가짐.)

공부중인 주니어 개발자