View 환경설정
thymeleaf
- 스프링에선 html - 타임리프를 권장한다.
- 스프링 부트 thymeleaf viewName 매핑
resources:templates/ +{ViewName}+ .html
Model : 데이터를 실어서 view로 넘긴다.
1. HelloController 만들기
- 이때
return "hello";은 hello.html을 의미
코드 :
package jpabook.jpashop;

import org.springframework.stereotype.Controller;
import org.springframework.ui.Model;
import org.springframework.web.bind.annotation.GetMapping;

@Controller
public class HelloController {

    @GetMapping("hello")
    public String hello(Model model) {
        model.addAttribute("data", "hello");
        return "hello";
    }
}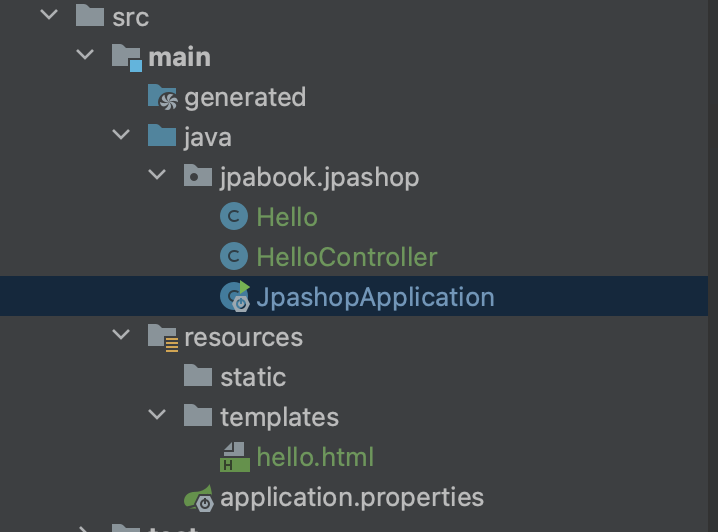
2. 화면 _ hello.html 만들기
- 위치는
resources - templates에 만든다
코드:
<!DOCTYPE HTML>
<html xmlns:th="http://www.thymeleaf.org">
<head>
    <title>Hello</title>
    <meta http-equiv="Content-Type" content="text/html; charset=UTF-8" />
</head>
<body>
    <p th:text="'안녕하세요. ' + ${data}" >안녕하세요. 손님</p>
</body>
</html>
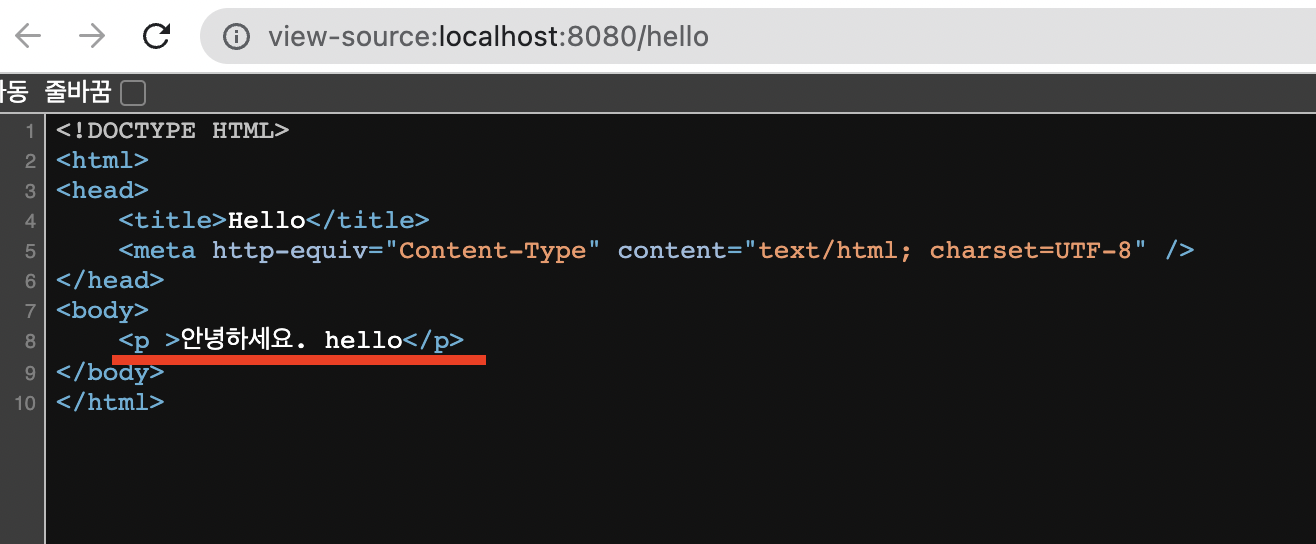
localhost:8080/hello에 들어가 검사 > 소스 보기를 하면 아래처럼 보인다.
- 서버사이드 랜더링이 되었다.
- 안녕하세요 + ${data}
- data -> hello
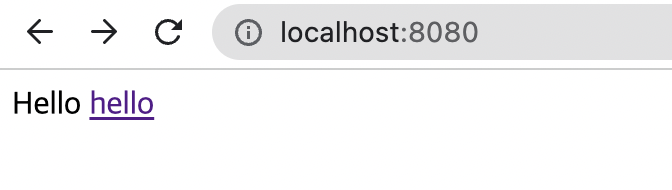
3. 정적페이지 만들기
resources - static에index.html생성

코드:
<!DOCTYPE HTML>
<html>
<head>
    <title>Hello</title>
    <meta http-equiv="Content-Type" content="text/html; charset=UTF-8" />
</head>
<body>
Hello
<a href="/hello">hello</a>
</body>
</html>
🍯 꿀팁
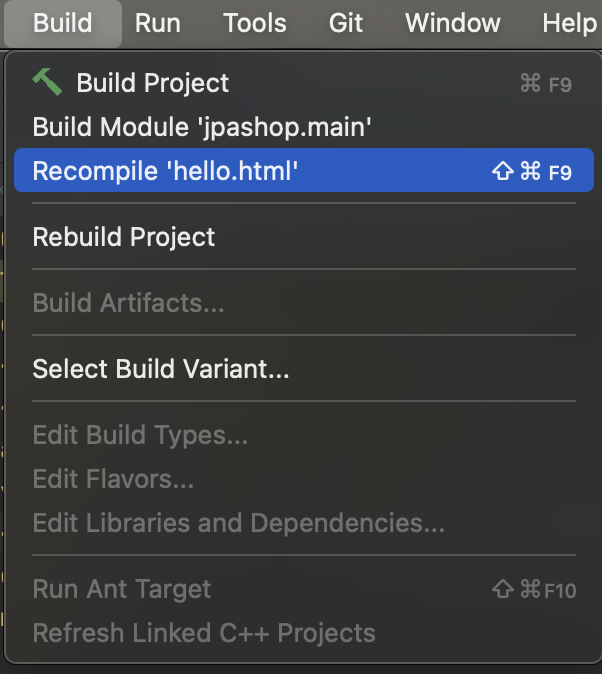
- 서버 재실행 없이 반영하기 : gradel에
devtools를 추가.implementation 'org.springframework.boot:spring-boot-devtools'
build - Recompile을 하면 서버 재실행 없이 웹에서 새로고침을 눌러서 확인할 수 있다.
H2 DB
나는 전에 H2 DB를 설치했었다.
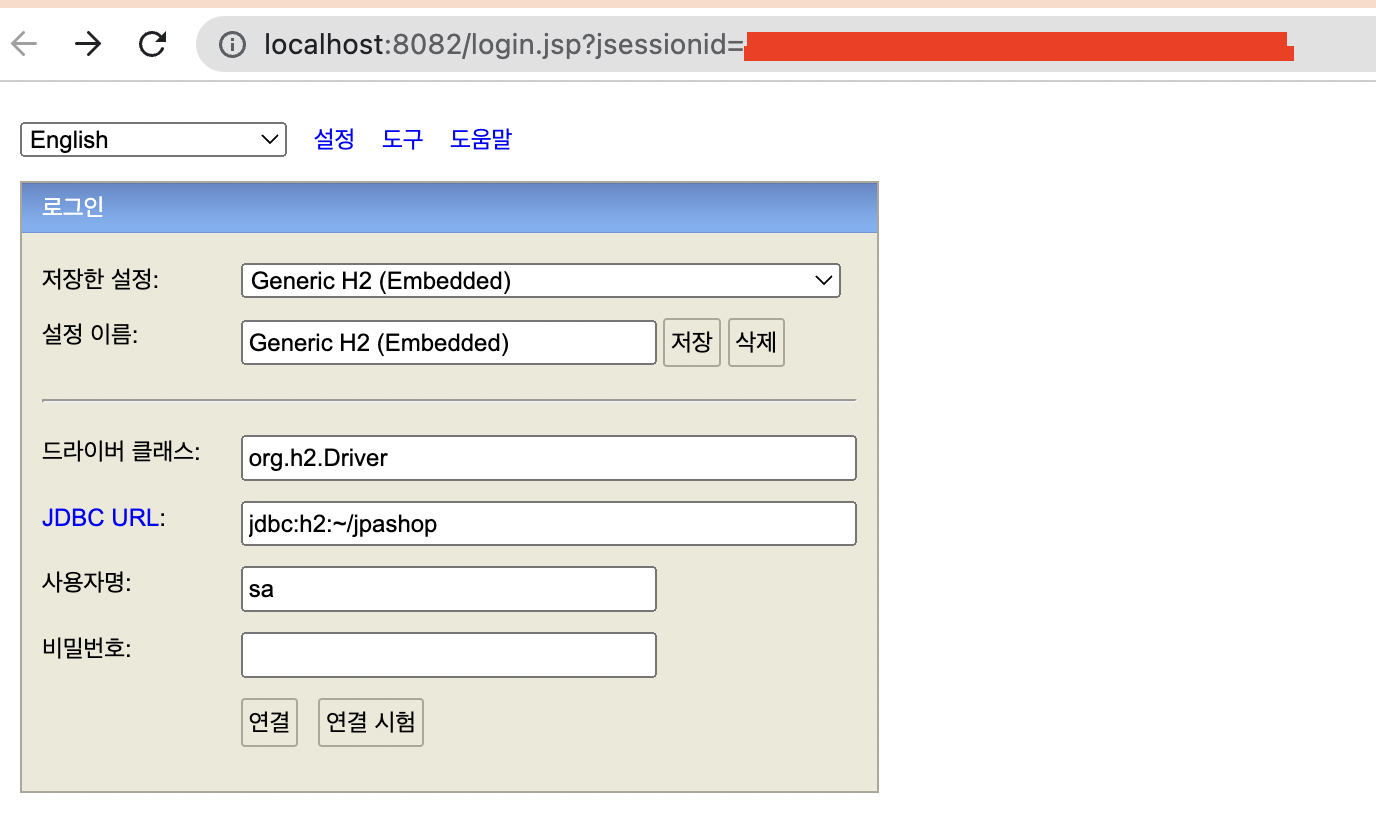
1. 데이터베이스 파일 생성 접근
-
h2 - bin에서h2.sh실행 -
빨간색 부분. key값을 유지해야한다.
-
URL에
jdbc:h2:~/jpashop입력 후 연결
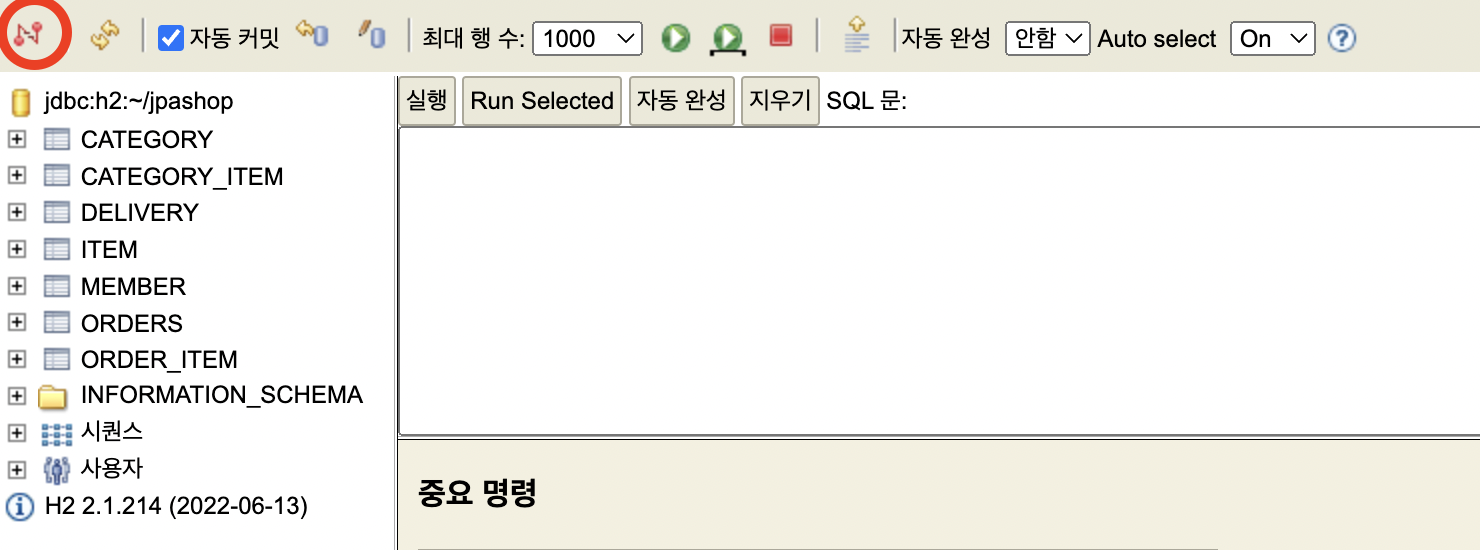
-
좌측에 파일 생성된 것을 확인 할 수 있다.
-
확인후 연결 끊어서 나오기 (빨간 동그라미)
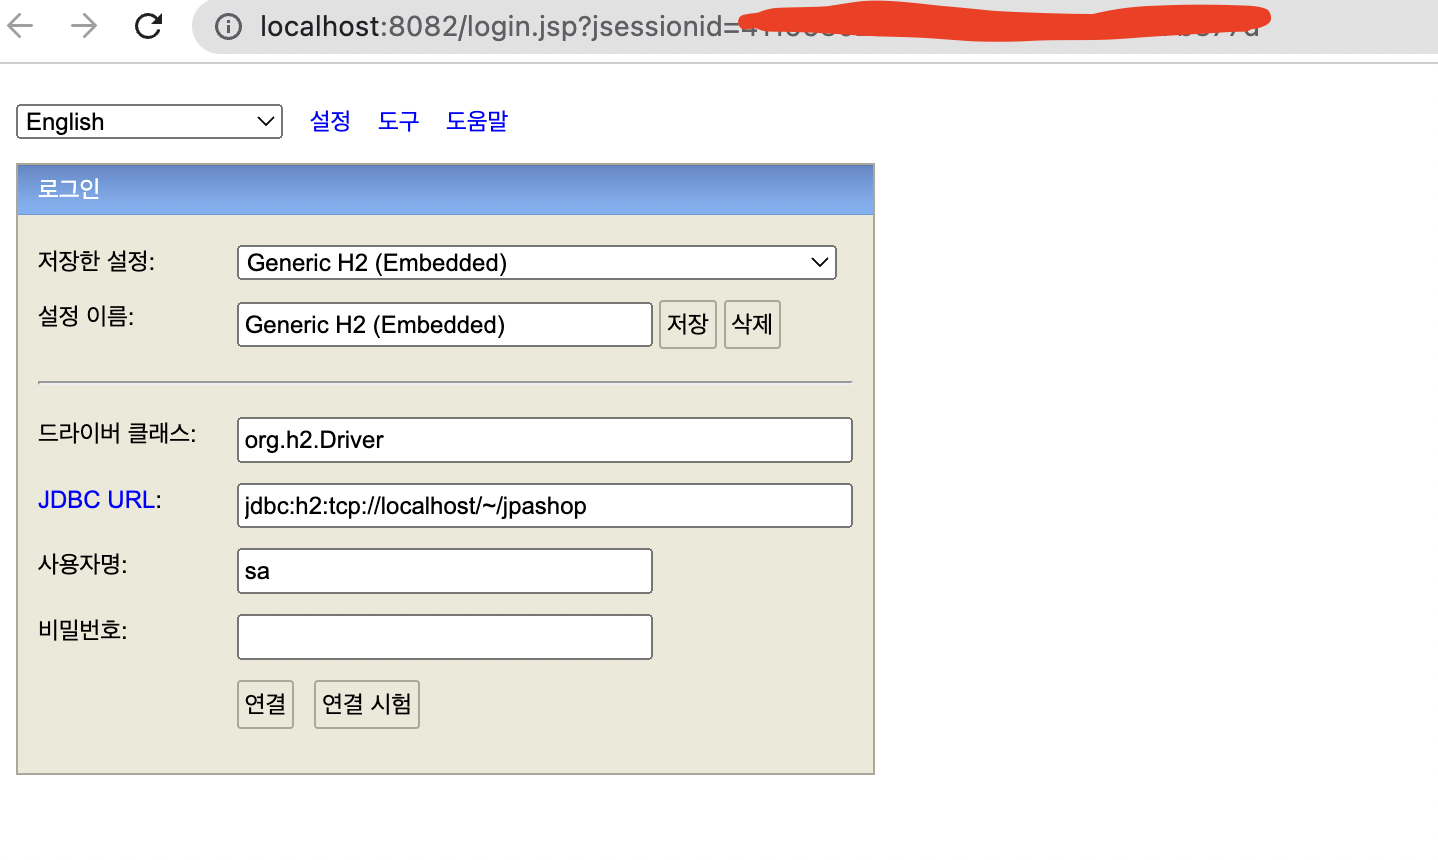
2. 네트워크 모드 접근
-
데이터베이스 파일 생성 이후로는 네트워크 모드로 접근하면 된다.
-
URL에
jdbc:h2:tcp://localhost/~/jpashop를 입력 후 연결
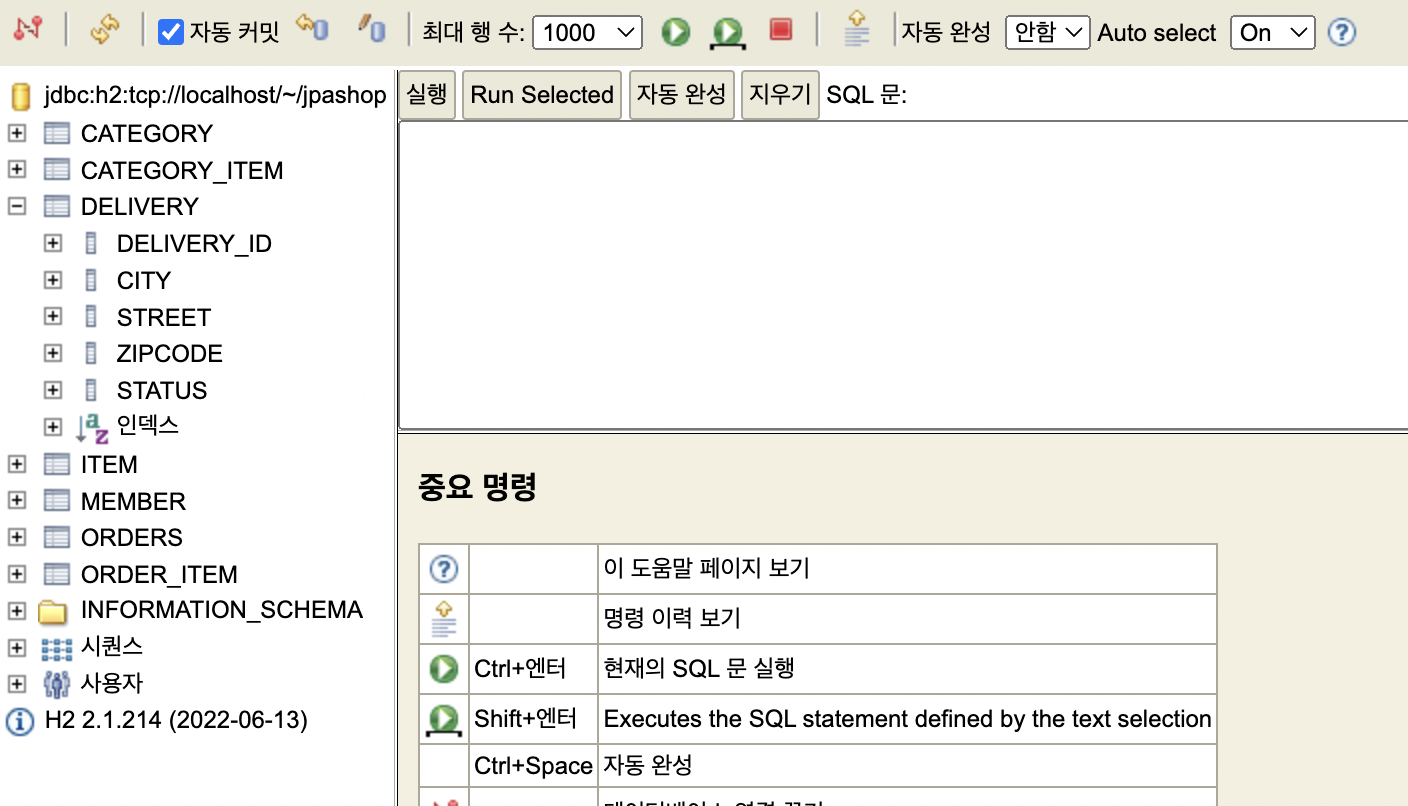
-
create~~ 해서 테이블을 생성 할 수 있다.
📌 인텔리제이 단축키
- 세미콜론 :
command + shift + enter

공부중인 주니어 개발자