오늘은 Lottie 라이브러리를 활용하여 스플래시 스크린에 적용해보자
Lottie 라이브러리는 Airbnb에서 만든 애니메이션 오픈소스 라이브러리이다.
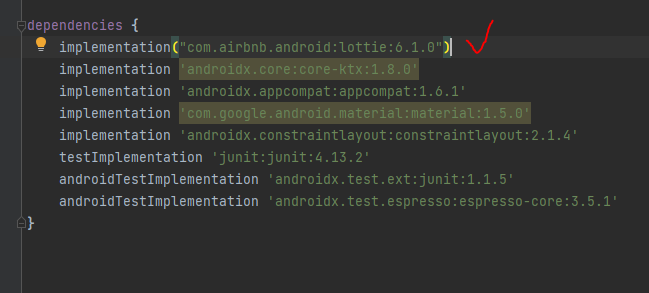
Lottie 라이브러리를 사용하기 위해서 build.gradle 파일의 의존성 설정에 추가해주어야 한다. (Sync Now 눌러주는거 잊지말자)
Gradle Scripts > build.gradle(Module: app)
lottie 최신버전 확인
Lottie 사이트에서 원하는 애니메이션을 고른다.
Lottie image download
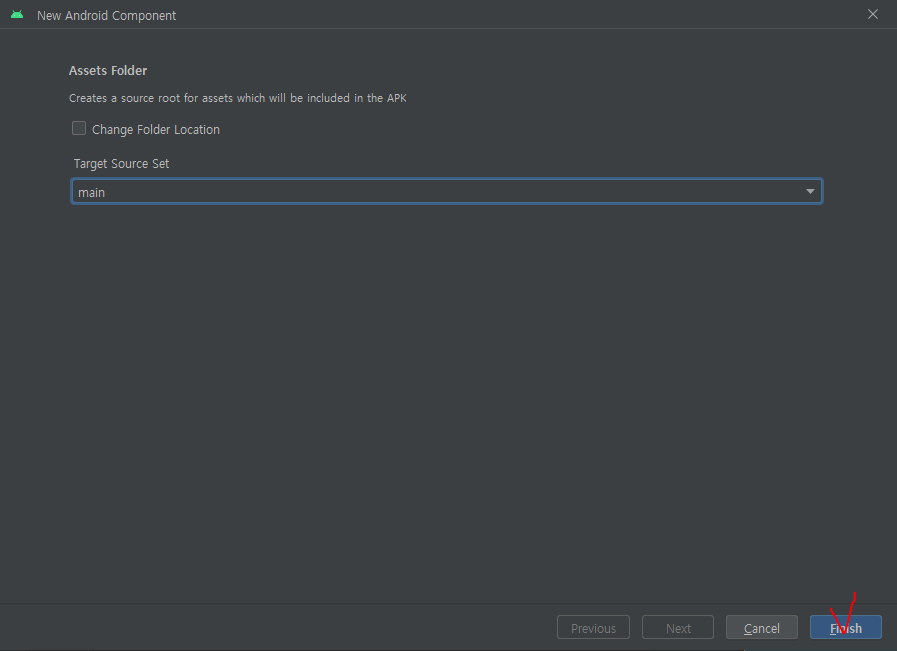
app 우클릭 > New > Folder > Assets Folder 생성
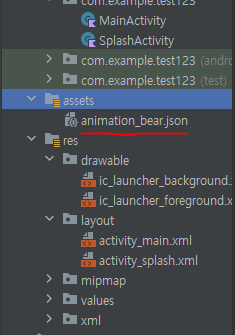
생성된 폴더에 다운로드 받은 JSON 파일을 넣어준다.
activity_splash.xml
<?xml version="1.0" encoding="utf-8"?>
<androidx.constraintlayout.widget.ConstraintLayout xmlns:android="http://schemas.android.com/apk/res/android"
    xmlns:app="http://schemas.android.com/apk/res-auto"
    xmlns:tools="http://schemas.android.com/tools"
    android:layout_width="match_parent"
    android:layout_height="match_parent"
    android:background="#4CAF50"
    tools:context=".SplashActivity">

    <com.airbnb.lottie.LottieAnimationView
        android:id="@+id/splash_lottie"
        android:layout_width="match_parent"
        android:layout_height="match_parent"
        android:scaleType="centerCrop"
        app:layout_constraintStart_toStartOf="parent"
        app:layout_constraintTop_toTopOf="parent"
        app:layout_constraintEnd_toEndOf="parent"
        app:layout_constraintBottom_toBottomOf="parent"/>

    <TextView
        android:id="@+id/splash_textView"
        android:layout_width="wrap_content"
        android:layout_height="wrap_content"
        android:text="lottie splash"
        android:textColor="#673AB7"
        android:textStyle="bold"
        android:textSize="35sp"
        android:layout_marginBottom="150dp"
        app:layout_constraintStart_toStartOf="parent"
        app:layout_constraintEnd_toEndOf="parent"
        app:layout_constraintBottom_toBottomOf="parent"/>

</androidx.constraintlayout.widget.ConstraintLayout>
SplashActivity.kt
package com.example.test123

import android.content.Intent
import androidx.appcompat.app.AppCompatActivity
import android.os.Bundle
import android.os.Handler
import android.os.Looper
import com.example.test123.databinding.ActivitySplashBinding

class SplashActivity : AppCompatActivity() {
    lateinit var binding: ActivitySplashBinding
    override fun onCreate(savedInstanceState: Bundle?) {
        super.onCreate(savedInstanceState)
        binding = ActivitySplashBinding.inflate(layoutInflater)
        setContentView(binding.root)

        val animation = binding.splashLottie
        animation.setAnimation("animation_bear.json")
        animation.loop(true)
        animation.playAnimation()


        Handler(Looper.getMainLooper()).postDelayed({
            val intent = Intent(this,MainActivity::class.java)
            startActivity(intent)
            finish()
        }, 2800)
    }
}
"animation_bear.json" -> 애니메이션 파일의 이름을 입력
Splash 효과를 위해서 Handler를 사용하여 지연된 작업을 실행하고 postDelayed 메서드를 사용하여 코드 블록을 지정된 시간(2800 밀리초인 2.8초)후에 실행해준다.
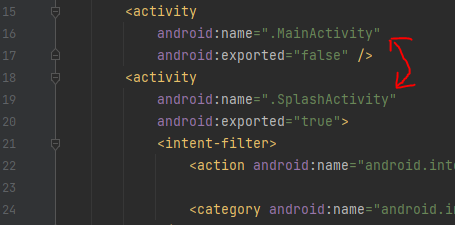
AndroidManifest.xml
스플래쉬 화면이 우선적으로 나오게 두 액티비티의 위치를 바꿔주자
결과물

슬기로운 개발 활동
굿굿~~!👍👍