1. 새로운 프로젝트
- 새로운 프로젝트를 생성한 후 properties에서 환경설정을 진행한다.
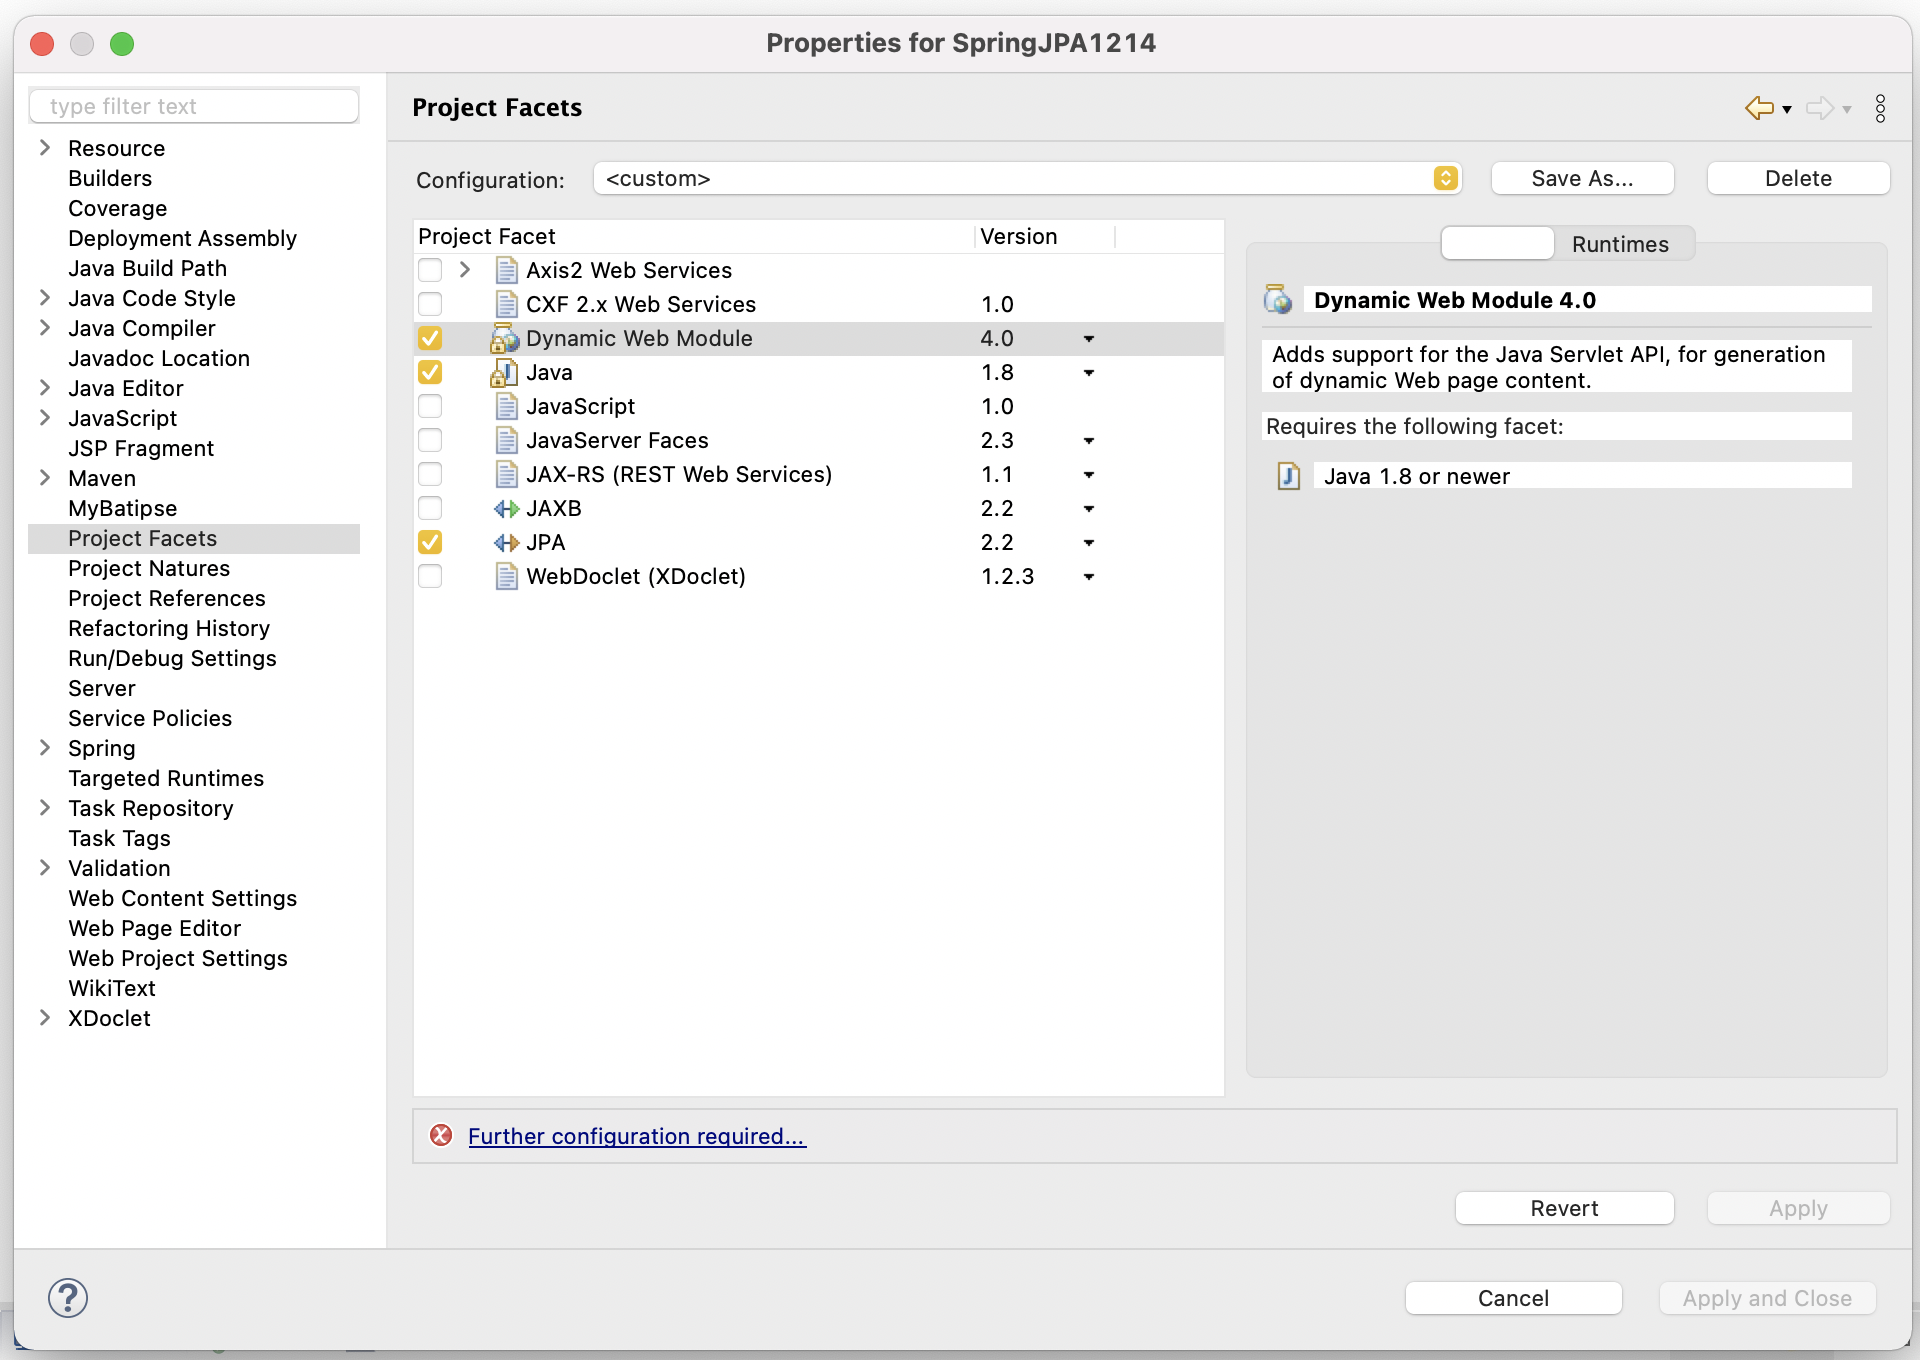
- JAVA, Dynamic Web Module, JPA에 체크하고 맞는 버전으로 설정한다.
- 이때, Apply가 비활성화 되는데,
- 위쪽의 Type을 Disdable Library Configuration 으로 변경하고
Persistent를 Discover로 변경한다.
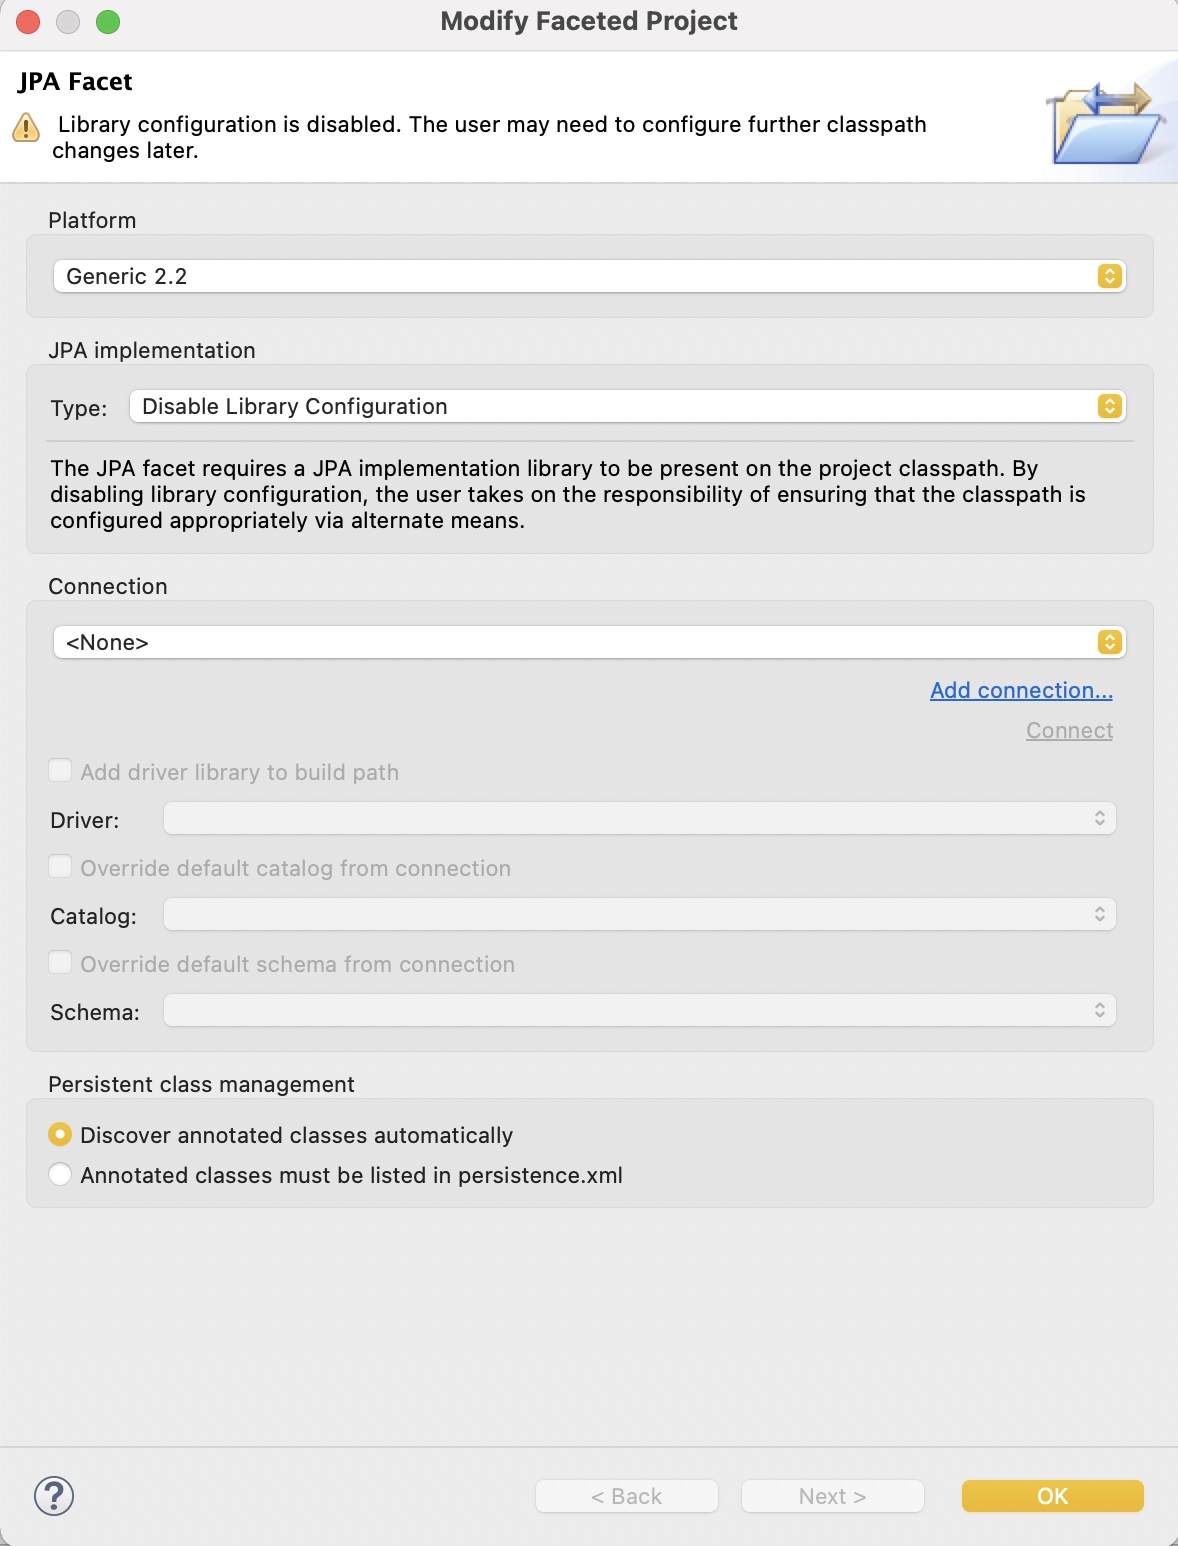
- 그러면 Apply버튼이 다시 활성화된다.
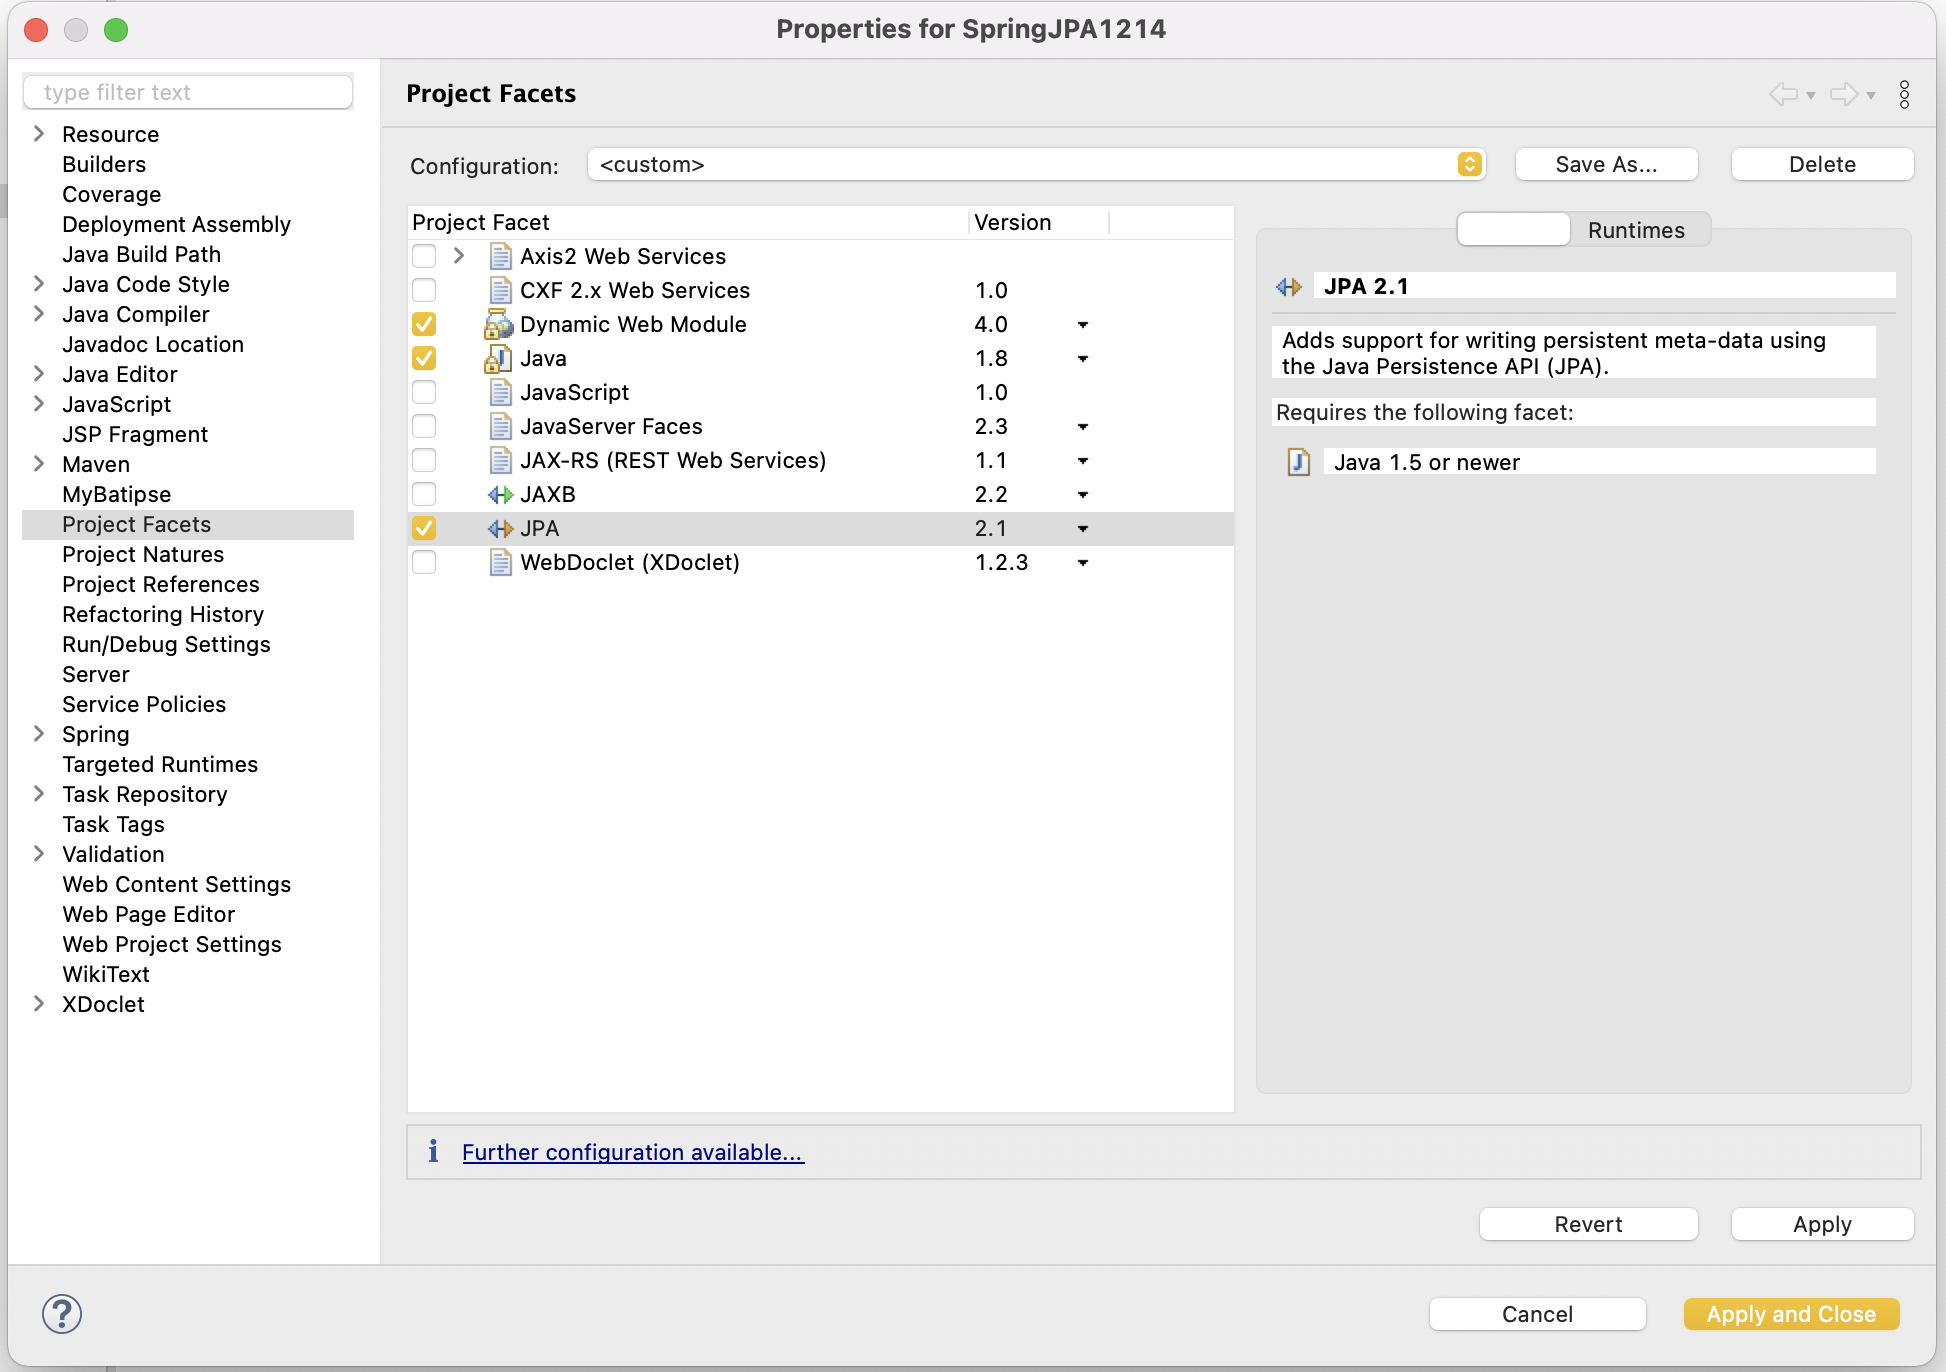
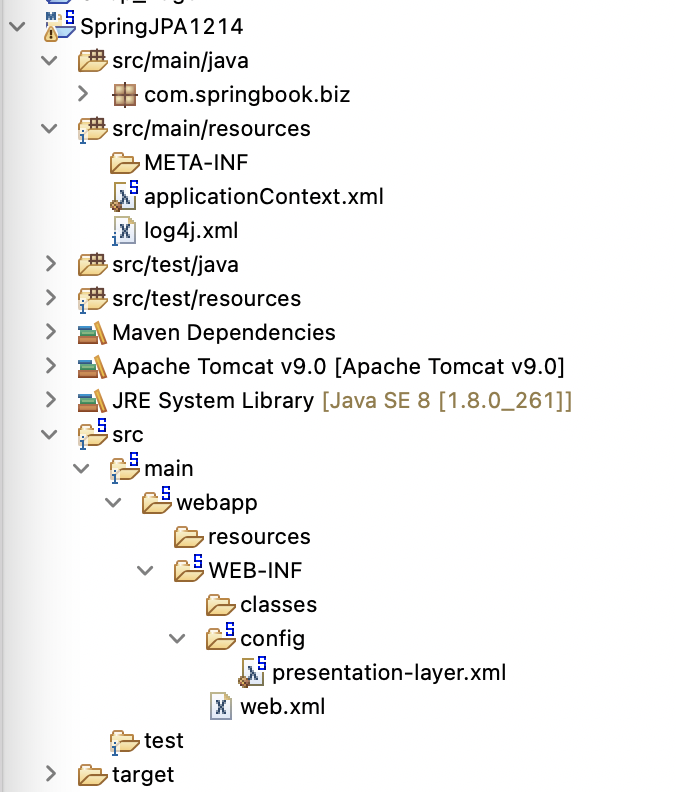
- META-INF에 persistence.xml파일이 추가된 것을 볼 수 있다.
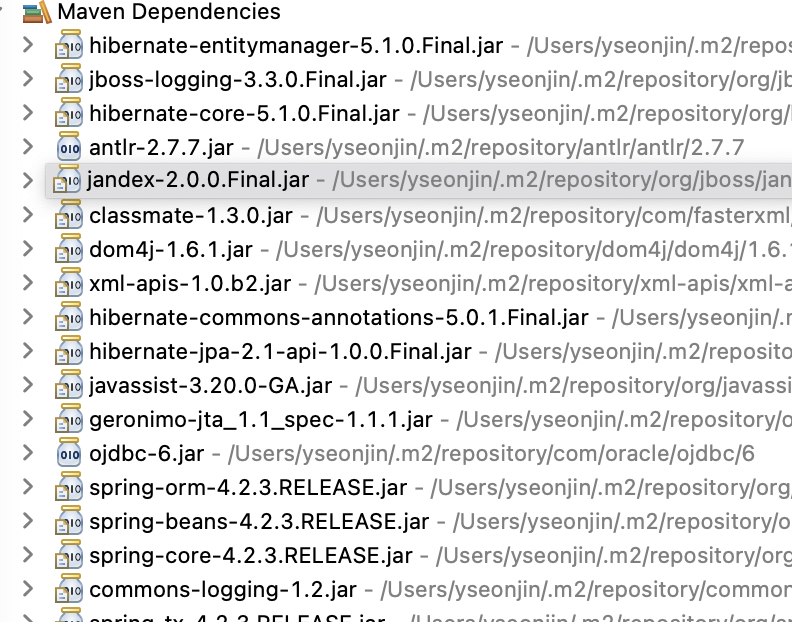
2. pom.xml
<!-- JPA, 하이버네이트 -->
	  <dependency>
	   <groupId>org.hibernate</groupId>
	   <artifactId>hibernate-entitymanager</artifactId>
	   <version>5.1.0.Final</version>
	  </dependency>

	 <dependency>
	   <groupId>org.springframework</groupId>
	   <artifactId>spring-orm</artifactId>
	   <version>${org.springframework-version}</version>
</dependency>- JPA사용을 위한 pom.xml을 추가한다.
3. web.xml
<context-param>
  <param-name>contextConfigLocation</param-name>
  <param-value>classpath:applicationContext.xml</param-value>
 </context-param>
 <listener>
  <listener-class>
     org.springframework.web.context.ContextLoaderListener
  </listener-class>
 </listener>

<filter>
    <filter-name>characterEncoding</filter-name>
    <filter-class>org.springframework.web.filter.CharacterEncodingFilter</filter-class>
     <init-param>
         <param-name>encoding</param-name>
         <param-value>utf-8</param-value>
     </init-param>
 </filter>
 <filter-mapping>
  	<filter-name>characterEncoding</filter-name>
  	<url-pattern>*.do</url-pattern>
 </filter-mapping>

  <servlet>
    <servlet-name>TestServlet</servlet-name>
    <servlet-class>org.springframework.web.servlet.DispatcherServlet</servlet-class>
    <init-param>
        <param-name>contextConfigLocation</param-name>
        <param-value>/WEB-INF/config/presentation-layer.xml</param-value>
    </init-param>
  </servlet>

  <servlet-mapping>
    <servlet-name>TestServlet</servlet-name>
    <url-pattern>*.do</url-pattern>
  </servlet-mapping>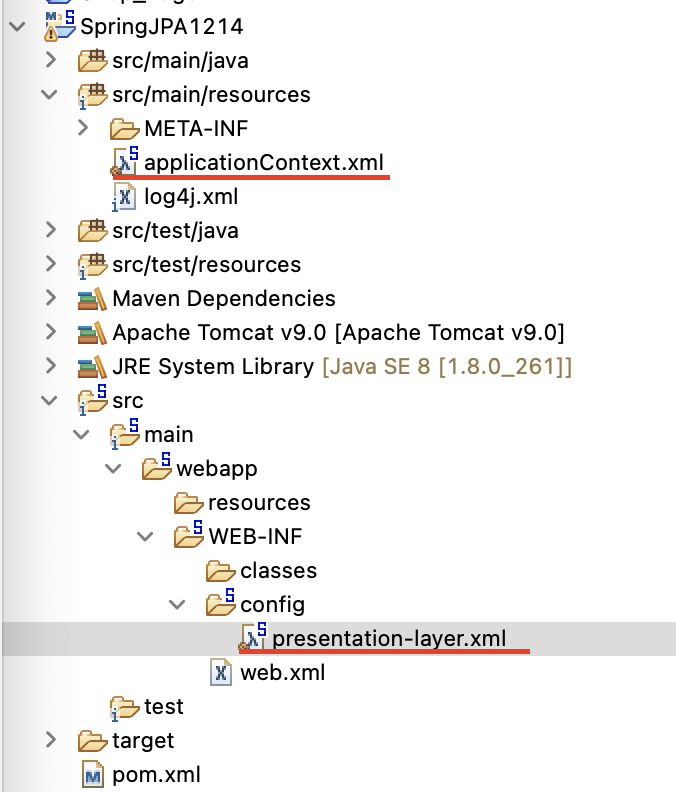
4. persistence.xml 내용삭제
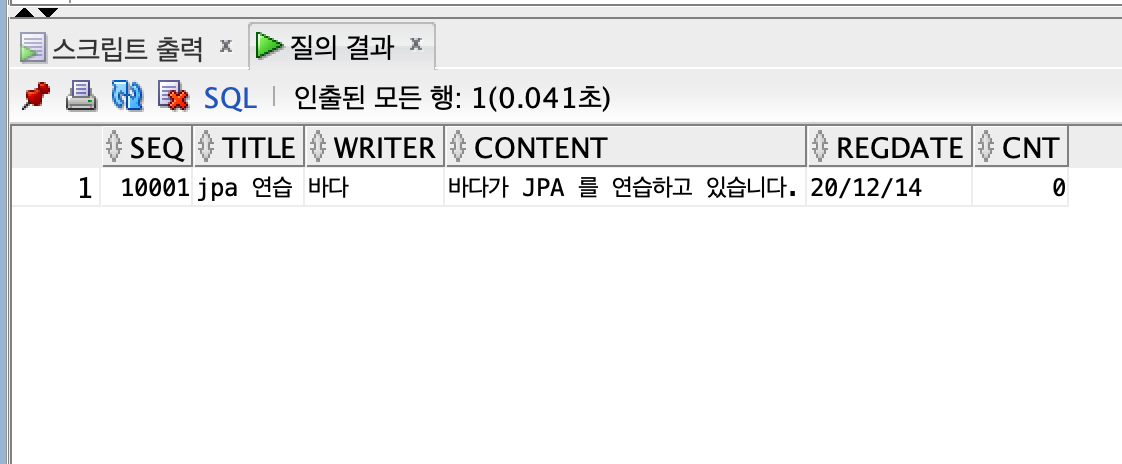
5. 테이블만들기
6. database.properties
jdbc.driver=oracle.jdbc.OracleDriver
jdbc.url=jdbc:oracle:thin:@//localhost:1521/xe
jdbc.username=system
jdbc.password=1234
7. applicationContext.xml
- JPA는 반드시 트랜잭션 설정이 필요한다.
- 스프링과 JPA 연동설정을 bean에 등록한다.
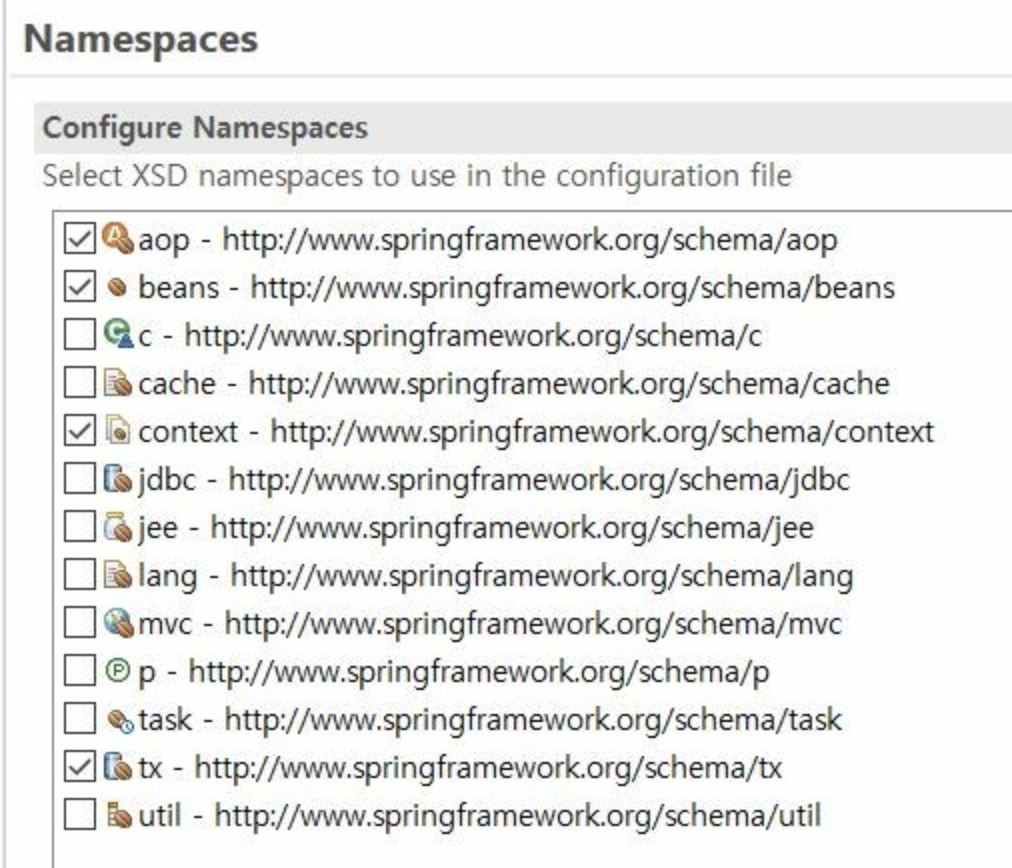
<?xml version="1.0" encoding="UTF-8"?>
<beans xmlns="http://www.springframework.org/schema/beans"
	xmlns:xsi="http://www.w3.org/2001/XMLSchema-instance"
	xmlns:aop="http://www.springframework.org/schema/aop"
	xmlns:context="http://www.springframework.org/schema/context"
	xmlns:tx="http://www.springframework.org/schema/tx"
	xsi:schemaLocation="http://www.springframework.org/schema/beans
 http://www.springframework.org/schema/beans/spring-beans.xsd
		http://www.springframework.org/schema/context
http://www.springframework.org/schema/context/spring-context-4.2.xsd
		http://www.springframework.org/schema/aop
http://www.springframework.org/schema/aop/spring-aop-4.2.xsd
		http://www.springframework.org/schema/tx
http://www.springframework.org/schema/tx/spring-tx-4.2.xsd">

  <context:component-scan base-package="com.springbook.biz"  />

	<!--  DataSource  설정하기 -->
	<context:property-placeholder  location="classpath:config/database.properties" />
		<bean id="dataSource"  class="org.apache.commons.dbcp.BasicDataSource"  destroy-method="close">
		<property name="driverClassName"  value="${jdbc.driver}" />
		<property name="url"  value="${jdbc.url}"/>
		<property name="username"  value="${jdbc.username}" />
		<property name="password"  value="${jdbc.password}" />
	</bean>

  <bean id="jpaVendorAdapter"  class="org.springframework.orm.jpa.vendor.HibernateJpaVendorAdapter"></bean>

  <bean id ="entityManagerFactory" class="org.springframework.orm.jpa.LocalContainerEntityManagerFactoryBean">
     <property name="dataSource"  ref="dataSource"></property>
     <property name="jpaVendorAdapter"  ref="jpaVendorAdapter"></property>
       <property name="packagesToScan" value="com.springbook.biz"></property>
	  <property name="jpaProperties">
	   <props>
	    <prop key="hibernate.dialect">org.hibernate.dialect.OracleDialect</prop>
	    <prop key="hibernate.show_sql">true</prop>
	    <prop key="hibernate.format_sql">true</prop>
	    <prop key="hibernate.use_sql_comments">true</prop>
	    <prop key="hibernate.id.new_generator_mappings">true</prop>
	    <prop key="hibernate.hbm2ddl.auto">update</prop>
	   </props>
	  </property>
  </bean>

  <!-- Transaction 설정 -->
 <bean id="txManager" class="org.springframework.orm.jpa.JpaTransactionManager">
  <property name="entityManagerFactory" ref="entityManagerFactory"></property>
 </bean>

<tx:advice  id="txAdvice"  transaction-manager="txManager" >
	<tx:attributes>
		<tx:method name="get*"  read-only="true" />
		<tx:method name="*" />
	</tx:attributes>
</tx:advice>


<aop:config   proxy-target-class="true"  >
	<aop:pointcut id="txPointcut"  expression="execution(* com.springbook.biz..ServiceImpl.*(..) )"   />
	<aop:advisor  pointcut-ref="txPointcut"  advice-ref="txAdvice"/>
</aop:config>

</beans>
8. 엔티티 매핑 설정
- @Table : 클래스이름과 테이블명이 다를경우 사용
- @Id , @GeneratedValue : seq변수를 식별자 필드로 지정함과 동시에 시퀀스를 이용하여 자동으로 값이 증가하도록 함
- @Temporal : regDate 변수에는 시간을 제외한 날짜 정보만 저장되도록 설정
- @Transient : 설정하여 영속필드에서 제외
package com.springbook.biz.common;

import java.util.Date;

import javax.persistence.Entity;
import javax.persistence.GeneratedValue;
import javax.persistence.Id;
import javax.persistence.Table;
import javax.persistence.Temporal;
import javax.persistence.TemporalType;
import javax.persistence.Transient;

@Entity  // @Entity 를 부여 하면 필수적으로  @Id 가 따라와야 한다.
@Table (name="board1214")  // 테이블 명과 매핑한다.
public class BoardVo {
	@Id
	@GeneratedValue
	private int  seq ;
	private  String  title ;
	private  String writer   ;
	private  String content   ;
	@Temporal(TemporalType.DATE) // 시간을 제외하고 날짜 정보만 저장
	private Date regdate =new Date();
	private int  cnt  ;

	@Transient  // 영속 필드에서 제외한다.
	private  String  ch1;

	@Transient
	private  String  ch2;


	public String getCh1() {
		return ch1;
	}
	public void setCh1(String ch1) {
		this.ch1 = ch1;
	}
	public String getCh2() {
		return ch2;
	}
	public void setCh2(String ch2) {
		this.ch2 = ch2;
	}
	public int getSeq() {
		return seq;
	}
	public void setSeq(int seq) {
		this.seq = seq;
	}
	public String getTitle() {
		return title;
	}
	public void setTitle(String title) {
		this.title = title;
	}
	public String getWriter() {
		return writer;
	}
	public void setWriter(String writer) {
		this.writer = writer;
	}
	public String getContent() {
		return content;
	}
	public void setContent(String content) {
		this.content = content;
	}
	public Date getRegdate() {
		return regdate;
	}
	public void setRegdate(Date regdate) {
		this.regdate = regdate;
	}
	public int getCnt() {
		return cnt;
	}
	public void setCnt(int cnt) {
		this.cnt = cnt;
	}
	@Override
	public String toString() {
		return "BoardVo [seq=" + seq + ", title=" + title + ", writer=" + writer + ", content=" + content + ", regdate="
				+ regdate + ", cnt=" + cnt + "]";
	}

}
ᴘᴇᴛɪᴛs ᴅᴇ́ᴠᴇʟᴏᴘᴘᴇᴜʀ. ᴘʀᴏɢʀᴀᴍᴍᴀᴛɪᴏɴ = ᴘʟᴀɪsɪʀ 💕