1. Controller 만들기
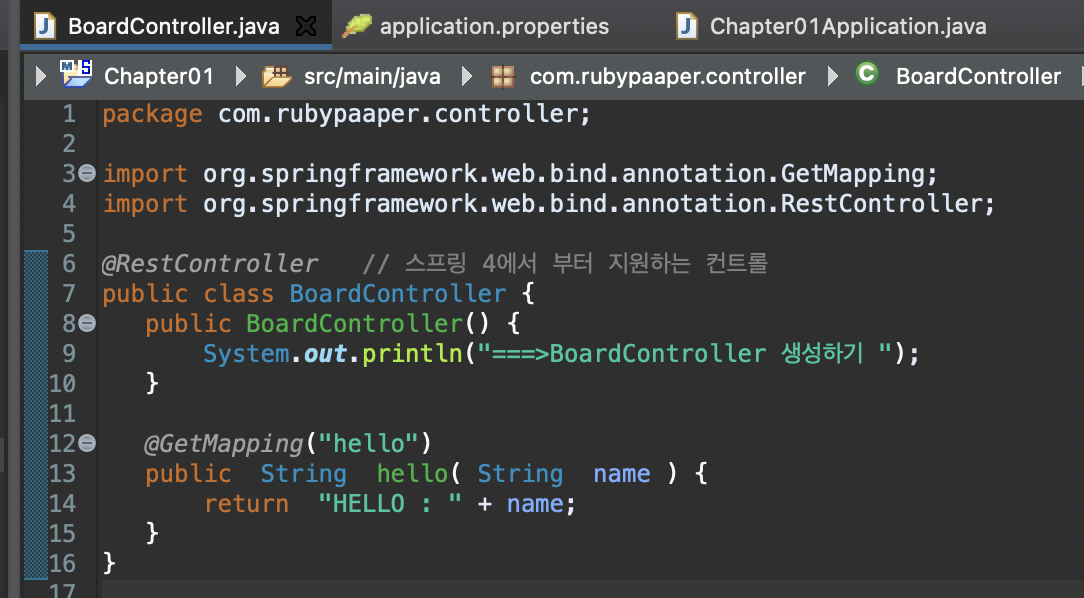
2. Controller 설정하기
package com.rubypaaper.controller;
import org.springframework.web.bind.annotation.GetMapping;
import org.springframework.web.bind.annotation.RestController;
@RestController // 스프링 4에서 부터 지원하는 컨트롤
public class BoardController {
public BoardController() {
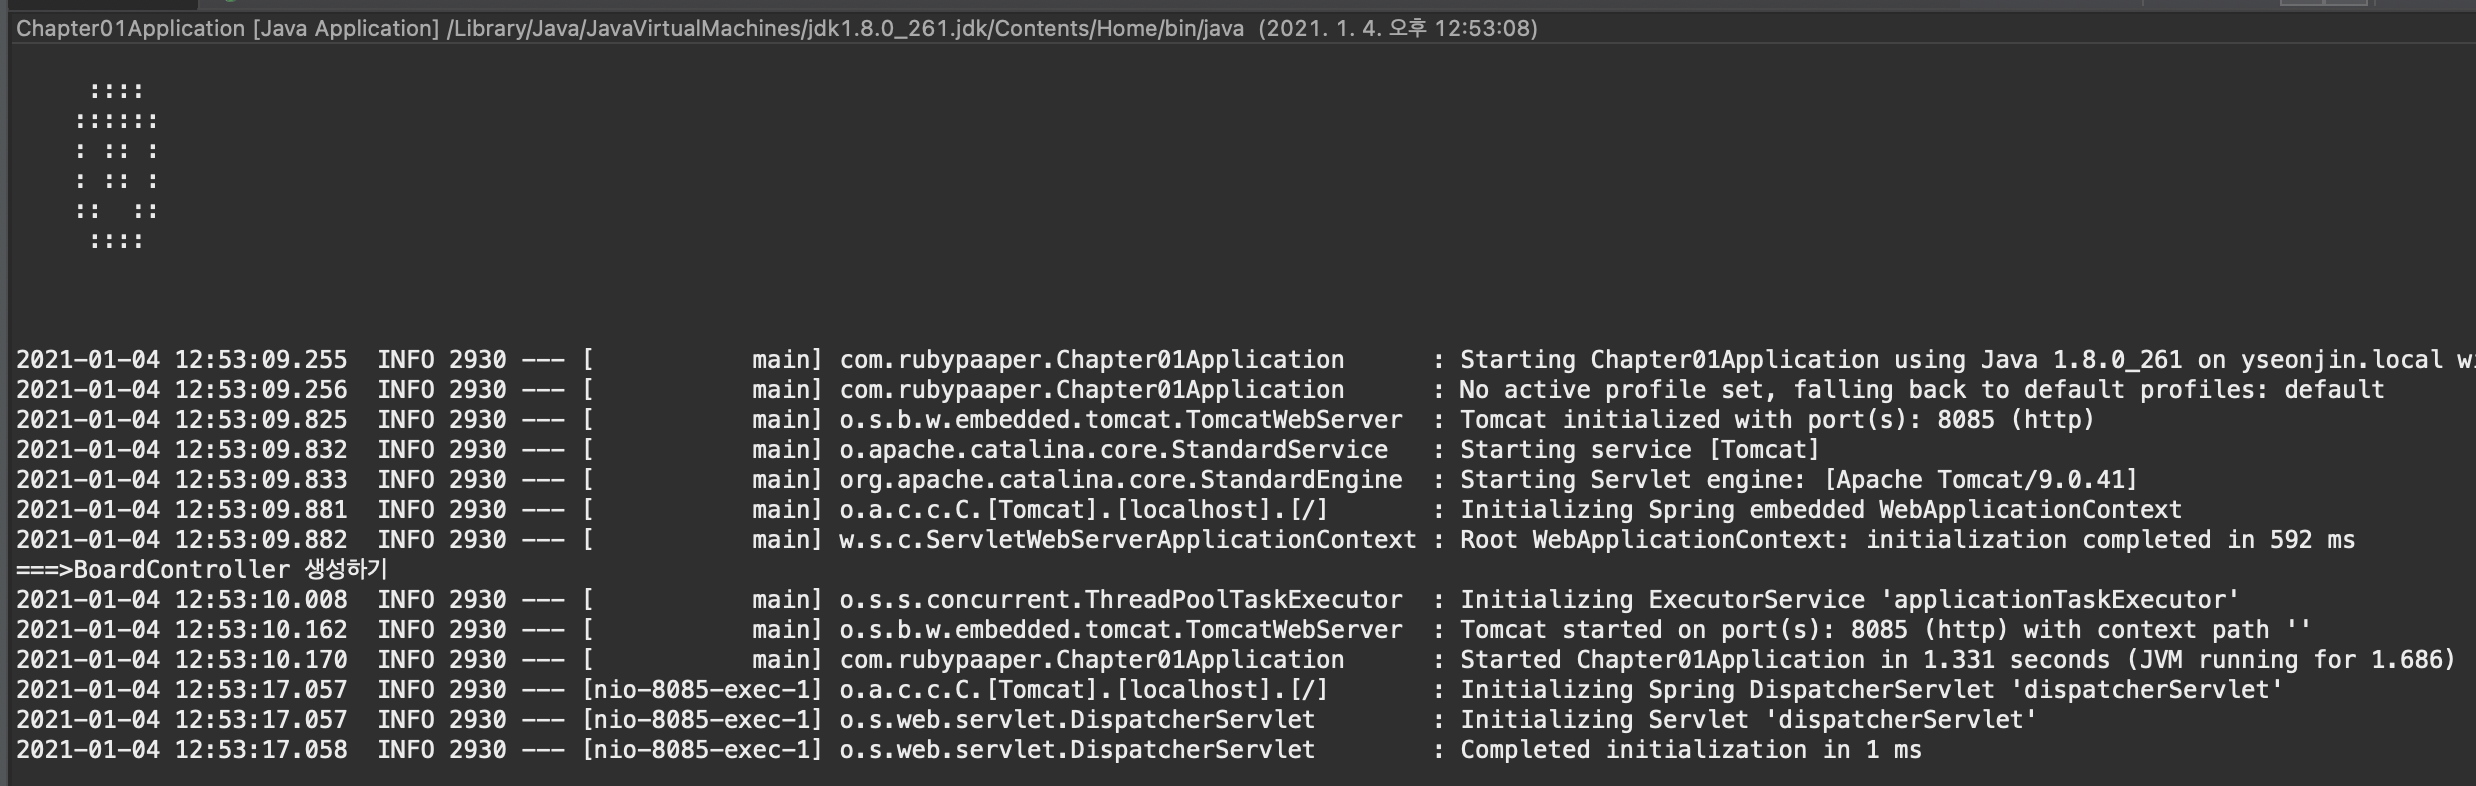
System.out.println("===>BoardController 생성하기 ");
}
@GetMapping("hello")
public String hello( String name ) {
return "HELLO : " + name;
}
}
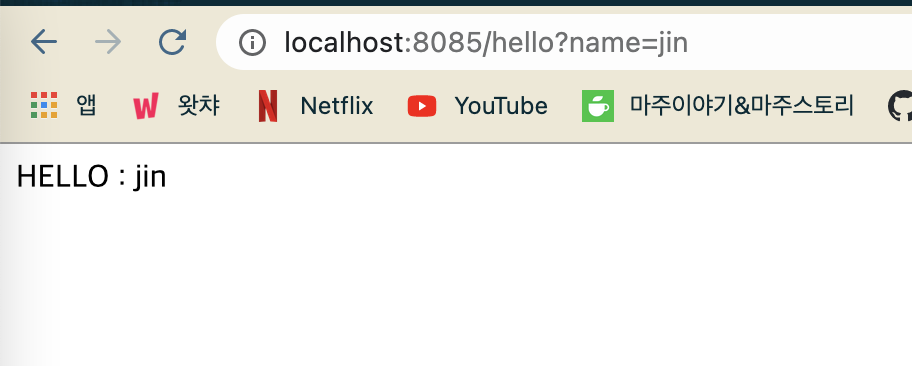
3. 웹에서 확인하기
- Chapter01Application.java 를 실행한 후
Web주소창에서 확인한다.
@SpringBootApplication 에 스캐너가 기본적으로 들어있다.
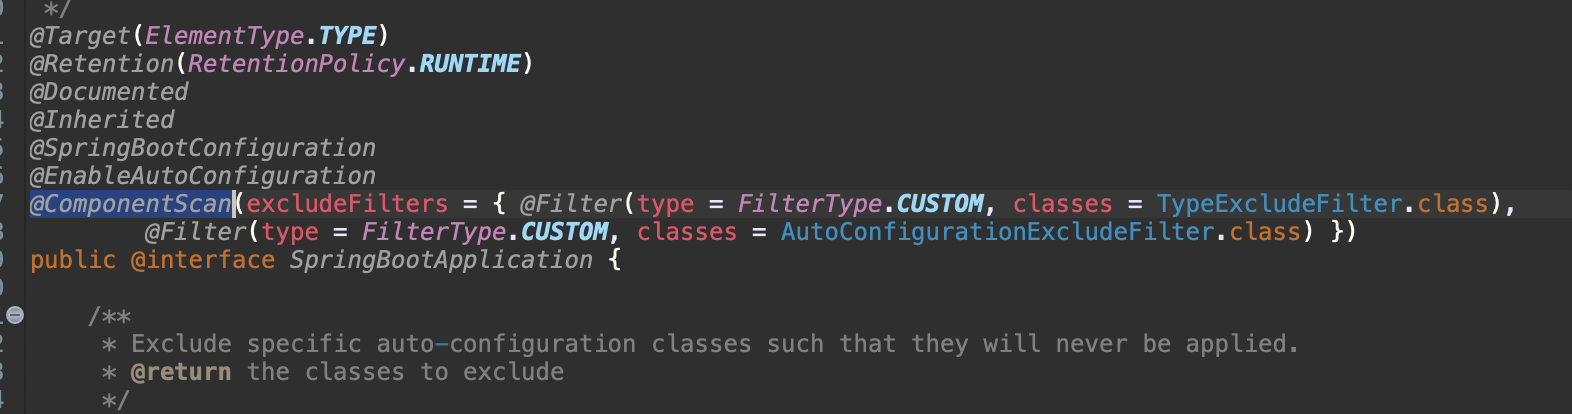
4. ComponentScan 테스트하기
- ComponentScan은 기본적으로 BasePackage를 스캔하도록 설정되어있다.
- 다른 패키지를 스캔하도록 설정해보자
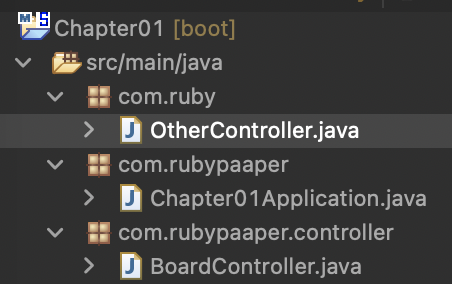
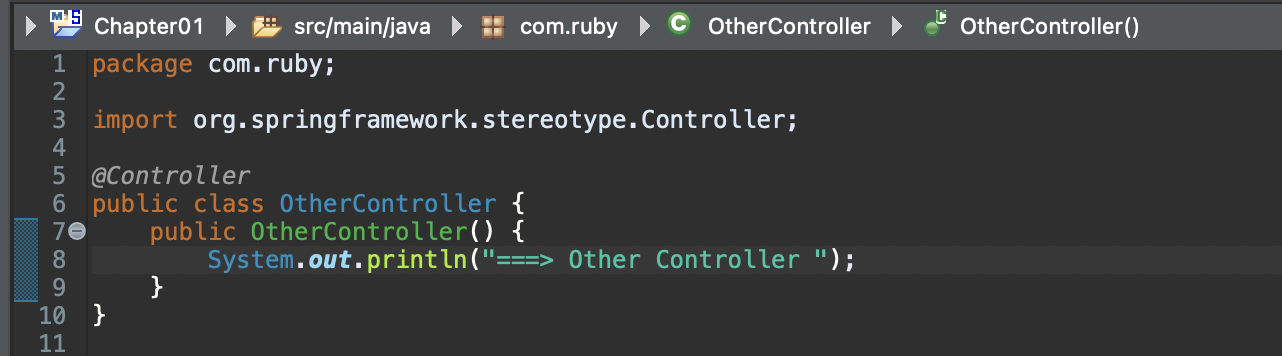
- OtherController 생성
- ComponentScan 설정하기 : 기본패키지가아닌 다른 패키지의 값을 스캔할 경우 설정한다.
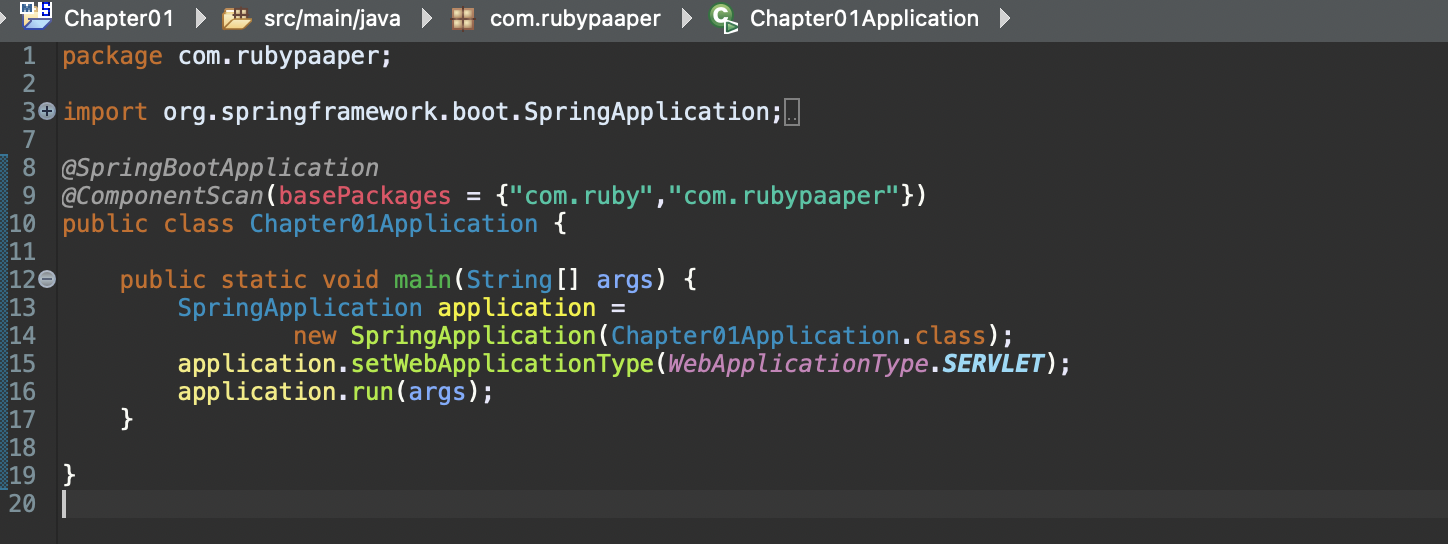
package com.rubypaaper;

import org.springframework.boot.SpringApplication;
import org.springframework.boot.WebApplicationType;
import org.springframework.boot.autoconfigure.SpringBootApplication;
import org.springframework.context.annotation.ComponentScan;

@SpringBootApplication
@ComponentScan(basePackages = {"com.ruby","com.rubypaaper"})
public class Chapter01Application {

	public static void main(String[] args) {
		SpringApplication application =
				new SpringApplication(Chapter01Application.class);
		application.setWebApplicationType(WebApplicationType.SERVLET);
		application.run(args);
	}

}


ᴘᴇᴛɪᴛs ᴅᴇ́ᴠᴇʟᴏᴘᴘᴇᴜʀ. ᴘʀᴏɢʀᴀᴍᴍᴀᴛɪᴏɴ = ᴘʟᴀɪsɪʀ 💕