vuex를 사용할 때, index.js가 지나치게 길어져 코드의 가독성이 떨어지는 것을 방지하기 위하여 store의 index.js를 index.js, actions.js, getters.js, mutations.js 로 나눠서 사용하려 한다.
우선 사진과 같이 actions, getters, index, mutations를 만든다.
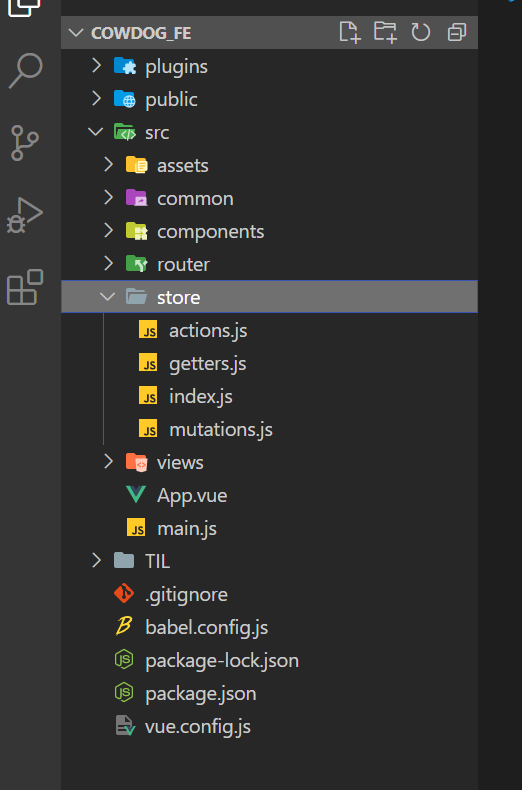
사용 방법을 알아보자.
그 후 index.js를 아래와 같이 수정한다.
// Vuex 조립
import { createStore } from 'vuex'
import * as getters from './getters'
import * as mutations from './mutations'
import * as actions from './actions'

const state = {
  notices: "기본값",
}

const root = createStore({
  namespaced: true,
  state,
  getters,
  mutations,
  actions
})

export default root
이제 index.js에는 state가 위치해있고, 나머지 파일에 actions, mutations, getters 요소를 나눠서 담을 수 있다. 자세한 사용 방법을 알아보자.
-
dispatch
<script>
import { useStore } from 'vuex'
export default ({
  setup() {
    const store = useStore()
    return {
      getNotices: () => {
        store.dispatch('getNotices') // actions/getNotices에 dispatch
      }
    }
  },
})
</script>
vue component의 setup 내부에서 dispatch를 하려면 useStore를 import 해야 한다. 그 후 const store = useStore()로 store를 정의 및 할당한다. 여기까지 하면 store의 메서드로 dispatch, commit을 사용할 수 있다. 위 코드는 actions의 getNotices 라는 함수에 dispatch하는 코드이다.
-
actions
import axios from 'axios'
export function getNotices ({ commit }) {
    axios.get('요청주소')
    .then(res => {
      console.log(res.data)
      commit('GET_NOTICES', res.data)
    })
    .catch(err => {
      console.log(err)
    })
}
actions의 getNotices로 dispatch가 왔으므로 actions는 그에 맞는 동작을 해야 한다. mutations로 commit을 하기 위해서는 { commit }을 사용해야 한다. 이는 context.commit에서 commit만 빼와서 사용하는 것과 같다.
-
mutations
import router from '../router'
export const GET_NOTICES = (state, noticeDatas) => {
    state.notices = noticeDatas
    router.push('/admin/notice') // Admin 클릭 => notices가 로드되고 난 후에 notice 페이지로 push
}
router는 개인적으로 추가한 것
GET_NOTICES로 commit이 왔다. 이제 위와 같이 state.notices를 사용하면 index.js의 state에 있는 notices 값을 변경 할 수 있다.
지난 프로젝트는 이런 방법으로 진행했지만, 이 또한 actions에 모든 요청을 담다 보니 코드가 매우 길어졌다. 다음에는 모듈별로 index.js를 나눠서 사용하는 방법을 써야겠다.
