
프로젝트에 WYSIWYG 에디터를 삽입하고자 찾아본 결과 CKEditor가 나온지 오래되기도 했고 많이들 사용한다는 말에 설치하게 되었다. 적용 결과 사용도 쉽고 UI도 깔끔해서, 추후에도 사용해보고자 그 과정을 정리한다.
1. 설치
npm이나 yarn을 이용하여 라이브러리를 설치한다. ClassicEditor를 구현하므로 두번째 라이브러리도 함께 설치해준다.
npm install --save @ckeditor/ckeditor5-react @ckeditor/ckeditor5-build-classic
2. 코드 구현
1) 기본 구현
import React, { Component } from 'react';
import { CKEditor } from '@ckeditor/ckeditor5-react';
import ClassicEditor from '@ckeditor/ckeditor5-build-classic';

class App extends Component {
    render() {
        return (
            <div className="App">
                <h2>Using CKEditor 5 build in React</h2>
                <CKEditor
                    editor={ ClassicEditor }
                    data="<p>Hello from CKEditor 5!</p>"
                    onReady={ editor => {
                        // You can store the "editor" and use when it is needed.
                        console.log( 'Editor is ready to use!', editor );
                    } }
                    onChange={ ( event, editor ) => {
                        const data = editor.getData();
                        console.log( { event, editor, data } );
                    } }
                    onBlur={ ( event, editor ) => {
                        console.log( 'Blur.', editor );
                    } }
                    onFocus={ ( event, editor ) => {
                        console.log( 'Focus.', editor );
                    } }
                />
            </div>
        );
    }
}

export default App;
|| 출처 : ckeditor 공식 문서
기본 구현은 이렇게 하고, 기타 필요한 옵션이나 기능이 있다면 직접 커스텀하면 된다! 아직은 크게 커스텀할 부분은 없었어서 내가 적용한 아~주 작은 부분만 정리했다. 추후 코드 수정 시 이 글도 수정하려한다.
(1) placeholder 적용
기본 구현을 마치면 화면 로드 시 data 부분에 써있는 내용이 보여진다. 이건 사용자가 직접 지우고 사용을 해야하기 때문에 placeholder가 필요했다.
하단 내용처럼 수정해주었다.
<CKEditor
    editor={ClassicEditor}
        config={{
            placeholder: "내용을 입력하세요.",
        }}
    onReady={(editor) => {
      ~
         ~
이 config에서 에디터 기본 기능을 넣고 뺄 수도 있지만 나는 기본 그대로 사용했다.
(2) 에디터 css 적용
에디터 자체에 들어가는 스타일인 것 같다.
.ck.ck-editor__editable:not(.ck-editor__nested-editable) {
  min-height: 400px;
  margin-bottom: 20px;
}
결과는 아래와 같다!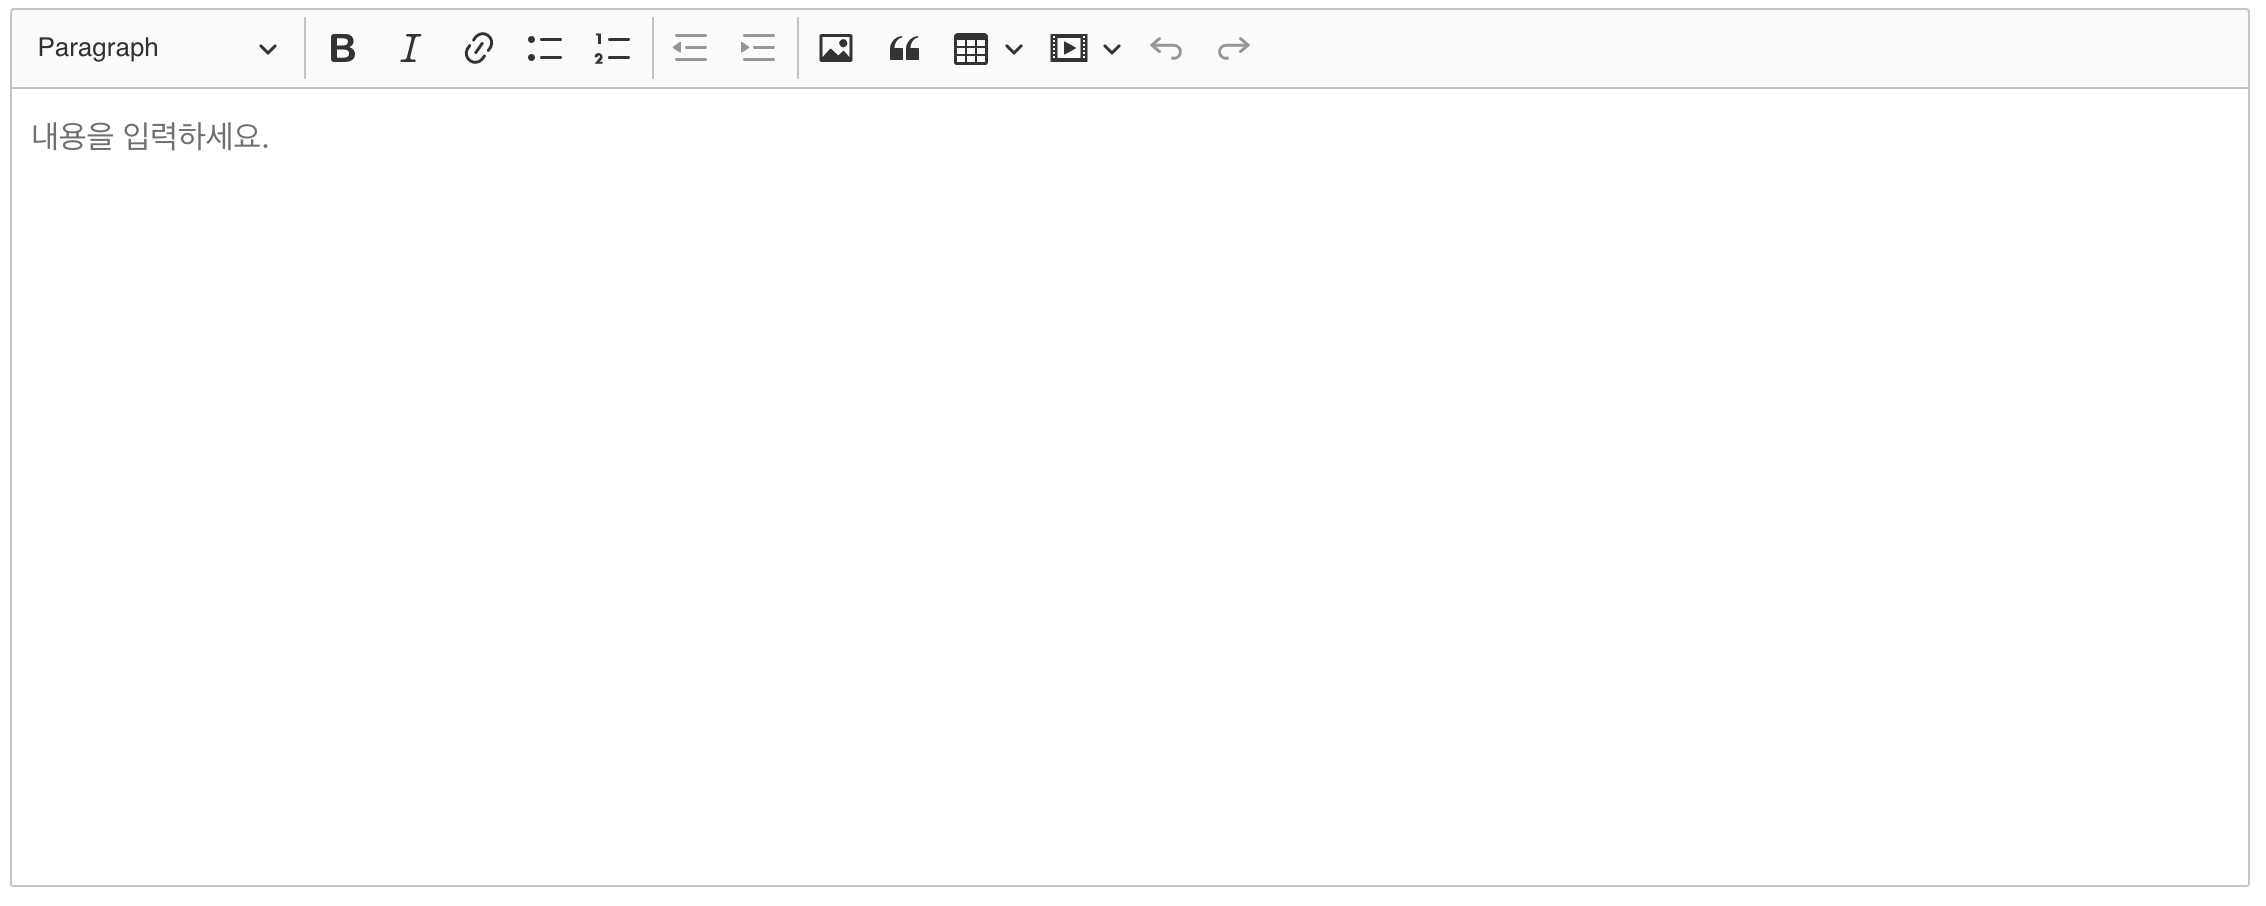
2) 데이터 HTML 파싱
npm i react-html-parser
CKEditor로 작성한 data는 html 형태(ex. < p>안녕하세요</ p>)로 저장된다.
html parser를 다운 받아 저장된 데이터를 '태그가 적용된' 형태로 보여지게끔 했다.
import ReactHtmlParser from "react-html-parser";

~

//viewContent는 저장된 글 내용을 보여주는 state이며,
//별도의 버튼에 onClick 이벤트로 글 내용을 state에 저장하게 했다.
{viewContent.map((ele) => (
      <div className="temp_postTest">
         <h3>{ele.title}</h3>
      <div>{ReactHtmlParser(ele.content)}</div>
   </div>
))}
글을 state에 저장하고 파싱한 후 보여준 모습이다.
3. 구현 중 맞닥뜨린 에러
1) react-html-parser -> buffer 모듈을 찾지 못 함
Module not found: Error: Can't resolve 'buffer' in '/Users/~~~/node_modules/readable-stream/lib'

BREAKING CHANGE: webpack < 5 used to include polyfills for node.js core modules by default.
This is no longer the case. Verify if you need this module and configure a polyfill for it.

If you want to include a polyfill, you need to:
	- add a fallback 'resolve.fallback: { "buffer": require.resolve("buffer/") }'
	- install 'buffer'
If you don't want to include a polyfill, you can use an empty module like this:
	resolve.fallback: { "buffer": false }
버퍼 모듈을 찾을 수 없고, 폴리필 어쩌구~ 하던 에러 내용. CKEditor를 사용하기 위해 검색하면서 웹팩을 직접 갈아야 한다는 글들을 봐서 그런지 괜히 어렵게 생각했었다.. 🤔
굳이 그럴 필요는 없는 것 같고, 일단 지금까지 구현한 내용을 보면 저 buffer라는 모듈을 다운받아주면 되었다!
npm install buffer
싹~ 해결됩니다.
마무리
조금 헤맨 부분도 있지만 잘 커스텀하면 글쓰기 기능을 가진 웹페이지에서 유용하게 쓰일 것 같다. 굿!

감사합니다