[t101-3] 테라폼 기본
본 시리즈는 T101(테라폼으로 시작하는 IaC) 3기 진행 내용입니다.
도서 정보
https://www.yes24.com/Product/Goods/119179333
실습 코드
https://github.com/terraform101
테라폼 : 하시코프사에서 공개한 IaC 도구
‘하시코프의 철학’ 중 3가지를 담아서 테라폼을 설계 : 워크플로우에 집중, 코드형 인프라, 실용주의
테라폼 제공 유형 : 3가지 유형
- On-premise : Terraform이라 불리는 형태로, 사용자의 컴퓨팅 환경에 오픈소스 바이너리툴인 테라폼을 통해 사용
- Hosted SaaS : Terraform Cloud로 불리는 SaaS로 제공되는 구성 환경으로 하시코프가 관리하는 서버 환경이 제공
- Private Install : Terraform Enterprise로 불리는 서버 설치형 구성 환경으로, 기업의 사내 정책에 따라 프로비저닝 관리가 외부 네트워크와 격리 -
EC2 생성
# 초기화
terraform init
ls -al
tree .terraform

# plan 확인
terraform plan

# apply 실행
terraform apply
 Enter a value: yes 입력

# ec2 생성 확인 : aws 웹 관리 콘솔에서도 확인 - 서울 리전 선택
export AWS_PAGER=""
aws ec2 describe-instances --output table
EC2 Tag 변경
cat <<EOT > main.tf
provider "aws" {
  region = "ap-northeast-2"
}

resource "aws_instance" "example" {
  ami           = "ami-084e92d3e117f7692"
  instance_type = "t2.micro"

  tags = {
    Name = "t101-study"
  }

}
EOT


# plan 실행 시 아래와 같은 정보가 출력
terraform plan
# aws_instance.example will be updated in-place
  ~ resource "aws_instance" "example" {
        id                                   = "i-0e26091a67f9a8bbd"
      ~ tags                                 = {
          + "Name" = "yuran"
        }
      ~ tags_all                             = {
          + "Name" = "yuran"
        }
        # (30 unchanged attributes hidden)

        # (8 unchanged blocks hidden)
     }

Plan: 0 to add, 1 to change, 0 to destroy.

# apply 실행
terraform apply
 Enter a value: yes 입력

# 모니터링 : [터미널1]에 Name 확인
리소스 삭제
terraform destroy
 Enter a value: yes 입력

혹은
terraform destroy -auto-approve
기본 사용법
main.tf
resource "local_file" "abc" {
content  = "abc!"
filename = "${path.module}/abc.txt"
}
샘플 - ec2 1개 배포 & 웹 설정
cat <<EOT > main.tf
provider "aws" {
  region = "ap-northeast-2"
}

resource "aws_instance" "example" {
  ami                    = "ami-0c9c942bd7bf113a2"
  instance_type          = "t2.micro"

  user_data = <<-EOF
              #!/bin/bash
              echo "Hello, yuran Study" > index.html
              nohup busybox httpd -f -p 8080 &
              EOF

  tags = {
    Name = "terraform-Study-101"
  }
}
EOT
배포 실행
# init
terraform init

# plan
terraform plan
+ user_data                            = "d91ca31904077f0b641b5dd5a783401396ffbf3f"

# apply 실행
terraform apply -auto-approve
접속 시도
# [터미널3] 변수 지정
PIP=<각자 자신의 EC2 Public IP>
PIP=3.35.218.156
while true; do curl --connect-timeout 1  http://$PIP:8080/ ; echo "------------------------------"; date; sleep 1; done
안됨 >
cat <<EOT > main.tf
provider "aws" {
  region = "ap-northeast-2"
}

resource "aws_instance" "example" {
  ami                    = "ami-0c9c942bd7bf113a2"
  instance_type          = "t2.micro"
  vpc_security_group_ids = [aws_security_group.instance.id]

  user_data = <<-EOF
              #!/bin/bash
              echo "Hello, T101 Study" > index.html
              nohup busybox httpd -f -p 8080 &
              EOF

  tags = {
    Name = "Single-WebSrv"
  }
}

resource "aws_security_group" "instance" {
  name = var.security_group_name

  ingress {
    from_port   = 8080
    to_port     = 8080
    protocol    = "tcp"
    cidr_blocks = ["0.0.0.0/0"]
  }
}

variable "security_group_name" {
  description = "The name of the security group"
  type        = string
  default     = "terraform-example-instance"
}

output "public_ip" {
  value       = aws_instance.example.public_ip
  description = "The public IP of the Instance"
}
EOT
  # plan/apply
terraform plan
terraform apply -auto-approve

# 모니터링 : EC2 정보와 curl 접속 확인


# (옵션) 리소스 생성 그래프 확인
terraform graph

# graph 확인 > 파일 선택 후 오른쪽 상단 DOT 클릭
terraform graph > graph.dot
[도전과제1] EC2 웹 서버 배포 → 아래 1주차 과제 부분 확인
목표 : EC2 웹 서버 배포 : Ubuntu 에 apache(httpd) 를 설치하고 index.html 생성(닉네임 출력)하는 user_data 를 작성해서 설정 배포, 포트는 TCP 80 후 curl 접속 → 해당 테라폼 코드(파일)를 작성
- 참고 : hashicat-aws | hashicat-azure | hashicat-gcp | hashicat-ncloud → CSP 환경별 HashiCat 샘플 애플리케이션을 커스텀 해보셔도 됩니다!
- 참고 : Intro to Terraform on Azure
-
디렉토리 생성
-
main.tf 코드
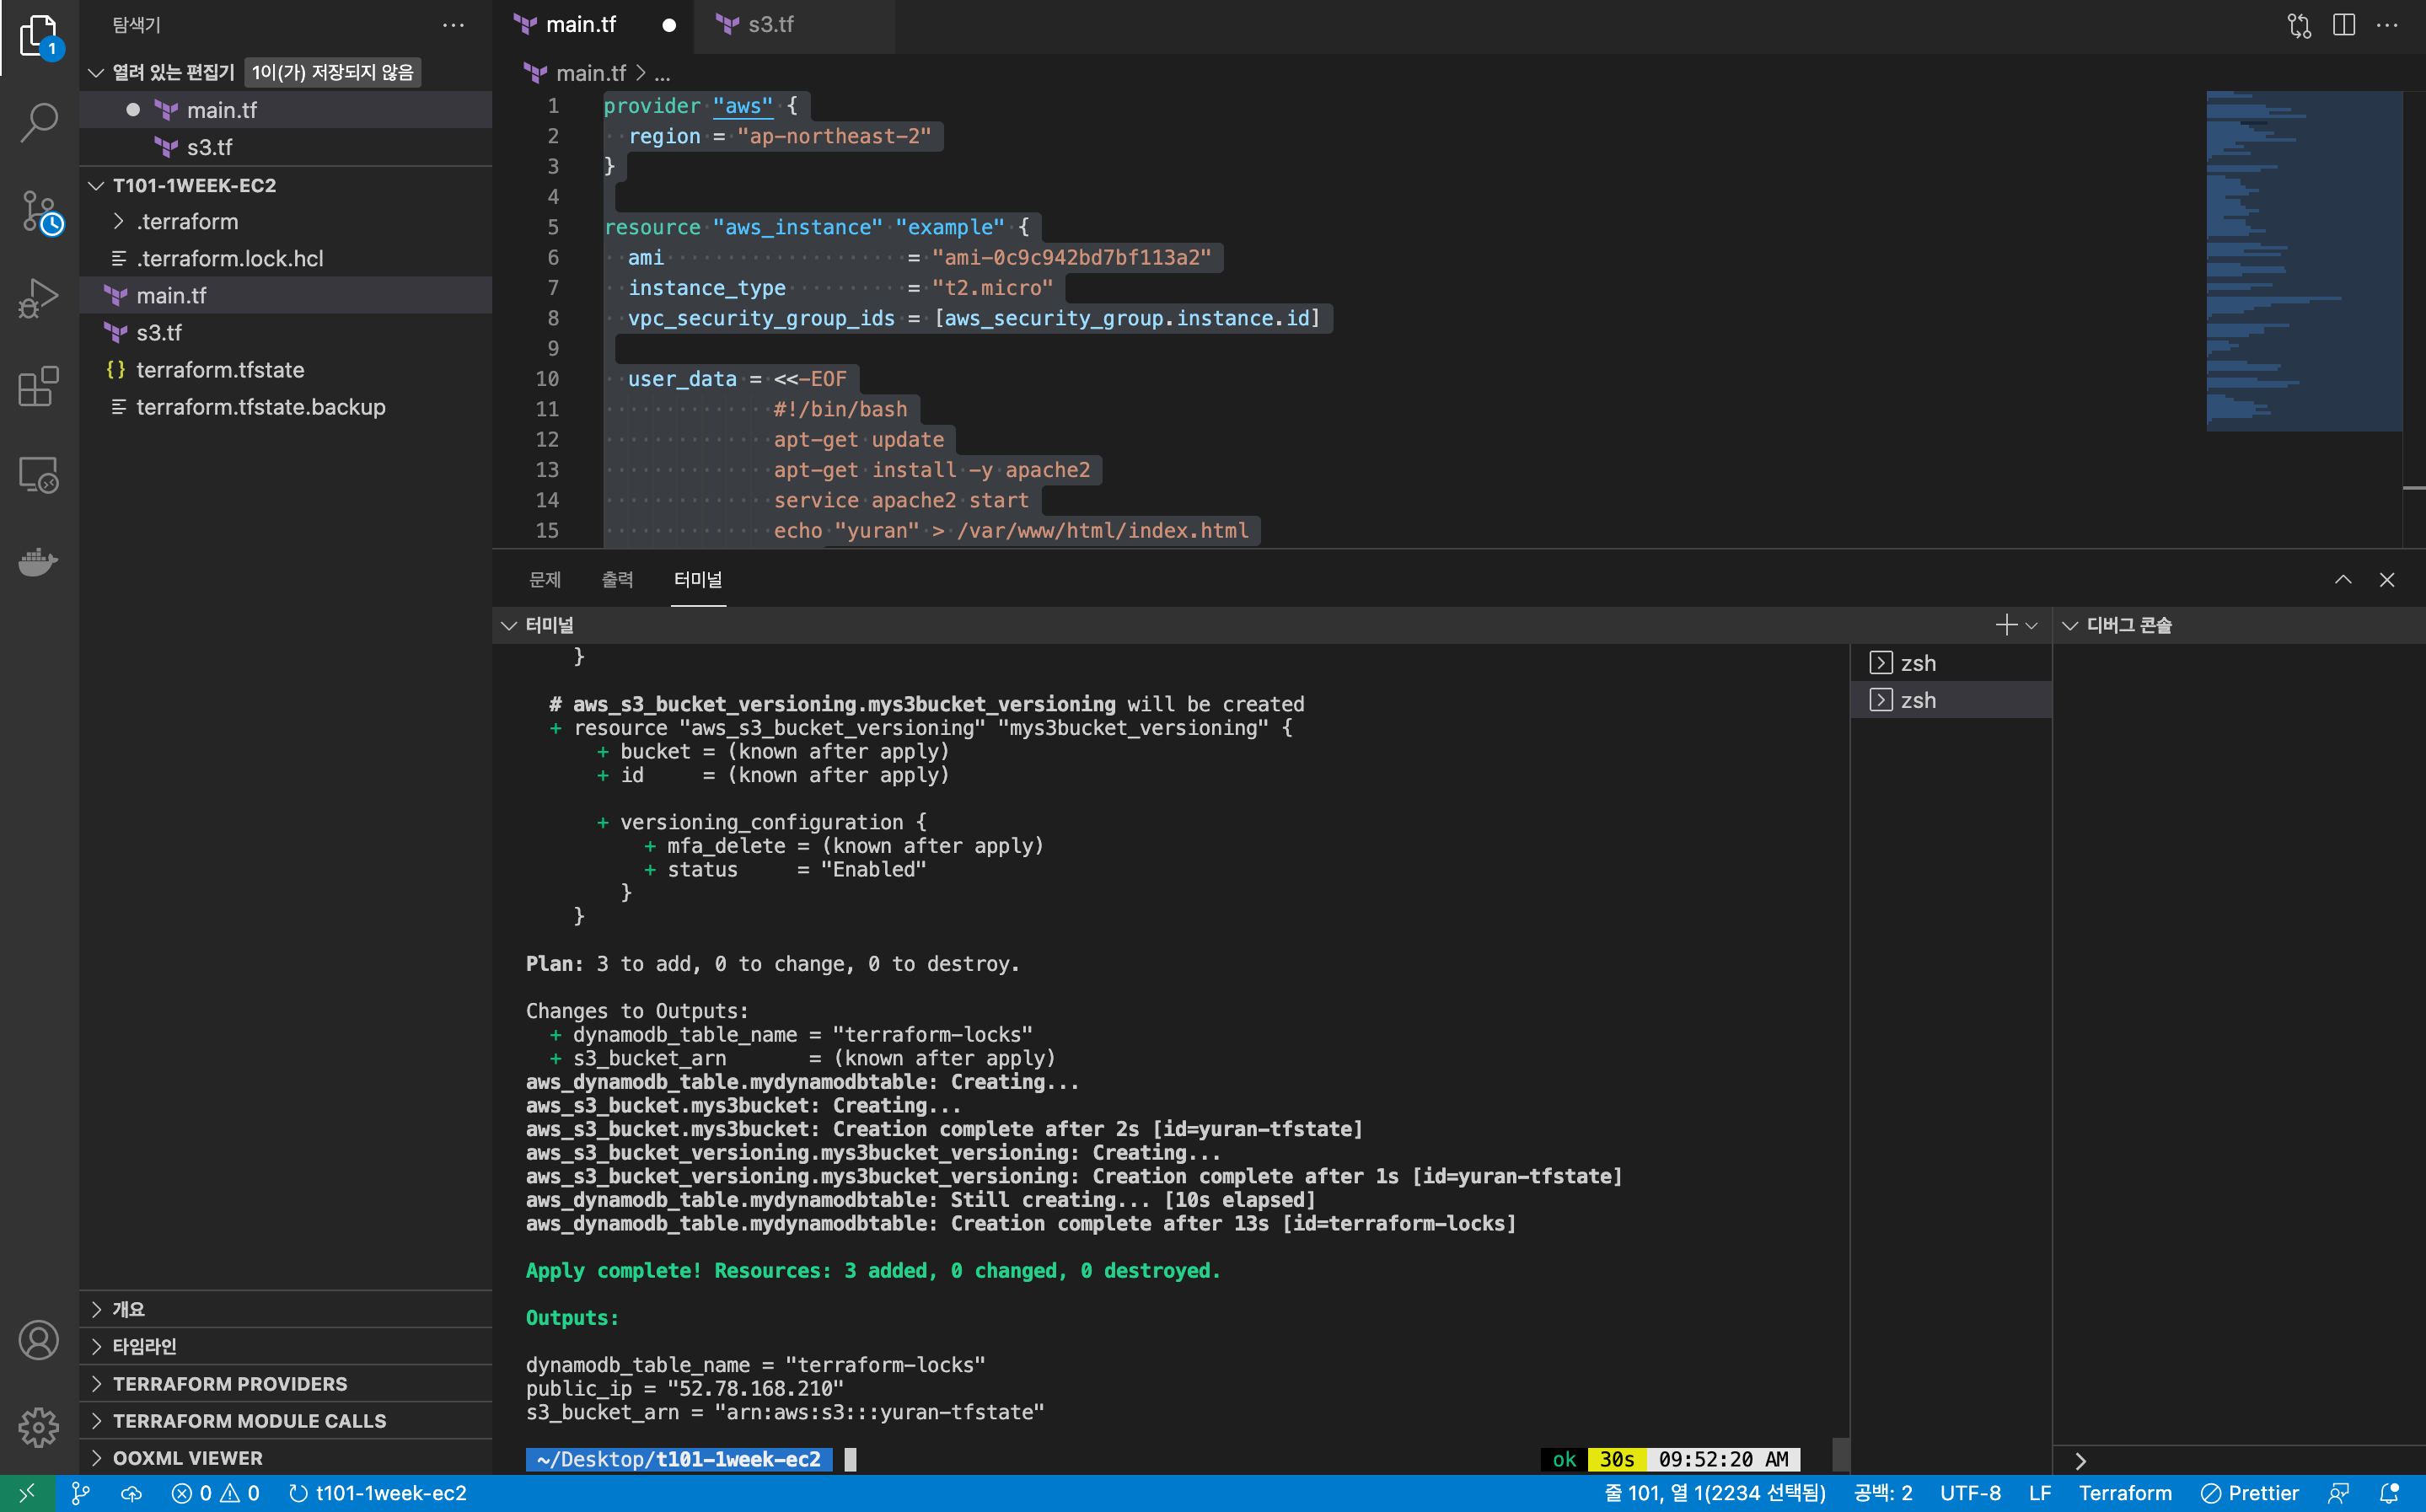
cat <<EOT > main.tf
provider "aws" {
  region = "ap-northeast-2"
}

resource "aws_instance" "example" {
  ami                    = "ami-0c9c942bd7bf113a2"
  instance_type          = "t2.micro"
  vpc_security_group_ids = [aws_security_group.instance.id]

  user_data = <<-EOF
              #!/bin/bash
              apt-get update
              apt-get install -y apache2
              service apache2 start
              echo "yuran" > /var/www/html/index.html
              EOF

  tags = {
    Name = "Single-WebSrv"
  }
}

resource "aws_security_group" "instance" {
  name = var.security_group_name

  ingress {
    from_port   = 80
    to_port     = 80
    protocol    = "tcp"
    cidr_blocks = ["0.0.0.0/0"]
  }
  ingress {
    from_port   = 22
    to_port     = 22
    protocol    = "tcp"
    cidr_blocks = ["0.0.0.0/0"]
  }
  egress {
    from_port       = 0
    to_port         = 0
    protocol        = "-1"
    cidr_blocks     = ["0.0.0.0/0"]
  }
}

variable "security_group_name" {
  description = "The name of the security group"
  type        = string
  default     = "terraform-example-instance"
}

output "public_ip" {
  value       = aws_instance.example.public_ip
  description = "The public IP of the Instance"
}
실행
terraform init
terraform plan
terraform apply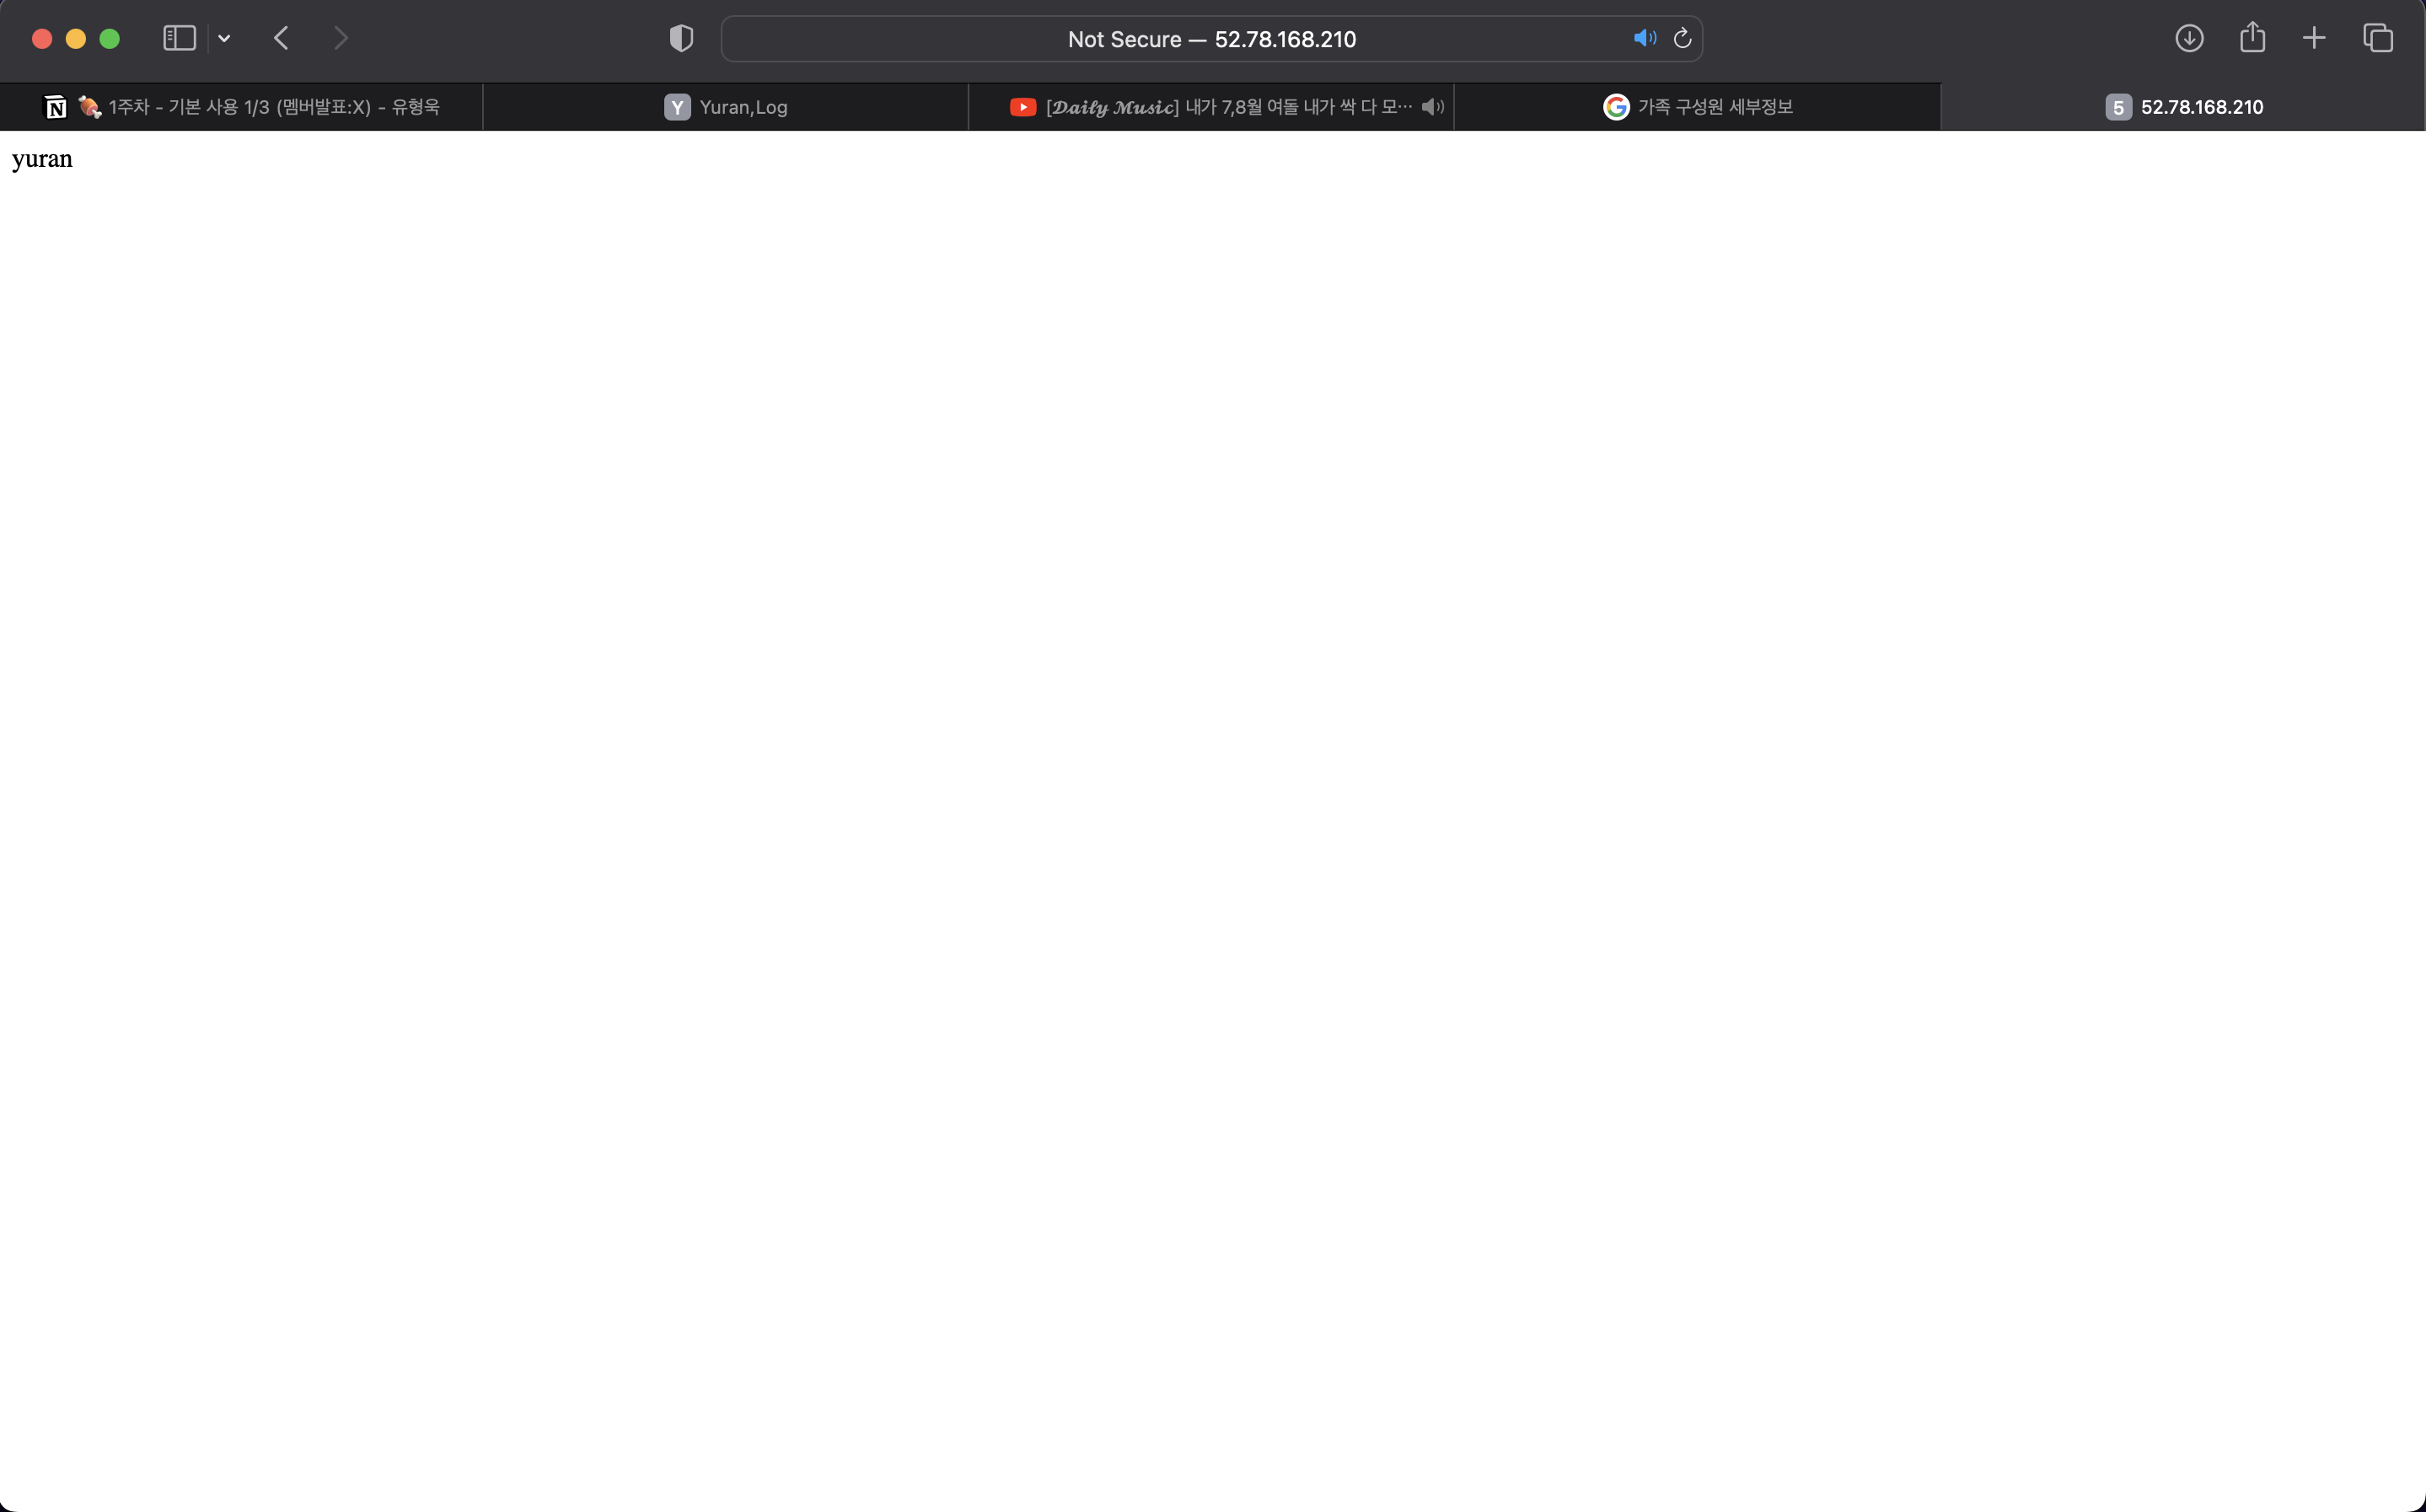
[도전과제2]AWS S3/DynamoDB 백엔드- 아래 노션 내용(작년 T101 1기 스터디 내용 중 백엔드 실습)을 참고해서, AWS S3/DynamoDB 백엔드 설정 실습 [참고: s3, azurerm, remote
provider "aws" {
  region = "ap-northeast-2"
}

resource "aws_instance" "example" {
  ami                    = "ami-0c9c942bd7bf113a2"
  instance_type          = "t2.micro"
  vpc_security_group_ids = [aws_security_group.instance.id]

  user_data = <<-EOF
              #!/bin/bash
              apt-get update
              apt-get install -y apache2
              service apache2 start
              echo "yuran" > /var/www/html/index.html
              EOF

  tags = {
    Name = "Single-WebSrv"
  }
}

resource "aws_security_group" "instance" {
  name = var.security_group_name

  ingress {
    from_port   = 80
    to_port     = 80
    protocol    = "tcp"
    cidr_blocks = ["0.0.0.0/0"]
  }
  ingress {
    from_port   = 22
    to_port     = 22
    protocol    = "tcp"
    cidr_blocks = ["0.0.0.0/0"]
  }
  egress {
    from_port       = 0
    to_port         = 0
    protocol        = "-1"
    cidr_blocks     = ["0.0.0.0/0"]
  }
}

variable "security_group_name" {
  description = "The name of the security group"
  type        = string
  default     = "terraform-example-instance"
}

output "public_ip" {
  value       = aws_instance.example.public_ip
  description = "The public IP of the Instance"
}


resource "aws_s3_bucket" "mys3bucket" {
  bucket = "yuran-tfstate"
}

# Enable versioning so you can see the full revision history of your state files
resource "aws_s3_bucket_versioning" "mys3bucket_versioning" {
  bucket = aws_s3_bucket.mys3bucket.id
  versioning_configuration {
    status = "Enabled"
  }
}

resource "aws_dynamodb_table" "mydynamodbtable" {
  name         = "terraform-locks"
  billing_mode = "PAY_PER_REQUEST"
  hash_key     = "LockID"

  attribute {
    name = "LockID"
    type = "S"
  }
}

output "s3_bucket_arn" {
  value       = aws_s3_bucket.mys3bucket.arn
  description = "The ARN of the S3 bucket"
}

output "dynamodb_table_name" {
  value       = aws_dynamodb_table.mydynamodbtable.name
  description = "The name of the DynamoDB table"
}

terraform {
  backend "s3" {
    bucket = "yuran-tfstate"
    key    = "dev/terraform.tfstate"
    region = "ap-northeast-2"
    dynamodb_table = "terraform-locks"
    # encrypt        = true
  }
}

하이