template (html 부분) 만들기
- id와 password를 위한 label을 만든다.
- label for: 어떤 태그를 위한 라벨인지 정의한다.
- label for와 input의 id를 맞춰 한쌍을 이룬다.
//App.vue

	<template>
      <form>
        <div>
          <label for="username">id:</label>
          <input type="text" id="username">
        </div>
		<div>
          <label for="password"> pw: </label>
          <input type="password" id="password">
	    </div>
	   </form>
	</template>
- id, password의 div 태그 밑에 button을 만든다.
<button> login </button>input 박스의 입력된 값을 받을 수 있게 뷰 데이터 생성하기
- data에 연결해서 username/password 만들기
		export default{
          data: function(){
            return{
              username:'',
              password:'',
            }
          }
}- template의 input에서 v-model을 이용해서 username/password를 연결한다; input 내용이 자동으로 username/password에 반영되고 username이 input의 화면에 연결 : two-way data binding
     <input type="text" id="username" v-model="username">
<input type="password" id="password" v-model="password">-
로그인 버튼을 눌렀을 때 username/password 값을 가지고 올 수 있는지 개발자도구 창에서 확인한다.; 버튼 타입이 submit이면 input에서 enter까지 form에서 영향을 받음. (이벤트 버블링 캡쳐링 이해가 안가면 캡틴판교 강사님의 블로그 를 읽어보자)
-
버튼 누르면 자꾸 새로고침이 되기 때문에 form 에서 이벤트 실행을 위해 v-on:submit="submitForm" 정의 후 데이터 밑에 정의. submitForm: input박스의 값을 이용해서 서버에 보낸다
	//template
	<form v-on:submit="submitForm">

    //script
    export default{
		methods: {
    		submitForm: function(){
          }
}- methods의 submitForm에 콘솔로그 찍어서 확인해보기
(methods에서 data로 접근하는 방법: this사용하기)
      methods: {
          submitForm: function(event){
            console.log(this.username, this.password)
          }
}- 콘솔에 찍히자마자 새로고침 된다. (form의 기본동작: 새로고침 )
그래서 methods의 submitForm에 event.preventDefault(); 넣어준다. (새로고침 방지를 위해)
      methods: {
          submitForm: function(event){
            event.preventDefault();
            console.log(this.username, this.password)
          }
}- event.preventDefault()는 일반 js나 jQeury 방식. form의 새로고침을 막고있음. 이것을 vue 방식으로 바꾸자.
- event modifier: 이벤트의 기본동작을 막겠다.
<form v-on:submit.prevent="submitForm">axios를 이용해 데이터 전송 및 form 구현
- 터미널 창에 npm run serve를 끄고 npm i axios 설치 후 script창에 axios import하기
  <script>
    import axios from 'axios';
</script>- axios 변수를 이용
- axios: http를 이용한 통신 라이브러리; 브라우저에서 서버로 데이터를 주고받기 위함
- post: 데이터를 생성/조작하는 http 방법
  methods: {
      submitForm: function(){
        console.log(this.username, this.password);
        axios.post();
      }
}- axios.post()에 url이 필요하기 때문에 jsonplaceholder에서 url을 가지고 옴
- url, data 변수 지정
var url='https://jsonplaceholder.typicode.com/users';
var data= {
      username: this.username,
      password: this.password,
}- axios.post 규칙
- url 보내고
- data를 넘긴다
axios.post(url, data)- url, data를 post 요청으로 성공적으로 보냈는지 then/catch로 확인
    axios.post(url, data)
      .then( function(response){
      console.log(response)
    })
      .catch(function(error){
      console.log(error)
})- 결과 확인하기❤️
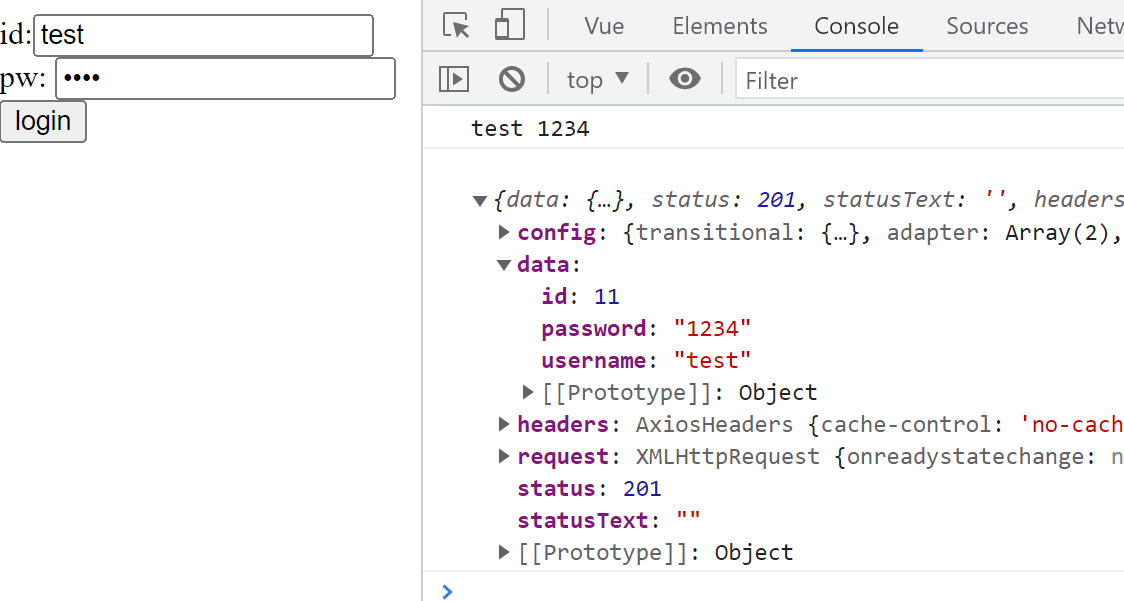
콘솔창에 데이터가 오고 가고가 왔음을 확인
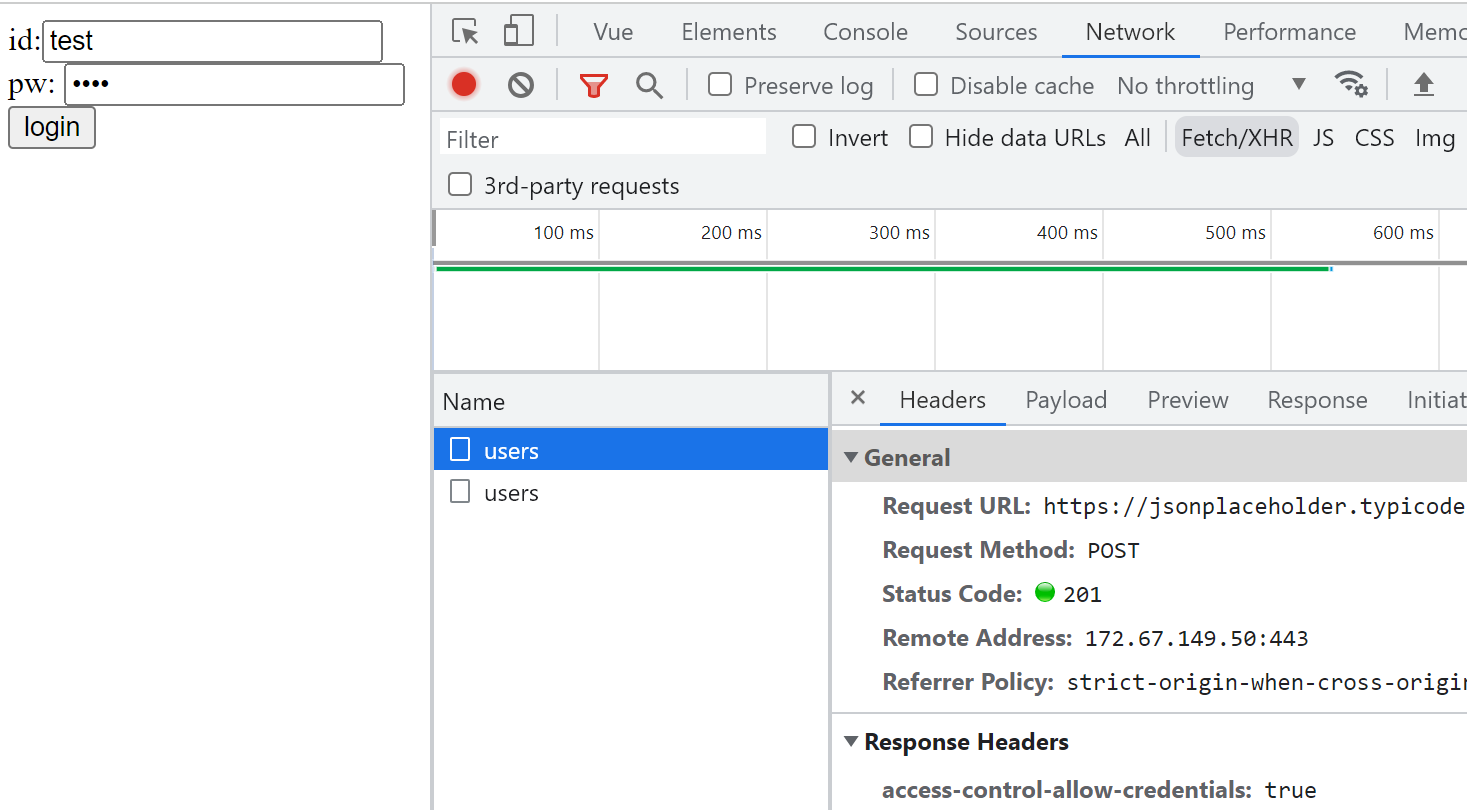
네트워크창의 XHR에서도 확인

FE 개발자가 되기 위해 달리고 있어요 🏃♀️