AWS EC2 회원가입하여 인스터스 생성하기
https://victorydntmd.tistory.com/61
이분글을 참고하여 인스턴스를 생성했습니다.
참고로 보안규칙은 이렇게 설정해주셔야 mysql , node.js 설정하실떄 편합니다!.
PuTTYGEN 이용하여 키패어 로 받은 PEM 파일 공개키로 바꾸기
Load 버튼을 클릭하신 뒤, 키패어를 클릭하신다음 Generate 를 클릭하시면 쉽게 공개키로 변경이 가능합니다
winscp 를 이용하여 FTP 서버 및 putty접속하기
구글에 winscp download 검색 후 무료버전 다운로드를 받습니다1 새로운 세션을 클릭
2. 호스트 이름 (ip주소) 사용자이름(aws 사용자)
3. 고급 클릭
4. 인증 -> ... 클릭 후 Puttygen 으로 만든 공개키 열기
5. 확인
6.로그인
awsEC2 서버에 쉽게 로그인이 가능합니다.,
ec2내에 ubuntu 에서 Nginx& node.js 설치하기
https://devlog-h.tistory.com/16
이분의 글을 참고하시면 nginx 와 node.js 를 정말 쉽고빠르게 설치할 수있습니다.
linux 편집기 명령어
i 문자입력
dd 커서가 있는 라인 삭제
x 커서 문자 삭제
esc :/문자열 문자열 찾기
sudo apt-get install nginx
nginx 서비스시작
sudo service nginx start/restart/stop
`vi /etc/nginx/sites-available/default`

root /var/www/html; # 지우기
index index.html index.html index.nginx-debian.html; # 지우기


server_name www.website.com; # 수정
location / {
		proxy_pass http://localhost:3000; # 추가

}
node.js 시작
> curl -sL https://deb.nodesource.com/setup_10.x | sudo -E bash -
> sudo apt-get install -y nodejs //설치방법
npm start
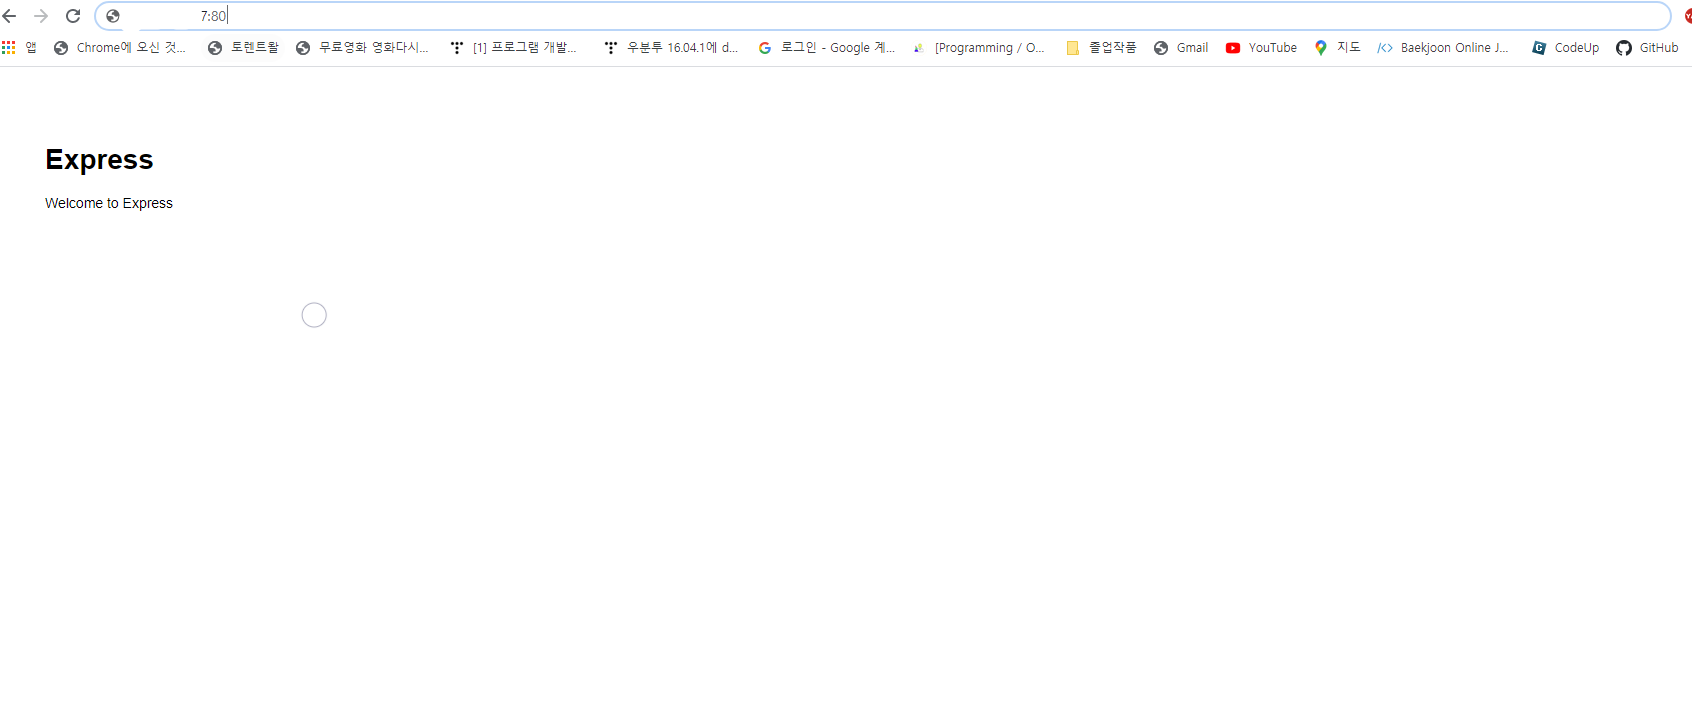
(express 파일은 window 에서 express-generator 로 기본파일을 만든 다음 가져왔습니다)

mysql 외부접속
sudo apt install mysql-server

sudo netstat -tap | grep mysql

 cd /etc/mysql/mysql.conf.d

sudo vi mysqld.cnf
// --> bind-address 127.0.0.1 --> -0.0.0.0으로 변경
//root 비밀번호는 처음에 없습니다.
워크벤치로 aws 서버로 접속
https://m.blog.naver.com/software705/221337666338
이분글이 너무 잘정리 되어있어서 보고 한번에 만들었습니다. 참고바랍니다.
