ajax 형식
오늘은 저번에 배운 ajax에 대해 좀 더 알아보도록 하겠다
function my_func() {
    //AJAX 호출
    $.ajax({
        async: true,   // 동기 혹은 비동기 호출을 지청
        url : 'http://www.kobis.or.kr/kobisopenapi/webservice/rest/boxoffice/searchDailyBoxOfficeList.json%27,// 내가 호출하려는 main 링크
        data: {
            key : '74a66d13424d80d8f869a5824b66a2d6',
            targetDt : '20220209'
        },
        method : 'GET',
        timeout : 3000,
        dataType :'json',
        success : function (result) {
           let m_title = result["boxOfficeResult"]["dailyBoxOfficeList"][0]["movieNm"]
           //리스트 형식으로 object안에서 찾을 데이터를 써주면 된다.
           //[0]은 인덱스 번호와 마찬가지로 첫번째를 의미한다.
            $('#myDiv').text(m_title)
        },
        error : function () {
            alert('먼가 이상해요!')
        }
    })
}
이 예제를 가지고 진행해보도록 하겠다.
- 자바스크립트 객체는 {}안에다 작성해준다.
- async: true
- 동기 혹은 비동기 호출 지칭 default 값으로 true이다.
- 비동기로 할거니? 라고 물어보는 것
동기와 비동기
- 동기방식
- 동기 방식은 프로그램하기가 좋음! 편하다
- 한줄 끝나고 바로 다음줄을 처리 즉 순처적 처리가 가능
- 하지만 비효율 적이다 ( 그앞에 작업이 끝날때까지 계속해서 기다려야함
- 비동기 방식
카페에서 커피를 시키는 것처럼 커피를 주문해 놓고 기다리는 것이 아닌 다른일을 하다가 벨이 울리면(이벤트 발생)가서 커피를 받으러 가는걸 생각하면 편하다.
프로그램적 입장에서 생각해보자
- 특정함수 호출
(동기 방식은 그 함수가 끝날 때 까지 대기해야함)- 비동기 방식은 함수를 실행 한 후 그 다음 코드를 진행 함
- 이벤트 발생시 그 특정 함수를 콜백해서 호출해주는 방식으로 프로그램 처리
비동기 방식은 효율적이다.
이벤트 발생시 특정 함수를 호출한다.
프로그램 처리가 조금 어렵다(이벤트 처리방식)
url: 내가 호출하려는 main link
data {} : 내가 넘겨줘야하는 key 값과 targetDt를 명시
method로 get방식이용
dataType은 json 데이터를 사용한다고 명시
success : function() 성공시 람다 함수를 호출해서 안에 내용 보여줌
error: function() 실패시 람다함수 호출해서 안에 내용 보여줌
이렇게해서 콘솔에 불러온것이 자바스크립트 객체임
- 데이터 가져오기
브라우저에 주소 그대로 넣어서 json 찍기
url 입력 후 ?key=발급받은키값&targetDt= 타겟인 날짜코드상 result가 자바스크립트 객체를의미 즉 json인데 자바스크립트객체로 바뀌어서 표현됨
result[""] 이런식으로 배열형태를 사용하면 안에 내용을 가져올 수 있음즉 자바스크립트 안에있는 내용을 땡긴다고 생각하면됨
success: function(result) {
	let m_title = result["boxofficeResult"]["dailyBoxOfficeList"][0]["movieNm"]
    // 변수에다가 값을 넣어줌
    $('#myDiv').text(m_title)
},
error : function () {
      alert('먼가 이상해요!')
}
부트스트랩 이용해보기
부트스트랩을 이용하면 css에 대한 지식이 없어도 부트스트랩에서 제공되는 기능을 사용하면 화면을 쉽게 꾸밀 수 있다!
사용방법은 간단하다
- 부트스트랩 홈페이지에서 사용할 프레임 워크를 찾는다
- 페이지 소스보기로 코드 복사후 webstorm에 붙여 넣는다(webstrom프로그램 이용안하면 다른 프로그램 이용해도된다)
- 필요없는 코드는 지우고 사용할 코드만 남긴다.
- 부트스트랩 cdn을 홈페이지에서 가져온다.
- style내용은 화면에 포함시켜야 하기 때문에 그냥 냅둔다.
- custom styles template도 가져와야한다
아까 사용한 부트스트랩 프레임워크를 열고 f12를 눌러 source창에서 필요한 데이터를 가져온다
(ex) dashboard.css
- 전체적인 코드를 한번 확인해 보고 분석해보자!
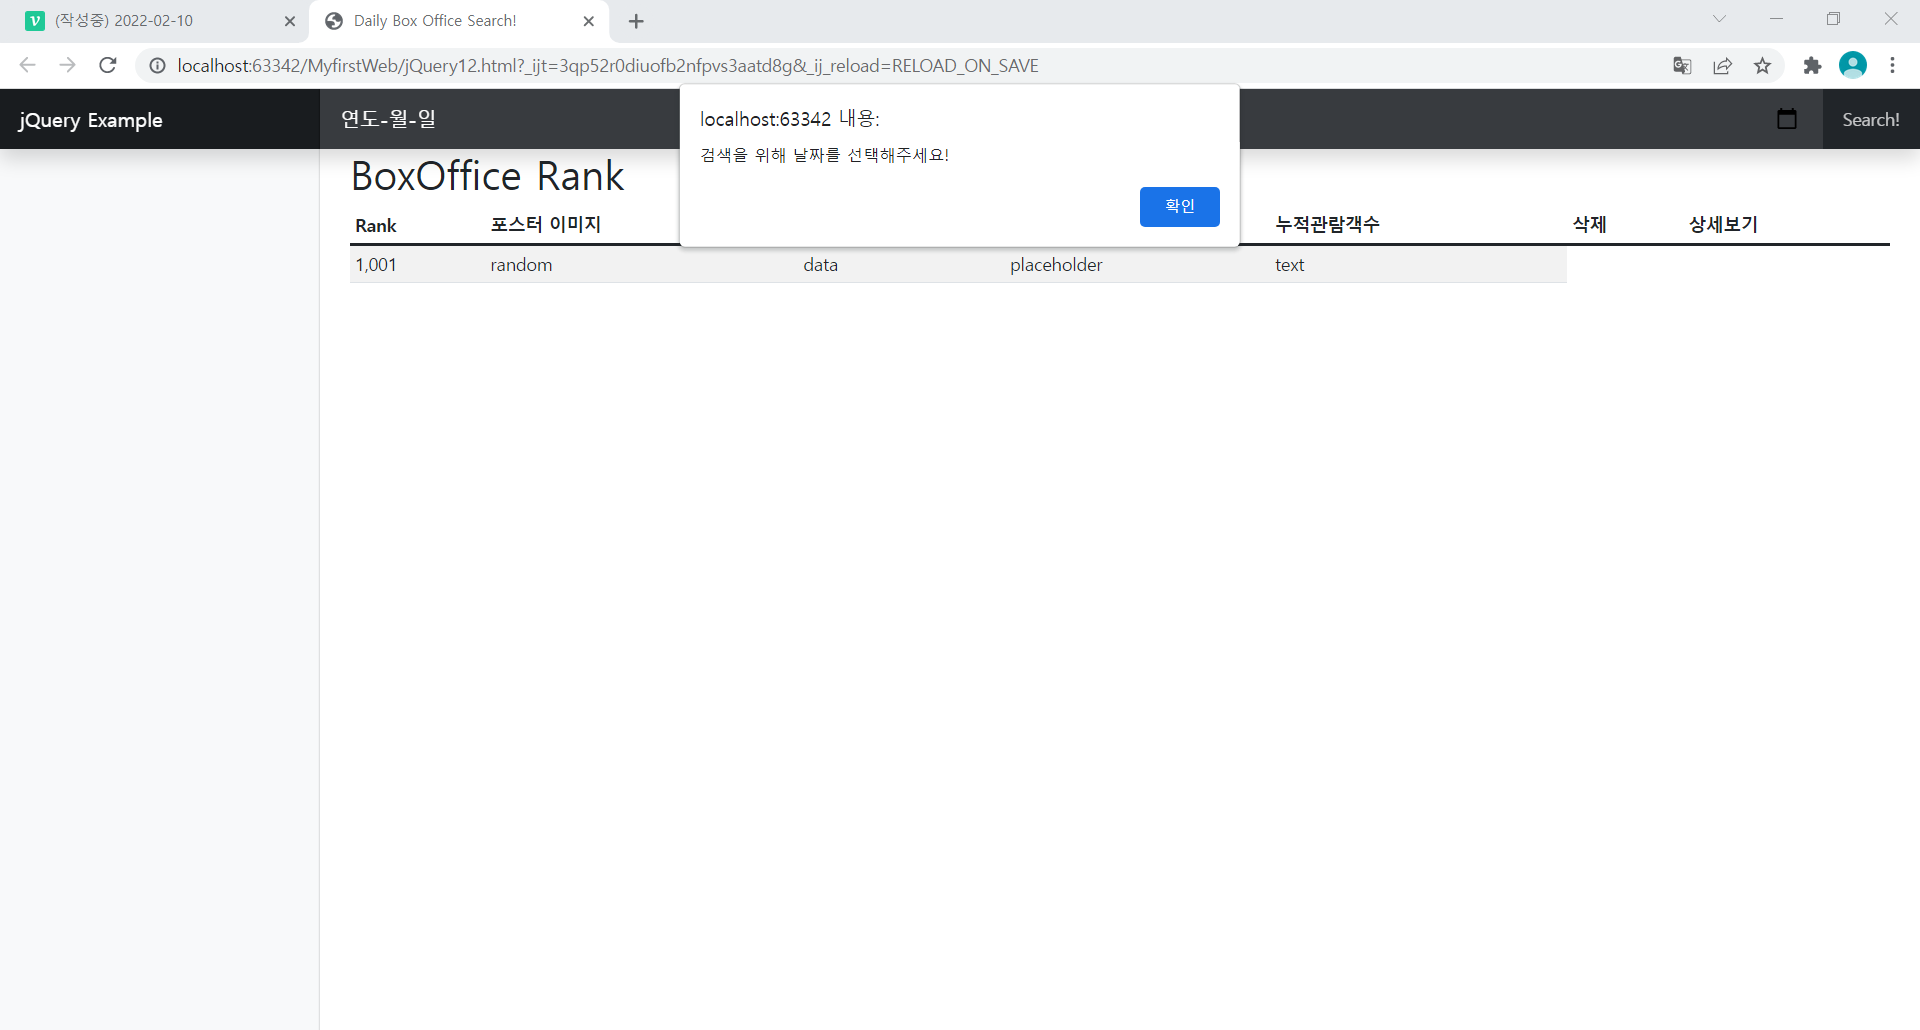
<!doctype html>
<html lang="en">
<head>
    <meta charset="utf-8">
    <title>Daily Box Office Search!</title>

    <!-- jQuery CDN   -->
    <script src="https://code.jquery.com/jquery-2.2.4.min.js" integrity="sha256-BbhdlvQf/xTY9gja0Dq3HiwQF8LaCRTXxZKRutelT44=" crossorigin="anonymous"></script>
    <script src="js/jQuery12.js"></script>
    <!-- Bootstrap CDN -->
    <!-- CSS only -->
    <link href="https://cdn.jsdelivr.net/npm/bootstrap@5.1.3/dist/css/bootstrap.min.css" rel="stylesheet" integrity="sha384-1BmE4kWBq78iYhFldvKuhfTAU6auU8tT94WrHftjDbrCEXSU1oBoqyl2QvZ6jIW3" crossorigin="anonymous">

    <style>
        .bd-placeholder-img {
            font-size: 1.125rem;
            text-anchor: middle;
            -webkit-user-select: none;
            -moz-user-select: none;
            user-select: none;
        }

        @media (min-width: 768px) {
            .bd-placeholder-img-lg {
                font-size: 3.5rem;
            }
        }
    </style>


    <!-- Custom styles for this template -->
    <link href="css/dashboard.css" rel="stylesheet">
</head>
<body>

<header class="navbar navbar-dark sticky-top bg-dark flex-md-nowrap p-0 shadow">
    <a class="navbar-brand col-md-3 col-lg-2 me-0 px-3" href="#">jQuery Example</a>
    <button class="navbar-toggler position-absolute d-md-none collapsed" type="button" data-bs-toggle="collapse" data-bs-target="#sidebarMenu" aria-controls="sidebarMenu" aria-expanded="false" aria-label="Toggle navigation">
        <span class="navbar-toggler-icon"></span>
    </button>
<!--    <input class="form-control form-control-dark w-100" type="text" placeholder="Search" aria-label="Search">-->
    <input id="searchDate" class="form-control form-control-dark w-100" type="date">

    <div class="navbar-nav">
        <div class="nav-item text-nowrap">
            <a class="nav-link px-3" href="#" onclick="my_func()">Search!</a>
        </div>
    </div>
</header>
<div class="container-fluid">
    <div class="row">
        <nav id="sidebarMenu" class="col-md-3 col-lg-2 d-md-block bg-light sidebar collapse">
            <div class="position-sticky pt-3">
                <ul class="nav flex-column">


                </ul>


                <ul class="nav flex-column mb-2">

                </ul>
            </div>
        </nav>

        <main class="col-md-9 ms-sm-auto col-lg-10 px-md-4">

            <h2>BoxOffice Rank</h2>
            <div class="table-responsive">
                <table class="table table-striped table-sm">
                    <thead>
                    <tr>
                        <th scope="col">Rank</th>
                        <th scope="col">포스터 이미지</th>
                        <th scope="col">영화제목</th>
                        <th scope="col">개봉일</th>
                        <th scope="col">누적관람객수</th>
                        <th scope="col">삭제</th>
                        <th scope="col">상세보기</th>
                    </tr>
                    </thead>
                    <tbody>
                    <tr>
                        <td>1,001</td>
                        <td>random</td>
                        <td>data</td>
                        <td>placeholder</td>
                        <td>text</td>
                    </tr>
                    </tbody>
                </table>
            </div>
        </main>
    </div>
</div>

</body>
</html>
- javascript
function my_func() {
    let my_date = $('#searchDate').val()
    if (my_date == '') {
     alert('검색을 위해 날짜를 선택해주세요!')
    }
    else {
        // alert(my_date) // ex) 2022-02-09
        // 우리가 필요한 날짜의 형식 => 20220209 형식이 다름!
        let modified_date = my_date.replace(/-/g, '')
        // -라는 문자열을 공백으로 바꾼다는 의미 / 슬래시는 정규 표현 g는 글로벌의미로 전체를 바꾼다는 의미

        // alert(modified_date)
        //AJAX 호출
        $.ajax({
            async: true,   // 동기 혹은 비동기 호출을 지청
            url : 'http://www.kobis.or.kr/kobisopenapi/webservice/rest/boxoffice/searchDailyBoxOfficeList.json',// 내가 호출하려는 main 링크
            data: {
                key : '74a66d13424d80d8f869a5824b66a2d6',
                targetDt : modified_date
            },
            method : 'GET',
            timeout : 3000,
            dataType :'json',

            success : function (result) {
                $('tbody').empty()
                // <tr>
                //     <td>1,001</td>  순위
                //     <td><img src ='~~~'>/td> 포스터이미지
                //     <td>data</td>   영화제목
                //     <td>placeholder</td>  개봉일
                //     <td>text</td>   누적관람객수
                //     <td><input type ='button' value='삭제' class ="btn btn-primary"></td>   삭제버튼
                //     <td><input type ='button' value='상세보기'></td>   상세정보버튼 이건 나중에 진행하도록 하겠다.
                //     두개의 버튼을 만들어야한다 일단 삭제버튼부터 생각해보자
                // </tr>
                // 이 형식을 만들거다. 안에있는 데이터는 result의 값으로 바꿀거임
                for(let i=0;i<10;i++) {
                    let tr = $('<tr></tr>')
                    let rankTd = $('<td></td>').text(result['boxOfficeResult']['dailyBoxOfficeList'][i]['rank'])
                    let imgTd = $('<td></td>')
                    //이미지 검색할 때 사용할 검색어
                    let searchTitle = result['boxOfficeResult']['dailyBoxOfficeList'][i]['movieNm'] + " 포스터"
                    let img = $('<img />') // 이미지 태그
                    imgTd.append(img)
                    $.ajax({
                        async : true,
                        url:'https://dapi.kakao.com/v2/search/image',
                        method: 'GET',
                        headers: {
                            Authorization: "KakaoAK "+ '01ea37b19aea6291fe84fdb7c5aadcbd'
                        },
                        data : {
                            query : searchTitle // 검색어는 위에 만든 이미지 검색에 사용할 검색어를 사용한다.
                        },
                        timeout: 4000,
                        dataType : 'json',
                        success: function (result) {
                            let imgUrl = result['documents'][0]['thumbnail_url']
                            img.attr('src', imgUrl)
                        },
                        error: function () {
                            alert('오류입니다.')
                        }
                    })

                    let titleTd =$('<td></td>').text(result['boxOfficeResult']['dailyBoxOfficeList'][i]['movieNm'])
                    let openTd =$('<td></td>').text(result['boxOfficeResult']['dailyBoxOfficeList'][i]['openDt'])
                    let accAudiTd =$('<td></td>').text(result['boxOfficeResult']['dailyBoxOfficeList'][i]['audiAcc'])
                    //  삭제 버튼을 만들어보자
                    let delTd = $('<td></td>')
                    // td안에 input형식을 넣어줘야 하기 때문에 2개의 변수를 선언해주고 하나는 td 하나는 input관련 객체를 생성한다.
                    let delBtn = $('<input />').attr('type','button').attr('value','삭제')
                    // 그런다음 delTd(<td></td>)안에 delBtn을 append시켜서  <td><input type ='button' value='삭제'></td> 이 형식을 만들어준다
                    // 버튼을 이쁘게 만들기 위해 버튼에 대한 클래스도 추가해줘야한다.
                    delBtn.addClass("btn btn-danger") // btn은 기본 button의 속성이고 btn-primary는 파란색 버튼
                    // 버튼에대핸 부트스트랩이 기본적으로 적용된게 있다. warring은 노란색 info는 초록색 danger은 빨간색을 의미한다.
                    delBtn.on('click', function () {
                        // 현재 이벤트가 발생한 Event Source의 document Object => this
                        // 현재 이벤트가 발생한 button이 가지고 있는 부모 td를 찾은후 그 td의 부모 tr을 찾아서 삭제하라는 코드를
                        //작성하면 된다. 부모는 .parent를 사용하면 된다.
                        $(this).parent().parent().remove()
                    })
                    // tr에 연결해주기위해 append를 한번 더해준다
                    delTd.append(delBtn)
                    tr.append(rankTd)
                    tr.append(imgTd)
                    tr.append(titleTd)
                    tr.append(openTd)
                    tr.append(accAudiTd)   //append 자식으로 가져다 붙임.
                    tr.append(delTd)
                    $('tbody').append(tr)
                }
            },
            error : function () {
                alert('먼가 이상해요!')
            }
        })
    }
}
- css
body {
  font-size: .875rem;
}

.feather {
  width: 16px;
  height: 16px;
  vertical-align: text-bottom;
}

/*
 * Sidebar
 /

.sidebar {
  position: fixed;
  top: 0;
  / rtl:raw:
  right: 0;
  /
  bottom: 0;
  / rtl:remove /
  left: 0;
  z-index: 100; / Behind the navbar /
  padding: 48px 0 0; / Height of navbar */
  box-shadow: inset -1px 0 0 rgba(0, 0, 0, .1);
}

@media (max-width: 767.98px) {
  .sidebar {
    top: 5rem;
  }
}
.sidebar-sticky {
  position: relative;
  top: 0;
  height: calc(100vh - 48px);
  padding-top: .5rem;
  overflow-x: hidden;
  overflow-y: auto; /* Scrollable contents if viewport is shorter than content. */
}

.sidebar .nav-link {
  font-weight: 500;
  color: #333;
}

.sidebar .nav-link .feather {
  margin-right: 4px;
  color: #727272;
}

.sidebar .nav-link.active {
  color: #2470dc;
}

.sidebar .nav-link:hover .feather,
.sidebar .nav-link.active .feather {
  color: inherit;
}

.sidebar-heading {
  font-size: .75rem;
  text-transform: uppercase;
}
/*
 * Navbar
 */

.navbar-brand {
  padding-top: .75rem;
  padding-bottom: .75rem;
  font-size: 1rem;
  background-color: rgba(0, 0, 0, .25);
  box-shadow: inset -1px 0 0 rgba(0, 0, 0, .25);
}

.navbar .navbar-toggler {
  top: .25rem;
  right: 1rem;
}

.navbar .form-control {
  padding: .75rem 1rem;
  border-width: 0;
  border-radius: 0;
}

.form-control-dark {
  color: #fff;
  background-color: rgba(255, 255, 255, .1);
  border-color: rgba(255, 255, 255, .1);
}

.form-control-dark:focus {
  border-color: transparent;
  box-shadow: 0 0 0 3px rgba(255, 255, 255, .25);
}
-
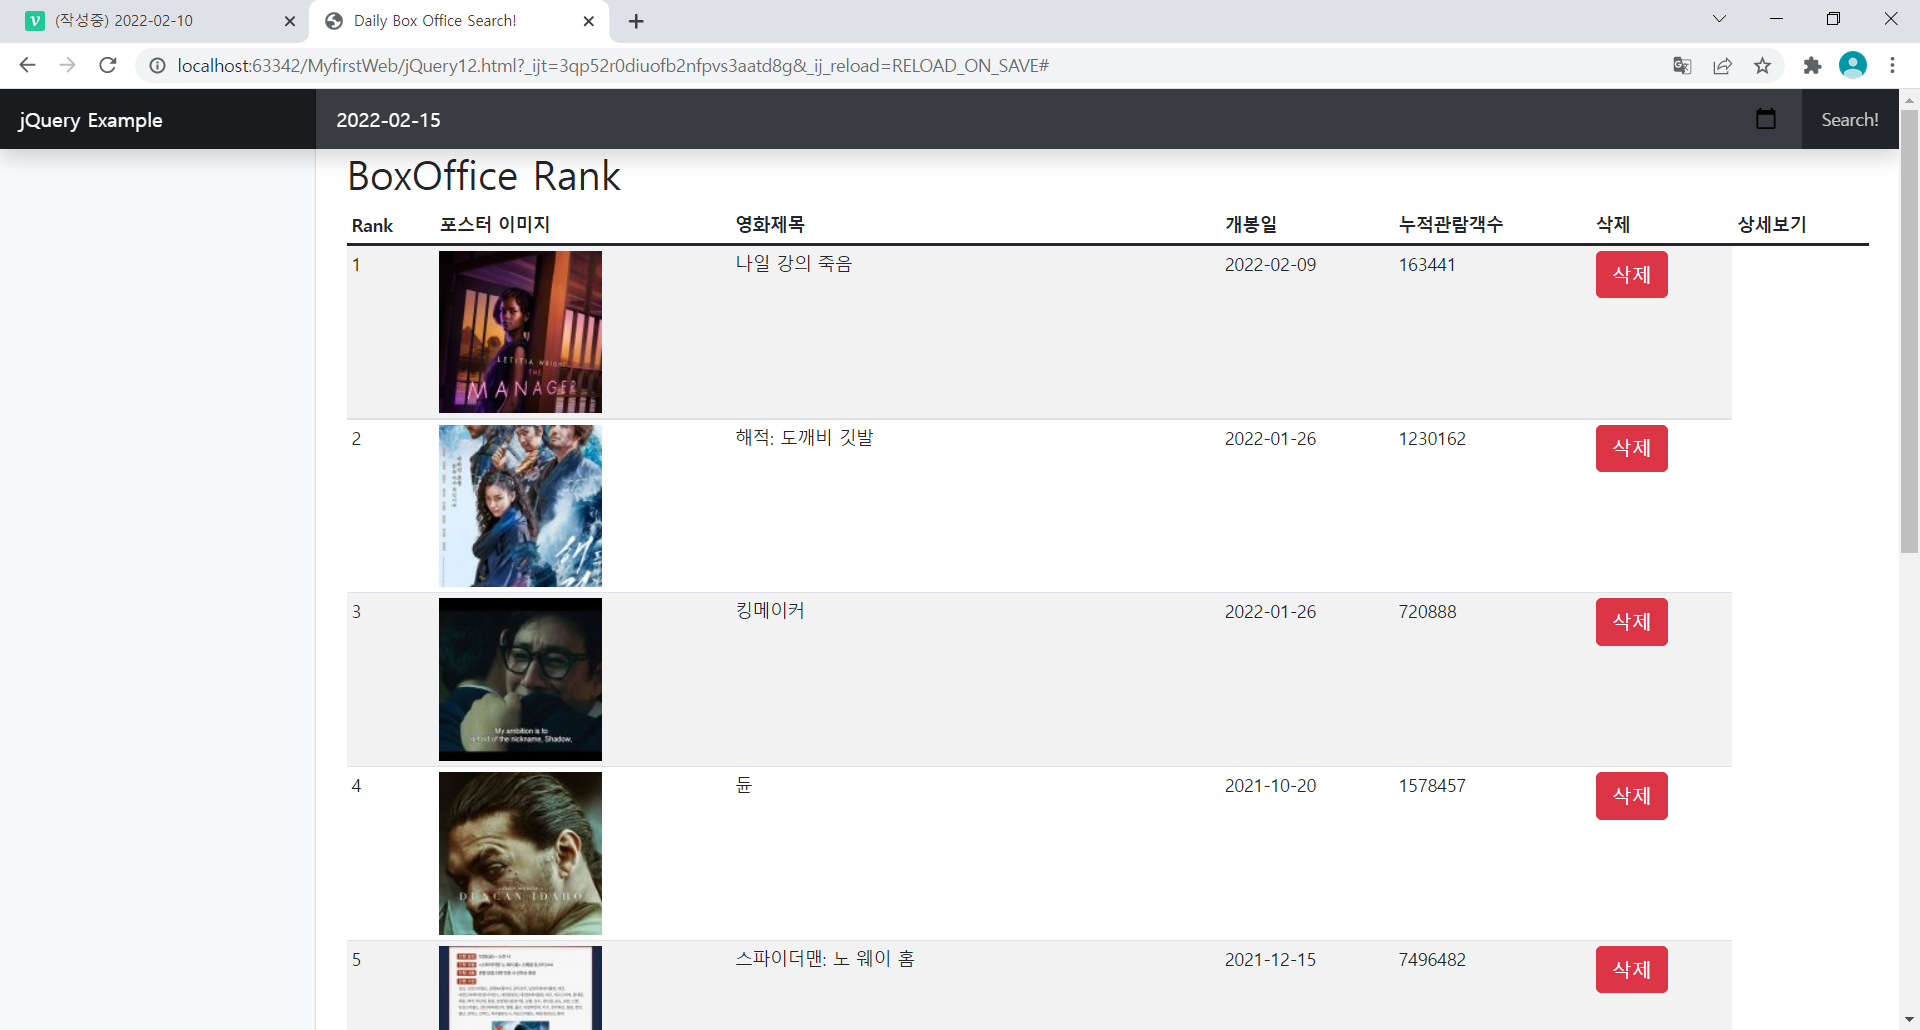
다음과 같은 결과가 나온다.

초보개발자