"Django"(2)
어제하던 프로젝트에 이어서 진행해보도록 하겠다
from django.contrib import admin
from django.urls import path, include
# 여기까진 기본 url http://127.0.0.1:8000/이다
urlpatterns = [
    path('admin/', admin.site.urls), # admin page 장고에서 기본적으로 지원됨
    path('polls/', include('polls.urls'))
    # http://127.0.0.1:8000/뒤에 polls/라는 url
    # 즉 http://127.0.0.1:8000/polls/로 들어가게 되면
    # include('polls.urls)를 통해 polls폴더의 url.py로 이동하여 url처리를 하라는 뜻
   ]
- 각각의 기능이 가지는 url이 모두 다르다!
- root url에서 polls url이 추가가되면 polls.url로 이동하여 처리하게 된다.
- polls.urls.py
from django.urls import path, include
# view에 대한 경로를 import 해준다.
from polls import views
app_name = "polls"
urlpatterns = [
    # 여기까지의 경로 http://127.0.0.1:8000/polls/
    path('', views.index, name='index'),
    # path뒤에 공백이면 현재경로를 의미
    # views.index : views에서 제공되는 index 함수를 이용한 로직처리를 요청
    # name은 논리적인 이름을 의미한다.
    ]
다음과 같이 polls.urls도 설정을 완료 했으면 views로가서 로직 처리를 진행해야 한다.
- views.py
from django.shortcuts import render, get_object_or_404
from polls.models import Question
# models에서 Question을 가져온다.
# Create your views here.

# client의 request가 urlconf를 거쳐 view까지 들어와야 한다.
def index(request):
    # logic 처리
    # Database 처리
    # HTML에 표현해야할 처리된 결과값들이 생길 수 있다!
    # 이 결과 값들을 dictionary에 담아요!
    question_list = Question.objects.all().order_by('pub_date') # question의 객첸데 다 가지고와 라는 의미
    # 즉 Question객체인 모든 객체를 pub_date 기준으로 정렬해서 가져오라는 의미
    context = {
        "q_list" : question_list
    }
    # Template을 이용해서 클라이언트에게 response를 돌려줘요! 이 response가 http 객체임
    # render : 장고가 제공해주는 이 함수를 이용하자
    # render() 함수는 template html을 이용해서 http response 객체를 생성해줌!

    return render(request, 'polls/index.html', context) #두번째인자로 template html이 들어감
    # rquest와 polls안의 html을 이용하고 위에나온 context라는 결과객체를 이용할 것입니다
이제 polls안에서 template라는 폴더를 만들고 여기아네 어플리케이션 이름으로 폴더를 하나 더 생성해준다, 그리고 그안에 rsponse를 보낼 index.html 문서를 만들어준다.
- index.html
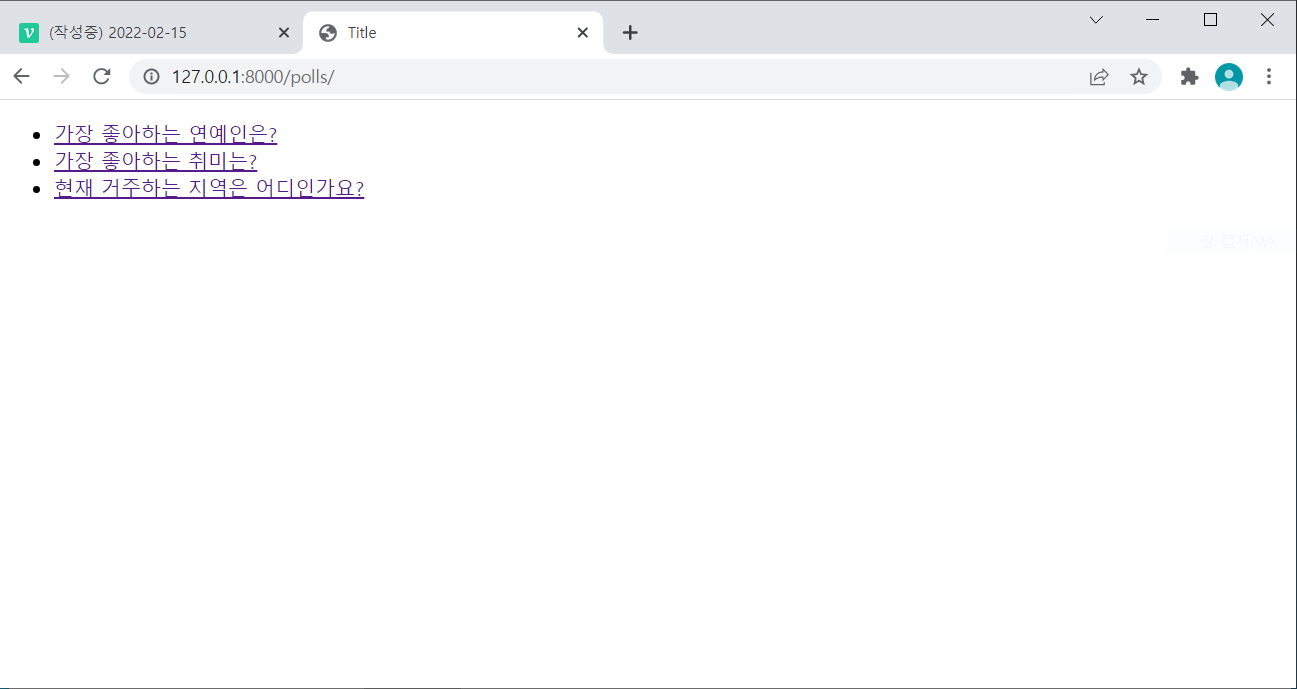
<!DOCTYPE html>
<html lang="en">
<head>
    <meta charset="UTF-8">
    <title>Title</title>
</head>
<body>
    <ul>

        {% for question in q_list  %}
            <li><a href="/polls/{{ question.id }}/">{{ question.question_text }}</a></li>
        {% endfor %}
       <!-- 값을 찍을때는 {{  }}를 사용하고 {%  %}는 로직을 실행할 때 쓴다 -->
<!-- question 테이블에서 만든 객체를 보여주고 하이퍼 링크를 걸어 해당 목록을 선택시 관련된 선택 목록 페이지로 이동 시킨다.-->
<!-- 즉 링크를 id번호에 따라 각각 부여해줘야한다. polls/1이면 1번항목 보여주세요 이런식-->
    </ul>
</body>
</html>
- runserver로 서버를 기동해 /polls/경로로 이동하면 다음과 같이 나온다.
- 이제 각각의 링크를 바꿔줘야한다. 3개가 각각 다른 링크를 실행해야 한다.
- 즉 polls/1,2,3숫자 (pk가 들어올때마다 링크가 바껴야함)
- polls/1이면 1번항목 보여주세요, polls/2면 2번항목에 대한 투표항목을 보여주세요 라는 request가 들어간다고 보면된다.
- views.py 파일에 로직처리를 위해 함수를 하나 선언해주자.
from django.shortcuts import render, get_object_or_404
from polls.models import Question
# Create your views here.
def detail(request,question_id):
    question = get_object_or_404(Question, pk=question_id)
	# 프라이머리키와 매칭되는 객체 하나만 가져오겠다는 의미이다.
    context = {
        "my_question": question
    }
    return render(request, "polls/detail.html", context)
이제 투표 버튼을 만들 차례이다.
라디오 버튼을 만들면 체크박스처럼 다 선택이 된다. 그럼 라디오 버튼을 어떻게 처리해야하는가?
- 따로따로 선언하면 개별적으로 선택이 되지만 묶어서 선택하면 하나씩 선택 할 수있다!
<input type"radio">아이유><br>
<input type"radio">아이유><br>

<input type"radio"name="choice">아이유<br>
<input type"radio"name="choice">김연아<br>
<input type"radio"name="choice">홍길동<br>
<input type"radio"name="choice">신사임당<br>
- 다음과 같이 하나씩 선언하는게 아니라 그룹으로 설정하면된다.
- 그룹은 name을 설정해 주면된다.
- 추가적으로 버튼 말고 이름을 눌렀을 때도 체크박스가 선택 되도록 만들어 보자!
<input type="radio" name="choice">
<label >아이유</label>
- input type과 label에 id를 설정하여 매칭시켜 준다.
<input type="radio" name="choice" id="my_1">
<label for="my_1">아이유</label>
<input type="radio" name="choice" id="my_2">
<label for="my_2">김연아</label>
<input type="radio" name="choice" id="my_3">
<label for="my_3">홍길동</label>
<input type="radio" name="choice" id="my_4">
<label for="my_4">신사임당</label>
- 다음과 같이 선언해 주면 된다.
- 하지만 안에 내용은 데이터베이스에서 가져와야하는 내용이다 그렇기에 위 과정을 4번 반복해야한다.
- 작성은 다음과 같이 할 수있다.
{% for choice in my_question.choice_set.all %}
	<input type="radio"name="choice" id ="my_1">
	<label for="my_1">{{ choice.choice_text }}</label>
{% endfor % }
<!-- my_question.choice_set.all  -->
<!-- my_question질문에대한 choice의 fk에 연결되어있는 항목들의 집합중에 싹다
이렇게 쓰면 항목들이 데이터베이스에서 직접 가져와서 조회가 된다
하지만 이렇게만 쓰면 id값(my_1)이 다 똑같이 겹처서 글자와 동그라미를 눌렀을 때 둘다 체크되는건
하나 뿐이다! -->

<!--그렇담 어떻게 하는가? id를 loof를 돌면서 바꾸면된다.-->
{% for choice in my_question.choice_set.all %}
            <input type="radio" name="choice"
                   id="my{{ forloop.counter }}"
                   value="{{ choice.id }}">
            <label for="my_{{ forloop.counter }}">{{ choice.choice_text }}</label><br>
        {% endfor %}
{% endfor %}
<!-- forloop.counter: loop가 돌때마다 카운트값이 자동으로 1씩증가함 -->
- 이제 항목을 선택해서 투표를 하는 버튼을 만들 것이다.
- 일단 작성은 다음과 같이 하면된다.
<form>
{% for choice in my_question.choice_set.all %}
	<input type="radio"name="choice"
           id ="my_{{ forloop.counter }}"
           value="{{ choice.id}}">
	<label for="my_{{ forloop.counter }}"> {{choice.choice_text }}</label><br>
{% endfor % }
<br><br>
<input type ="submit" value ="투표하기">
</form>
<!-- <input type ="button" value ="투표하기"> 이렇게 하면 버튼이 생성되지만
버튼클릭시 해당 투표수가 카운트되는 액션을 취해야한다. 그러기에는 기존에 사용하는
button말고 submit을 사용해야한다.
-->

<!-- form은 하나의 양식으로 묶어준다는 의미다. 그러고나서 button대신 submit을 사용하면
form으로 선택된 데이터들을 서버쪽에 제출한다는 의미를 가진다.-->
- 추가적으로 알아보자
<form action = "http://www.naver.com" method="get">
{% for choice in my_question.choice_set.all %}
	<input type="radio"name="choice"
           id ="my_{{ forloop.counter }}"
           value="{{ choice.id}}">
	<label for="my_{{ forloop.counter }}"> {{choice.choice_text }}</label><br>
{% endfor % }
<br><br>
<input type ="submit" value ="투표하기">
</form>
<!-- action은 내가 선택한 정보를 가지고 submit 버튼을 누르면 action을 취하겠다는 의미이다
즉 action 뒤에는 클라이언트가 서버쪽에 보내는 request url을 보낸다 즉 naver.com으로 이동된다-->

<!--하지만 url만 보내줄게 아니라 내가 무엇을 선택했는지 부가적인 정보도 보내줘야한다.
즉 뒤에 method를 붙여 보내줄 수 있다.-->

<!--
get 방식이니깐 query string으로 부가적인 정보가 같이가요!
즉 [?변수=값]
name에 choice가 변수 이름이 됨
여기서 name의 역할을 radio 그룹으로 묶어주는 역할
request할때 부가적인 정보를 주기위한 parametar 이름
값은 input안에는 없지만
원래는
<input type="radio"name="choice" id ="my_{{ forloop.counter }}" value="tiger">
이런식으로 value에 값이 들어가줘야한다. value가 변수 역할
즉 url이 다음과 같이 작성된다.
http://www.naver.com?choice=tiger
근데 이렇게 작성하면 또 모든 radio 버튼에 tiger가 고정이된다
그러므로
위와 같은 형식으로 작성하고 선택을해서 버튼을 누르면
https://www.naver.com/?choice=1 이런식으로 나오게 된다.

이렇게되면 request url을 보내면서 내가 어떤것을 선택했는지 알 수 있게 된다.-->
- post 방식
<form action = "http://www.naver.com" method="post">
{% for choice in my_question.choice_set.all %}
	<input type="radio"name="choice"
           id ="my_{{ forloop.counter }}"
           value="{{ choice.id}}">
	<label for="my_{{ forloop.counter }}"> {{choice.choice_text }}</label><br>
{% endfor % }
<br><br>
<input type ="submit" value ="투표하기">
</form>
<!--
post방식으로 보내면 query string이 안보임 request header에 들어가서 전달이 되기 때문에

get은 url 뒤에 부가적으로 전달할 데이터를 request url을 붙여보냄 즉 데이터가 보임
url의 길이가 제한적이기 때문에 get 방식은 내가 무한정 많이 데이터를 보낼 수없음

post방식은 url뒤에 데이터가 붙지않고 request header에 들어가 데이터를 무한정 보낼 수 있음
그렇기 때문에 이 방식만 post 방식을 이용한다! 꼭 꼭 꼭 알아두자

이제 naver로 호출하는 것이 아닌 우리가 사용할 url을 적어줘야한다.-->
- 여기까지 했으면 투표를 완료하고 투표수가 카운트 되는 url을 작성해야한다.
from django.contrib import admin
from django.urls import path, include
from polls import views

app_name = 'polls'

# http://127.0.0.1:80000/polls/ 여기까지가 고정

urlpatterns = [
    # http://127.0.0.1:80000/polls/
    path('', views.index, name='index'),
    # http://127.0.0.1:80000/polls/2/
    path('<int:question_id>/', views.detail, name='detail'), # name은 관계에 대한 내용을 의미
    # http://127.0.0.1:80000/polls/1/vote/
    path('<int:question_id>/vote/', views.vote, name='vote'),
    http://127.0.0.1:80000/polls/2/results/
    path('<int:question_id>/results/', views.results, name='results'),
]
- views에서도 vote함수 및 results 함수를 설정해 줘야한다.
from django.shortcuts import render, get_object_or_404
from polls.models import Question
from django.http import HttpResponseRedirect
# 클라이언트에게 다시접속해 라는것을 만들어 낼 수 있음
from django.urls import reverse

def vote(request, question_id):
    # 질문객체를 가지고 와요!
    question = get_object_or_404(Question, pk=question_id)
    # 해당 질문객체와 ForeignKey로 연결된 객체를 가져와요!
    choice = question.choice_set.get(pk=request.POST['choice'])

    choice.votes += 1
    choice.save()

    # redirect를 사용해 보아요!
    # 클라이언트에게 응답을 주긴 주는데 그응답의 내용이 다른 URL에 바로 request를 보내라!
    # return HttpResponseRedirect(다른 URL, 전달할 값) 인자 두개들어감
    return HttpResponseRedirect(reverse('polls:results',
                                        args=(question.id,)))
    # reverse안에 url의 이름 즉 긴 url의 관계를 name으로 만든 name을 쓰는데 app_name과 url name을 붙여 적어야한다!
    # <> 안의 값을 넣어주기위해 args를 사용하여 넣어준다.
def results(request, question_id):
    # 질문객체를 가지고 와요!
    question = get_object_or_404(Question, pk=question_id)
    context ={
        "my_question": question
    }
    return render(request,'polls/result.html', context)
- 전체 detail.html코드는 다음과 같다.
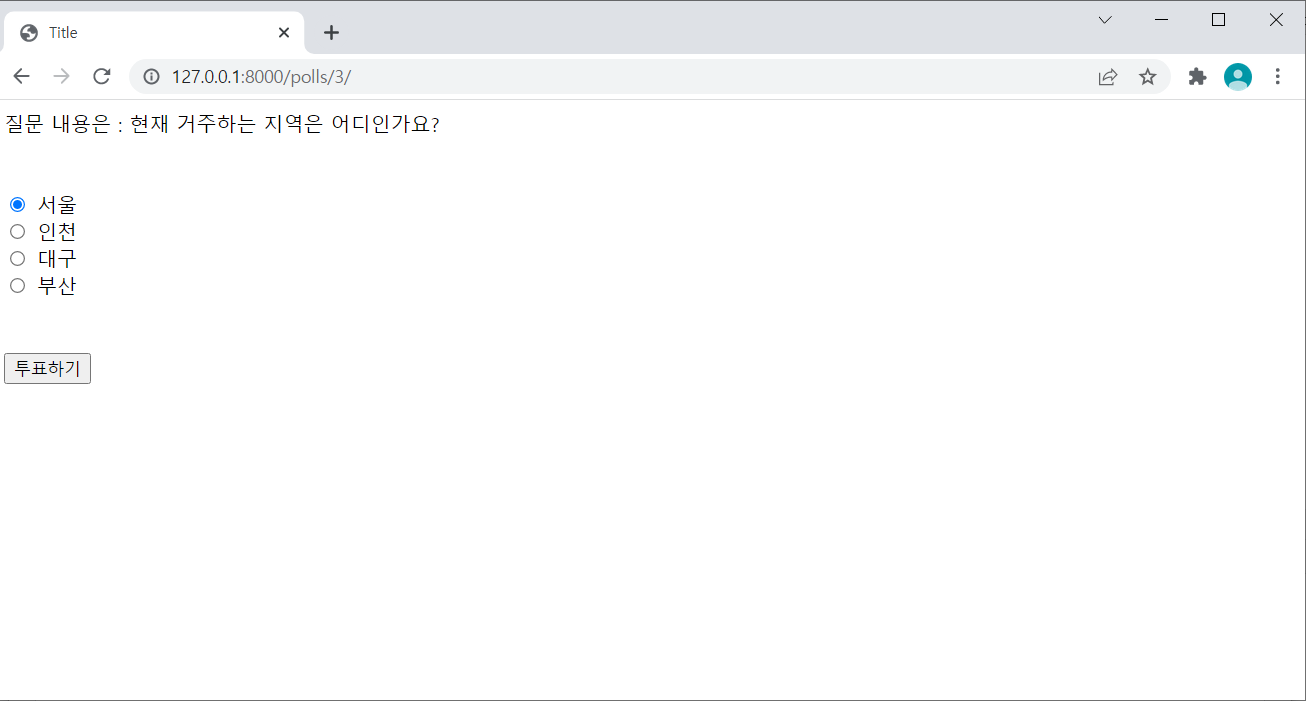
<!DOCTYPE html>
<html lang="en">
<head>
    <meta charset="UTF-8">
    <title>Title</title>
</head>
<body>
질문 내용은 : {{ my_question.question_text }}
<br><br><br>

<form action="/polls/{{ my_question.id }}/vote/"
      method="post">
    {% csrf_token %}
    {% for choice in my_question.choiceset.all %}
        <input type="radio" name="choice"
               id="my{{ forloop.counter }}"
               value="{{ choice.id }}">
        <label for="my_{{ forloop.counter }}">{{ choice.choice_text }}</label><br>
    {% endfor %}
    <br><br>
    <input type="submit" value="투표하기">
</form>

</body>
</html>
- result.html도 작성하면 끝이다.
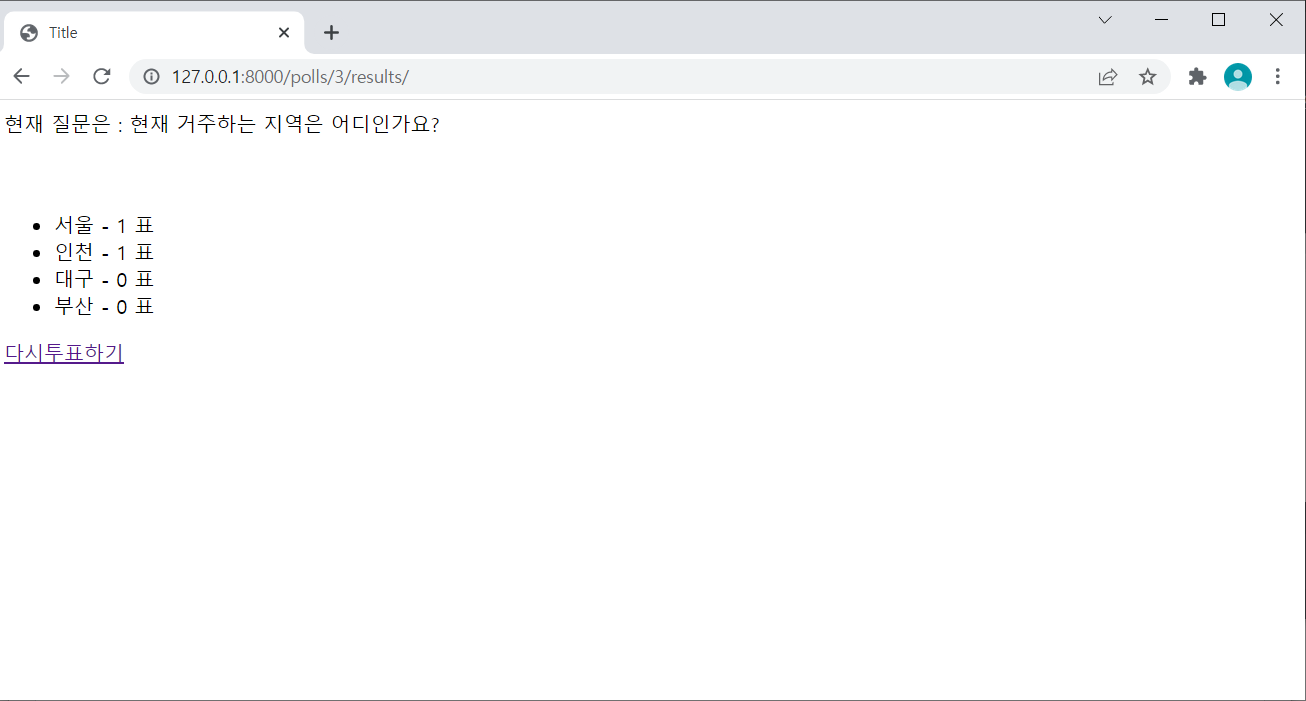
<!DOCTYPE html>
<html lang="en">
<head>
    <meta charset="UTF-8">
    <title>Title</title>
</head>
<body>

현재 질문은 : {{ my_question.question_text }}
<br><br><br>
<ul>
    {% for choice in my_question.choice_set.all %}
    <li>{{ choice.choice_text }} - {{ choice.votes }} 표</li>
    {% endfor %}
</ul>
<!--    <a href="/polls/">다시투표하기</a>  이렇게 써도된다.-->
<a href="{% url 'polls:index' %}">다시투표하기</a> {# 이렇게 써도 된다! #}
<!-- 값을 찍을때는 {{  }}를 사용하고 {%  %}는 로직을 실행할 때 쓴다-->
<!-- 아래처럼 작성하면 관리의 용이성때문에 사용한다-->

</body>
</html>
- 이제 서버를 기동하면 다음과 같은 결과를 얻을 수 있다.

초보개발자