프로그래머스 쇼핑몰 SPA - 커피주문페이지 만들기 공부 겸 해설 3. 장바구니 페이지

앞서 말했듯 작성한 글은 로컬에서 돌린걸 기준으로 작성했다
프로그래머스에선 제한 시간이 있어서 로컬에서 돌릴 방법을 찾다 발견한 레포다
https://github.com/ChangHyun2/programmers-vanillaJS-SPA
로컬에서 돌려보고 싶다면 참조하자
장바구니 페이지 구현
1. 장바구니 데이터가 없을 경우 목록으로
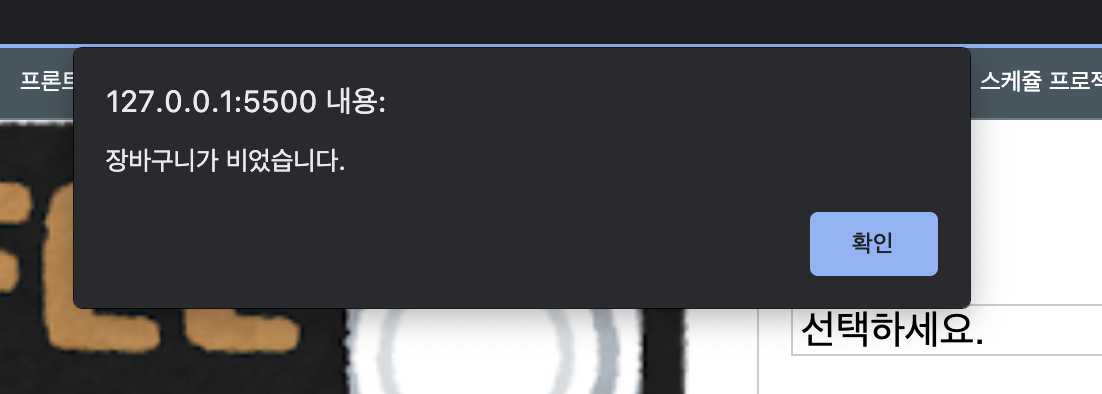
localStorage에 장바구니 데이터가 비어있으면 alert 출력 후 상품 목록 페이지로 라우팅 처리를 해야한다
CartPage의 코드를 변경해보자
import { routeChange } from "../router.js";
import { getItem } from "../storage.js";

function CartPage({ $app }) {
  const $page = document.createElement("div");
  $page.className = "CartPage";
  $page.innerHTML = `<h1>장바구니</h1>`;

  const cartData = getItem("products_cart", []);

  this.state = {
    products: null,
  };

  this.render = () => {
    if (cartData.length === 0) {
      // 카트가 비었을 때
      alert("장바구니가 비었습니다.");
      routeChange("/coffee/index.html");
    } else {
      // 카트에 상품이 담겼을 때
      $app.appendChild($page);
    }
  };
}
export default CartPage;
2. 장바구니의 상품들 불러오기
CartPage
import { getIdProduct } from "../apis/api.js";
import Cart from "../components/Cart.js";
import { routeChange } from "../router.js";
import { getItem } from "../storage.js";

function CartPage({ $app }) {
  const $page = document.createElement("div");
  $page.className = "CartPage";
  $page.innerHTML = `<h1>장바구니</h1>`;

  const cartData = getItem("products_cart", []);

  // 새로 추가한 부분
  let cartComponent = null;

  this.render = () => {
    if (cartData.length === 0) {
      alert("장바구니가 비었습니다.");
      routeChange("/coffee/index.html");
    } else {
      $app.appendChild($page);
      // this.state.products와 cartComponent가 null이 아닐 때 Cart 컴포넌트 생성
      if (this.state.products && !cartComponent) {
        cartComponent = new Cart({
          $target: $page,
          initialState: this.state.products,
        });
      }
    }
  };

  this.state = {
    products: null,
  };

  // 새로 추가한 부분
  this.setState = (nextState) => {
    this.state = nextState;
    this.render();
  };

  this.fetchProducts = async () => {
    const products = await Promise.all(
      cartData.map(async (item) => {
        const product = await getIdProduct(item.productId);
        const selectedOption = product.productOptions.find((option) => option.id === item.optionId);

        return {
          imageUrl: product.imageUrl,
          productName: product.name,
          quantity: item.quantity,
          productPrice: product.price,
          optionName: selectedOption.name,
          optionPrice: selectedOption.price,
        };
      })
    );
    this.setState({ products });
  };

  this.fetchProducts();
}
export default CartPage;
Cart
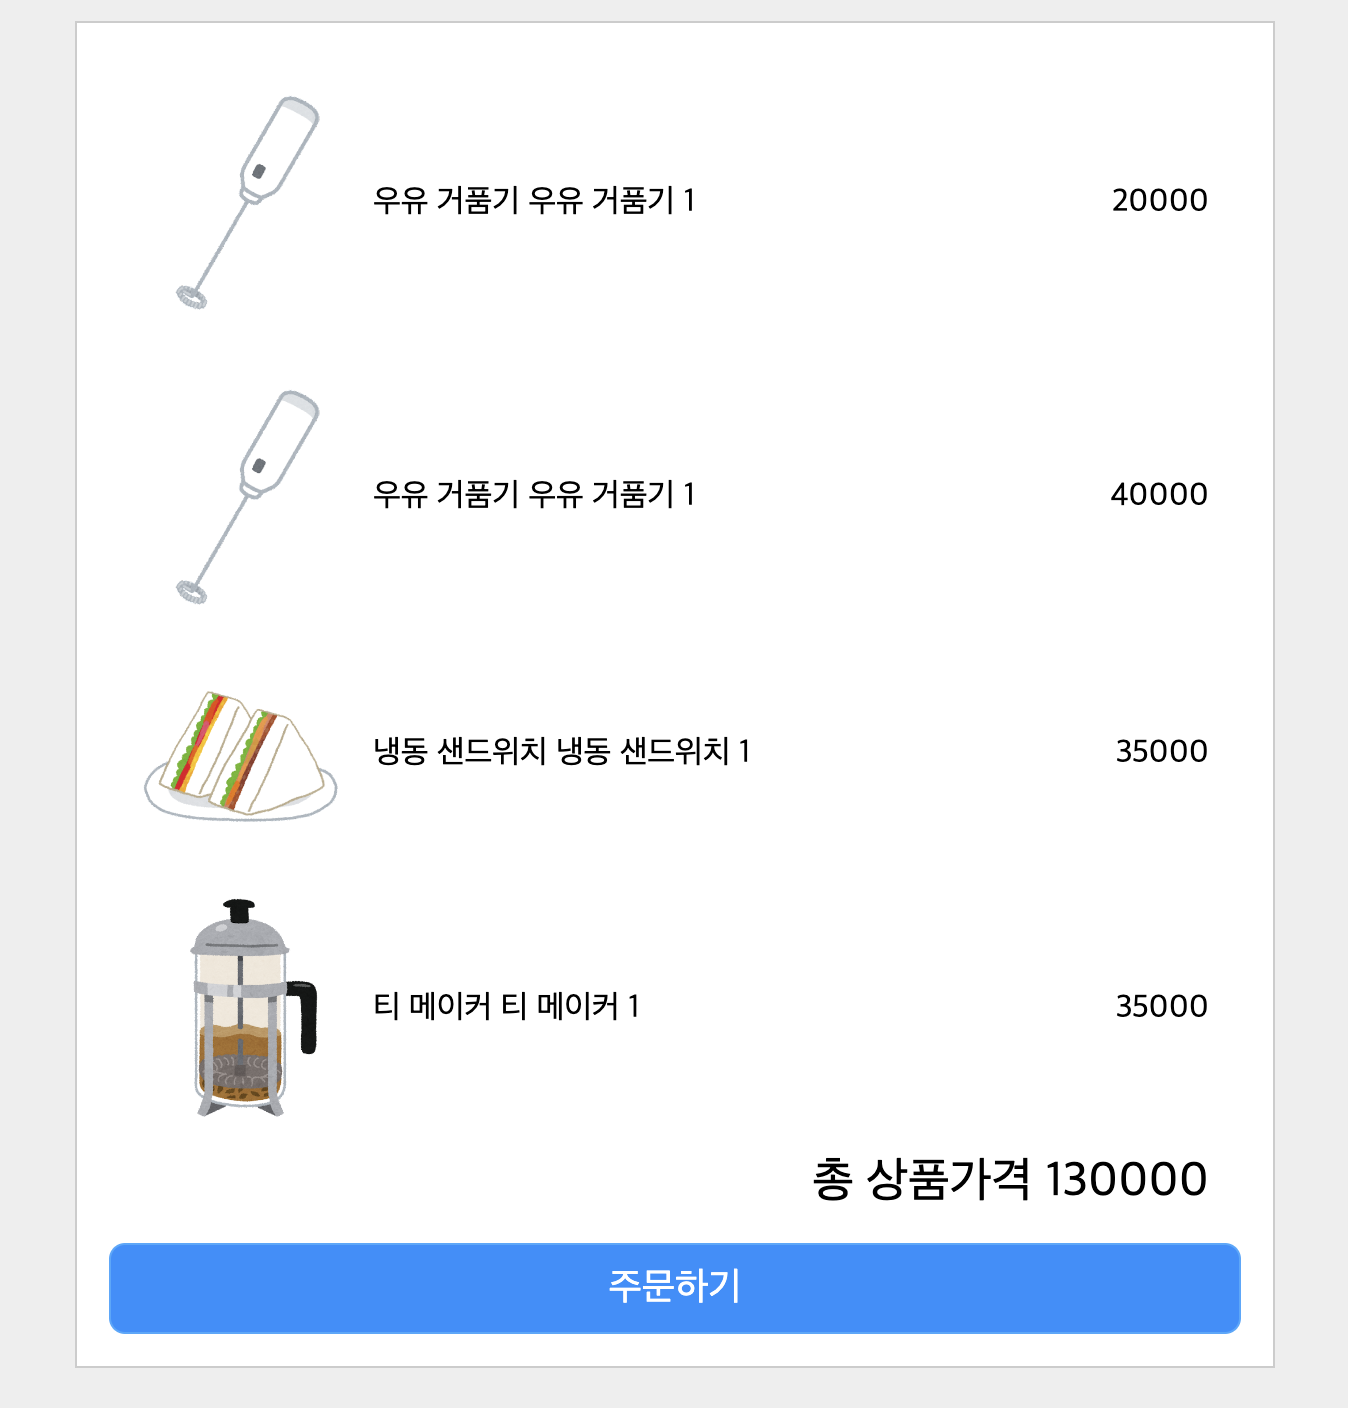
실제 장바구니를 그릴 부분
      <div class="Cart">
          <ul>
            <li class="Cart__item">
              <img
                src="https://grepp-cloudfront.s3.ap-northeast-2.amazonaws.com/programmers_imgs/assignment_image/cafe_coffee_cup.png"
              />
              <div class="Cart__itemDesription">
                <div>커피잔 100개 번들 10,000원 10개</div>
                <div>100,000원</div>
              </div>
            </li>
          </ul>
          <div class="Cart__totalPrice">총 상품가격 175,000원</div>
          <button class="OrderButton">주문하기</button>
        </div>
function Cart({ $target, initialState }) {
  const $component = document.createElement("div");
  $component.className = "Cart";
  this.state = initialState;

  $target.appendChild($component);

  this.setState = (nextState) => {
    this.state = nextState;
    this.render();
  };

// 총 가격
  this.getTotalPrice = () => {
    return this.state.reduce((acc, option) => acc + (option.productPrice + option.optionPrice) * option.quantity, 0);
  };

  this.render = () => {
    $component.innerHTML = `<ul>
    ${this.state
      .map(
        (item) => `
      <li class="Cart__item">
      <img
        src="${item.imageUrl}"
      />
      <div class="Cart__itemDesription">
      <div>${item.productName} ${item.productName} ${item.quantity}</div>
        <div>${item.productPrice + item.optionPrice}</div>
      </div>
    </li>`
      )
      .join("")}
    </ul>
    <div class="Cart__totalPrice">총 상품가격 ${this.getTotalPrice()}</div>
    <button class="OrderButton">주문하기</button>`;

    return $component;
  };

  $component.addEventListener("click", (event) => {
    if (event.target.className === "OrderButton") {
      alert("주문 되었습니다!");
      removeItem("products_cart");
      routeChange("/coffee/index.html");
    }
  });

  this.render();
}

export default Cart;
그럼 그림과 같이 잘 그려지고 주문이 완료되면 목록으로 리다이렉팅되는 것을 확인할 수 있다
배운점
- 바닐라 자바스크립트로 SPA를 구현
: 솔직히 지금 다시 해보라고하면 구현 못하겠지만 대강 틀은 학습한 것 같다. 또 왜 vue나 react같은 프레임워크가 널리 사용되는지 다시한번 체감할 수 있었다ㅎ - History.pushState(), popstate
: 라우팅 기능을 구현할 때 사용된 함수인데 이번에 처음봤다. 확실히 사용해보니 어떤 기능을 하는지 더 쉽게 이해할 수 있었다! - 바닐라 자바스크립트에서 state, setState 구현
: state와 setState에 대한 이해도가 높아졌고 이런식으로 구현할 수 있다는게 신기했다 - 변수명, 폴더 구조, 컴포넌트 분리
: 전에 자바스크립트를 잘하고 싶으면 오픈소스나 다른 고수들이 짠 코드를 보고 따라해보라는 말을 들었다. 그러나 그런 코드들은 일단 이해하기가 너무 어려웠고 범위가 커서 현실적으로 모방하기 어려웠다.
근데 프로그래머스의 과제는 문제 설명, 구현 내역 등 요구내역이 명확했고 나보다 훨씬 고수의 코드를 보고 따라해볼 수 있어서 좋았다!
다음에 시간이 되면 다른 문제도 풀어보고 오답노트를 작성해봐야겠다!

개발자로 성장하기 위한 아카이브 😎