준비물 : HTML 페이지와 python 스트립트
- GCP페이지 가셔서 프로젝트를 하나 생성합니다
https://console.cloud.google.com/projectcreate
- 프로젝트 설정
- API및 서비스 설정

2-1. OAuth 동의 화면 구성하기
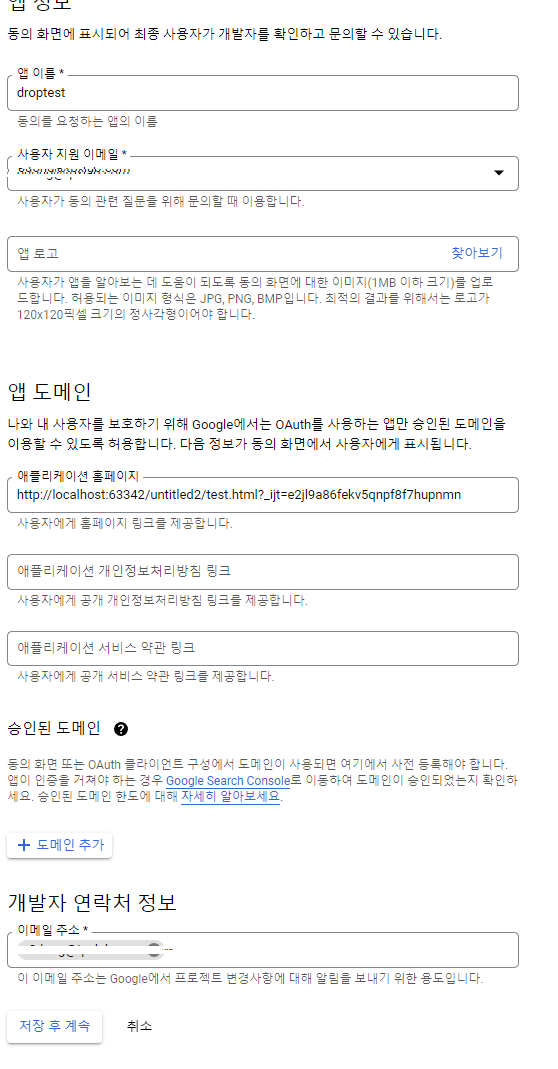
어플리케이션 홈페이지 입력창에 HTML 실행 주소를 입력한다.

(이후 기타 API범위 등 세팅은 하지 않았습니다)

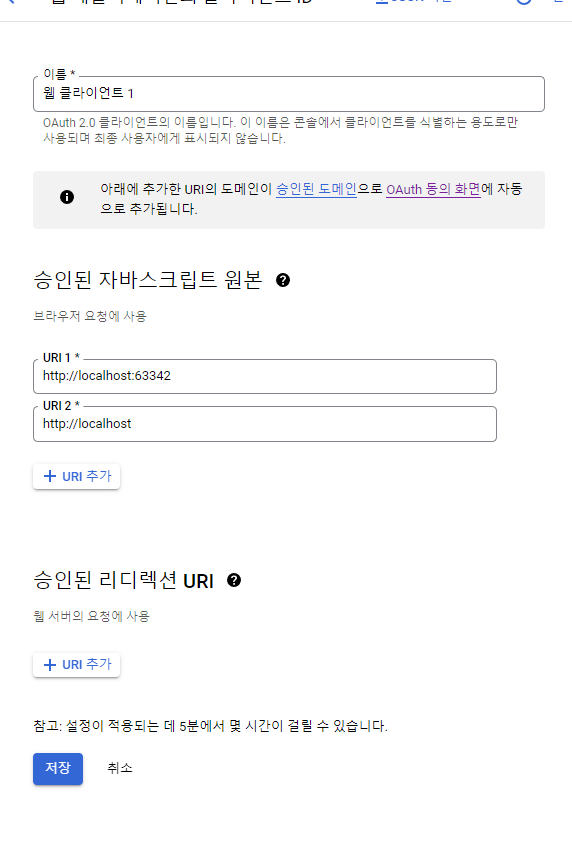
2-2 사용자 인증정보!
- 사용자 인증 정보 설정에서
스크립트가 실행될 도메인과 포트를 적어줍니다. - 리다이렉션 관련한 내용은 적지 않았습니다.
- HTML
- 클라이언트 ID관련 내용만 새로 채웁니다.
<!DOCTYPE html>
<html lang="en">
<head>
<meta charset="UTF-8">
<title>Title</title>
<script src="https://accounts.google.com/gsi/client" async defer></script>
</head>
<body>
<html>
<body>
<script src="https://accounts.google.com/gsi/client" async defer></script>
<script>
function handleCredentialResponse(response) {
console.log("Encoded JWT ID token: " + response.credential);
}
window.onload = function () {
google.accounts.id.initialize({
client_id: "==========클라이언트ID=============",
callback: handleCredentialResponse
});
google.accounts.id.renderButton(
document.getElementById("buttonDiv"),
{ theme: "outline", size: "large" } // customization attributes
);
google.accounts.id.prompt(); // also display the One Tap dialog
}
</script>
<div id="buttonDiv"></div>
</body>
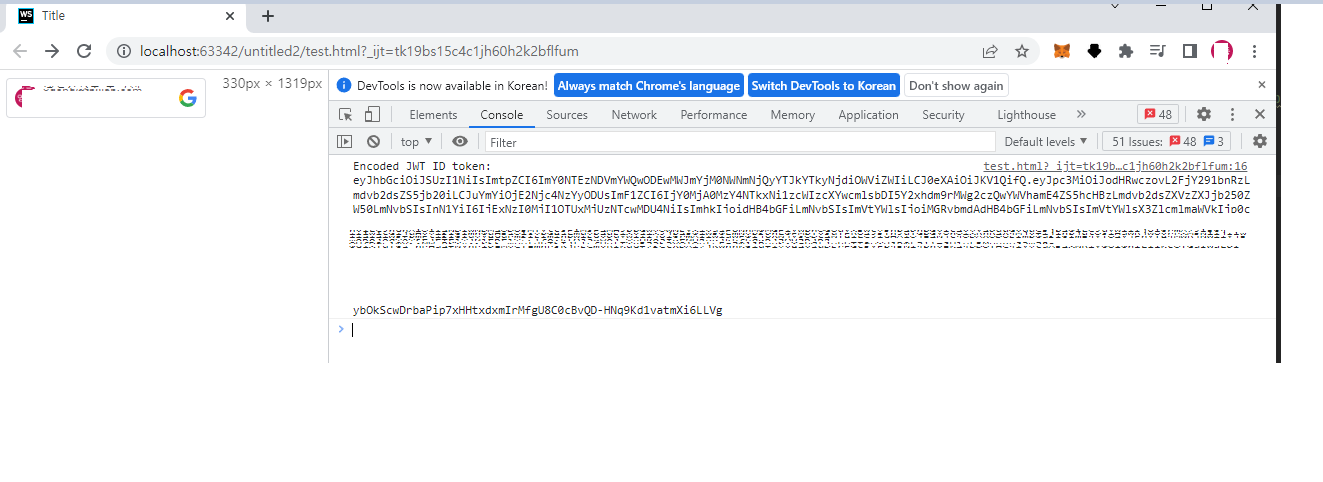
</html>해당 HTML파일을 실행시키면 콘솔창에 Token이 나옵니다.
- 토큰 검증
해당 코드로 백엔드에서 토큰을 검증할 수 있습니다.
from google.oauth2 import id_token
from google.auth.transport import requests

token = '토큰입력하세용'
user = id_token.verify_oauth2_token(token, requests.Request(),
                                    "클라이언트ID입력하세용")
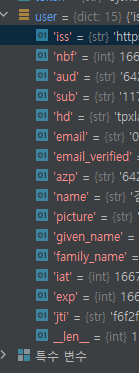
User 객체에 담겨있는 정보들
iss : 토큰 발급자
sub : 토큰의 주제
aud : 토큰의 대상자
exp : 토큰의 만료 시간
iat : 토큰의 발급 시간
email : 이메일
email_verified : 이메일 인증 여부
name : 이름
picture : 프로필 사진
given_name : 이름
family_name : 성
locale : 언어
hd : 도메인

-