HTTP Method : GET , DELETE
클라이언트가 서버에서 값을 조회해올 때 사용되는 GET Metod
클라이언트가 서버에 값 삭제 요청을 할 때 사용되는 DELETE Metod
Spring에서는 다양한 방법으로 Get Metod 요청을 받을 수 있다.
DELETE도 같은 형식으로 사용!
1. 단순 문자열 출력
@RestController
@RequestMapping("/api/get")
public class GetApplication {

    @GetMapping("/hi") // localhost:8888/api/get/hi
    public String hi() {
        return "get hi";
    }

    @GetMapping(path="/h2llo") // localhost:8888/api/get/h2llo
    public String h2llo() {
        return "get hello";
    }

    // 엣날 옛적에 사용하던 방법
    @RequestMapping(path="/hello", method = RequestMethod.GET) // localhost:8888/api/get/hello
    public String hello() {
        return "get hello";
    }
}
2. 경로 변수 받기 : @PathVariable
경로변수 : /name/{받을이름}에서 {받을이름} 부분으로. 경로에 변수로서 존재하는 형태
1. 경로변수와 매개변수의 이름이 같을 때
매개변수에 받아올 값의 자료형과, 경로변수와 같은 이름의 변수를 선언해주고
자료형 앞에 @PathVariable을 선언해준다.
@RestController
@RequestMapping("/api/get")
public class GetApplication {
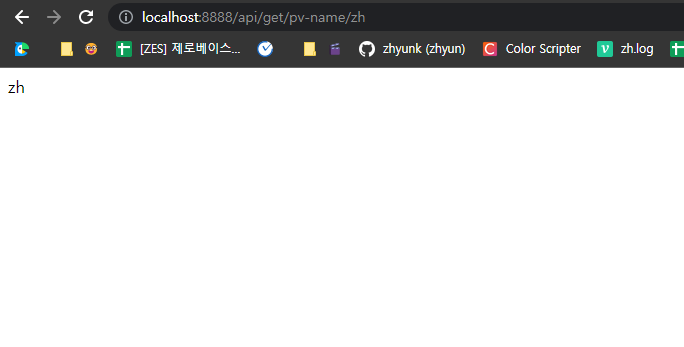
@GetMapping("/pv-name/{name}") // localhost/api/get/pv-name/{name}
public String pathVariableName(@PathVariable String name) {
System.out.println("name = " + name);
return name;
}
}
2. 경로 변수명과 매개변수명이 다른데, 다른 이름으로 선언된 매개변수에 값 담기
@PathVariable(name = 경로변수명)을 매개변수 자료형 앞에 선언해준다.
@RestController
@RequestMapping("/api/get")
public class GetApplication {

    @GetMapping("/pv-name-two/{name}") // localhost/api/get/pv-name-two/{name}
    public String pathVariableNameTwo(@PathVariable(name = "name") String whoIs) {
        System.out.println("name = " + whoIs);
        return whoIs;
    }
}
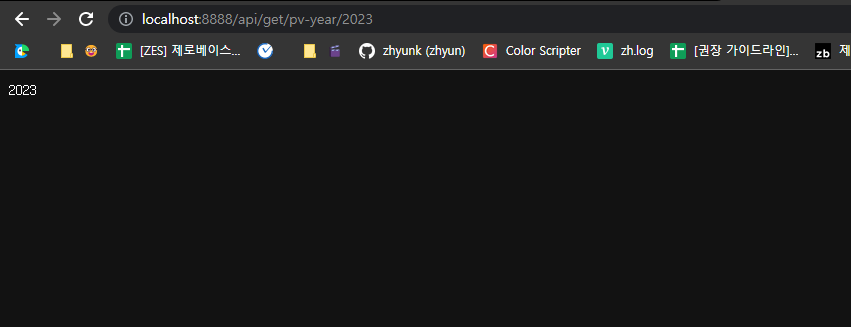
3. 숫자를 받을 경우 숫자 자료형으로 받아올수도 있음 🙊
@RestController
@RequestMapping("/api/get")
public class GetApplication {

    @GetMapping("/pv-year/{year}") // localhost/api/get/pv-year/{year}
    public int pathVariableYear(@PathVariable int year) {
        System.out.println("year = " + year);
        return year;
    }
}
3. Query Parameter 받기 : @RequestParam
localhost:8888/api/get/query-param?user=zh&email=gmail.com&num=111. 어떤 값이 넘어올지 모르는 경우, Map형태로 받아와서 사용
@RestController
@RequestMapping("/api/get")
public class GetApplication {

    @GetMapping("/query-param")
    public String queryParam(@RequestParam Map<String, String> queryParam) {
        StringBuilder sb = new StringBuilder();

        queryParam.forEach((key, value) -> {
            System.out.println(key);
            System.out.println(value);
            System.out.println();

            sb.append(key).append(" = ").append(value).append("\n");
        });
        return sb.toString();
    }
}
2. 각각 해당되는 변수로 지정해서 받기 + 필수값 설정 + 기본값 설정
필수값 지정 안함 : @RequestParam(required = false)
필수값 지정 (default) : @RequestParam(required = true)
기본값 설정 : @RequestParam(defaultValue = "무조건 String 타입으로 지정")
@RestController
@RequestMapping("/api/get")
public class GetApplication {

    @GetMapping("query-param02")
    public String queryParam02(
            @RequestParam String name,
            @RequestParam(required = false) String email,
            @RequestParam(required = false, defaultValue = "11") int number
    ) {
        return name + " " + email + " " + number;
    }
}
3. 객체에 담아서 받기 🙊
@RestController
@RequestMapping("/api/get")
public class GetApplication {

    @GetMapping("query-param03")
    public String queryParam03(TestDto dto) {
        return dto.toString();
    }
}
자료형 객체
class TestDto {
    private String name;
    private String email;
    private int number;

    public String getName() {
        return name;
    }

    public void setName(String name) {
        this.name = name;
    }

    public String getEmail() {
        return email;
    }

    public void setEmail(String email) {
        this.email = email;
    }

    public int getNumber() {
        return number;
    }

    public void setNumber(int number) {
        this.number = number;
    }

    @Override
    public String toString() {
        return "TestDto{" +
                "name='" + name + '\'' +
                ", email='" + email + '\'' +
                ", number=" + number +
                '}';
    }
}
Hello velog!