배포 폴더 구조 설정
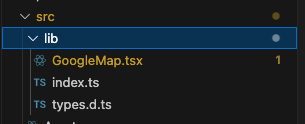
배포할 파일들은 src/lib 경로 내에 모두 위치시켰습니다.
tsc 명령어로 타입스크립트 파일들을 컴파일할 때 이 경로로 지정하려고 합니다.
tsconfig.json
{
  "compilerOptions": {
    "target": "es5", // 컴파일된 js 코드가 ES5 (구버전) 과 호환되도록
    "lib": ["dom", "dom.iterable", "esnext"], // ts 가 사용할 라이브러리 지정
    "allowJs": true,
    "skipLibCheck": true,
    "esModuleInterop": true,
    "allowSyntheticDefaultImports": true,
    "strict": true,
    "forceConsistentCasingInFileNames": true,
    "noFallthroughCasesInSwitch": true,
    "module": "esnext",
    "moduleResolution": "node",
    "resolveJsonModule": true, // json 파일을 모듈처럼 import 할 수 있게 허용
    "isolatedModules": true,
    "jsx": "react-jsx",
    "noEmit": false,
    "declaration": true,
    "outDir": "./dist" // 컴파일된 파일들을 dist 경로에 출력
  },
  "include": ["./src/lib/**/*.tsx", "./src/lib/**/*.ts"]
}
리액트 컴포넌트 NPM 배포하기 - 1 에서 타입스크립트 컴파일 옵션들을 세팅하였지만,
npm 배포할 경로만 컴파일하면 되기 때문에 include 옵션을 수정합니다.
"include": ["./src/lib/**/*.tsx", "./src/lib/**/*.ts"]src/lib 하위의 모든 tsx, ts 파일들을 컴파일하겠다는 의미입니다.
다음으로는 배포할 파일들을 하나씩 살펴보겠습니다.
GoogleMap.tsx
// GoogleMap.tsx
"use client"; // Next.js에서 클라이언트 사이드 실행

import { useEffect, useRef } from "react";
import { GoogleMapProps } from "./types";

export function GoogleMap({
  apiKey,
  center = {
    lat: 37.350246,
    lng: 126.925494,
  },
  zoom = 10,
  markers = [
    {
      lat: 37.350246,
      lng: 126.925494,
    },
  ],
  mapId = "default-map-id",
}: GoogleMapProps) {
  const mapRef = useRef<HTMLDivElement>(null);
  const mapInstance = useRef<google.maps.Map | null>(null);

  useEffect(() => {
    if (typeof window === "undefined" || !mapRef.current) return;

    // Google Maps 스크립트 추가
    const script = document.createElement("script");
    script.src = `https://maps.googleapis.com/maps/api/js?key=${apiKey}`;
    script.async = true;
    script.onload = initMap;
    document.head.appendChild(script);

    return () => {
      document.head.removeChild(script);
    };
  }, []);

  const initMap = () => {
    if (!mapRef.current || typeof google === "undefined") return;

    // 지도 초기화
    mapInstance.current = new google.maps.Map(mapRef.current, {
      center,
      zoom,
      mapId,
      disableDefaultUI: true,
    });

    // 마커 추가
    markers.forEach((marker) => {
      new google.maps.Marker({
        position: { lat: marker.lat, lng: marker.lng },
        map: mapInstance.current!,
        title: marker.title || "",
      });
    });
  };

  return (
    <div
      ref={mapRef}
      style={{
        width: "100%",
        height: "100%",
      }}
    />
  );
}
핵심 기능을 하는 컴포넌트 입니다.
- javascript 로 제공되는 googlemap api 를 리액트 컴포넌트에서 랜더링 하는 로직을 담고 있습니다.
- props 로 api key 를 넣을 수 있습니다.
- props 로 지도의 center 위치를 넣을 수 있습니다.
- props 로 지도의 zoom 을 넣을 수 있습니다.
- props 로 지도에 표시할 마커를 배열로 넣을 수 있습니다.
- props 로 지도의 id 를 지정할 수 있습니다.
types.d.ts
export type GoogleMapProps = {
  apiKey: string; // Google Maps API 키
  center: { lat: number; lng: number }; // 지도 중심 좌표
  zoom?: number; // 줌 레벨 (기본값: 10)
  markers?: { lat: number; lng: number; title?: string }[]; // 마커 좌표 리스트
  mapId?: string; // Google Map ID (옵션)
};
typescript 를 지원하는 모듈로 배포하기 위하여,
타입파일을 만들었습니다.
(types.d.ts 는 타입을 담고 있는 파일의 형식입니다.)
index.ts
// import
import { GoogleMap } from "./GoogleMap";
import { GoogleMapProps } from "./types";

// export
export { GoogleMap };
export type { GoogleMapProps };
모듈의 진입점 입니다.
GoogleMap 컴포넌트와 GoogleMapProps 타입을 불러온 뒤,
내보내고 있습니다.
설치 및 사용
설치 및 사용은 간단합니다.
npm i @zzang535/react-google-map로 모듈을 설치 한 뒤,
import { GoogleMap, type GoogleMapProps } from "@zzang535/react-google-map";설치 후 이와 같이 진입점 (index.ts) 에서 내보낸 파일들을
import 하여 사용할 수 있습니다.
readme.md
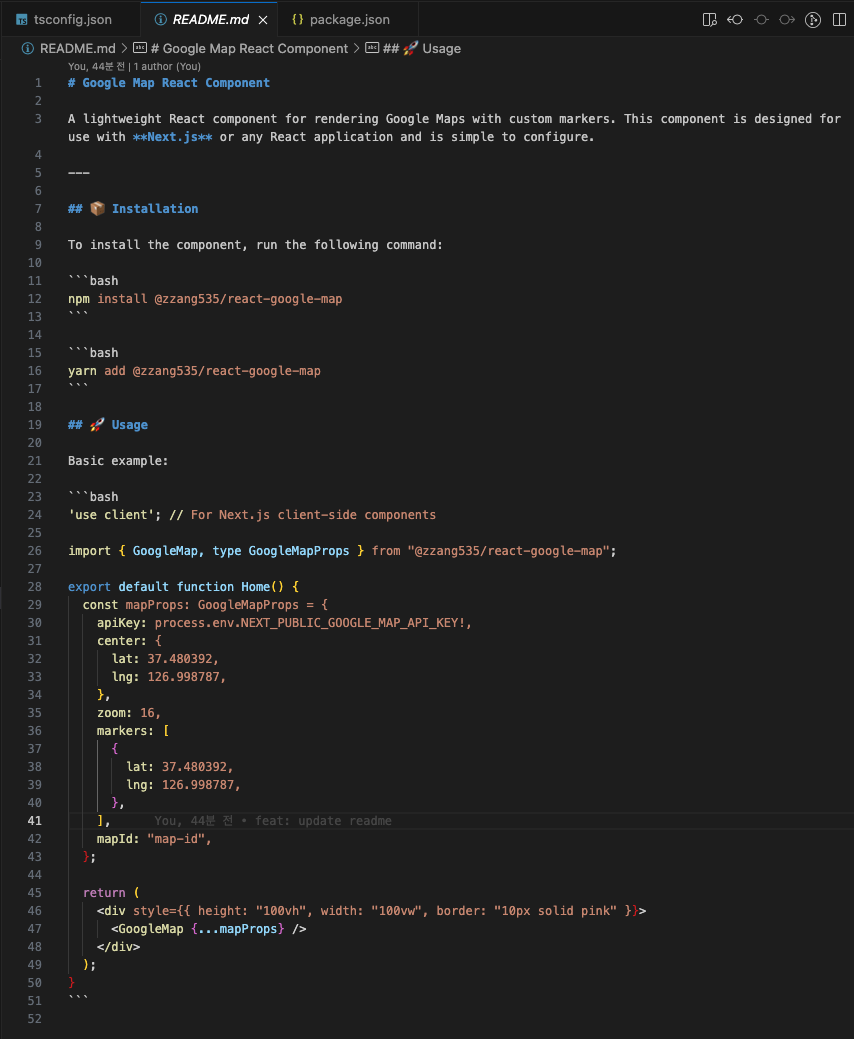
마크다운을 사용하여 readme.md 파일도 간단하게 작성하였습니다.
설치하는 법과 import 하여 기본적으로 사용하는 예제를 추가하였습니다.

readme.md 에 마크다운으로 작성한 내용은,
npm 사이트에서도 잘 표현됩니다.
package.json 추가 정보 설정
{
  "name": "@zzang535/react-google-map",
  "version": "0.1.1",
  "description": "React google map rendering component",
  "keywords": [
    "react",
    "component",
    "google",
    "map"
  ],
  "author": "Hwang Yoon <zzang535@gmail.com>",
  "license": "MIT",
  "private": false,
  "main": "dist/index.js",
  "types": "dist/index.d.ts",
  "browser": "./browser/specific/main.js",
  "dependencies": {
    "@types/google.maps": "^3.58.1",
    "@types/jest": "^27.0.1",
    "@types/node": "^16.7.13",
    "@types/react": "^18.0.0",
    "@types/react-dom": "^18.0.0",
    "react": "^18.3.1",
    "react-dom": "^18.3.1",
    "react-scripts": "5.0.1",
    "typescript": "^5.7.2",
    "web-vitals": "^2.1.0"
  },
  "scripts": {
    "start": "react-scripts start",
    "build": "react-scripts build",
    "test": "react-scripts test",
    "eject": "react-scripts eject",
    "prepare": "rm -rf dist && mkdir dist && tsc"
  },
  "eslintConfig": {
    "extends": [
      "react-app",
      "react-app/jest"
    ]
  },
  "browserslist": {
    "production": [
      ">0.2%",
      "not dead",
      "not op_mini all"
    ],
    "development": [
      "last 1 chrome version",
      "last 1 firefox version",
      "last 1 safari version"
    ]
  }
}
package.json 에서도 몇 가지 정보를 추가하였습니다.
name
"name": "@zzang535/react-google-map",npm 패키지 명을 수정하였습니다.
react-google-map 이라는 이름을 사용하고 싶은데,
중복되는 모듈명이 있어서 다른 이름을 지어보려고 했지만
모듈명이 너무 복잡해질 것 같아서
앞에 npm username 을 붙여주었습니다.
@ + username + / + 모듈명 형식으로 작성하면 됩니다.
description
"description": "React google map rendering component",description 를 추가하였습니다. npm 사이트에서 패키지를 검색할 때
설명이 추가된 것을 볼 수 있습니다.

keywords
  "keywords": [
    "react",
    "component",
    "google",
    "map"
  ],
키워드를 추하면 npm 사이트 아래쪽에 표시됩니다.

author
"author": "Hwang Yoon <zzang535@gmail.com>",author 옵션이 있다고 해서 추가하였는데,
npm 사이트에서 어디서 표시되는지는 잘 모르겠습니다.
마치며
리액트 컴포넌트를 npm 에 배포해보았습니다.
설정과 옵션들이 많아서 헷갈릴 수 있지만,
핵심은 특정 코드를 npm 생태계에 올리고,
누구나 간단하게 설치하여 불러 올 수 있도록 하는 것입니다.
당장 대중적으로 사용할 만한 모듈을 만들어내기는 어렵겠습니다.
제가 자주 사용하는 컴포넌트나 로직을 npm 에 배포해놓으면,
언제든지 간단하게 설치하여 사용할 수 있을 것 같아,
개인적인 생산성 향상을 목표로
npm 배포를 시작해보려고 합니다.
참고 자료
리액트 컴포넌트 NPM 배포하기 (with TypeScript)