안녕하세요 오늘은 캐시 서버 중 하나인 redis를 springboot와 연결해서 사용해보도록 하겠습니다 😀
Redis 서버 설치
redis를 사용하기 위해서는 일단 redis server를 설치해야 합니다
(spring boot는 redis client로 이용하는 것)
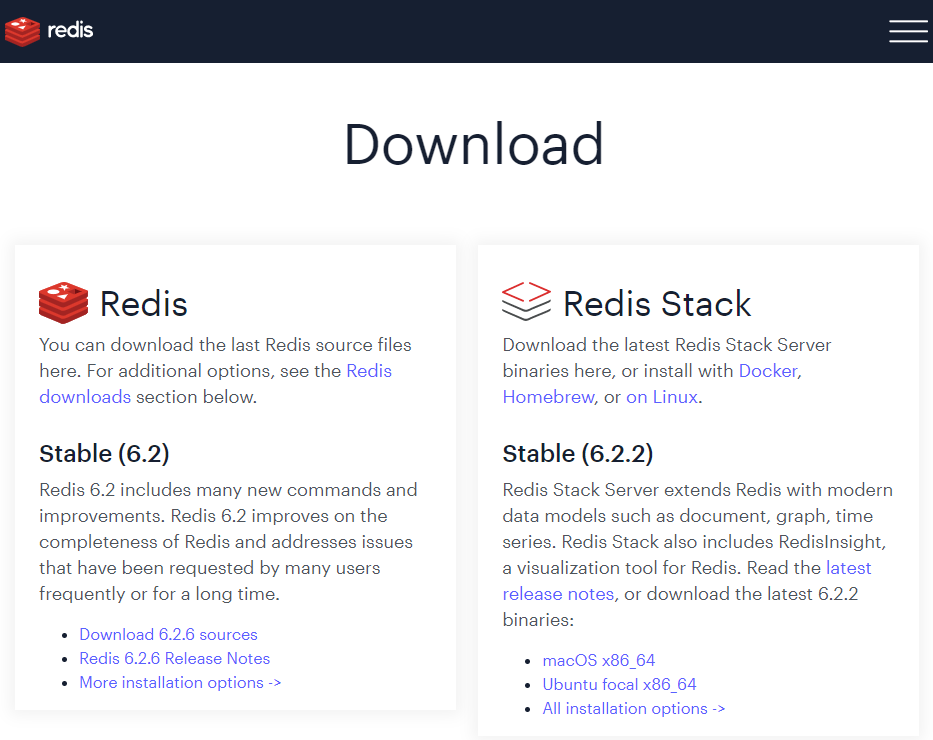
일단 redis 홈페이지에 가면 OS에 따라서 redis server을 다운받을 수 있고, 저는 docker을 이용해서 다운로드를 진행해보았습니다!
docker 명령어는 다음과 같습니다
1) docker network create redis-net
- 저는 redis-cli와 redis를 연결해서 결과들을 확인해보기 위해서 두 컨테이너를 연결하기 위한 네트워크(redis-net)를 생성했습니다
- docker network ls 명령어로 생성 여부 확인 가능합니다

2) docker pull redis
- redis image pull

3) docker run --name redis-server -p 6379:6379 --network redis-net -d redis redis-server --appendonly yes
- redis 기본 포트는 6379
- redis-net에 연결
- appendonly 명령어로 AOF 방식으로 저장을 하도록 했습니다

4) docker run -it --network redis-net --rm redis redis-cli -h redis-server
- redis-cli를 이용해 redis 서버로 접속하도록 했습니다
그럼 다음과 같이 redis 서버에서 값을 조작할 수 있습니다
redis는 key, value 형식으로 값이 저장됩니다

Springboot와 redis-client 연동
이제 그럼 Springboot로 redis에 접속을 해보는 방법에 대해 설명하겠습니다!
사실 거의 JPA 사용법에 가깝다고 생각하셔도 좋을 것 같네요😂
-
먼저 필요한 라이브러리들을 추가해줍니다
pom.xml
            <groupId>org.springframework.data</groupId>
            <artifactId>spring-data-redis</artifactId>
            <version>2.3.3.RELEASE</version>
        </dependency>

        <dependency>
            <groupId>redis.clients</groupId>
            <artifactId>jedis</artifactId>
            <version>3.3.0</version>
            <type>jar</type>
        </dependency>
        <dependency>
            <groupId>org.springframework.boot</groupId>
            <artifactId>spring-boot-starter-data-redis</artifactId>
        </dependency>
<dependency>- 이후 관련 설정을 해줍니다
@Configuration
public class RedisConfig {
    @Bean
    JedisConnectionFactory jedisConnectionFactory() {

        RedisStandaloneConfiguration redisConfig = new RedisStandaloneConfiguration();
        redisConfig.setHostName("192.168.0.20");
        redisConfig.setPort(6379);

        return new JedisConnectionFactory(redisConfig);

    }

    @Bean
    public RedisTemplate<String, Object> redisTemplate() {
        RedisTemplate<String, Object> template = new RedisTemplate<>();
        template.setConnectionFactory(jedisConnectionFactory());
        return template;
    }
}
- 원래는 바로 Host이름과 port를 설정해줄 수 있었지만, deprecated 되었기 때문에 RedisStandaloneConfiguration을 이용해서 관련 설정을 진행해줍니다
- 이제 저장하고자 하는 Entity를 만들어줍니다
Student.java
@RedisHash("Student")
@AllArgsConstructor
@ToString
@Setter
public class Student {

    public enum Gender{
        MALE, FEMALE
    }

    private String id;
    private String name;
    private Gender gender;
    private int grade;

}
- @RedisHash를 통해 값을 Key, 인스턴스를 value로 설정하게 됩니다
- Jpa를 이용하기 위한 Repository를 생성해줬습니다
StudentRepository.java
@Repository
public interface StudentRepository extends CrudRepository<Student, String> {
}
그리고 이제 테스트를 진행해봤습니다
RedisTest
@SpringBootTest
public class RedisTest {

    @Autowired
    StudentRepository studentRepository;

    //insert
    @Test
    void saveTest(){
        Student student1 = new Student("1", "zzarbttoo1", Student.Gender.FEMALE, 1);
        Student student2 = new Student("2", "zzarbttoo2", Student.Gender.FEMALE, 2);
        Student student3 = new Student("3", "zzarbttoo3", Student.Gender.FEMALE, 3);
        Student student4 = new Student("4", "zzarbttoo4", Student.Gender.FEMALE, 4);
        Student student5 = new Student("5", "zzarbttoo5", Student.Gender.FEMALE, 5);

        studentRepository.save(student1);
        studentRepository.save(student2);
        studentRepository.save(student3);
        studentRepository.save(student4);
        studentRepository.save(student5);
    }

	//select
    @Test
    void selectTest(){

        Student selectStudent1 = studentRepository.findById("1").get();
        Student selectStudent2 = studentRepository.findById("2").get();
        Student selectStudent3 = studentRepository.findById("3").get();
        Student selectStudent4 = studentRepository.findById("4").get();
        Student selectStudent5 = studentRepository.findById("5").get();

        System.out.println(selectStudent1.toString());
        System.out.println(selectStudent2.toString());
        System.out.println(selectStudent3.toString());
        System.out.println(selectStudent4.toString());
        System.out.println(selectStudent5.toString());
    }

    //update
    @Test
    void updateTest(){

        Student selectStudent1 = studentRepository.findById("1").get();
        selectStudent1.setName("updated Name");
        studentRepository.save(selectStudent1);
        System.out.println(selectStudent1.toString());

    }

    //delete
    @Test
    void deleteTest(){
        studentRepository.deleteById("2");
        Assertions.assertThrows(NoSuchElementException.class, () -> studentRepository.findById("2").get());
    }

    //selectAll
    @Test
    void selectAllTest(){
        List<Student> students = new ArrayList<>();
        studentRepository.findAll().forEach(students::add);
        System.out.println(students.toString());
    }

}
- Jpa와 같은 방식으로 redis를 조작할 수 있다는 것을 알 수 있습니다
- delete 이후 값이 사라진 것을 확인할 수 있습니다

다음에는 redis와 mysql을 연동해서 사용하는 것에 대해 공부해보도록 하겠습니다!
출처
https://www.baeldung.com/spring-data-redis-tutorial
https://hub.docker.com/_/redis
https://giles.tistory.com/38
https://www.daleseo.com/docker-networks/
https://jistol.github.io/docker/2017/09/01/docker-redis/
https://littleshark.tistory.com/68
https://stackoverflow.com/questions/49021994/jedisconnectionfactory-sethostname-is-deprecated
https://sungwookkang.com/1313