이번에 도서추천 어플을 개발하면서 새롭게 알았던 것들이나 유용하게 쓰였던 코드를 정리해보려고 한다!
외부 라이브러리 사용
- 터미널을 열고 아래와 같이 실행파일이 있는 폴더로 경로를 맞춰준다.
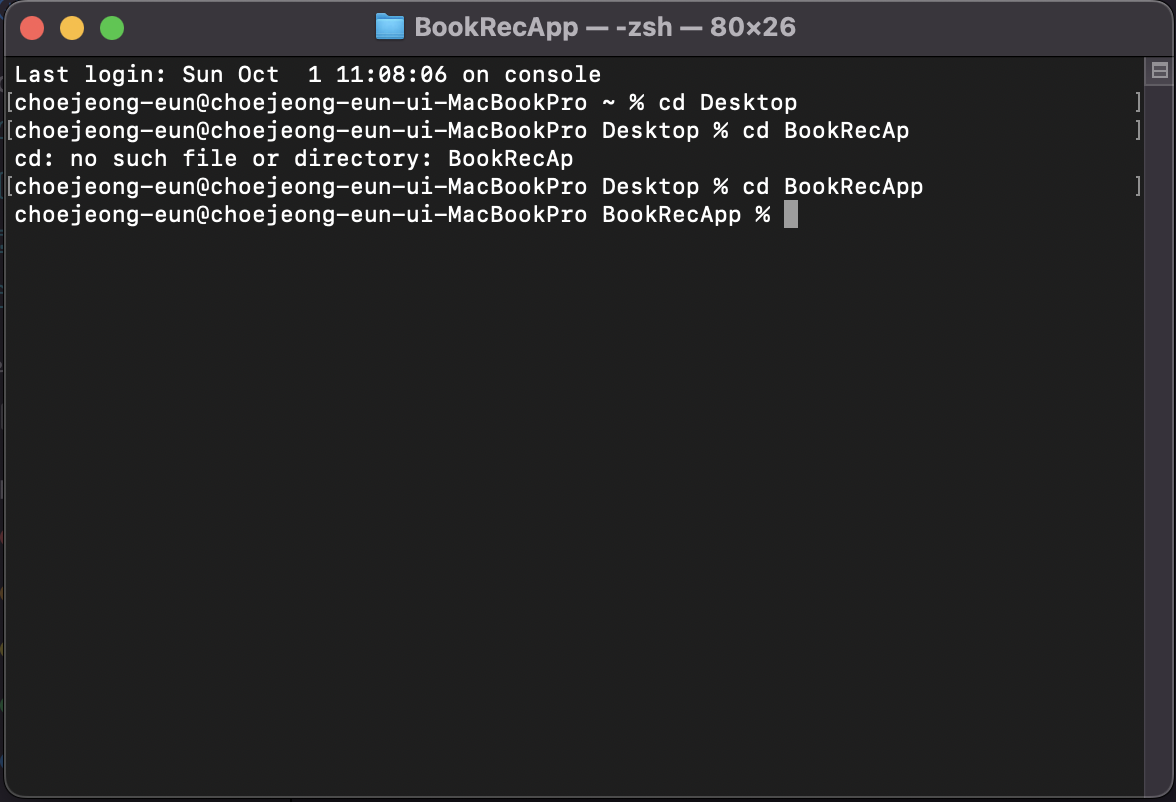
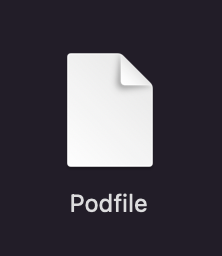
- pod init 입력
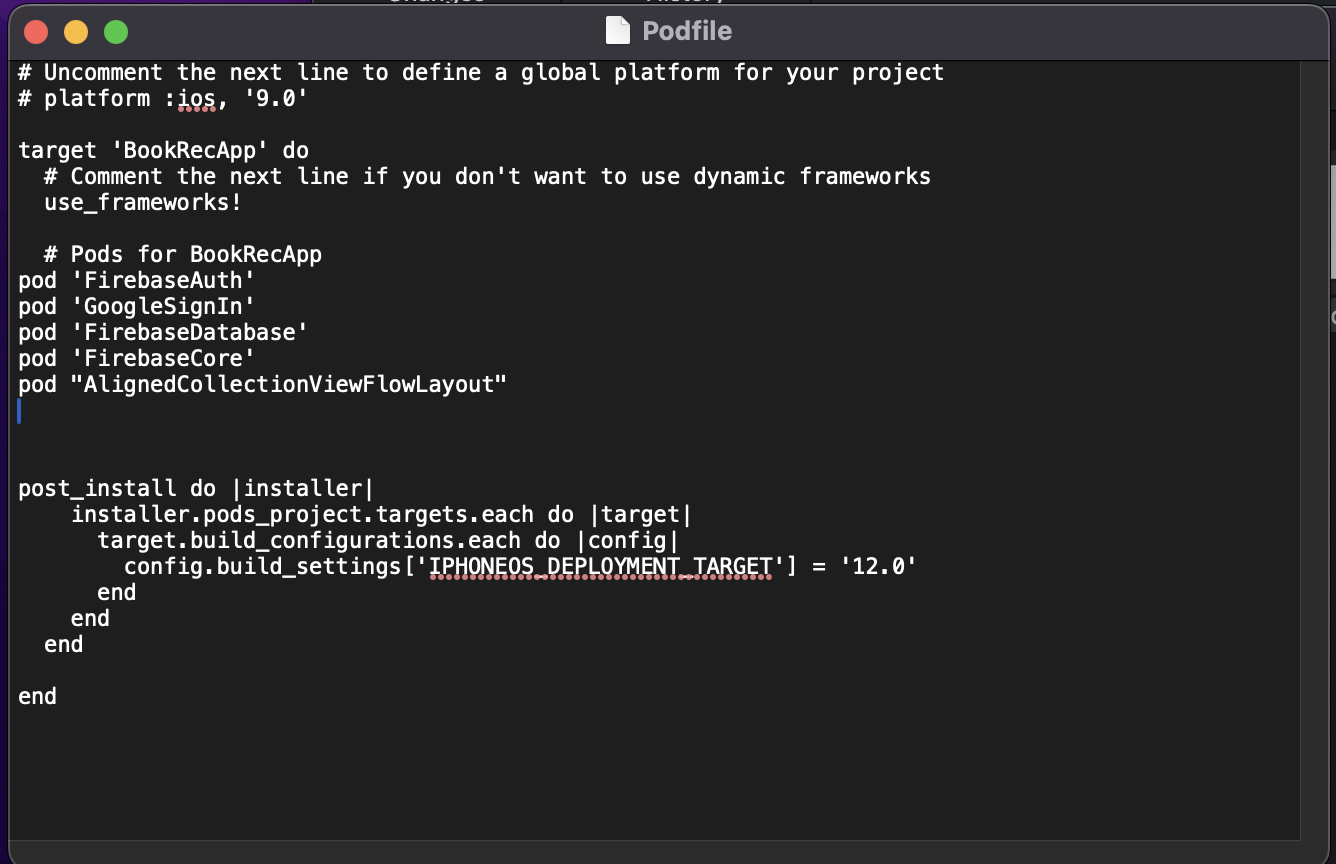
- 생성된 Podfile에 추가할 외부 라이브러리를 등록한다.
- 파일을 저장한 후 터미널에 pod install을 입력한다.
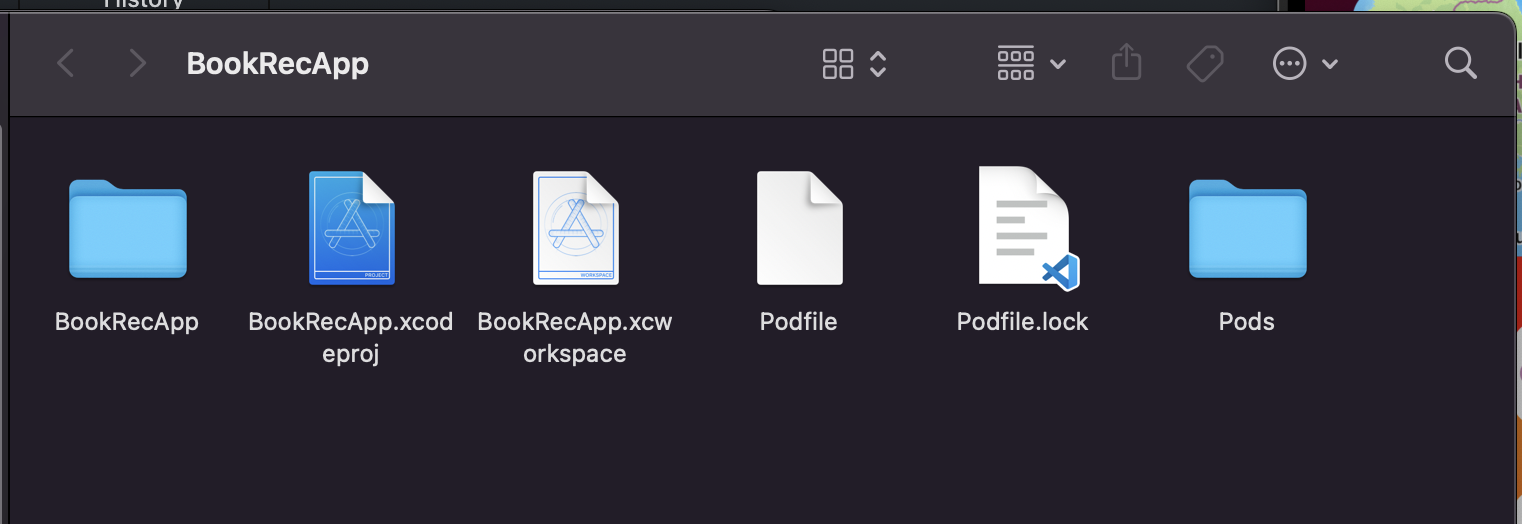
- 여러 파일들이 생성되는데 이제 프로젝트를 열 때는 프로젝트명.xcworkspace 파일을 클릭하여 열면된다!
Hex값으로 UIColor 적용하기
- 화면을 구현할 때 hex값으로 컬러를 정의하고 싶어서 찾아보다가 발견하였고, 소스 내부에 아래와 같은 코드를 추가하였다.
extension UIColor {

    convenience init(hexCode: String, alpha: CGFloat = 1.0) {
        var hexFormatted: String = hexCode.trimmingCharacters(in: CharacterSet.whitespacesAndNewlines).uppercased()

        if hexFormatted.hasPrefix("#") {
            hexFormatted = String(hexFormatted.dropFirst())
        }

        assert(hexFormatted.count == 6, "Invalid hex code used.")

        var rgbValue: UInt64 = 0
        Scanner(string: hexFormatted).scanHexInt64(&rgbValue)

        self.init(red: CGFloat((rgbValue & 0xFF0000) >> 16) / 255.0,
                  green: CGFloat((rgbValue & 0x00FF00) >> 8) / 255.0,
                  blue: CGFloat(rgbValue & 0x0000FF) / 255.0,
                  alpha: alpha)
    }
}
로딩화면 구현
- UIViewController를 상속받는 클래스를 생성한다.
class ExtensionVC: UIViewController {

    override func viewDidLoad() {

        super.viewDidLoad()
    }
}


extension UIViewController {

    class func displaySpinner(onView: UIView) -> UIView {

        let spinnerView = UIView.init(frame: onView.bounds)

        spinnerView.backgroundColor = .white

        let ai = UIActivityIndicatorView.init(style: .medium)

        ai.startAnimating()
        ai.center = spinnerView.center

        DispatchQueue.main.async {
            spinnerView.addSubview(ai)
            onView.addSubview(spinnerView)
        }

        return spinnerView
    }


    class func removeSpinner(spinner : UIView) {
        DispatchQueue.main.async {
            spinner.removeFromSuperview()
        }
    }
}
-
로딩화면을 사용할 ViewController에서 UIViewController대신, 위에 생성한 ExtensionVC를 상속받는다.

-
UIView 변수 선언
weak var sv: UIView!- 아래와 같이 함수를 구현하여 필요한 곳에 사용
func showIndicator(){
        DispatchQueue.main.async {
            self.sv = UIViewController.displaySpinner(onView: self.view)
        }
    }

func hideIndicator(){
        DispatchQueue.main.async {
            self.sv?.removeFromSuperview()
        }
    }
왼쪽정렬 CollectionView
- UICollectionViewFlowLayout을 상속받는 클래스를 추가한다.
class LeftAlignedCollectionViewFlowLayout: UICollectionViewFlowLayout {

    override func layoutAttributesForElements(in rect: CGRect) -> [UICollectionViewLayoutAttributes]? {
        let attributes = super.layoutAttributesForElements(in: rect)

        var leftMargin = sectionInset.left
        var maxY: CGFloat = -1.0
        attributes?.forEach { layoutAttribute in
            if layoutAttribute.representedElementKind == nil {
                if layoutAttribute.frame.origin.y >= maxY {
                    leftMargin = sectionInset.left
                }

                layoutAttribute.frame.origin.x = leftMargin

                leftMargin += layoutAttribute.frame.width + minimumInteritemSpacing
                maxY = max(layoutAttribute.frame.maxY, maxY)
            }
        }
        return attributes
    }
}- layout 객체를 생성하여, 간격과 autoSize를 설정해준 뒤, viewDidLoad에서 컬렉션뷰 아래 함수를 호출한다.
func setupCollectionView(){
        let layout = LeftAlignedCollectionViewFlowLayout()
        layout.minimumLineSpacing = 0
        layout.minimumInteritemSpacing = 10
        layout.estimatedItemSize = UICollectionViewFlowLayout.automaticSize
        recKeywordCollectionView.dataSource = self
        recKeywordCollectionView.collectionViewLayout = layout
    }
상단정렬 Label
- UILabel 을 상속받는 클래스를 추가한다.
public class VerticalAlignLabel: UILabel {
    enum VerticalAlignment {
        case top
        case middle
        case bottom
    }

    var verticalAlignment : VerticalAlignment = .top {
        didSet {
            setNeedsDisplay()
        }
    }

    override public func textRect(forBounds bounds: CGRect, limitedToNumberOfLines: Int) -> CGRect {
        let rect = super.textRect(forBounds: bounds, limitedToNumberOfLines: limitedToNumberOfLines)

        if UIView.userInterfaceLayoutDirection(for: .unspecified) == .rightToLeft {
            switch verticalAlignment {
            case .top:
                return CGRect(x: self.bounds.size.width - rect.size.width, y: bounds.origin.y, width: rect.size.width, height: rect.size.height)
            case .middle:
                return CGRect(x: self.bounds.size.width - rect.size.width, y: bounds.origin.y + (bounds.size.height - rect.size.height) / 2, width: rect.size.width, height: rect.size.height)
            case .bottom:
                return CGRect(x: self.bounds.size.width - rect.size.width, y: bounds.origin.y + (bounds.size.height - rect.size.height), width: rect.size.width, height: rect.size.height)
            }
        } else {
            switch verticalAlignment {
            case .top:
                return CGRect(x: bounds.origin.x, y: bounds.origin.y, width: rect.size.width, height: rect.size.height)
            case .middle:
                return CGRect(x: bounds.origin.x, y: bounds.origin.y + (bounds.size.height - rect.size.height) / 2, width: rect.size.width, height: rect.size.height)
            case .bottom:
                return CGRect(x: bounds.origin.x, y: bounds.origin.y + (bounds.size.height - rect.size.height), width: rect.size.width, height: rect.size.height)
            }
        }
    }

    override public func drawText(in rect: CGRect) {
        let r = self.textRect(forBounds: rect, limitedToNumberOfLines: self.numberOfLines)
        super.drawText(in: r)
    }
}
- 정렬해줄 Label을 뷰컨트롤러에 연결한 뒤, 상속을 UILabel이 아닌 위에 추가한 VerticalAlingLabel로 변경해준다.
@IBOutlet weak var descriptionLabel: VerticalAlignLabel!- viewDidLoad에서 아래 상단 정렬 코드 호출
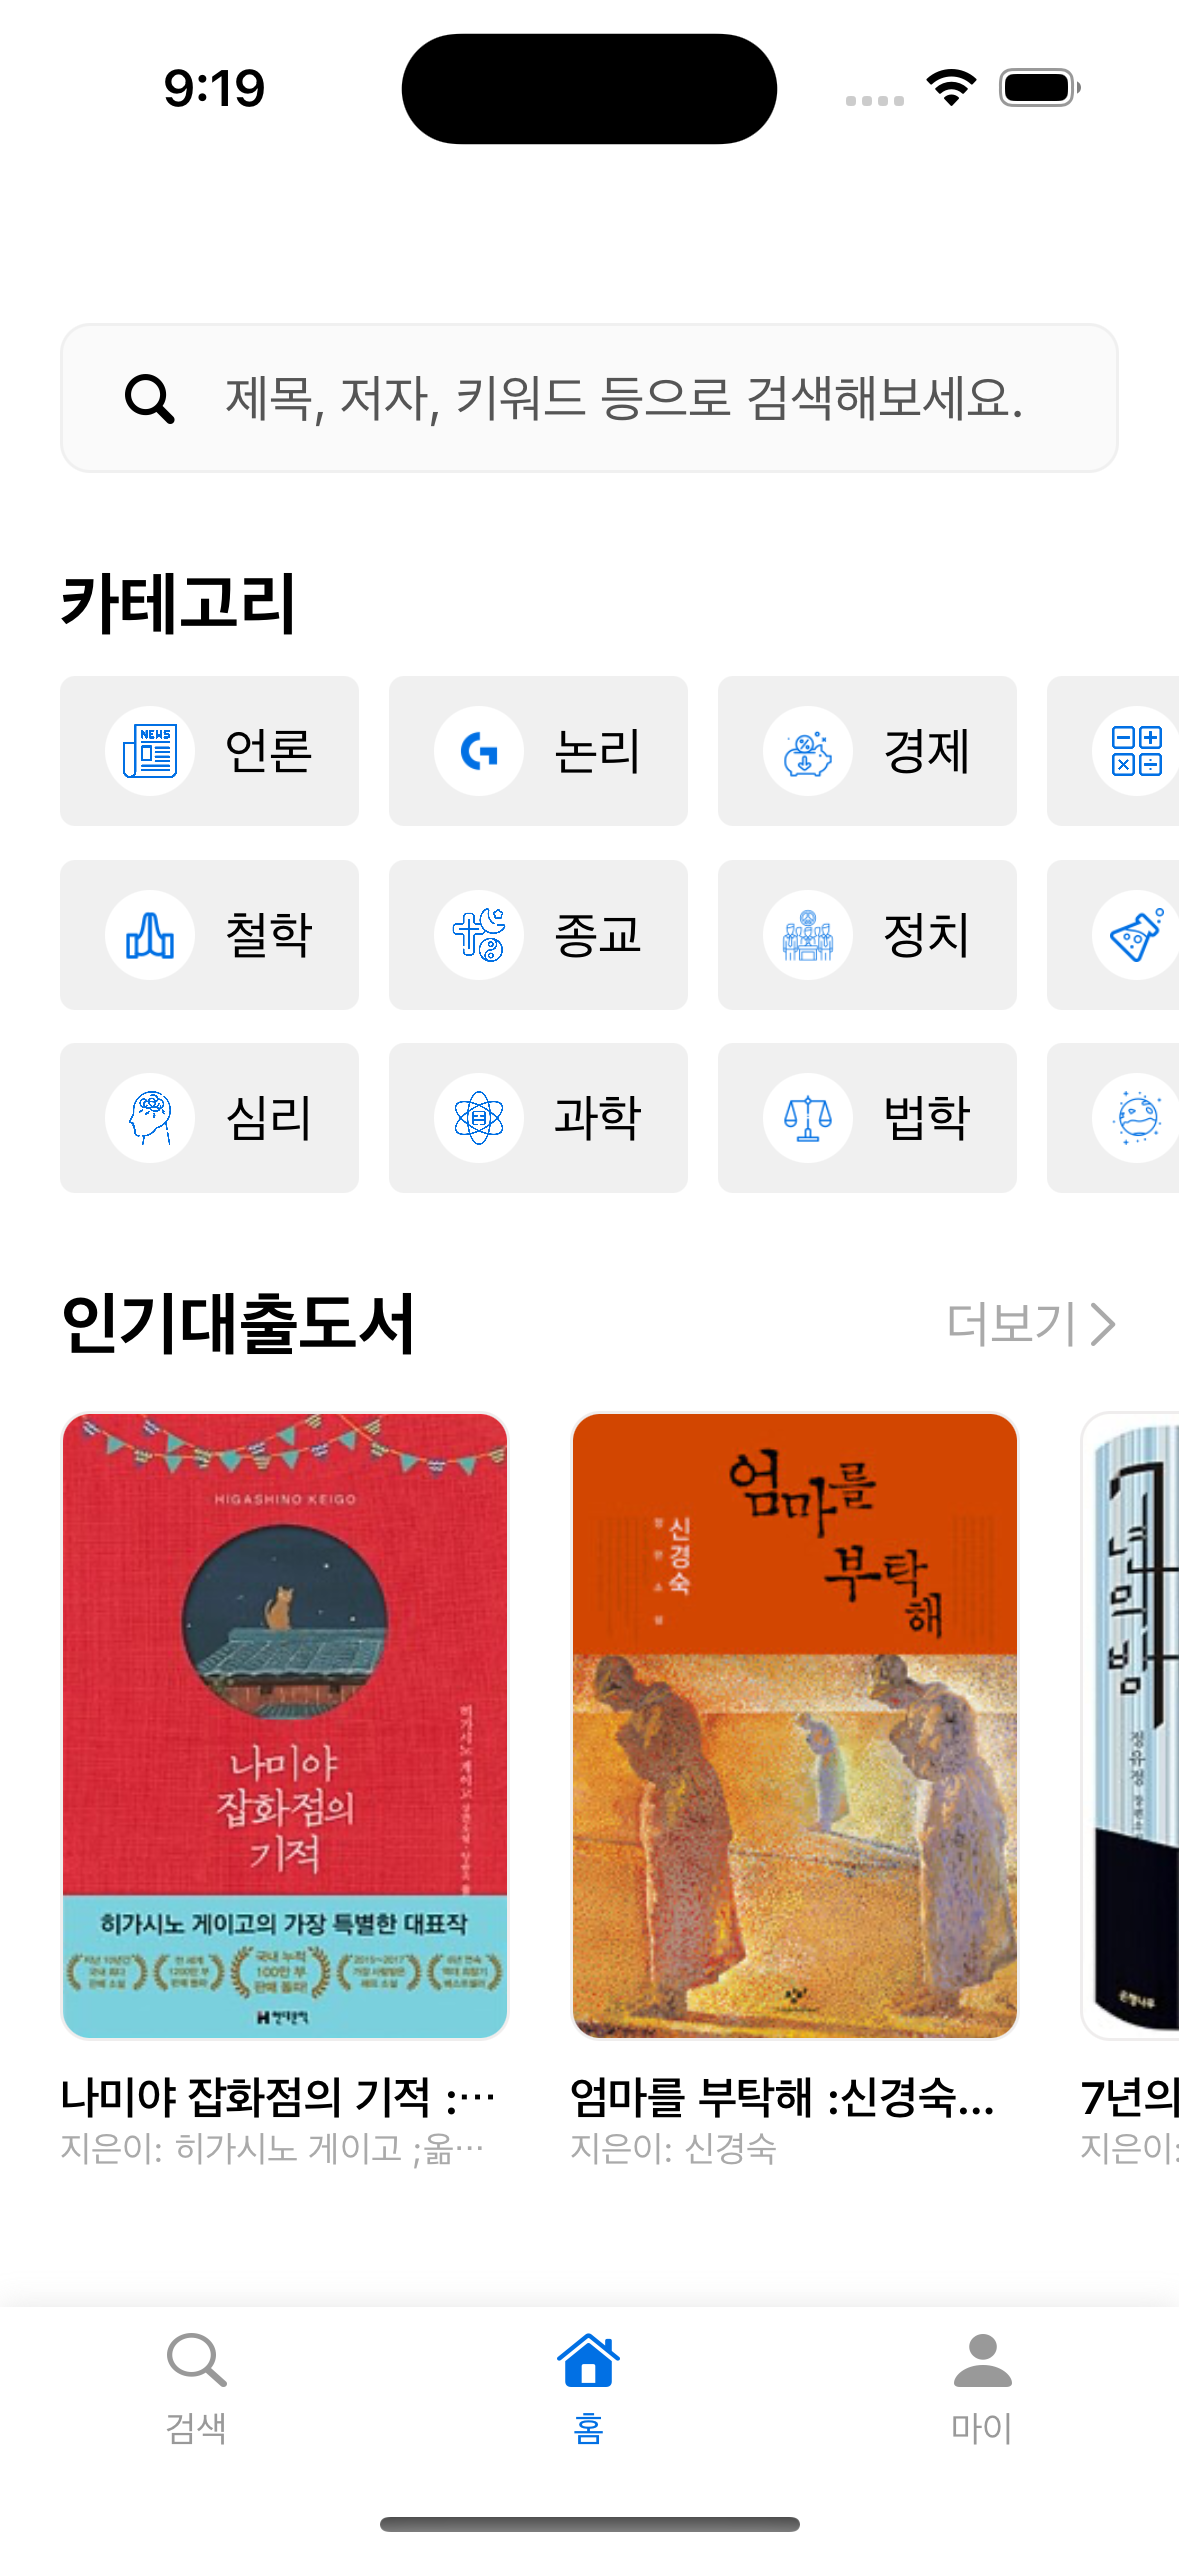
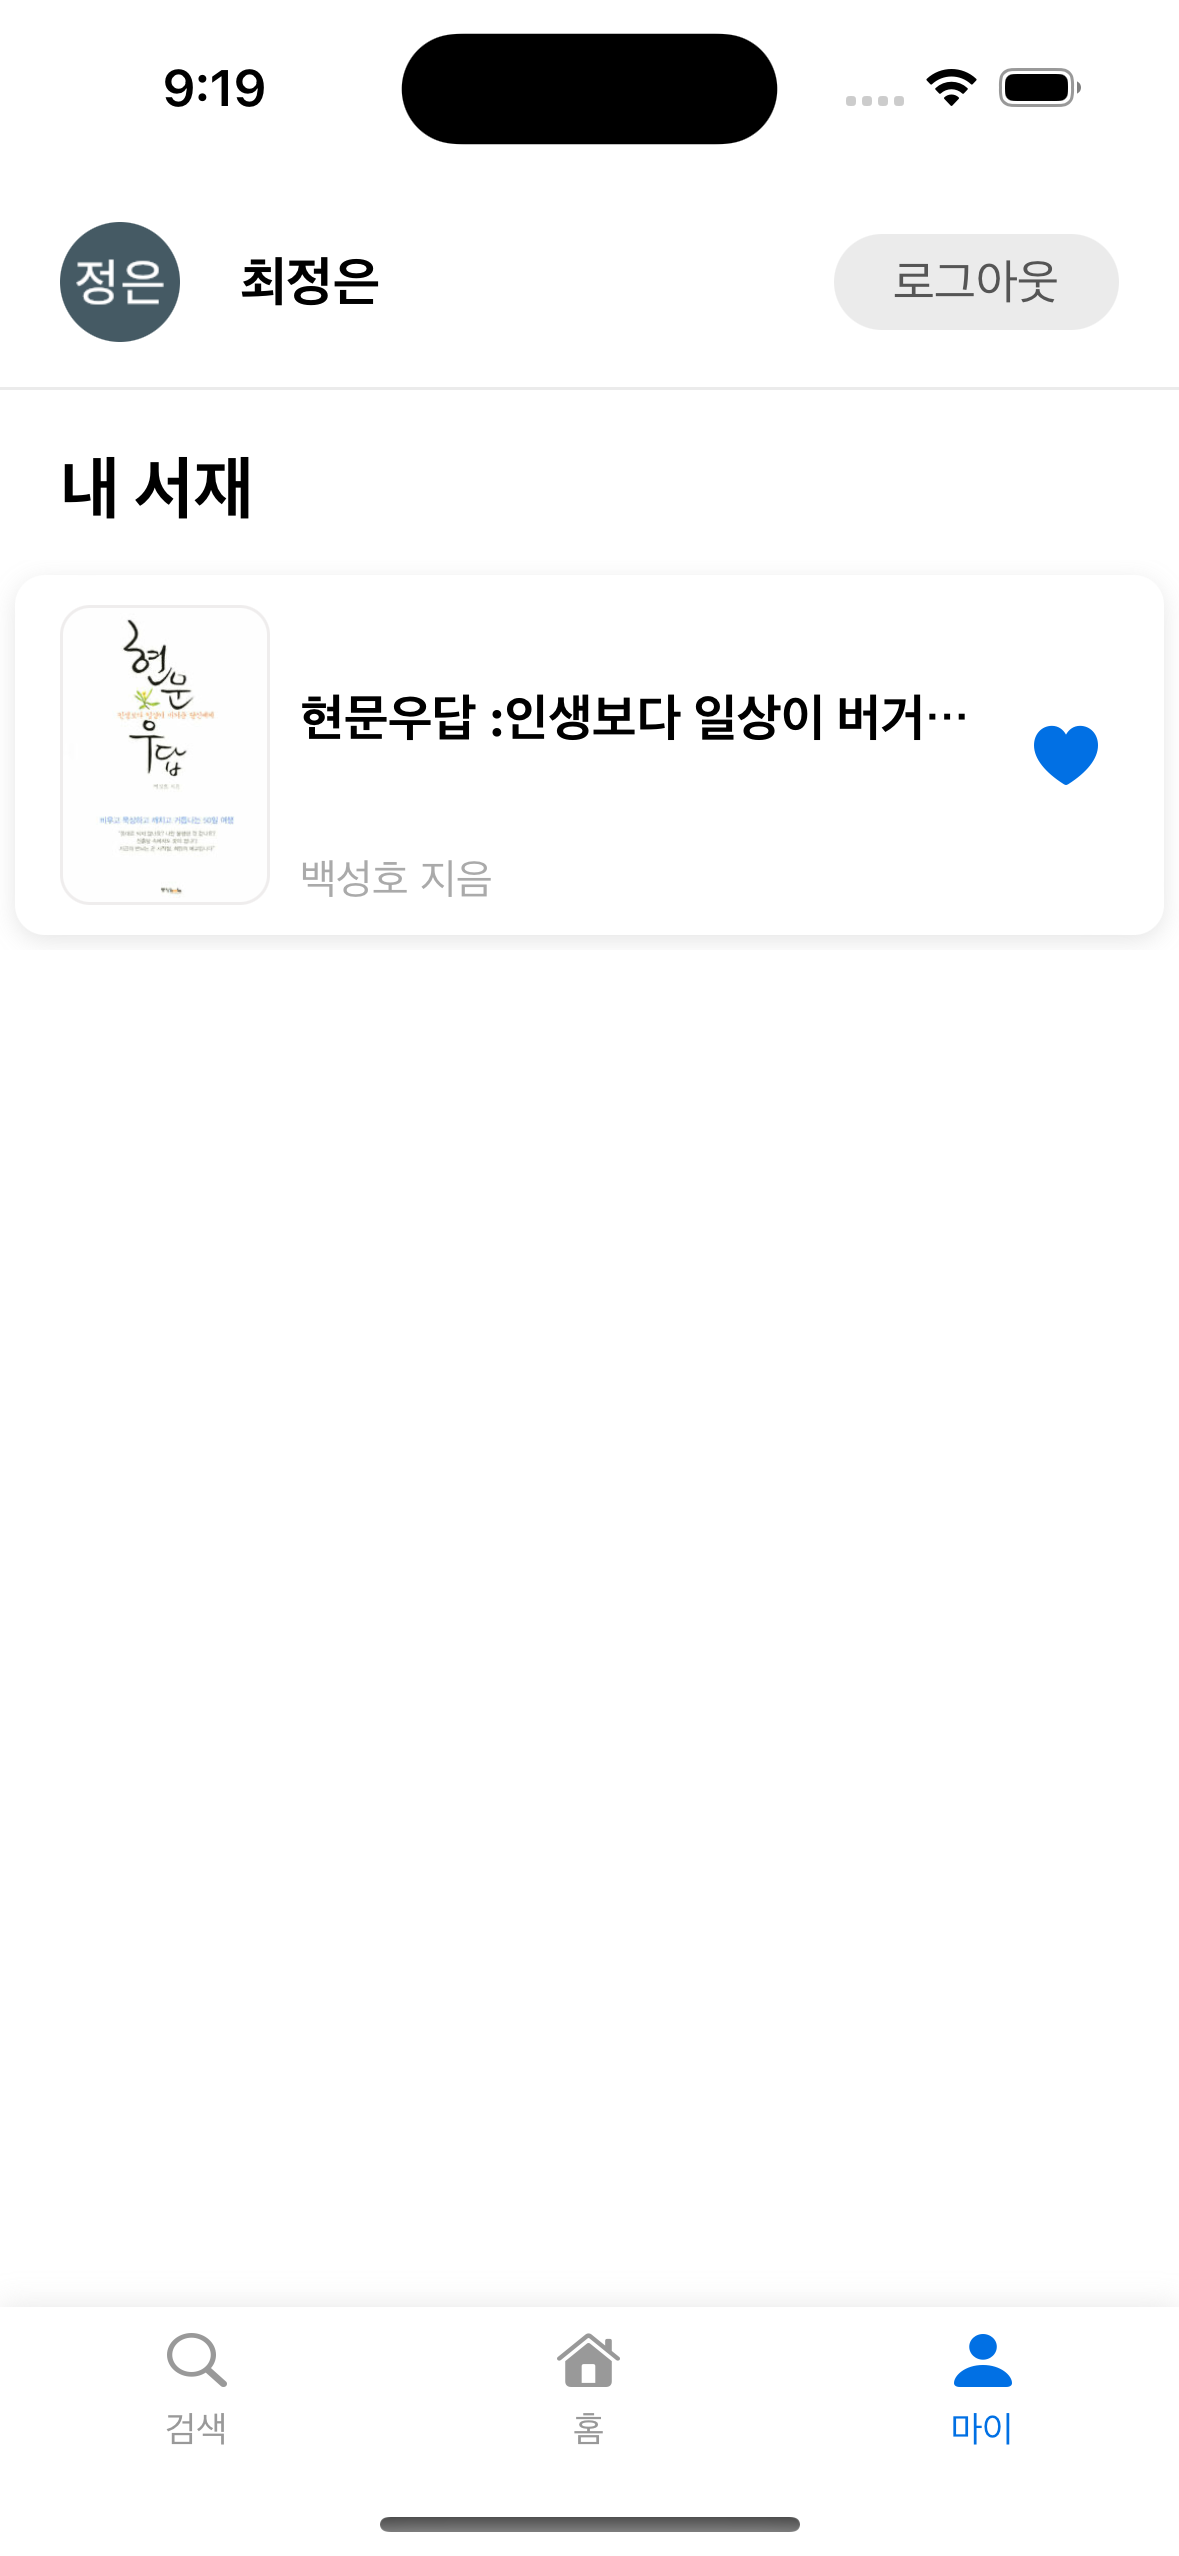
descriptionLabel.verticalAlignment = .top도서추천앱 화면
메인화면 마이탭 화면
 |  |
|---|
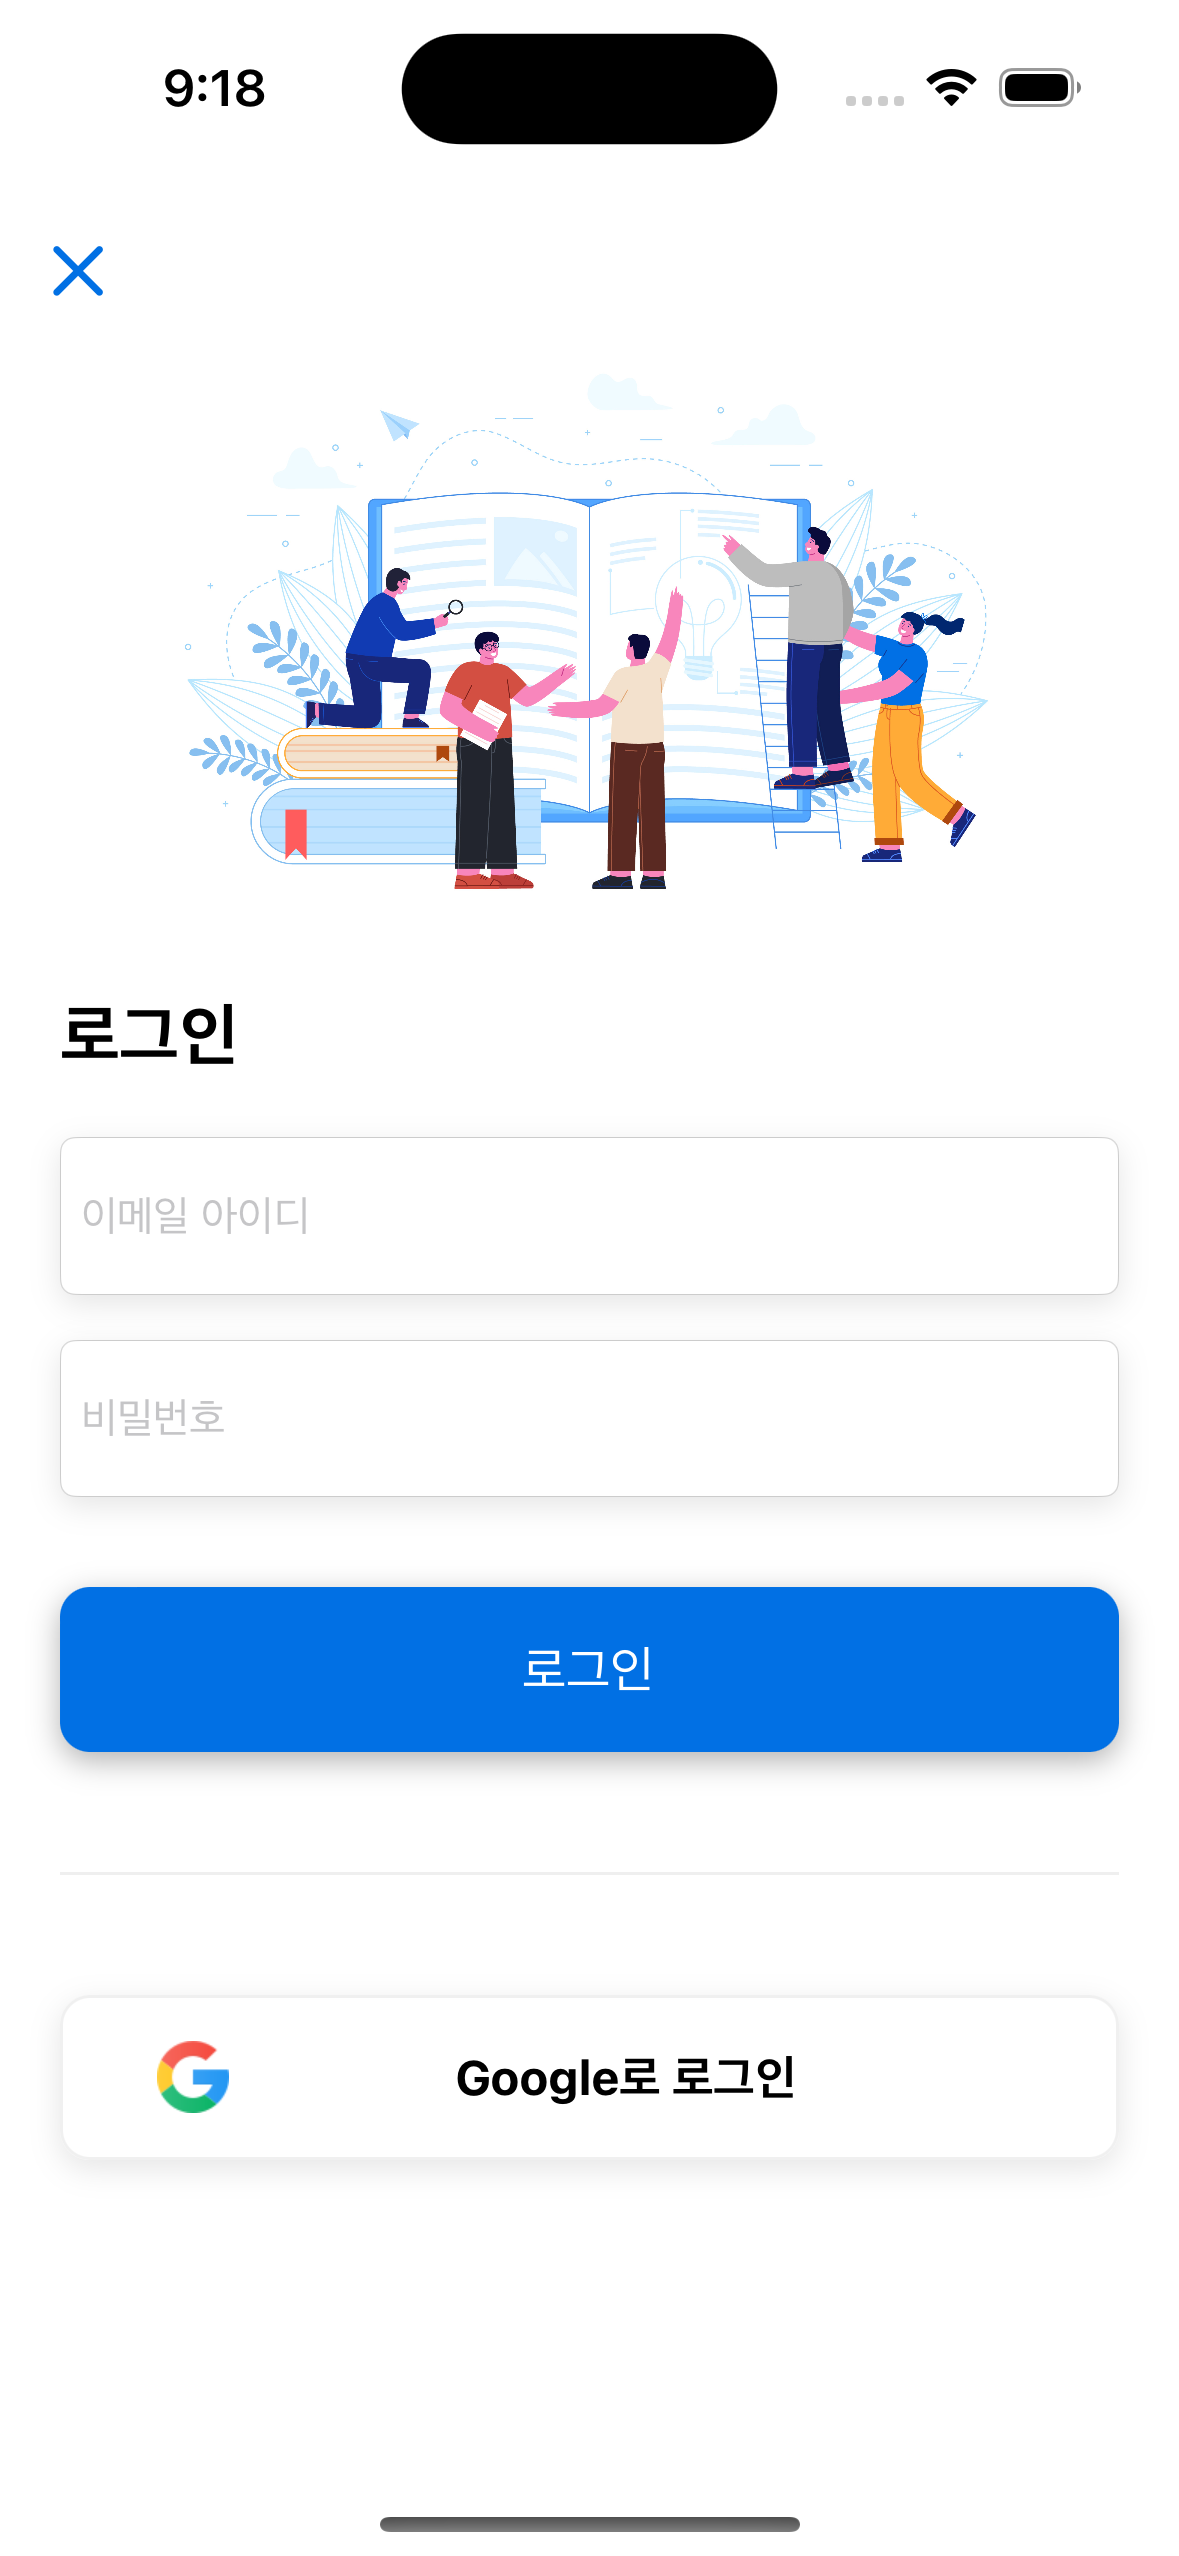
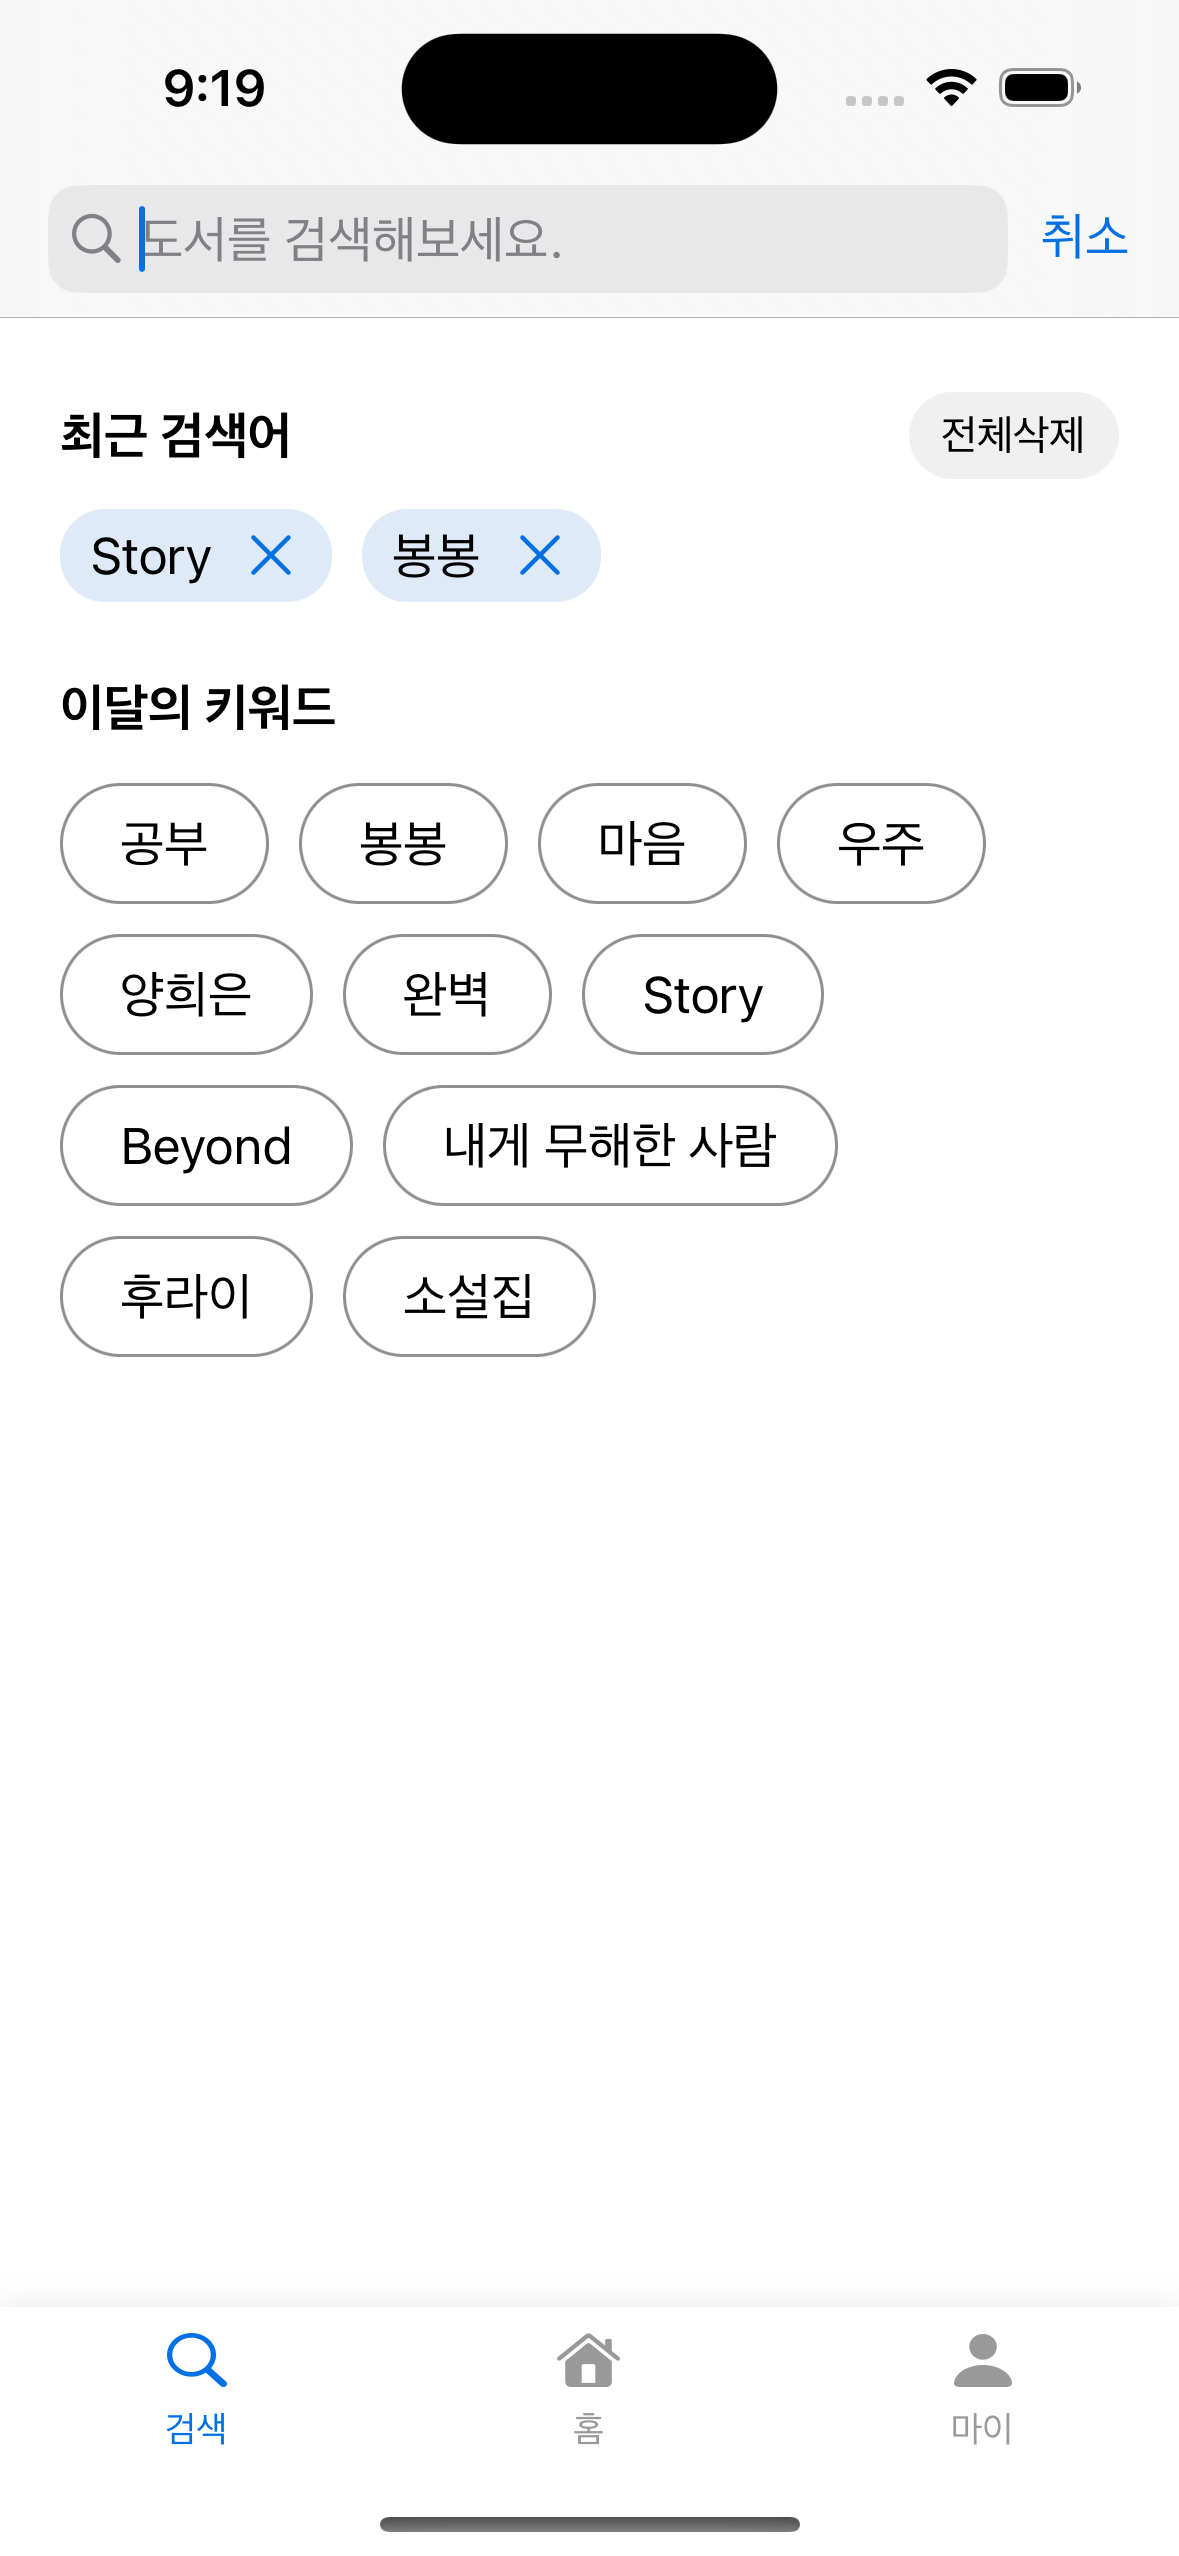
로그인 화면 검색 화면
 |  |
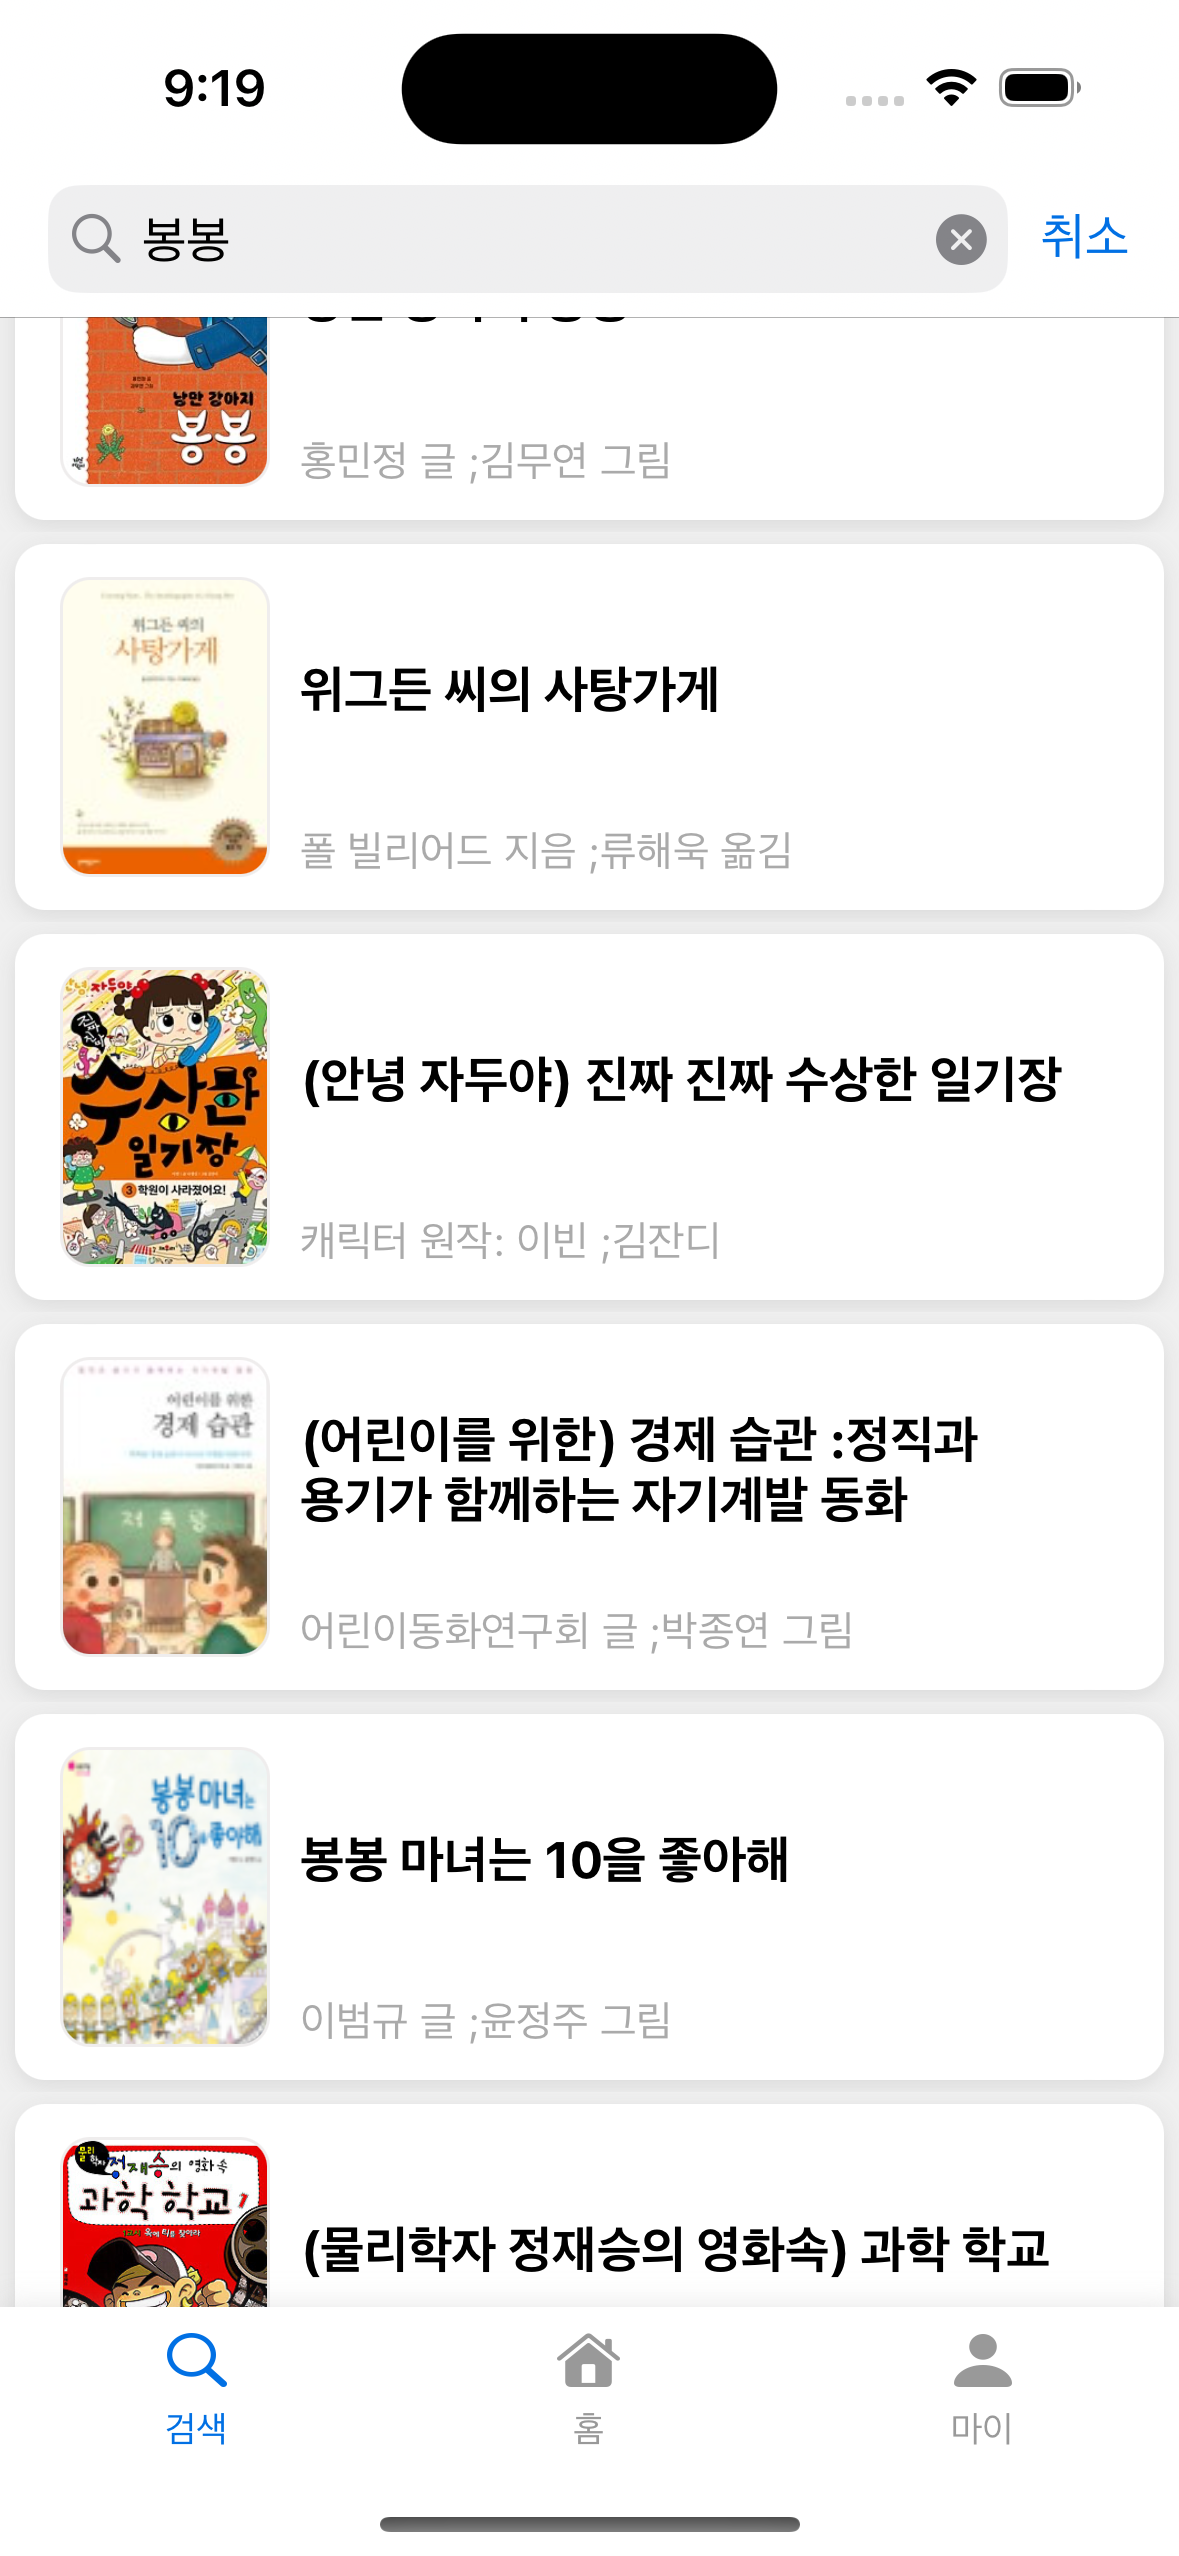
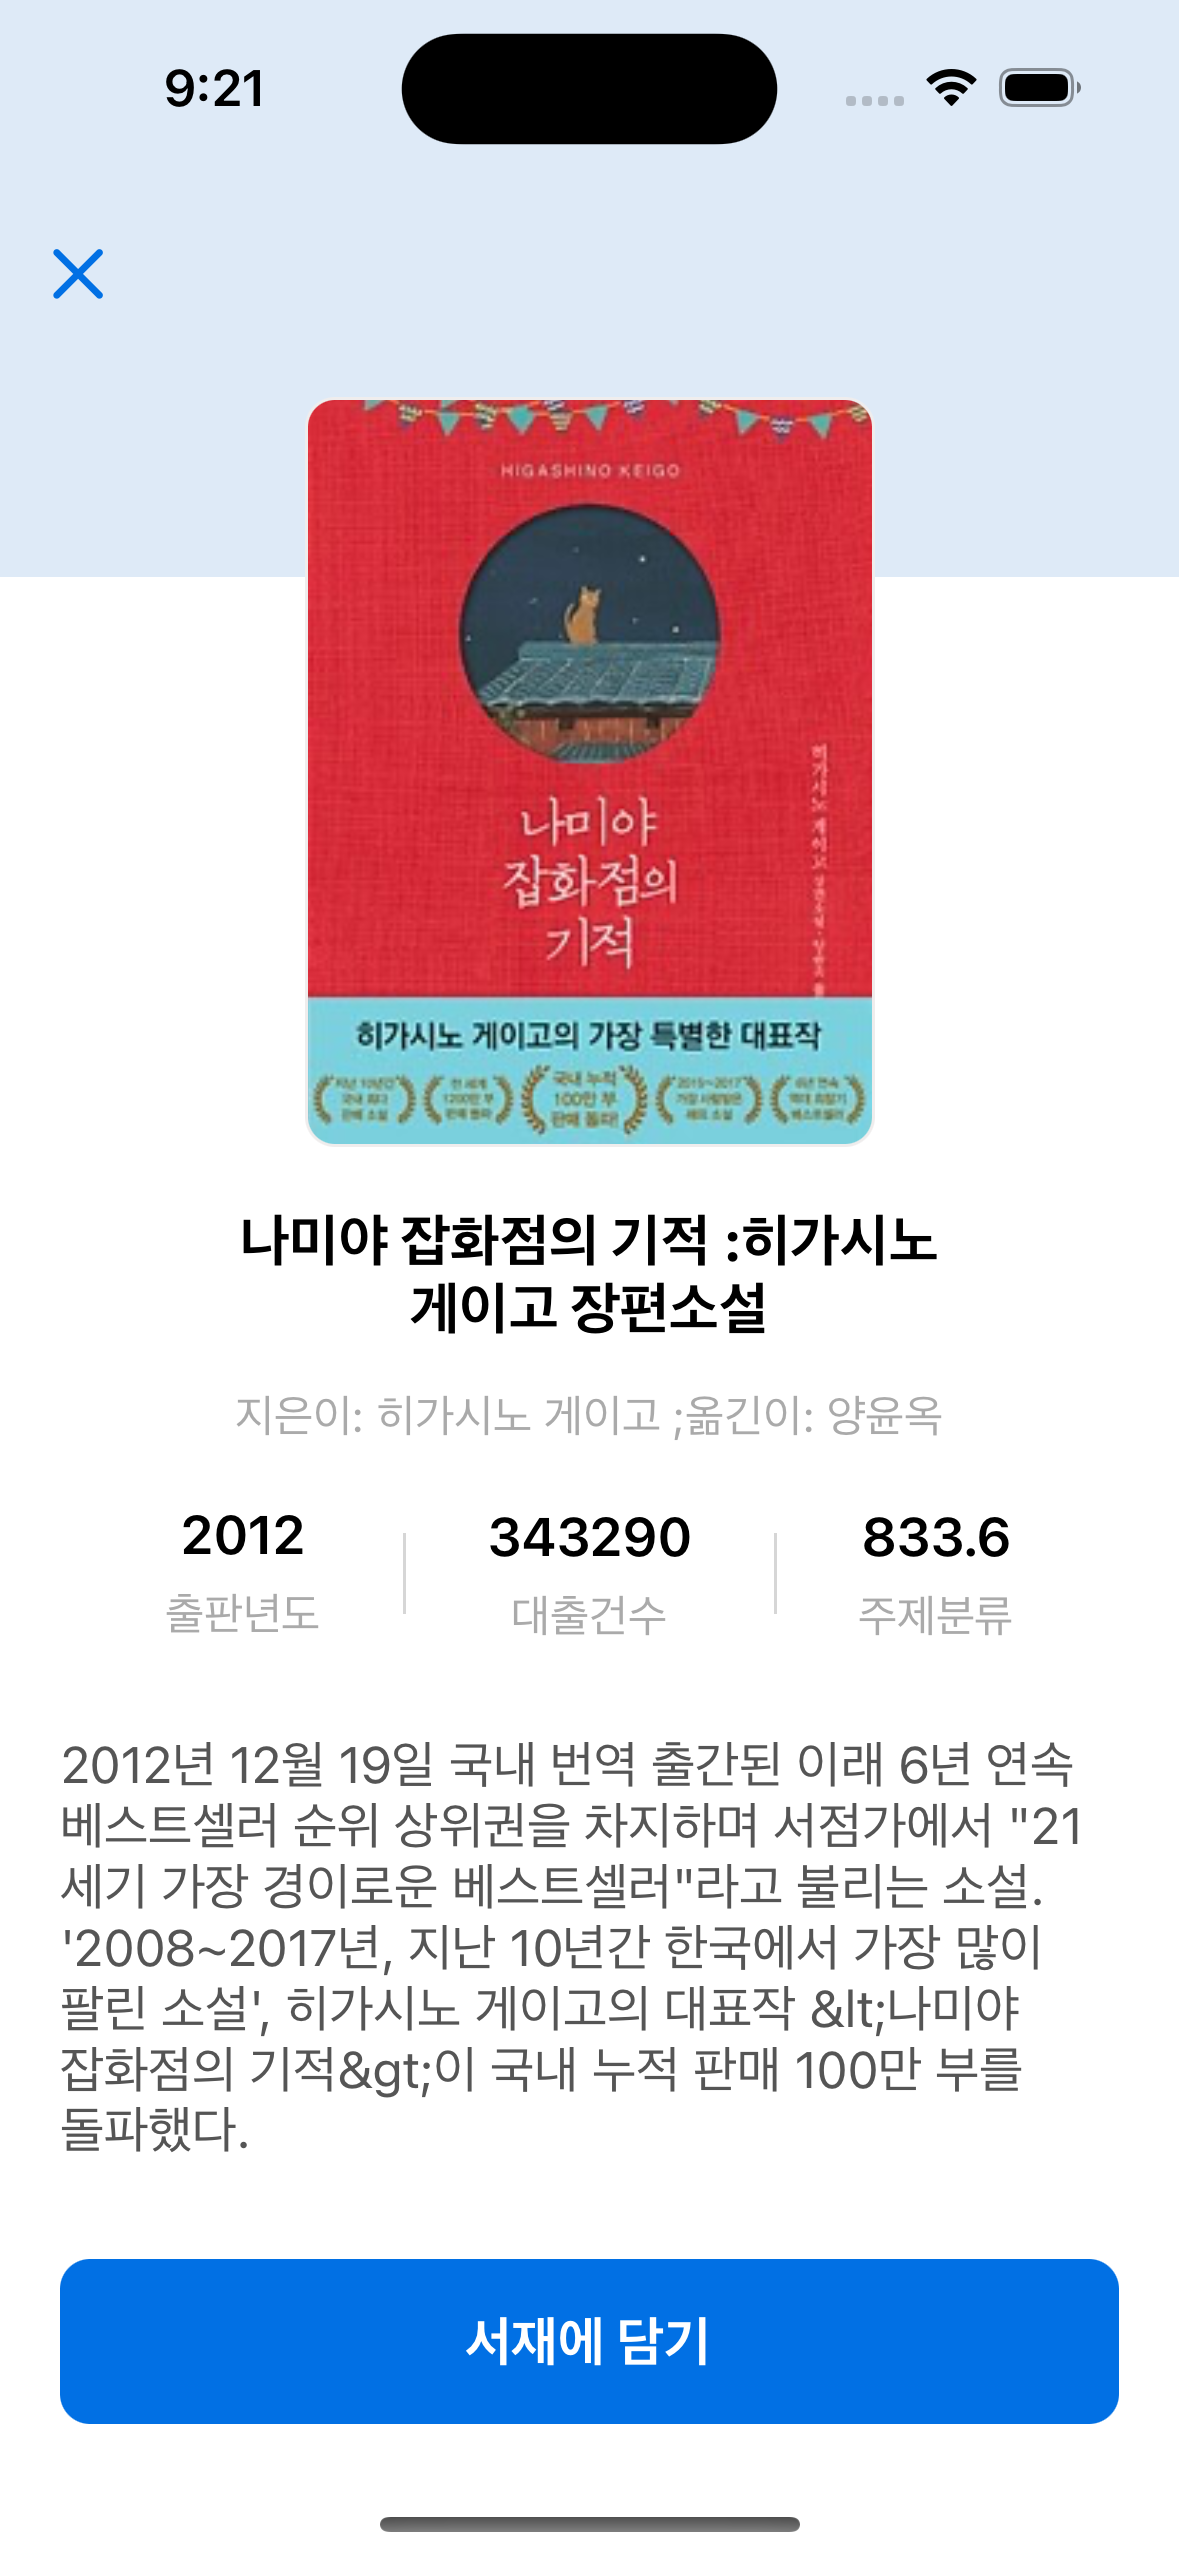
|---|
검색결과 화면 도서 상세 정보 화면
 |  |
|---|