이번엔 작성했던 게시글을 어떤 방식으로 로드했는지 작성해보겠다.
우선 두 가지로 나뉘는데,
Marker
첫번째는 맵 위에 등록했던 마커를 클릭했을때, 해당 게시글이 보이게하는 방식이다.
마커 자체에는 다른 정보들이 없기 때문에 우선 저장했던 좌표들을 활용하여야 한다.
우선 다른 함수를 구현하기 전에 파이어스토어와 스토리지 이미지들을 사용할 수 있게하는 함수를 먼저 구현해야한다.
그리고나서
func fetchDataUsingCoordinates(latitude: Double, longitude: Double) {
        // 파이어스토어에서 위도와 경도를 사용하여 문서를 쿼리
        let db = Firestore.firestore()
        db.collection("게시글")
            .whereField("latitude", isEqualTo: latitude)
            .whereField("longitude", isEqualTo: longitude)
            .getDocuments { (querySnapshot, error) in
                if let error = error {
                    print("Error fetching documents: \(error)")
                    return
                }

                if let document = querySnapshot?.documents.first {
                    // 문서가 존재하면 필드 값을 가져와 화면에 표시
                    let documentID = document.documentID
                    self.titleLabel.text = documentID
                    if let mainText = document["내용"] as? String {
                        self.mainText.text = mainText
                    }

                    if let photoLinks = document["분실물 사진"] as? [String] {
                        if photoLinks.indices.contains(0) {
                            self.loadImage(from: photoLinks[0], into: self.image1!)
                        }
                        if photoLinks.indices.contains(1) {
                            self.loadImage(from: photoLinks[1], into: self.image2!)
                        }
                        if photoLinks.indices.contains(2) {
                            self.loadImage(from: photoLinks[2], into: self.image3!)
                        }
                    }
                } else {
                    print("Document does not exist")
                }
            }
    }
좌표들을 탐색하여 문서를 가져와 데이터들을 뿌려주는 형식이다.
그리고 만약 "유저"와 UserDefault에 저장되어있는 email과 같다면 게시글 삭제 버튼을 활성화하고,
다르다면 채팅 버튼을 활성화 하게끔 구성하였다.
다음으로 두번째 방법이다.
이 방법은 사전에 테이블 뷰 셀에서 Document ID 즉, Title을 가져오는 방법이다. 가져온 문서 이름을 활용해서
  func UploadData() {
        if let documentID = documentID {
            // Firestore에서 문서를 가져오기 위해 documentID를 사용
            let docRef = db.collection("게시글").document(documentID)
            docRef.getDocument { (document, error) in
                if let document = document, document.exists {
                    // 문서가 존재하면 필드 값을 가져와 화면에 표시

                    // document ID를 titleLabel에 표시
                    self.titleLabel.text = documentID

                    // "내용" 필드의 내용을 mainText에 표시
                    if let mainText = document["내용"] as? String {
                        self.mainText.text = mainText
                    }
                    // "분실물 사진" 배열의 URL을 가져와 이미지를 표시
                    if let photoLinks = document["분실물 사진"] as? [String] {
                        if photoLinks.indices.contains(0) {
                            self.loadImage(from: photoLinks[0], into: self.image1)
                        }
                        if photoLinks.indices.contains(1) {
                            self.loadImage(from: photoLinks[1], into: self.image2)
                        }
                        if photoLinks.indices.contains(2) {
                            self.loadImage(from: photoLinks[2], into: self.image3)
                        }
                    } else {
                        print("Document does not exist")
                    }
                }
            }
        }
    }
정보들을 뿌려준다. 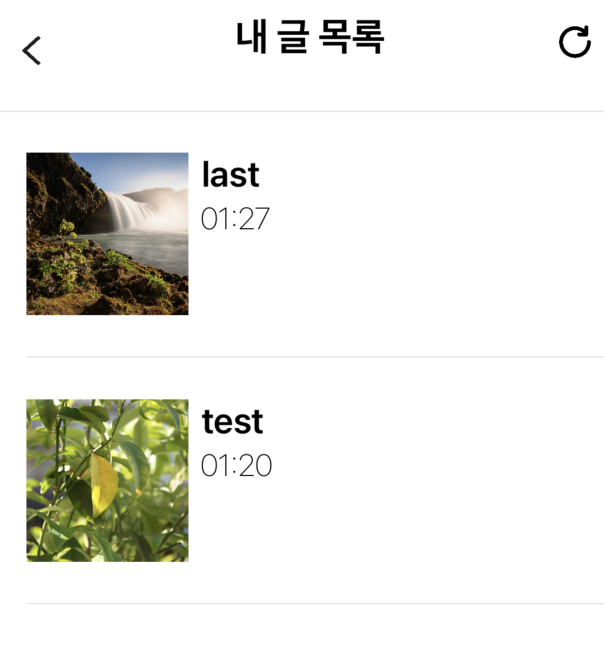
해당 테이블 뷰를 구성하는 함수나 방법에 대해서는 다음에 포스팅하겠다.
아무튼 이렇게 셀에서 Document ID를 가져온 것이다.
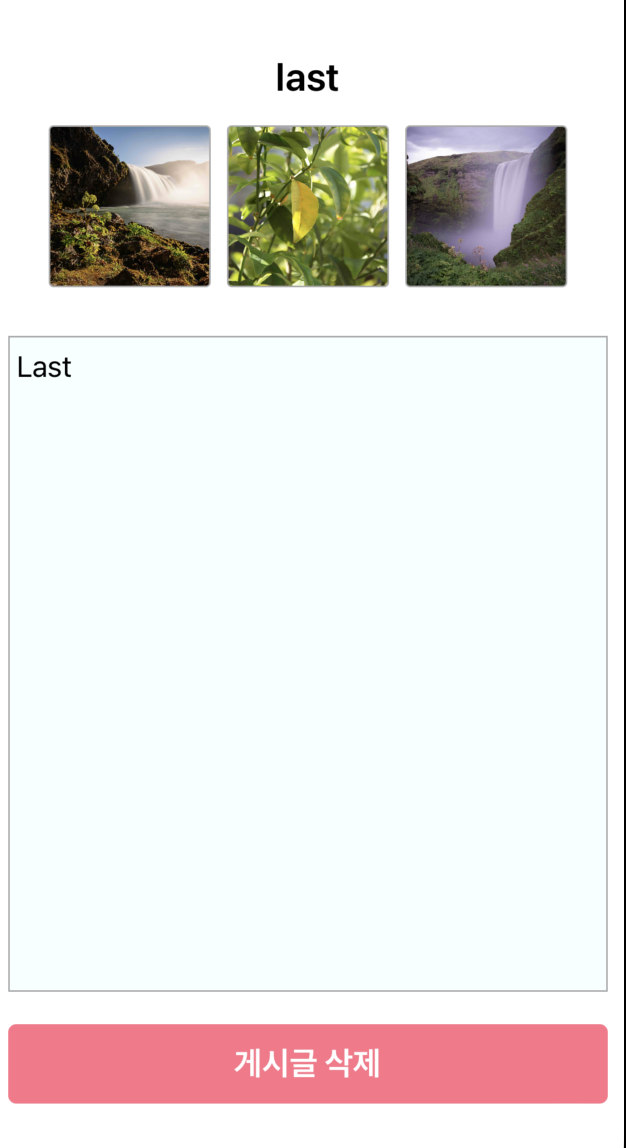
 @IBAction func DeleteBtn(_ sender: Any) {
            //알림창 생성
            let alertController = UIAlertController(title: "삭제 확인", message: "정말로 삭제하실건가요?", preferredStyle: .alert)

            //"네" 버튼 추가
            let yesAction = UIAlertAction(title: "네", style: .destructive) { (action) in
                // "네" 버튼을 눌렀을 때의 로직을 여기에 추가
                self.DeleteDocument()
                self.dismiss(animated: true)
            }

            //"아니오" 버튼 추가
            let noAction = UIAlertAction(title: "아니오", style: .cancel, handler: nil)

            //알림창에 버튼 추가
            alertController.addAction(yesAction)
            alertController.addAction(noAction)

            //알림창 표시
            present(alertController, animated: true, completion: nil)
    }

    func DeleteDocument() {
        let db = Firestore.firestore()

        // 컬렉션에 대한 참조 생성
        let collectionRef = db.collection("게시글")


        collectionRef.whereField("유저", isEqualTo: UserDefaults.standard.string(forKey: "UserEmailKey") ?? "")
                     .whereField("내용", isEqualTo: mainText.text ?? "")
                     .getDocuments { (snapshot, error) in
            if let error = error {
                print("Error getting documents: \(error)")
                return
            }

            if let documents = snapshot?.documents {
                for document in documents {
                    // 해당 문서를 삭제
                    document.reference.delete { error in
                        if let error = error {
                            print("Error deleting document: \(error)")
                        } else {
                            print("Document successfully deleted")
                        }
                    }
                }
            }
        }
    }
삭제 버튼은 alertController를 사용해 알림창을 띄워 사용자에게 정말 삭제할 것 인지 다시 물어보게 한다.