💡 버튼 비활성화
async function connect() {
    if (typeof window.ethereum !== "undefined") {
        try {
          console.log("connecting");
          await ethereum.request({ method: "eth_requestAccounts" });
        } catch (error) {
          console.log(error);
        }
        document.getElementById("login_button").innerHTML = "Connected";
        document.getElementById("swap_button").disabled = false;
      } else {
        document.getElementById("login_button").innerHTML =
          "Please install MetaMask";
      }
    }
버튼 연결 함수 중간에 .disabled = false; 부분이 있다.
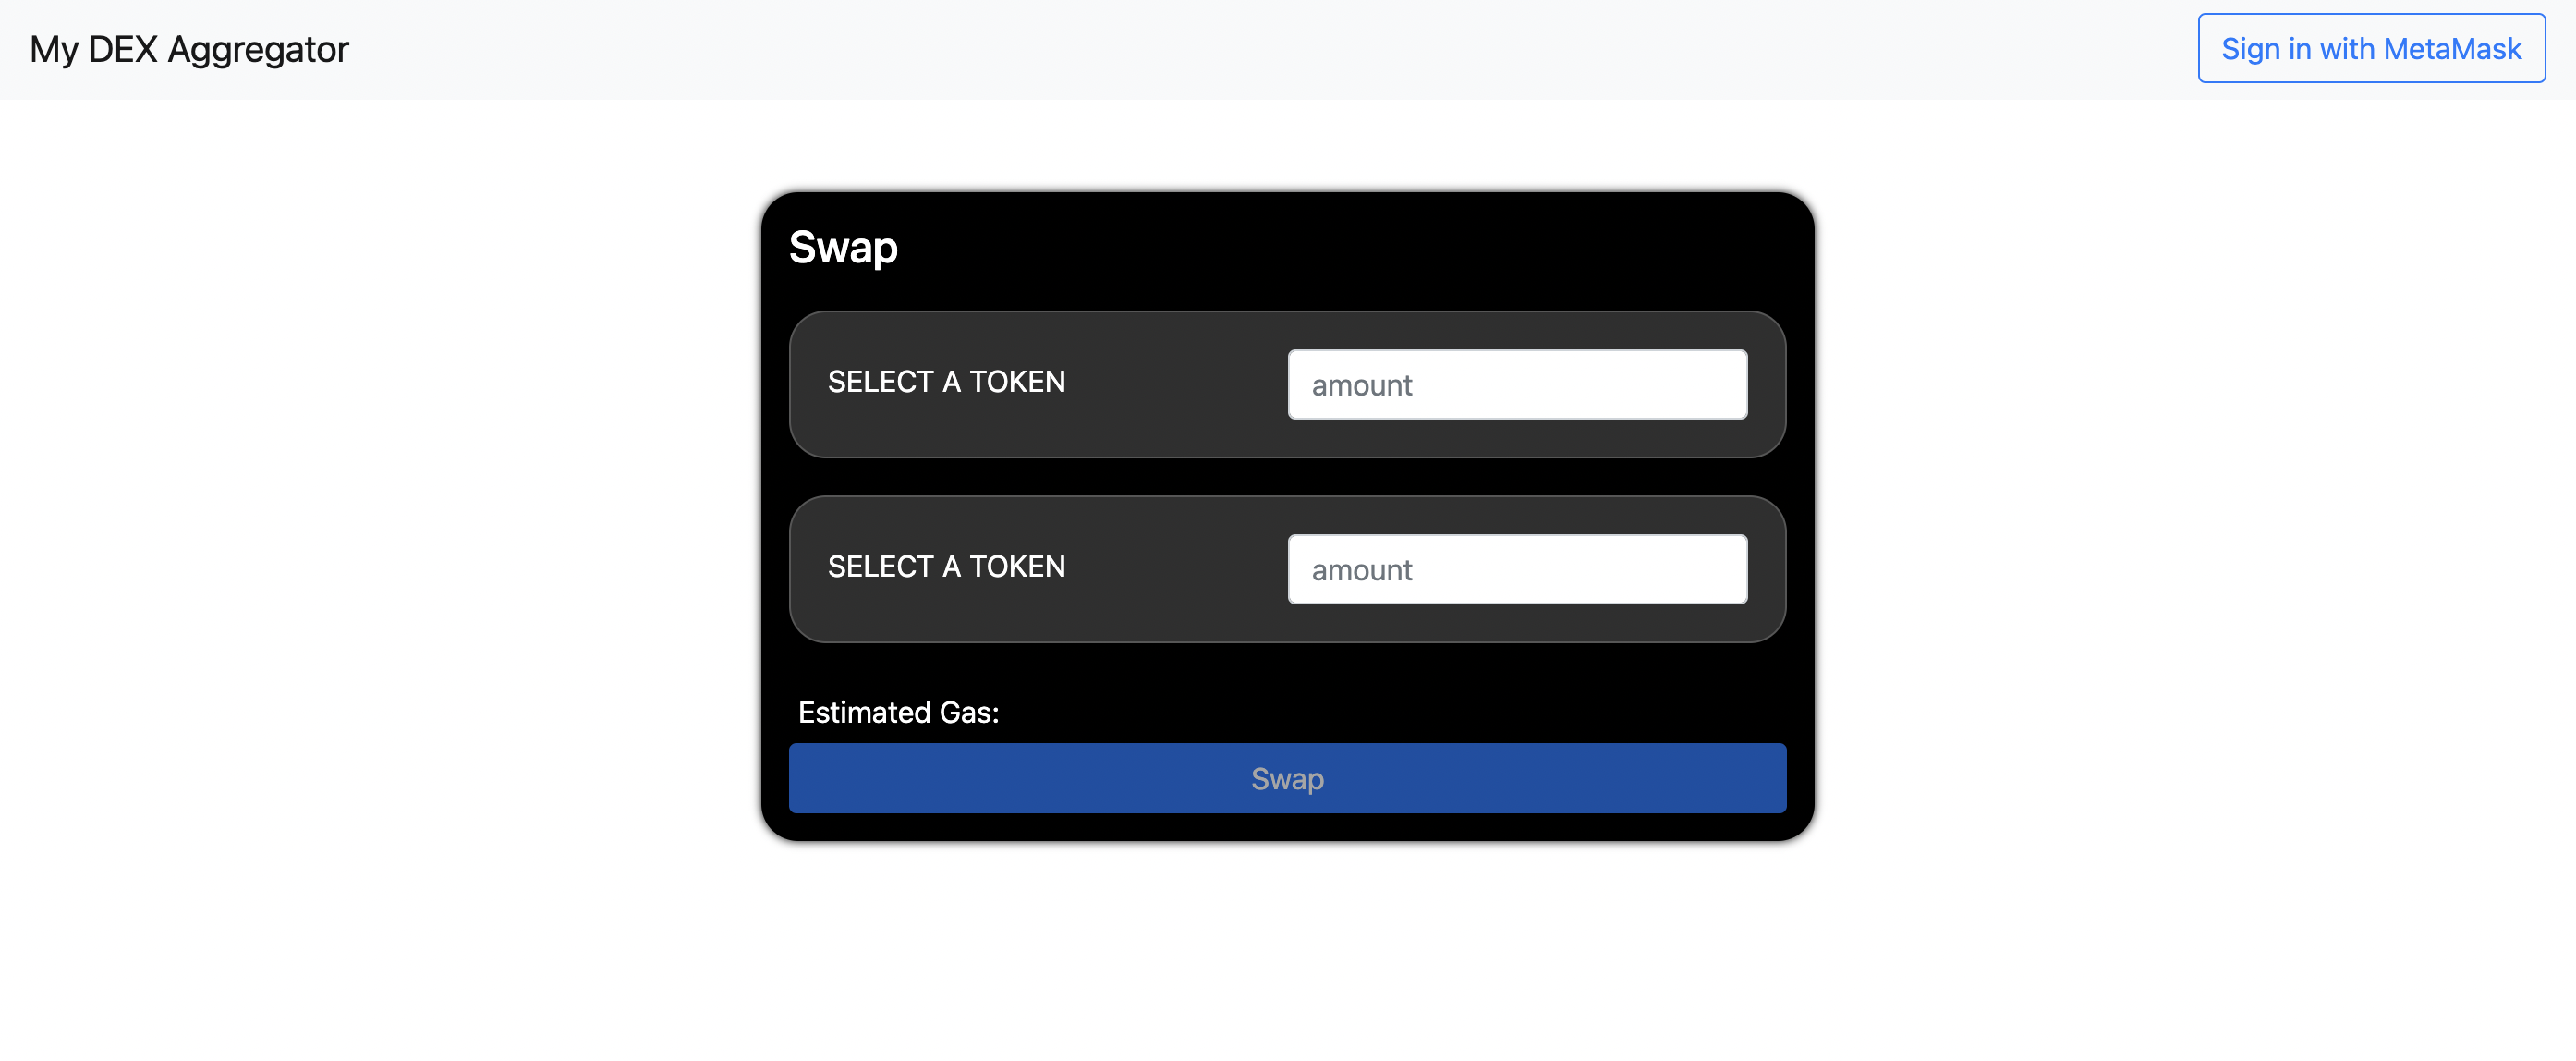
<button disabled class="btn btn-large btn-primary btn-block" id="swap_button">Swap</button> html의 버튼 태그를 보면 앞에 disabled 를 볼 수 있는데 이는 버튼을 비활성화 시키는 것을 기본값으로 가져간다. Id를 가져와서 disabled 값에 true를 넣어주면 버튼이 활성화되고, false를 넣어주면 비활성화된다.
🪟 Modal 창 달기
Bootstrap의 Modal을 가져오고
function openModal() {
    document.getElementById("token_modal").style.display = "block";
}

function closeModal() {
    document.getElementById("token_modal").style.display = "none";
}

document.getElementById("login_button").onclick = conncet;
document.getElementById("from_token_select").onclick = openModal;
document.getElementById("modal_close").onclick = closeModal;
// document.getElementById("modal_close").onclick = closeModal(); 잘못된 예시
SELECT TOKEN을 누르면 Modal 창이 뜨도록 한다. style.display 값에 block을 주면 Modal 창이 보이고, none 을 주면 Modal 창이 사라진다. onclick 이후에 함수로 값을 넣어줄 때 괄호()를 넣지 않도록 주의한다.
🦎 코인게코에서 토큰 리스트 가져오기
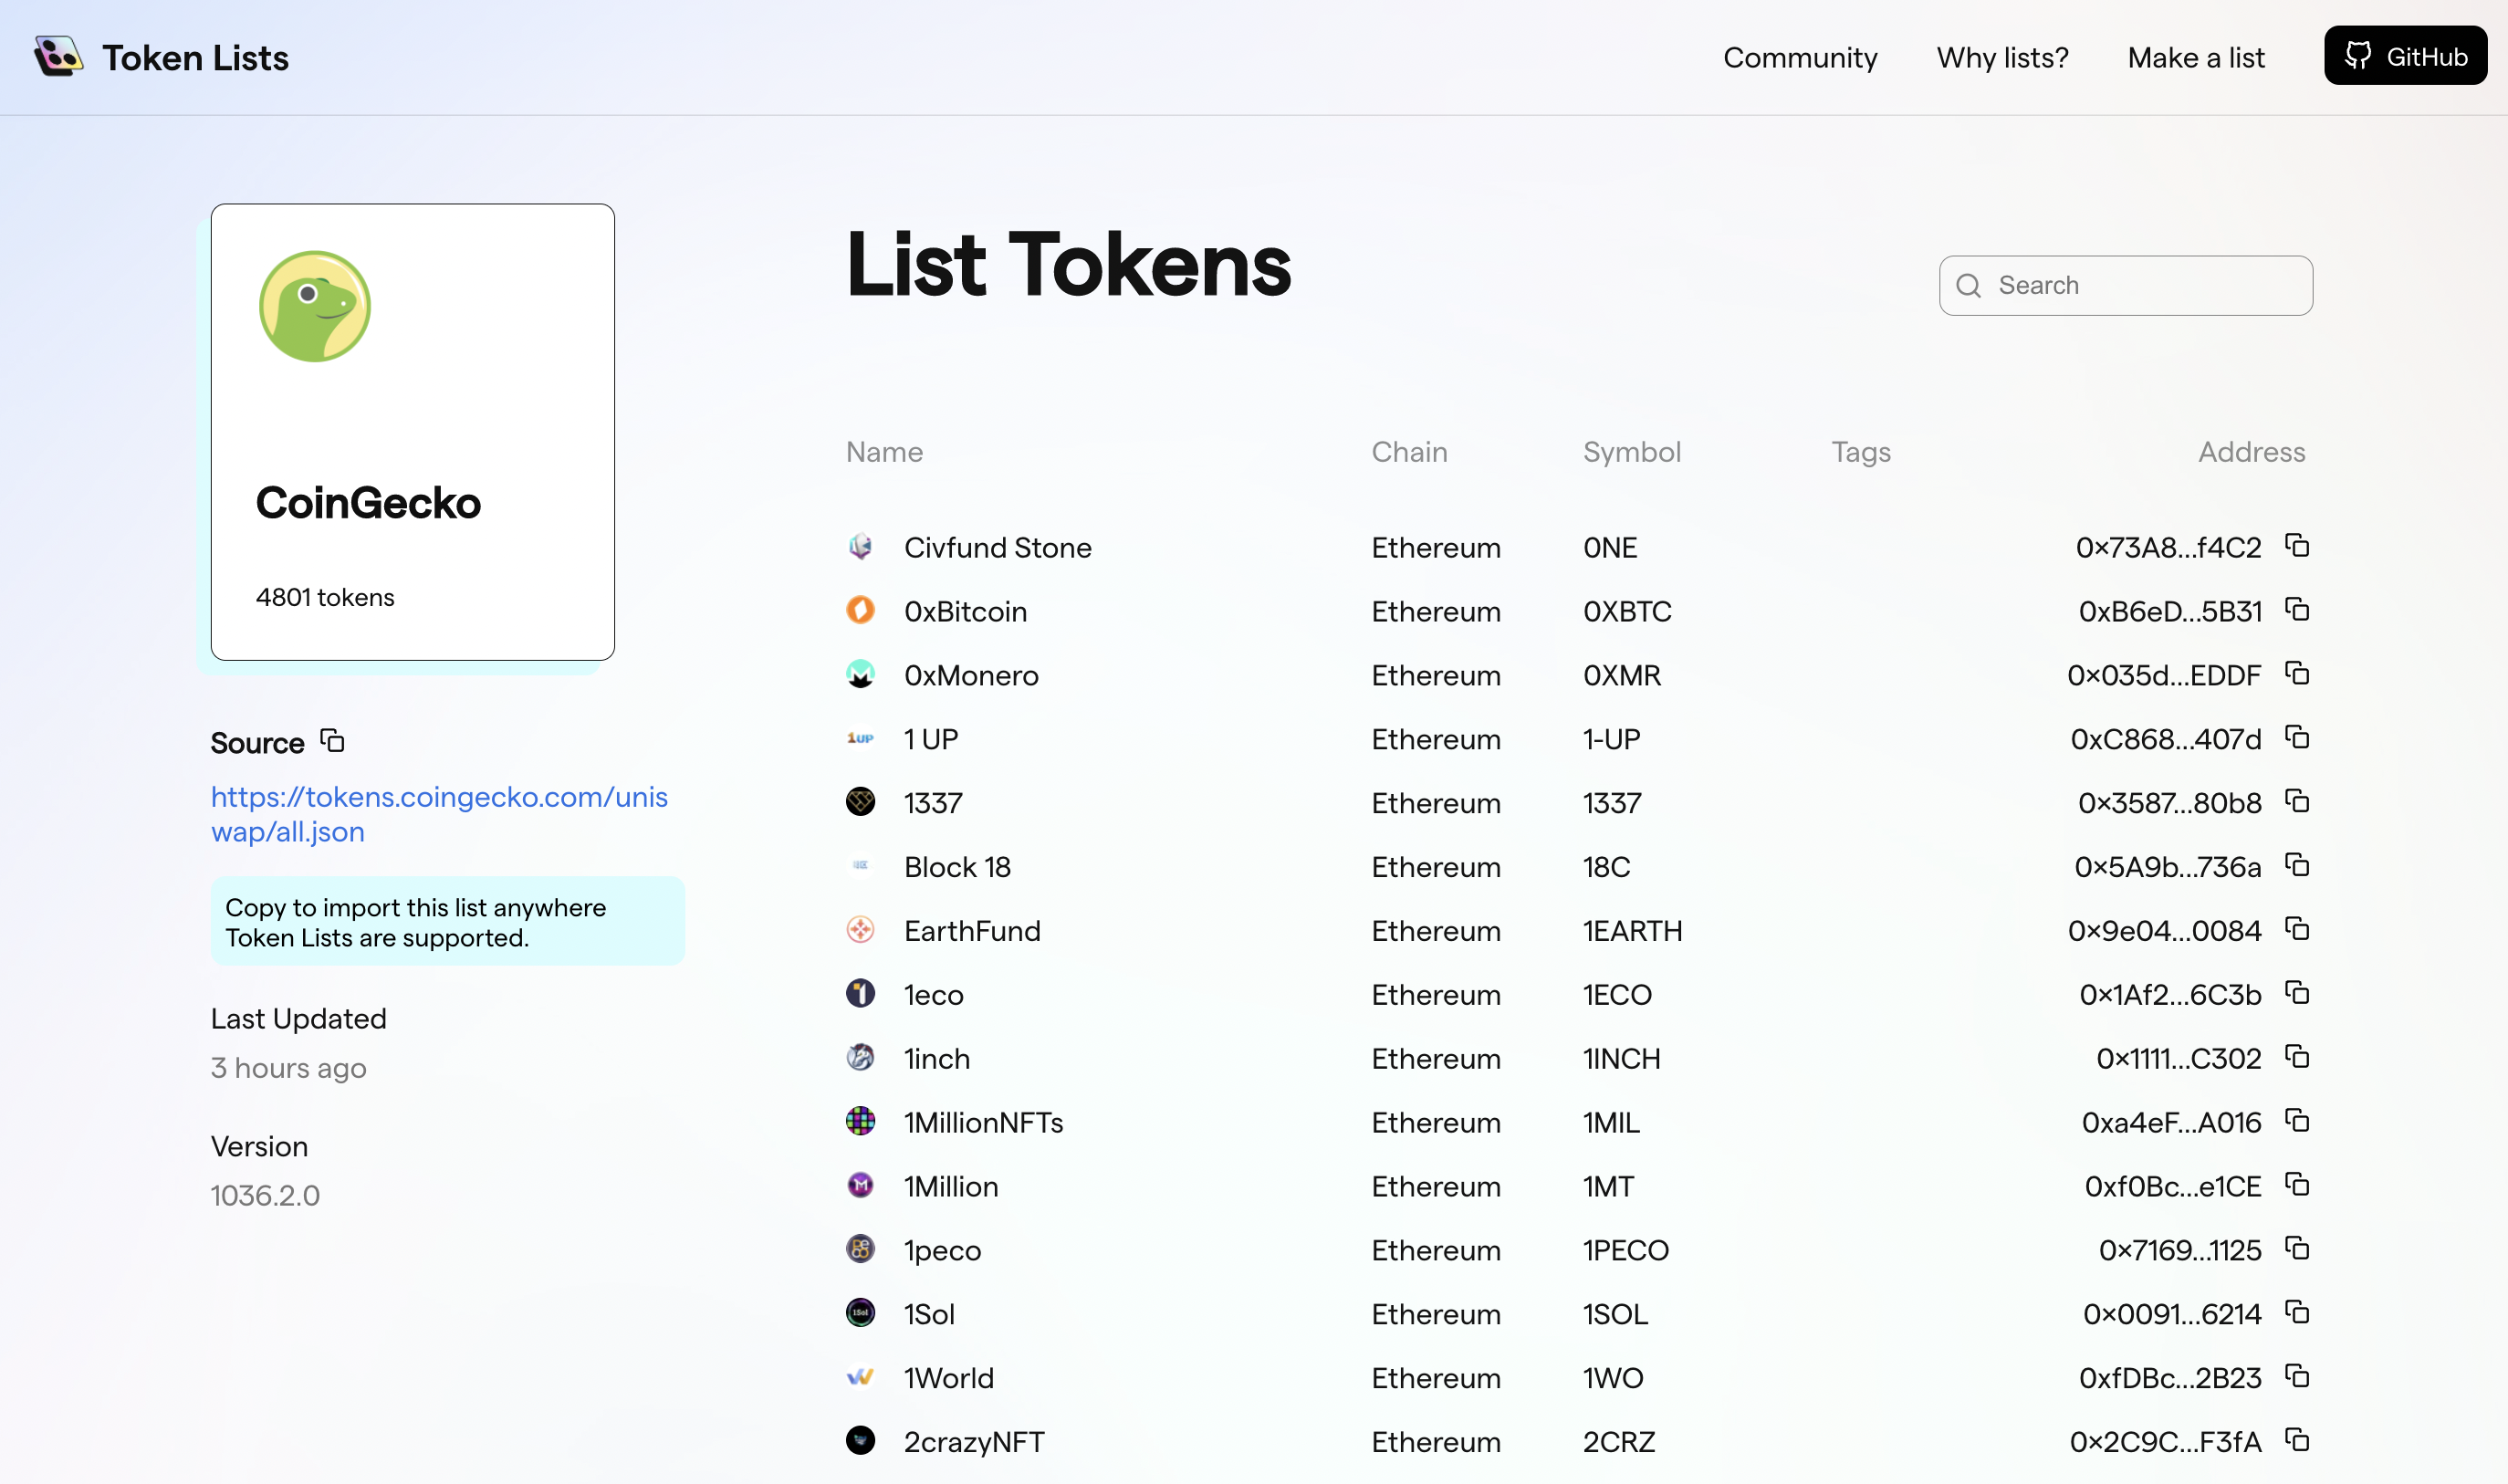
Tokenlists에 가면 코인게코 json 소스를 얻을 수 있다.
async function init() {
    await listAvailableTokens();
}

async function listAvailableTokens() {
    console.log("initializing..");
    let response = await fetch('https://tokens.coingecko.com/uniswap/all.json');
    let tokenListJSON = await response.json();
    console.log("listing available tokens: ", tokenListJSON);
    let tokens = tokenListJSON.tokens;
    console.log("tokens", tokens);

    let parent = document.getElementById("token_list");
    for (const i in tokens) {
        let div = document.createElement("div");
        div.className="token_row";

        let html =
        `<img class="token_list_img" src="${tokens[i].logoURI}">
        <span class="token_list_text">${tokens[i].symbol}</span>`;
        div.innerHTML = html;
        parent.appendChild(div);
    }
}fetch()로 해당 json 주소를 요청하고 response.json()으로 json 파일을 가져온다.
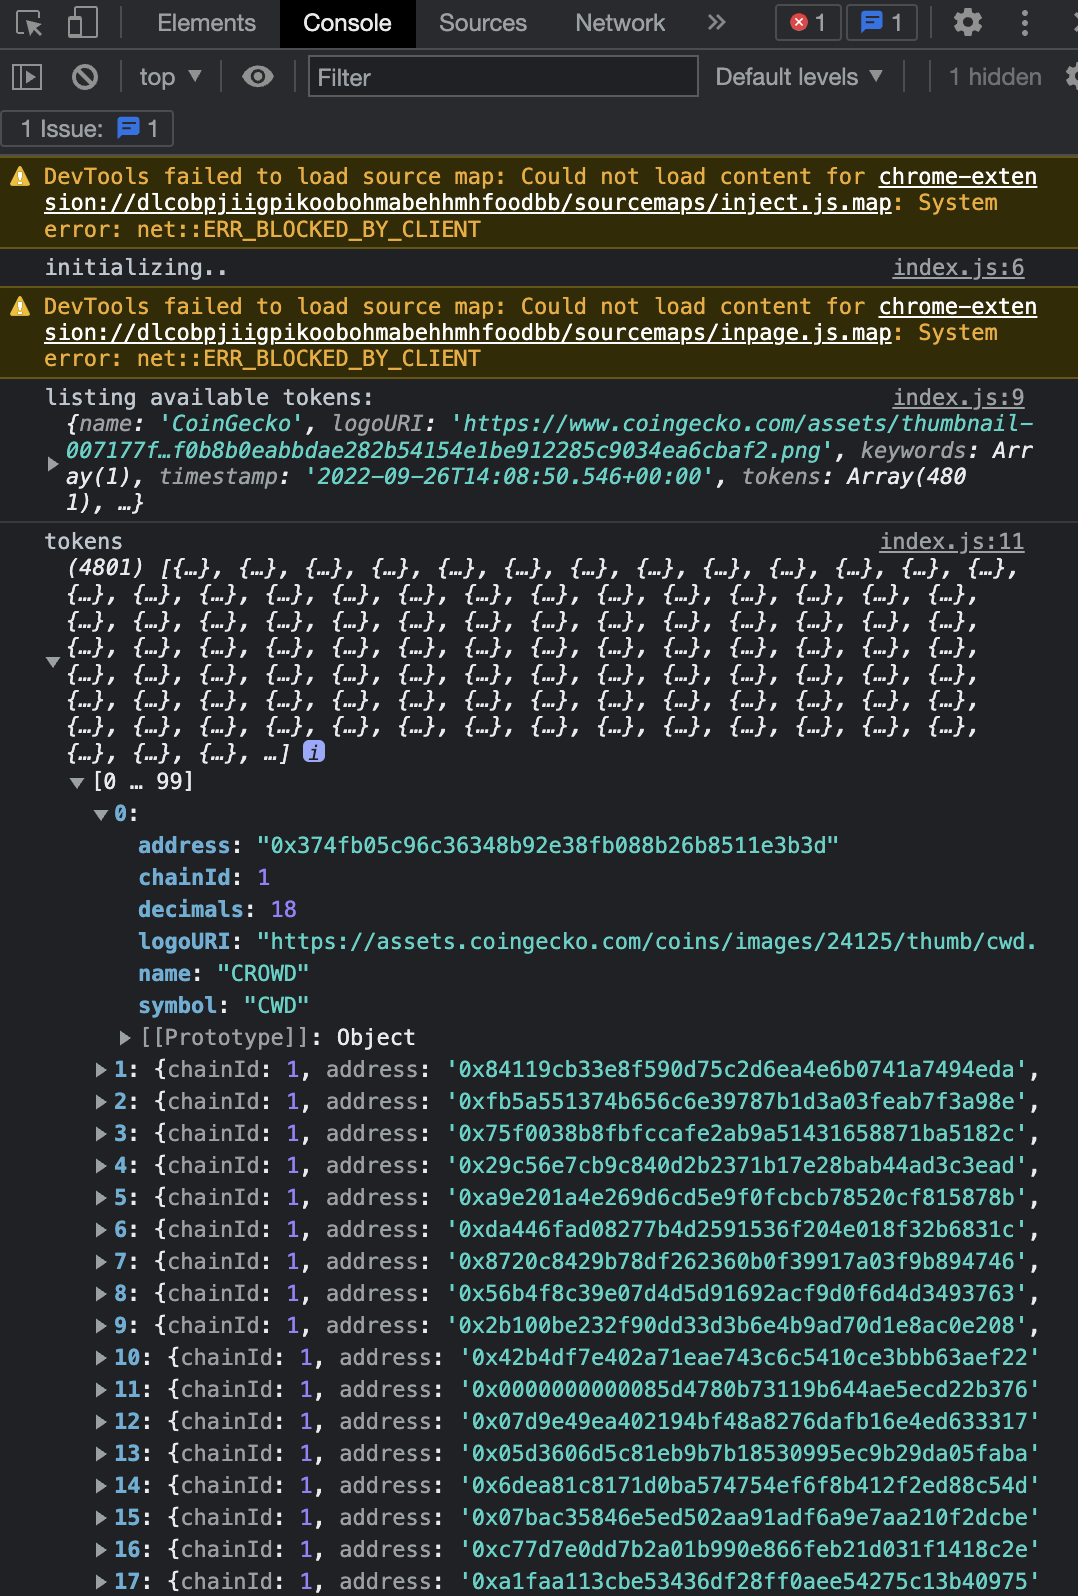
이후 Modal 창 Body를 parent div로 설정하고, 반복문을 돌려 토큰의 이미지와 symbol을 가져온다. Modal 창 Body 안에 새로운 div 태그를 만들고, 그 안에 img 태그와 span 태그를 넣어준다. 이 때 div가 아니라 span을 넣어주는 이유는 줄바꿈을 방지하기 위함이다.
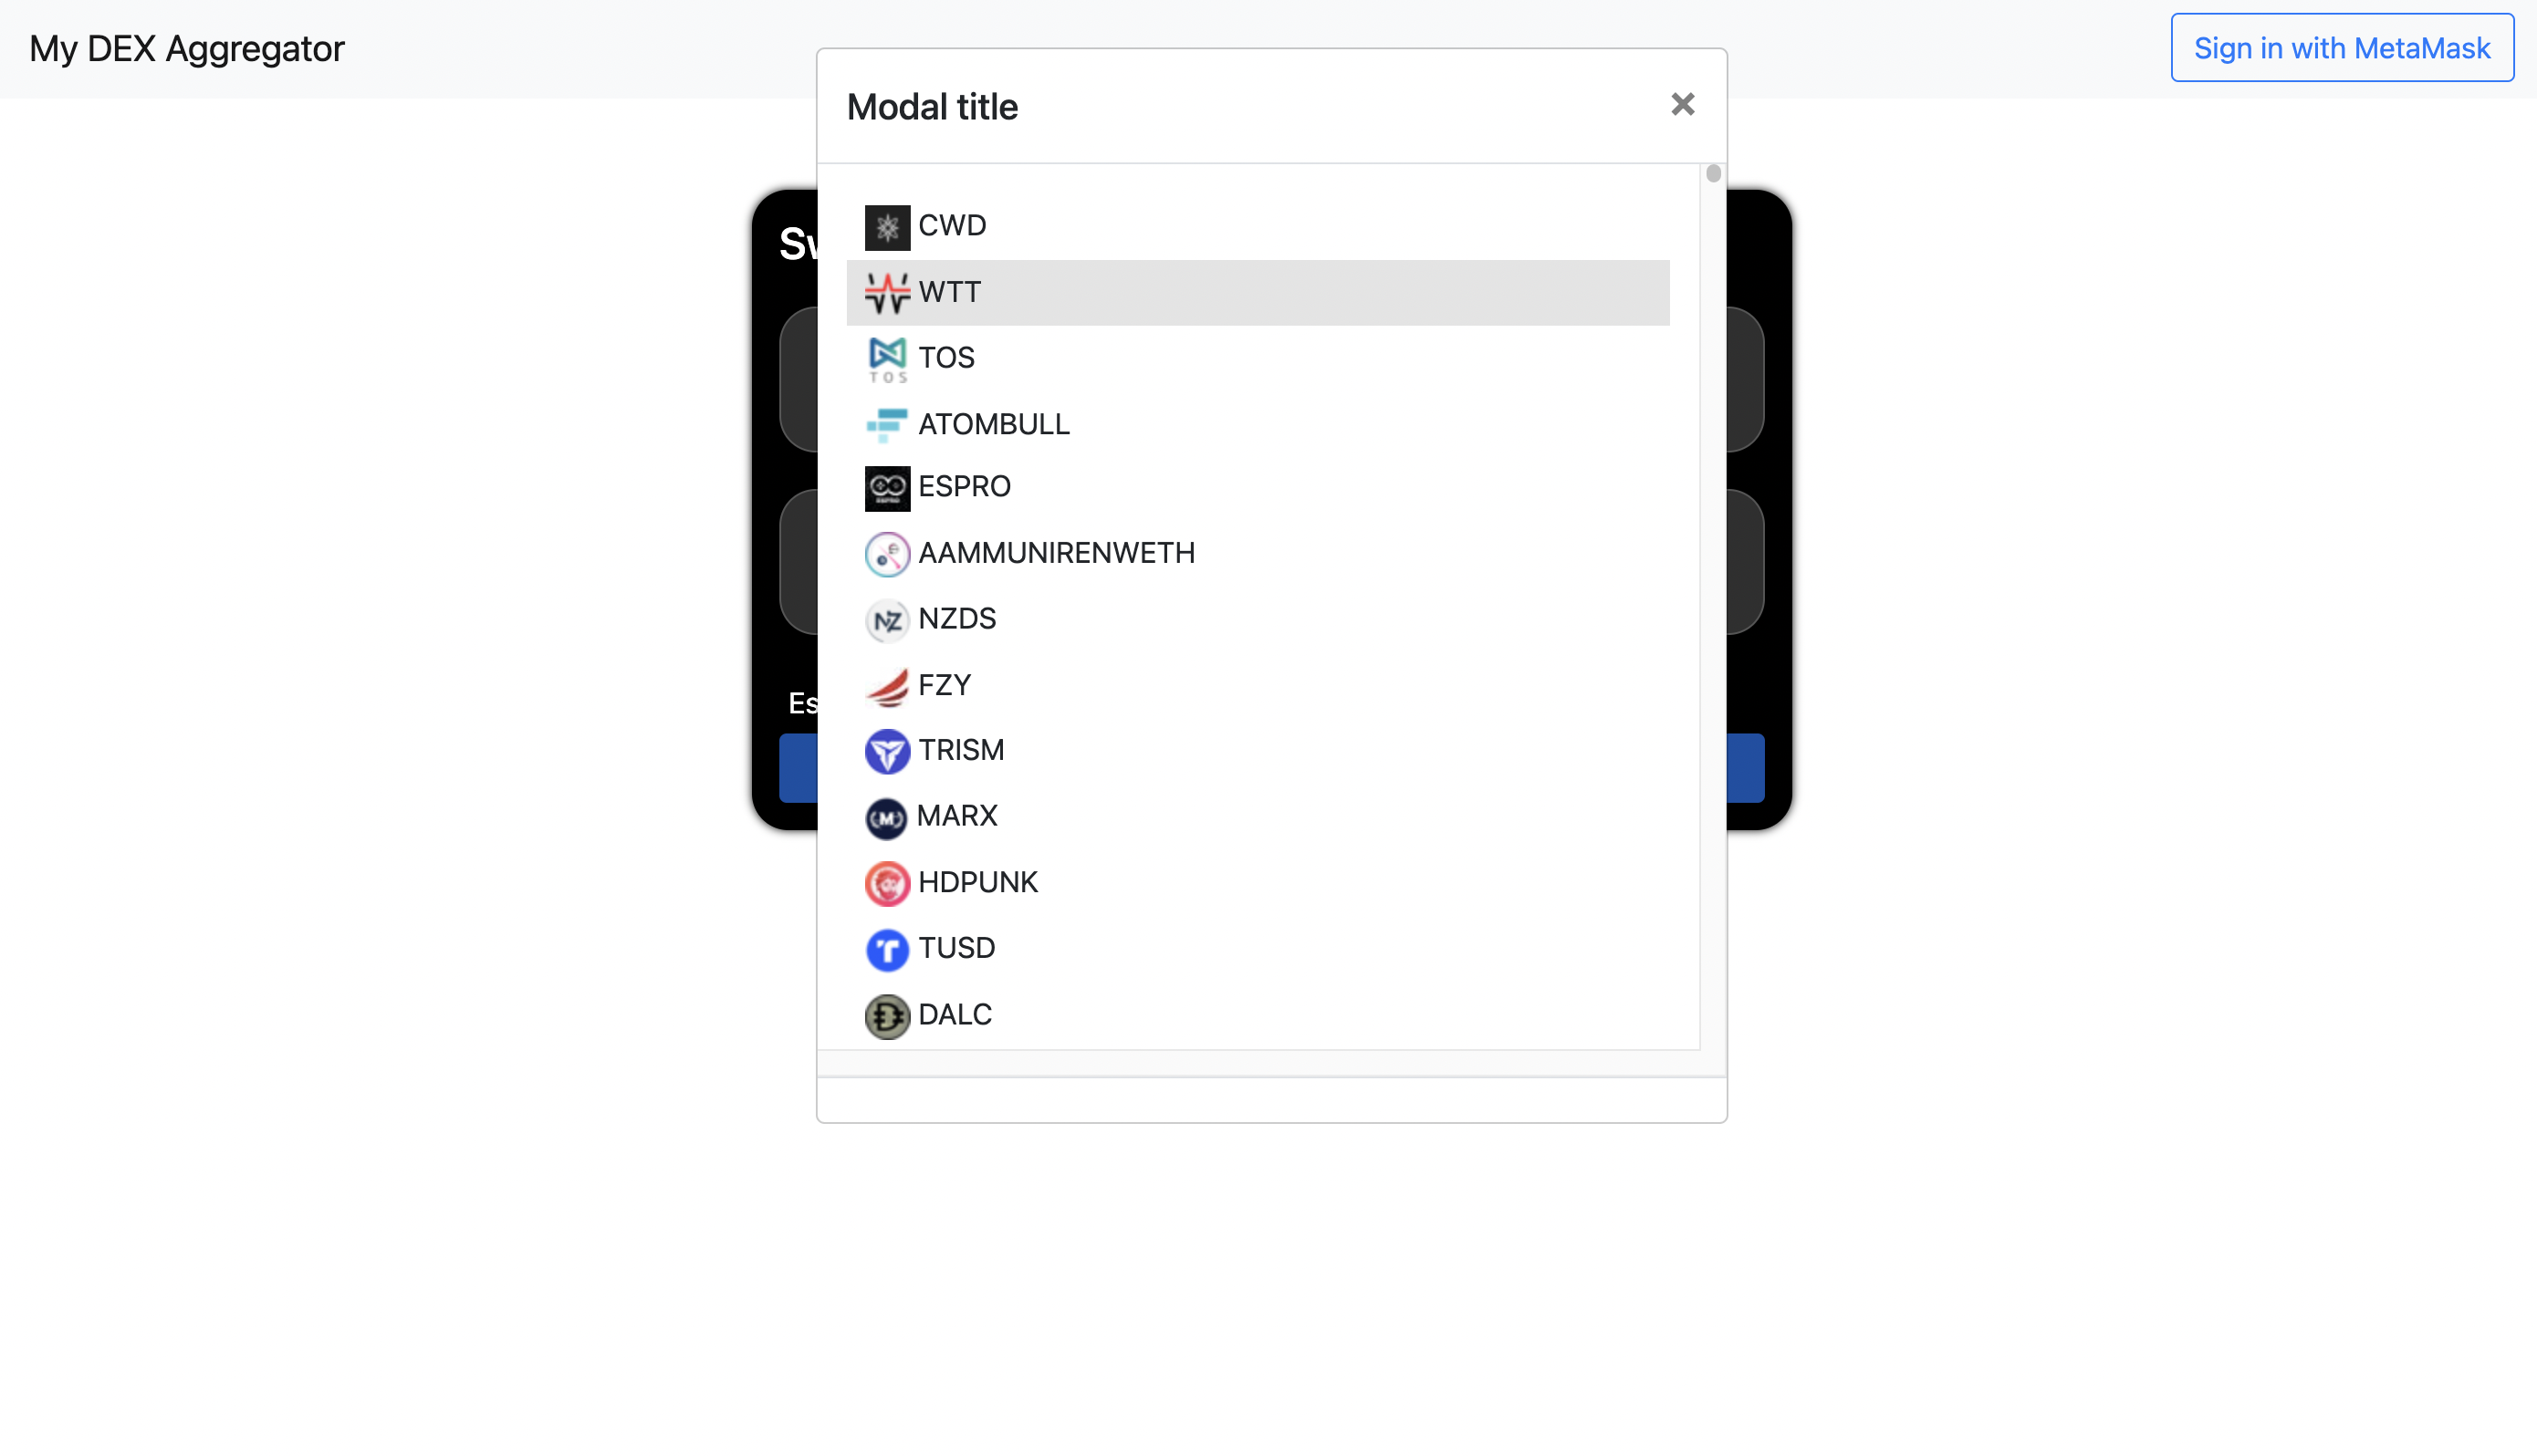
.modal-body{
    height: 500px;
    overflow: scroll;
}
토큰이 매우 많기 때문에 css를 변경해서 스압을 방지해준다.
🪄 선택된 토큰 반영하기
let currentTrade = {};
let currentSelectSide;
from 쪽에서 토큰을 선택했는지 to 쪽에서 선택했는지 구분할 필요하 있다. 따라서 위와 같이 변수를 만들어주고
function openModal(side) {
    currentSelectSide = side;
    document.getElementById("token_modal").style.display = "block";
}

document.getElementById("from_token_select").onclick = () => {
  openModal("from")
};
openModal 함수에 정보를 전달할 수 있도록 onclick 부분과 함수를 수정한다.
async function selectToken(token) {
closeModal();
currentTrade[currentSelectSide] = token;
console.log("currentTrade:", currentTrade);
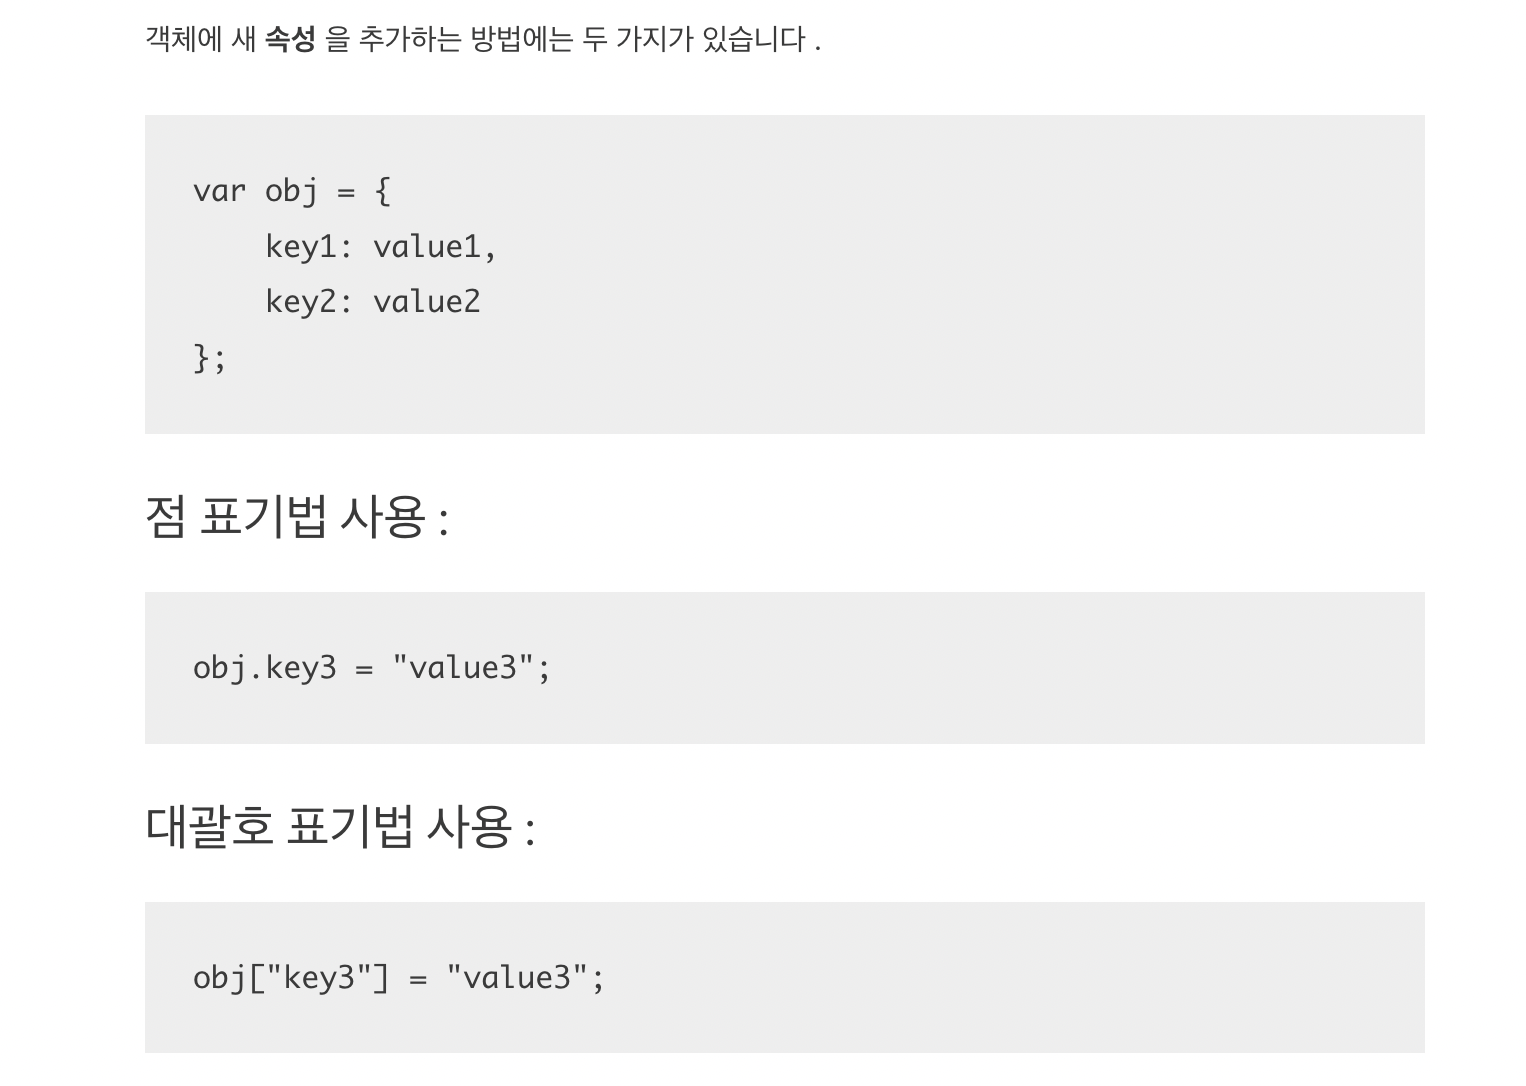
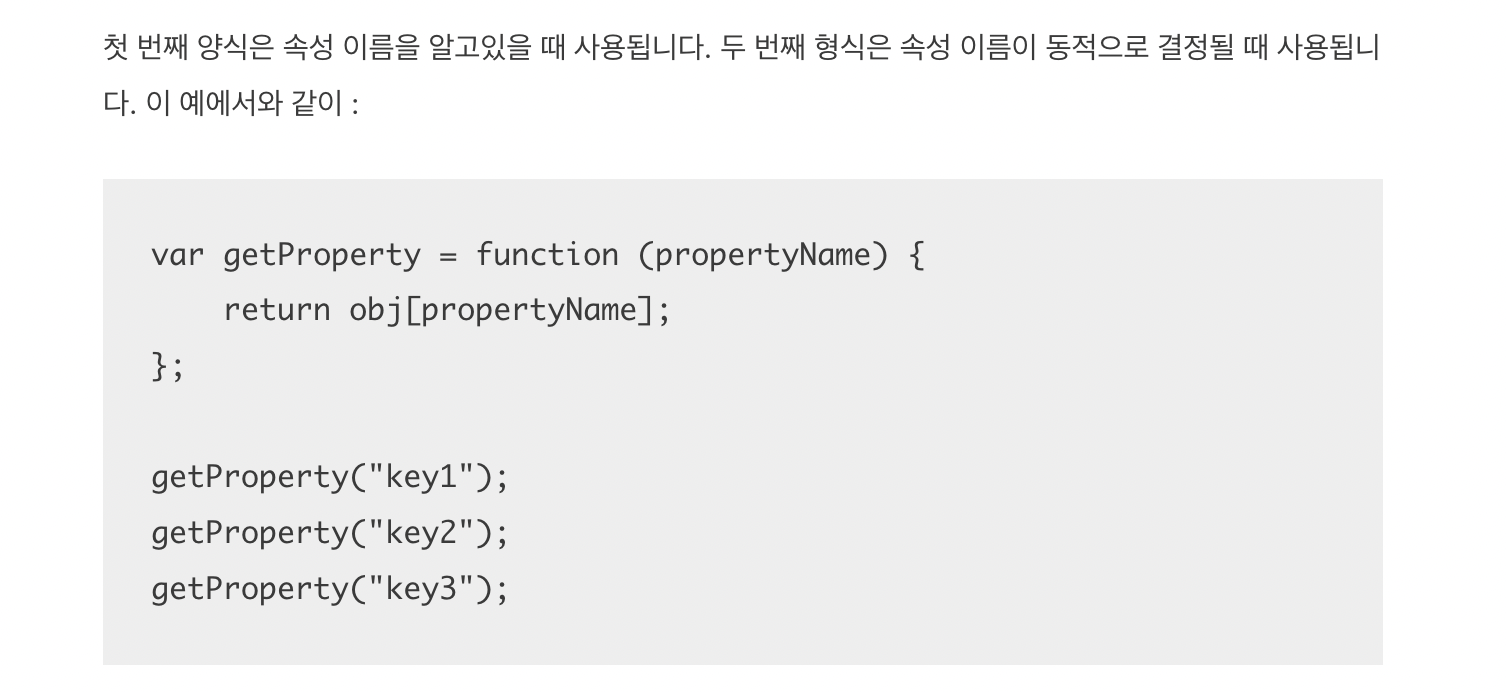
}선택된 토큰을 반영하는 selectToken() 함수를 만들어준다. 이 때 내가 인지하지 못했던 부분이 있는데, 나는 평소에 점 표기법으로 객체에 value 값을 추가했었다. 그런데 해당 예제에서는 대괄호를 사용해서 value를 추가하고 있었고 알고보니 key 값이 동적으로 정해질 때 대괄호를 사용 하는 것이 좋은 방법이었다.
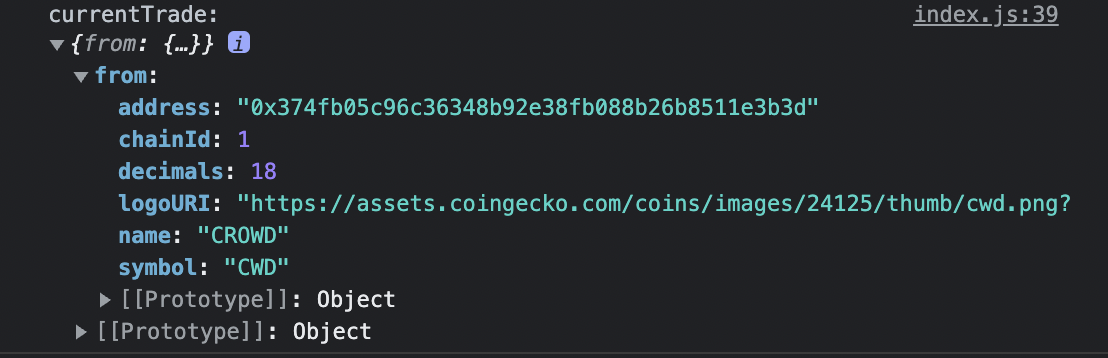
토큰을 클릭했을 때 currentTrade에 잘 추가된 모습이다. 이제 화면에 반영되기만 하면 된다.
<div class="swapbox_select token_select" id="from_token_select">
  <img class="token_img" id="from_token_img" />
  <span id="from_token_text"></span>
</div>

<div class="swapbox_select token_select" id="to_token_select">
  <img class="token_img" id="to_token_img" />
  <span id="to_token_text"></span>
</div>
SELECT A TOKEN 으로 하드코딩 되어있던 부분을 img 태그와 span 태그로 바꿔주고
async function selectToken(token) {
  closeModal();
  currentTrade[currentSelectSide] = token;
  console.log("currentTrade:", currentTrade);
  renderInterface();
}


async function renderInterface() {
  if (currentTrade.from) {
    document.getElementById("from_token_img").src = currentTrade.from.logoURI;
    document.getElementById("from_token_text").innerHTML = currentTrade.from.symbol;
  }
  if (currentTrade.to) {
    document.getElementById("to_token_img").src = currentTrade.to.logoURI;
    document.getElementById("to_token_text").innerHTML = currentTrade.to.symbol;
  }
}
화면에 반영할 함수를 만들어준다. 이후 selectToken() 에 추가해주면 끝.
잘 반영된 모습 😁
💸 가격 가져오기
1. 0x protocol
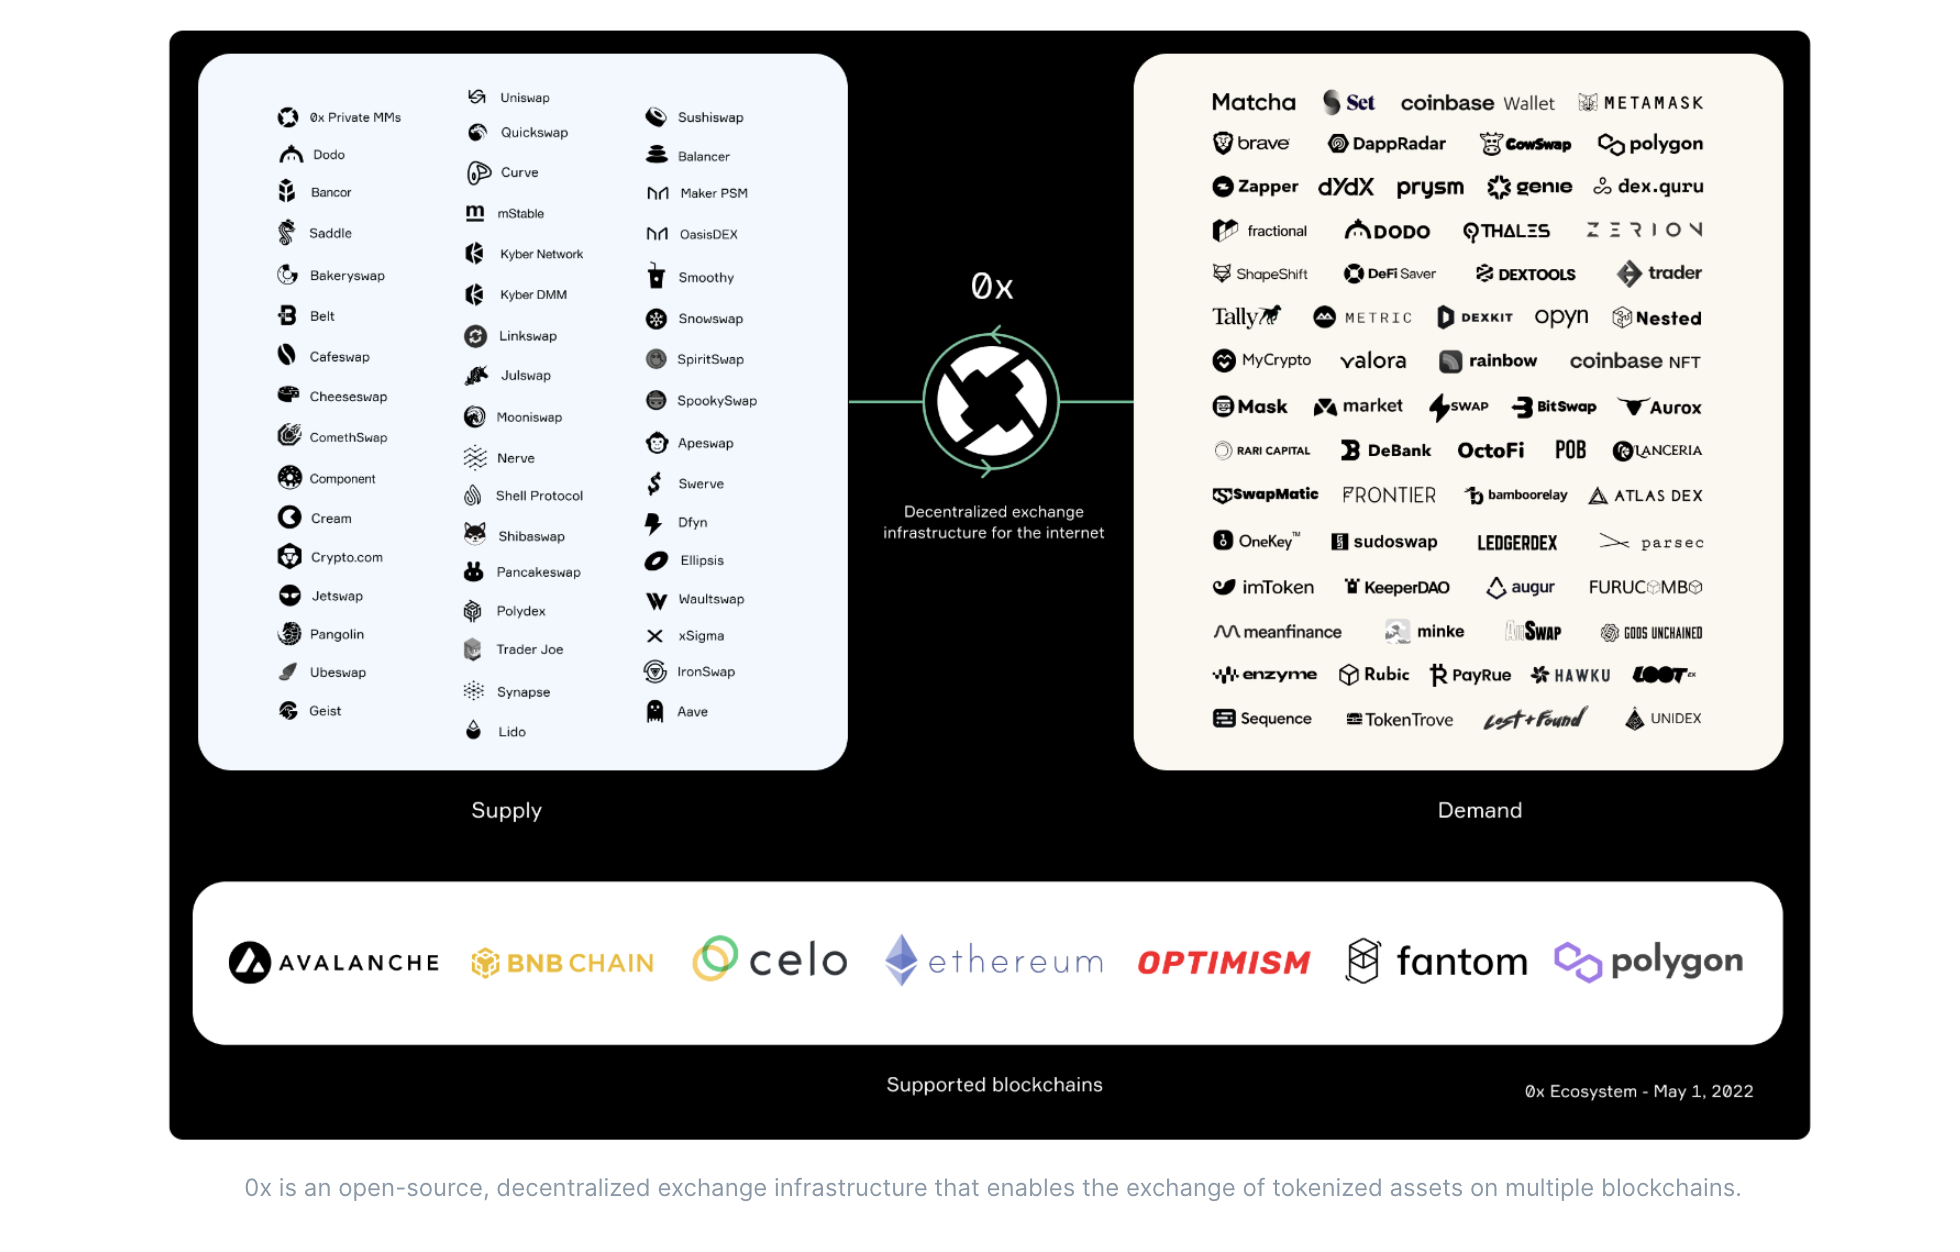
토큰의 가격을 가져오는 API로 0x protocol 을 사용한다. 0x protocol 은 다양한 체인 간의 토큰 거래를 지원하며, 개발자는 이를 이용해 스왑기능을 간편하게 구현할 수 있다. 대표적으로는 Matcha DEX가 있다.
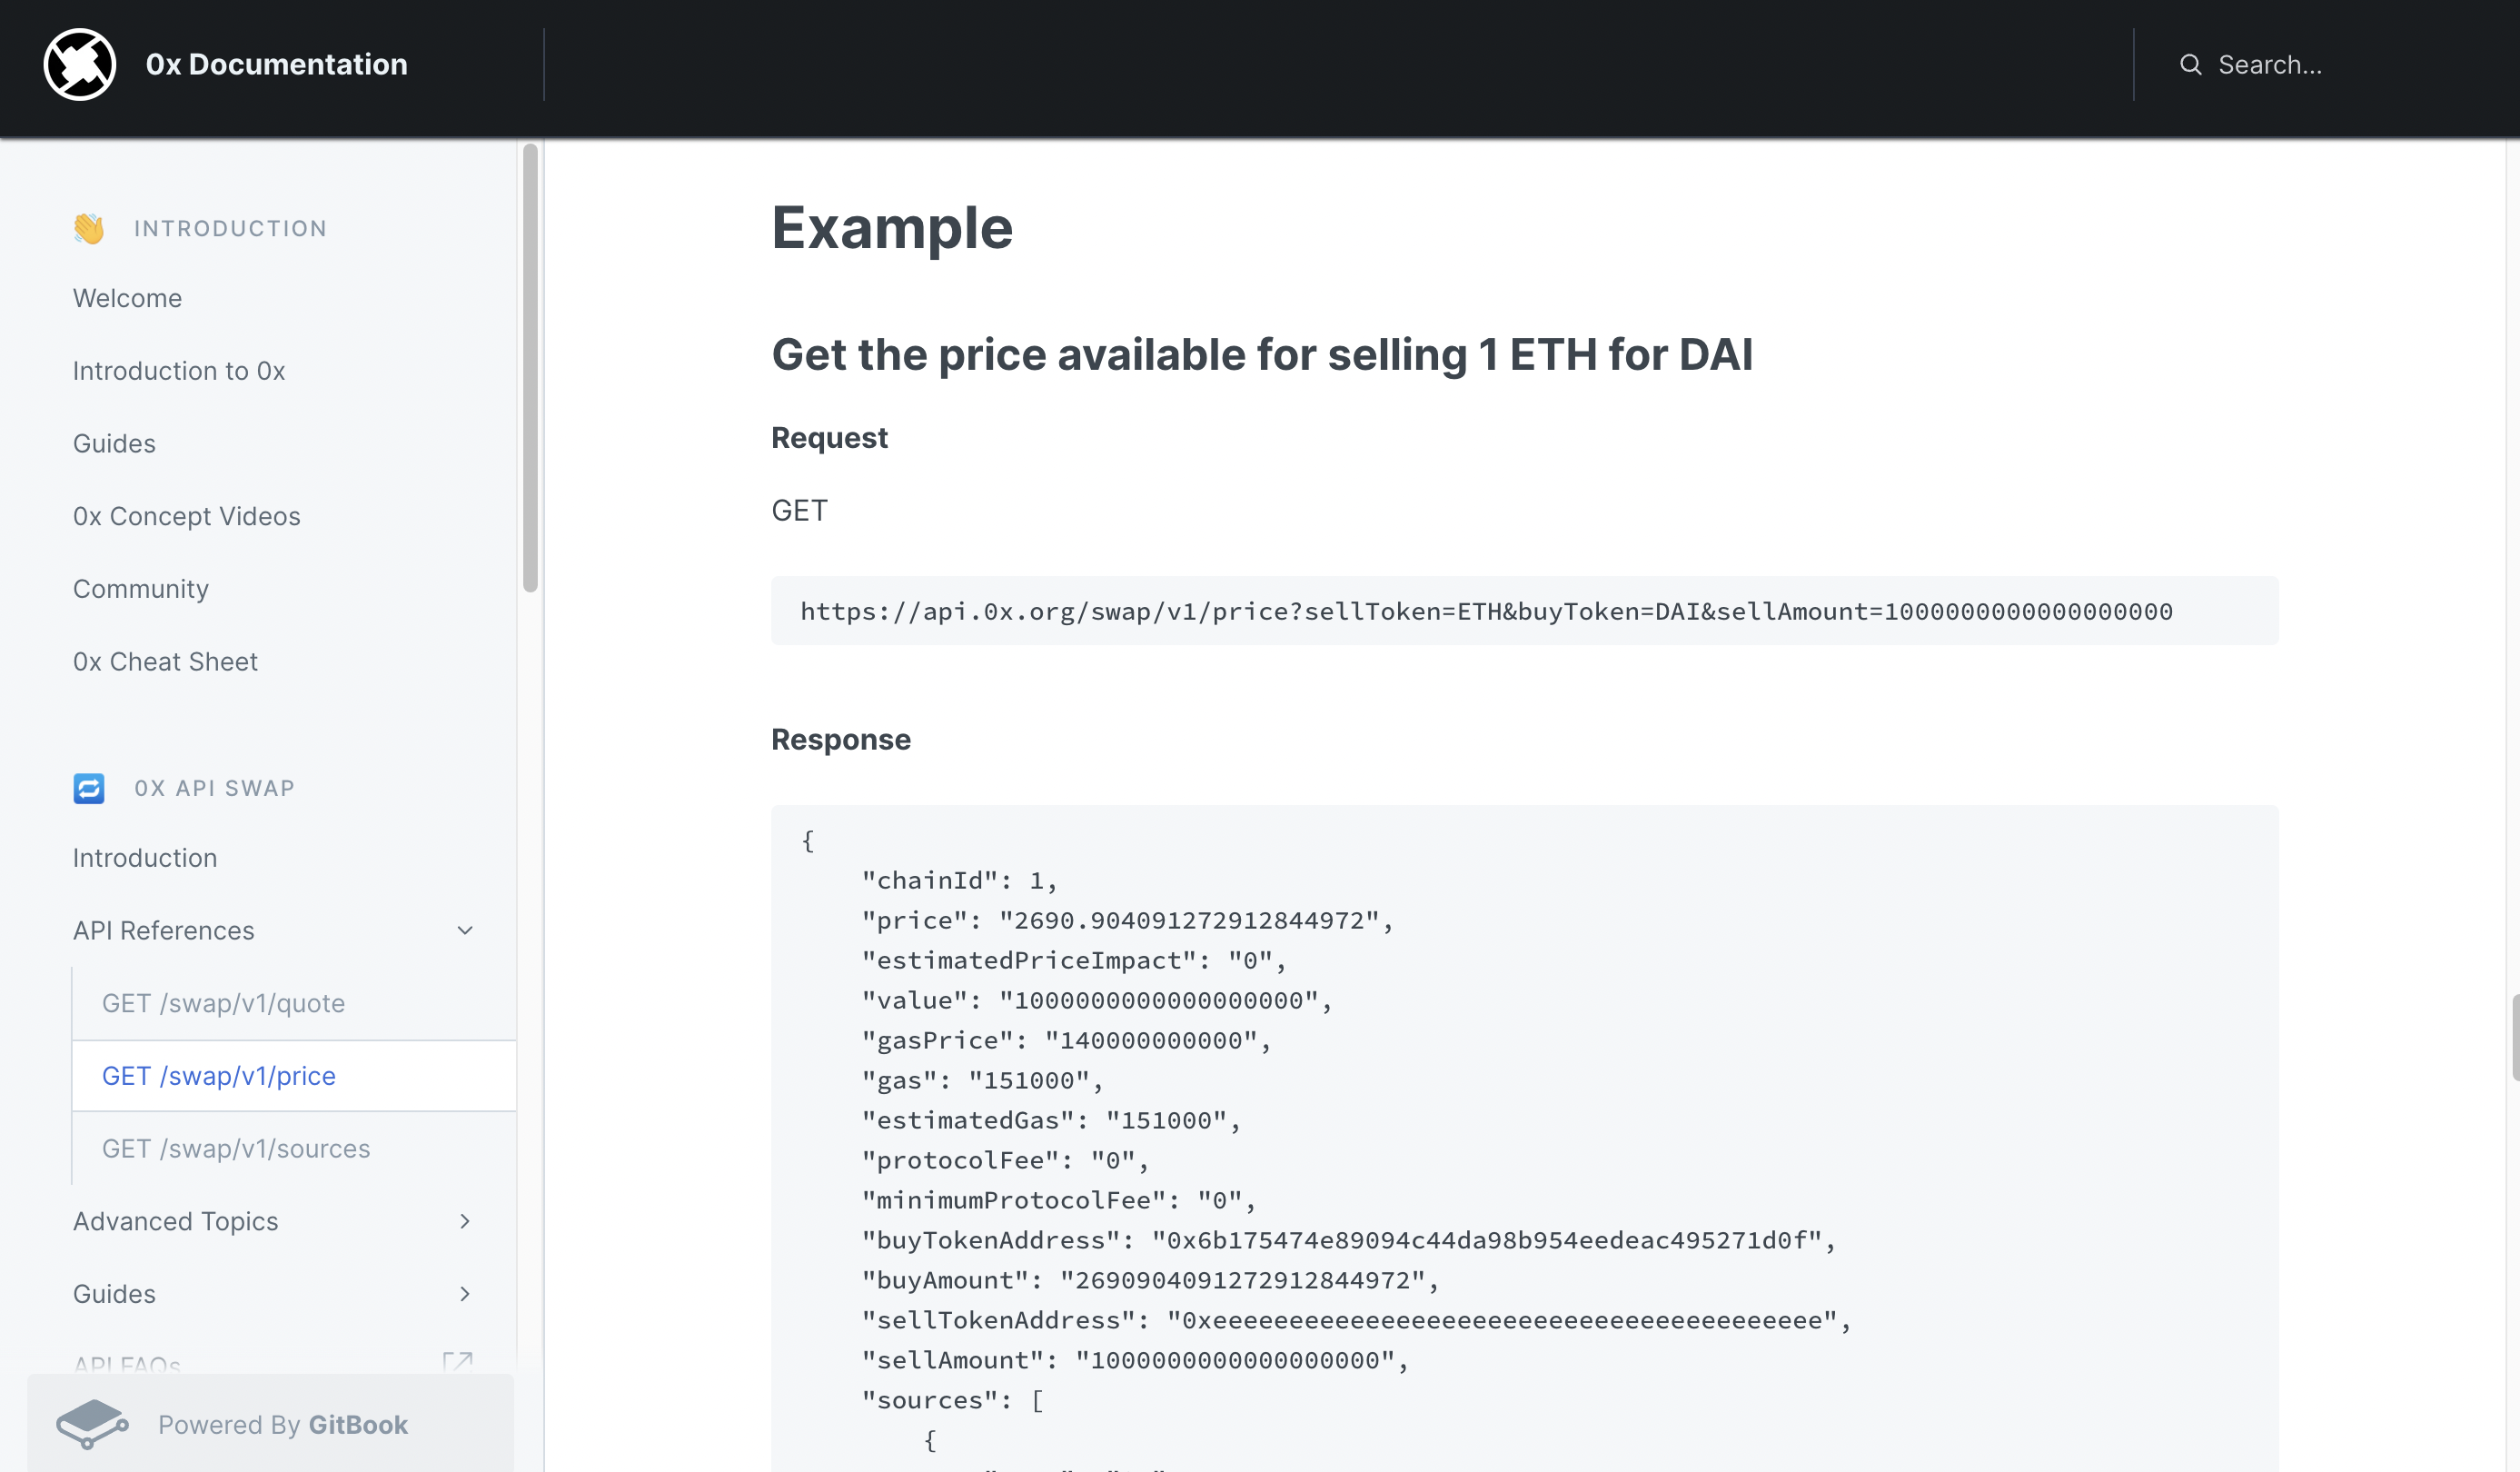
GET /swap/v1/price 를 통해 토큰 가격을 가져오면 된다.
2. qs
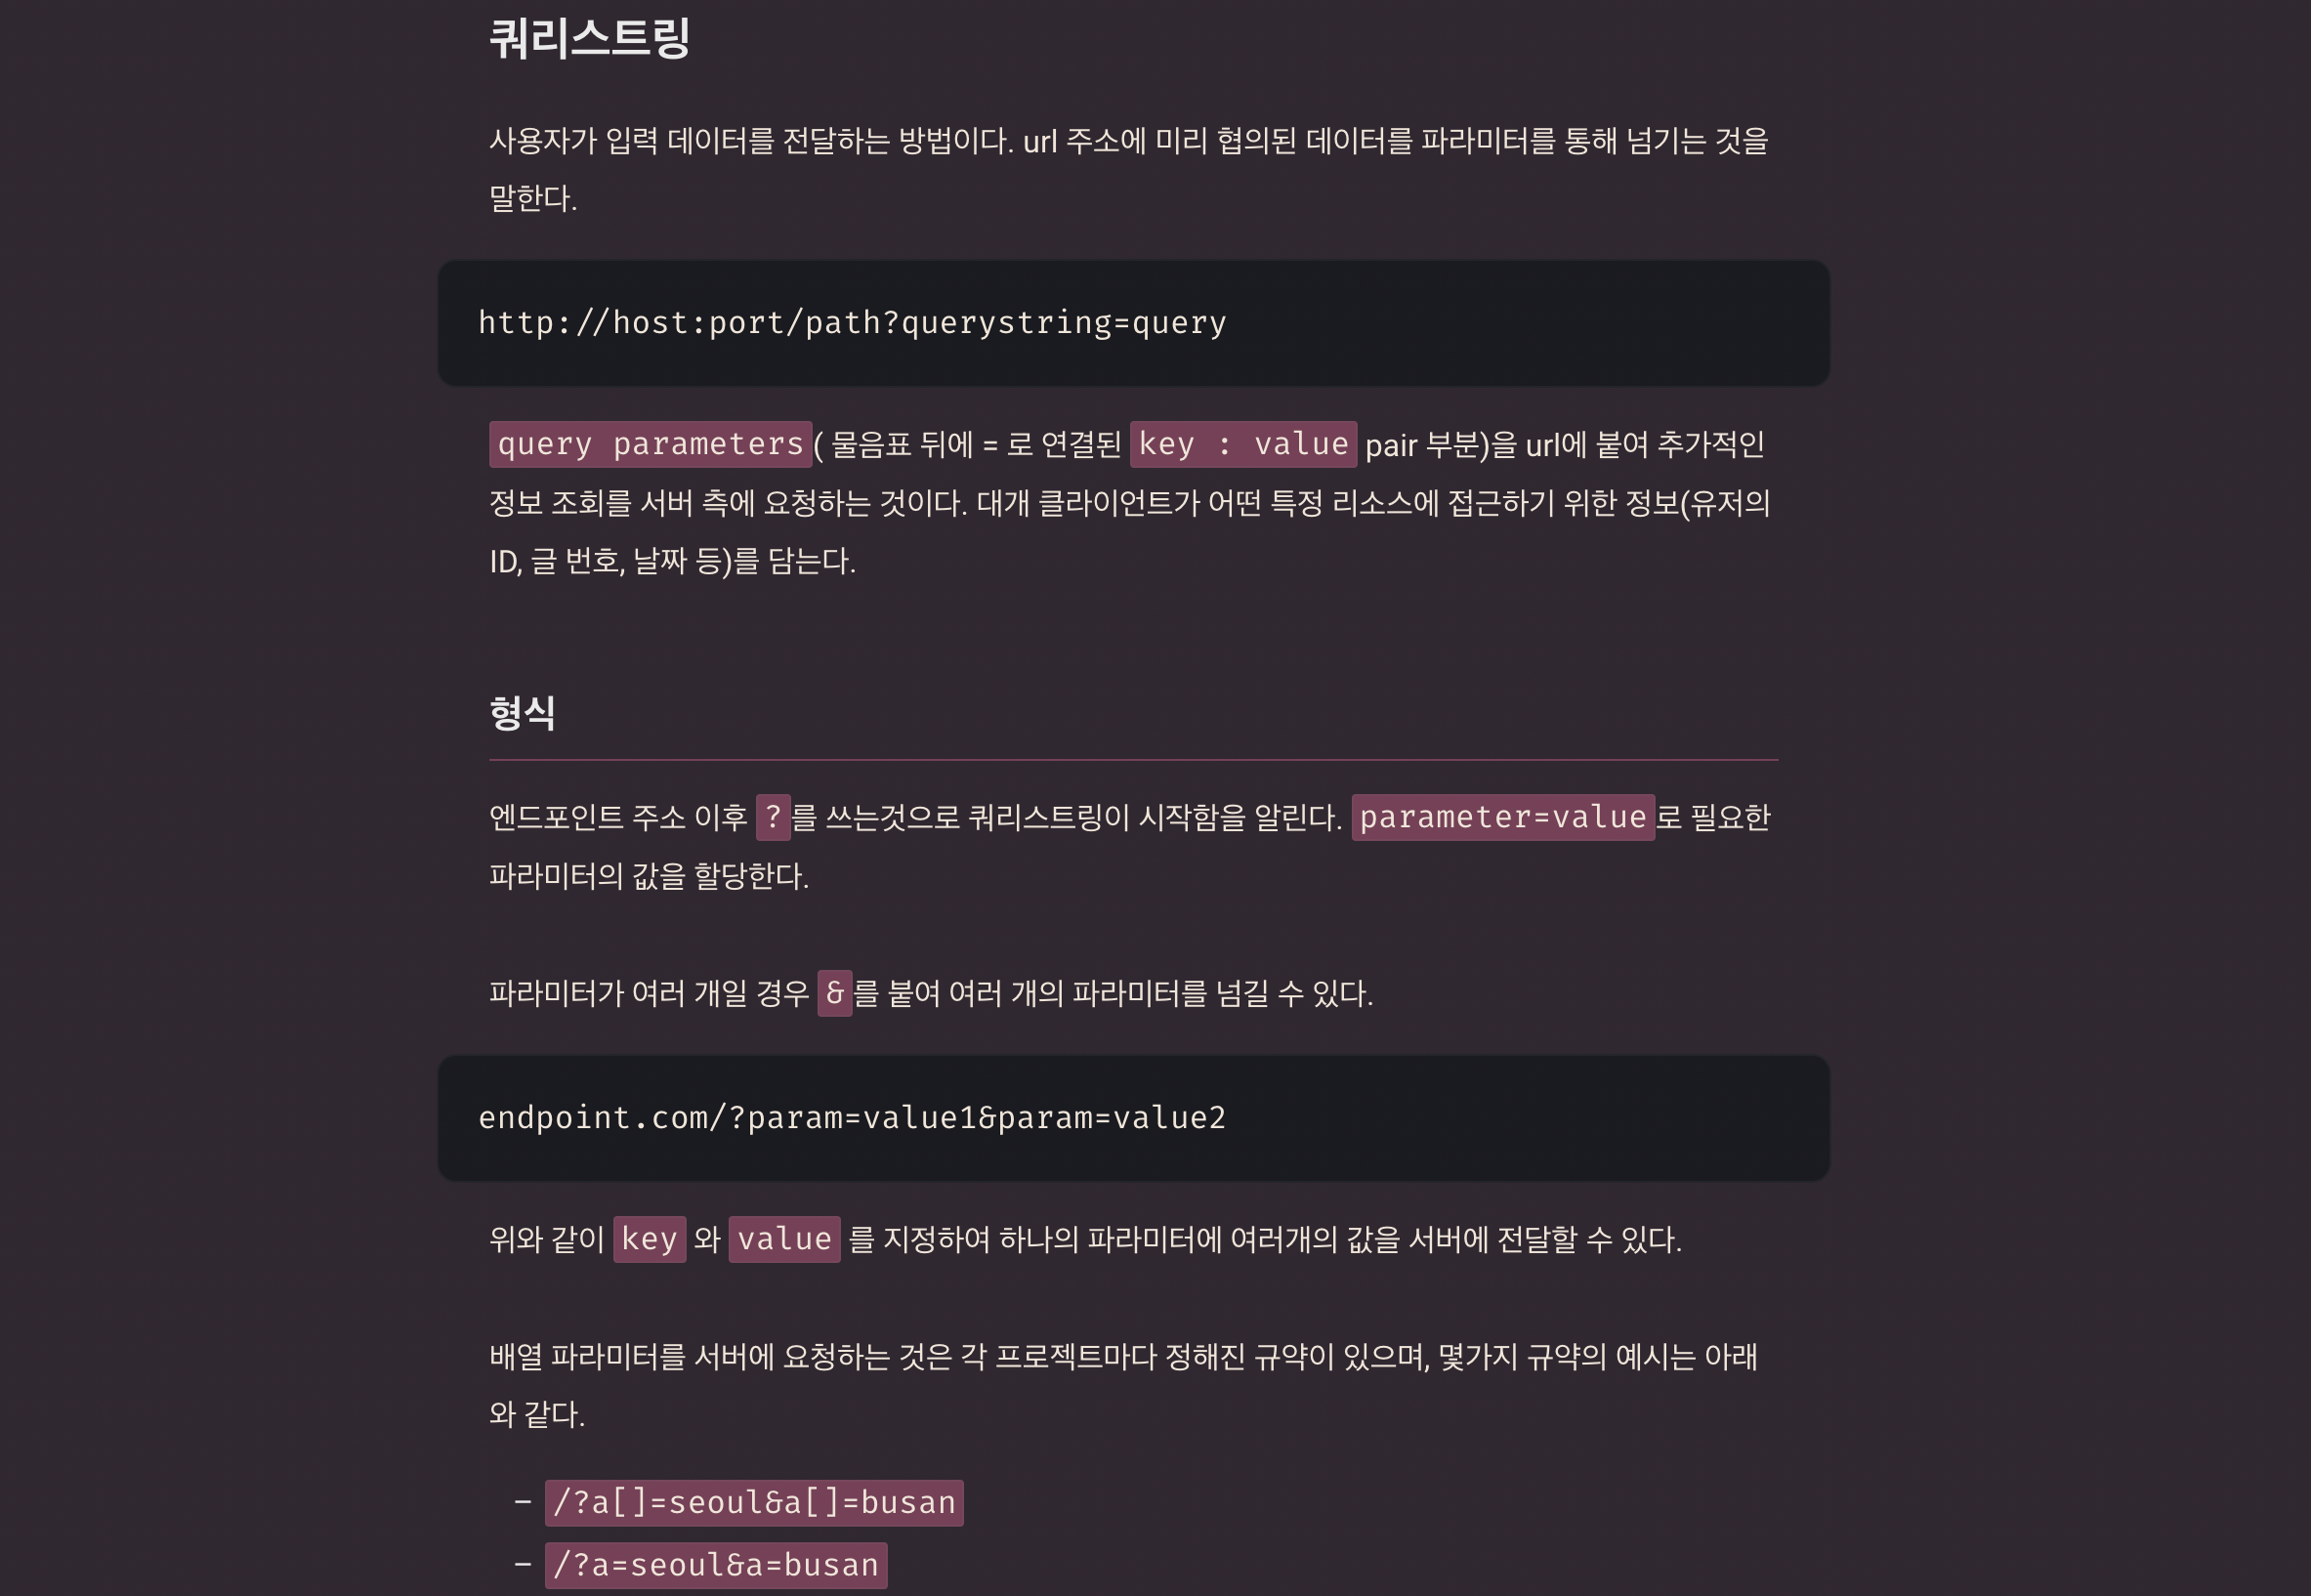
https://api.0x.org/swap/v1/price?sellToken=ETH&buyToken=DAI&sellAmount=1000000000000000000우리가 사용할 api의 요청 주소 형식은 위와 같다. 이때 qs 라이브러리를 사용하면 파라미터를 좀 더 편하게 넘겨줄 수 있다. url 주소에 파라미터를 통해 넘기는 걸 쿼리스트링 이라고 하는데 자세한 설명은 여기를 참고하자. 핵심은 아래 사진에 나와있다.
npm i qs먼저 qs를 설치해주고
//index.js
const qs = require('qs');
async function getPrice() {
if (!currentTrade.from || !currentTrade.to || !document.getElementById("from_amount").value) return;
let amount = Number(document.getElementById("from_amount").value * 10 ** currentTrade.from.decimals);
const params = {
sellToken: currentTrade.from.address,
buyToken: currentTrade.to.address,
sellAmount: amount,
}
const response = await fetch(`https://api.0x.org/swap/v1/price?${qs.stringify(params)}`);
swapPriceJSON = await response.json();
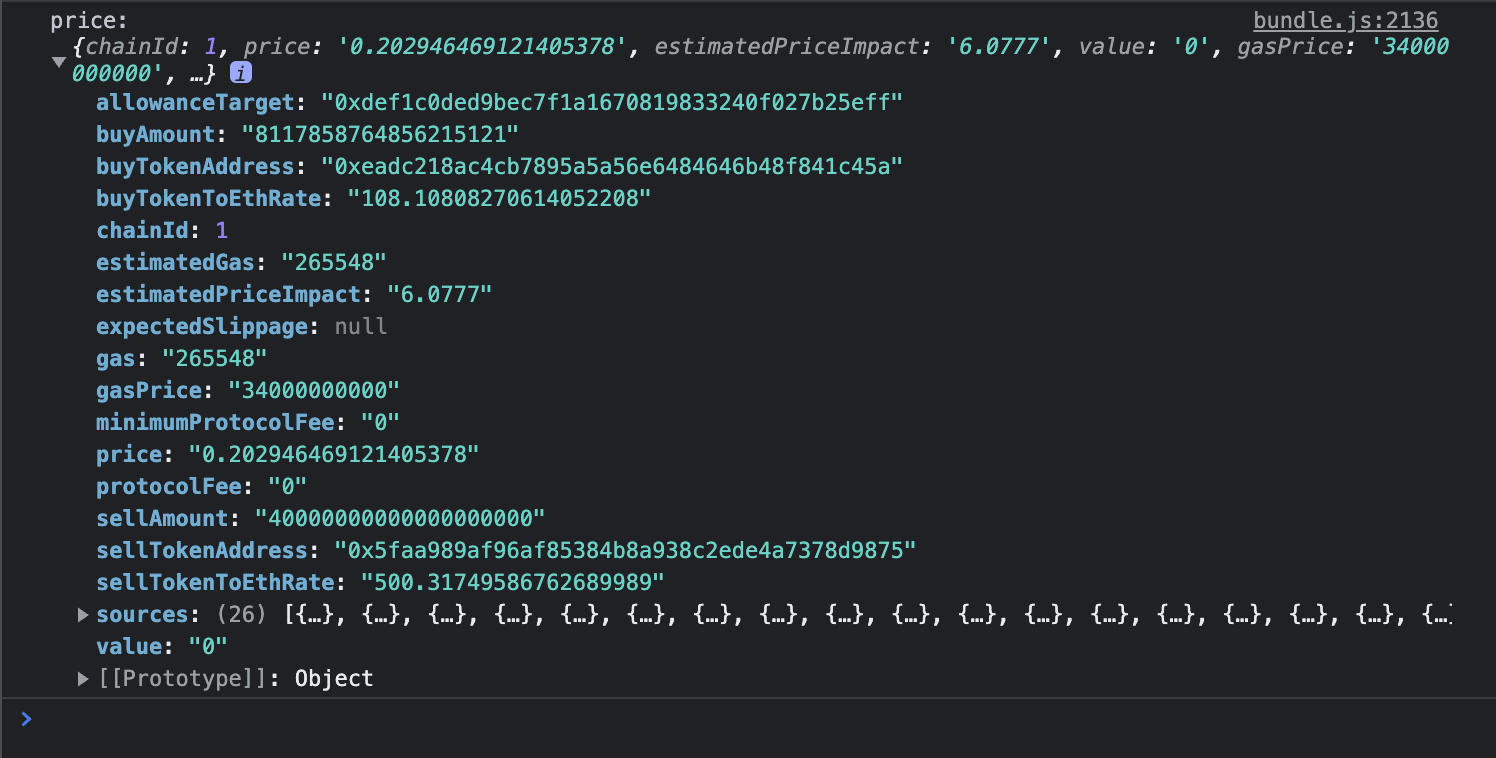
console.log("price:", swapPriceJSON);
}가격을 가져오는 함수를 만들어준다. Number()는 다른 타입의 값을 숫자로 바꿔주는 역할을 한다. fetch 부분을 보면 0x protocol 홈페이지에서 예시로 나온 api 주소보다 훨씬 간결해진 것을 볼 수 있다.
document.getElementById("from_amount").onblur = getPrice;
마지막으로 amount 부분에 갯수를 입력하고 다른 칸을 클릭했을 때 getPrice 함수가 실행되도록 한다.
3. Browserify
module 또는 require와 같은 함수는 브라우저에 없다. require('qs') 로 가져온 qs를 사용하려면 이러한 것들을 번들로 묶어서 브라우저에 보내줄 수 있는 게 필요하다. 예제에서 사용한 번들러는 Browserify다. 예전에는 굉장히 많이 사용됐었다고 하는데 요즘은 대부분 Webpack을 사용한다. Webpack에 대한 설명은 이 글에 잘 설명돼있다. 예제에서 사용했으니 우리도 한 번 사용해보자.
npm install -g browserify위 명령어로 설치해주고
browserify /Users/해당이름/swap-demo-tutorial/swap-demo-tutorial-part-1/index.js --standalone bundle -o /Users/해당이름/swap-demo-tutorial/swap-demo-tutorial-part-1/bundle.js 본인 파일 경로에 있는 index.js를 통해 같은 위치에 bundle.js를 만들어준다.
<!-- 변경 전 -->
<script src="./index.js" type="text/javascript"></script>

<!-- 변경 후 -->
<script src="./bundle.js" type="text/javascript"></script>
마지막으로 html의 script를 bundle.js로 업데이트 해주면 끝.
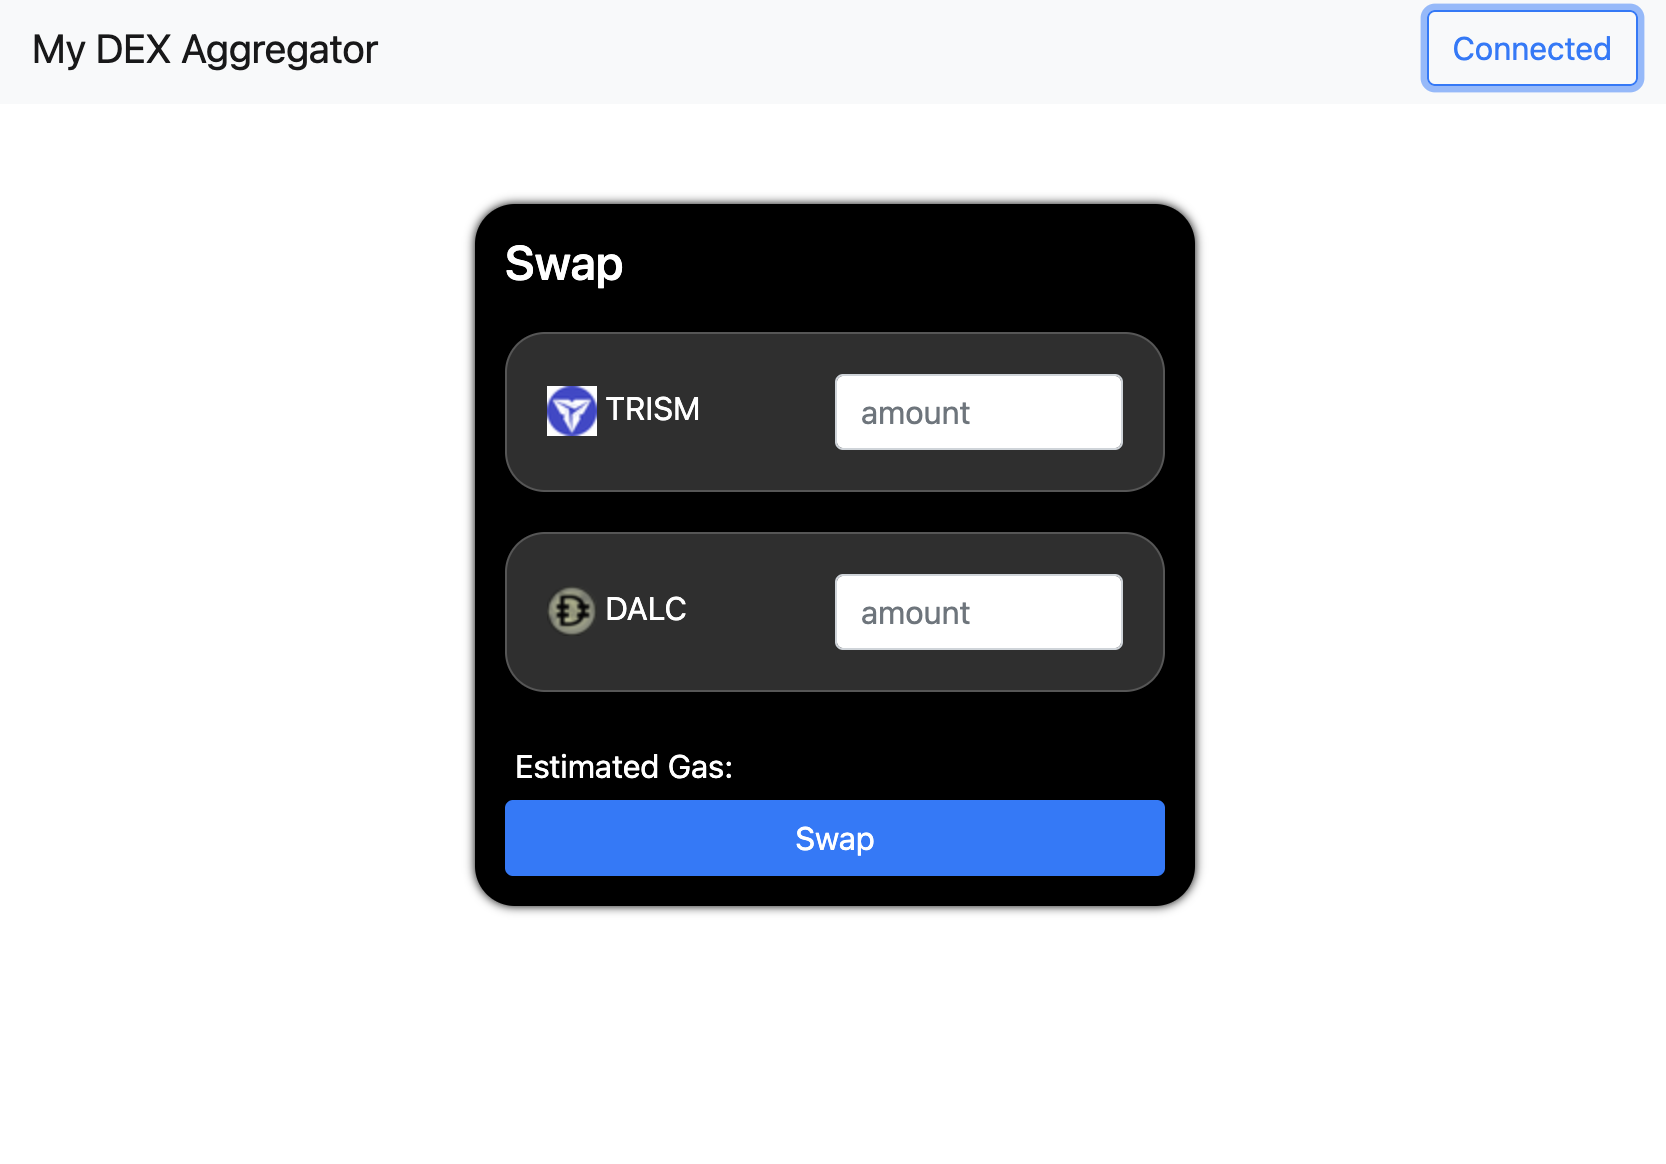
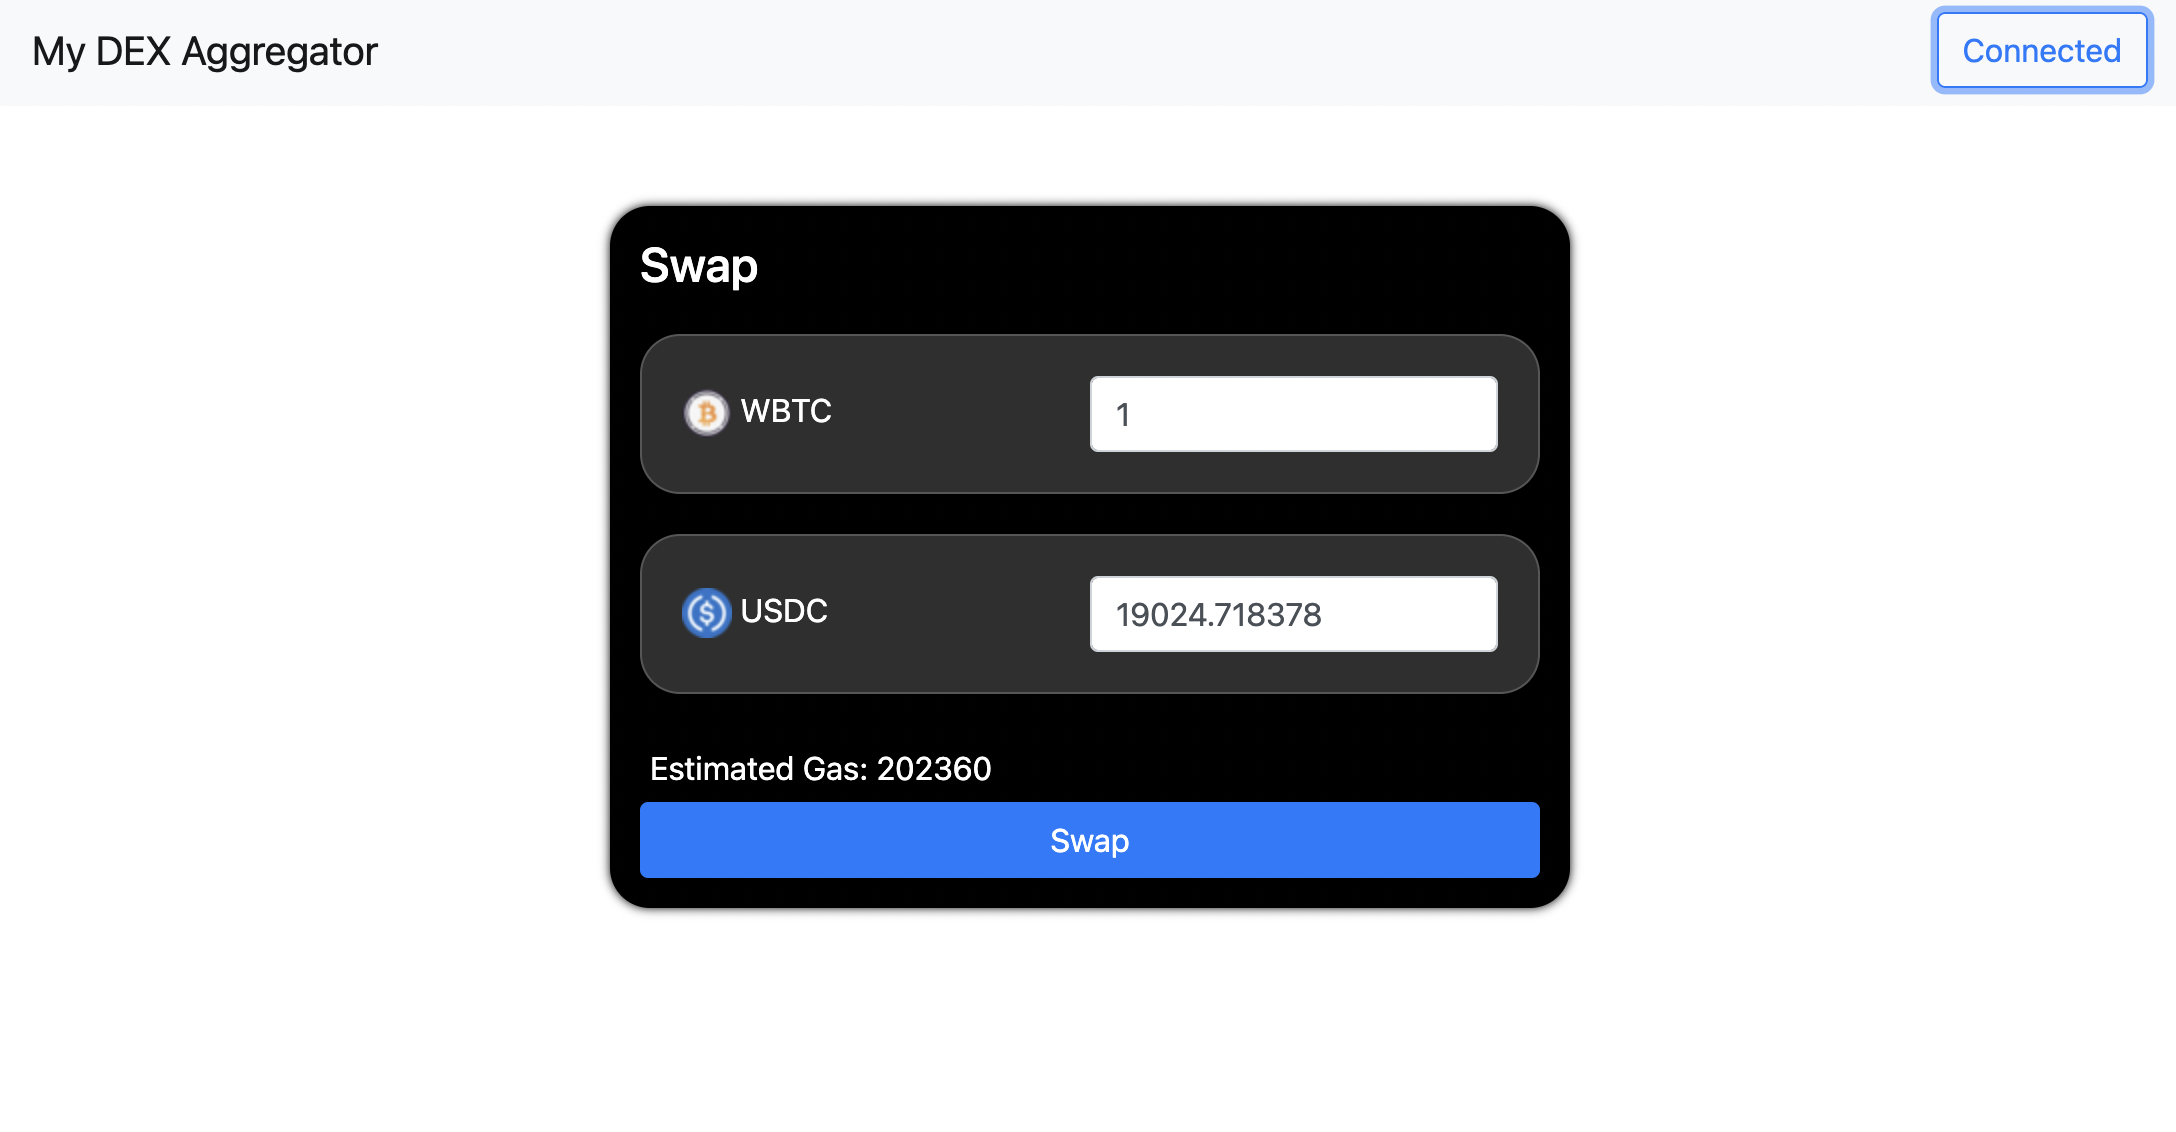
4. 바꿀 수 있는 수량과 가스비 표시
document.getElementById("to_amount").value = swapPriceJSON.buyAmount / (10 ** currentTrade.to.decimals);
document.getElementById("gas_estimate").innerHTML = swapPriceJSON.estimatedGas;
getPrice() 함수에 위 부분을 추가해주면 아래 사진처럼 바꿀 수 있는 토큰의 양과 예상 가스비가 표시된다.
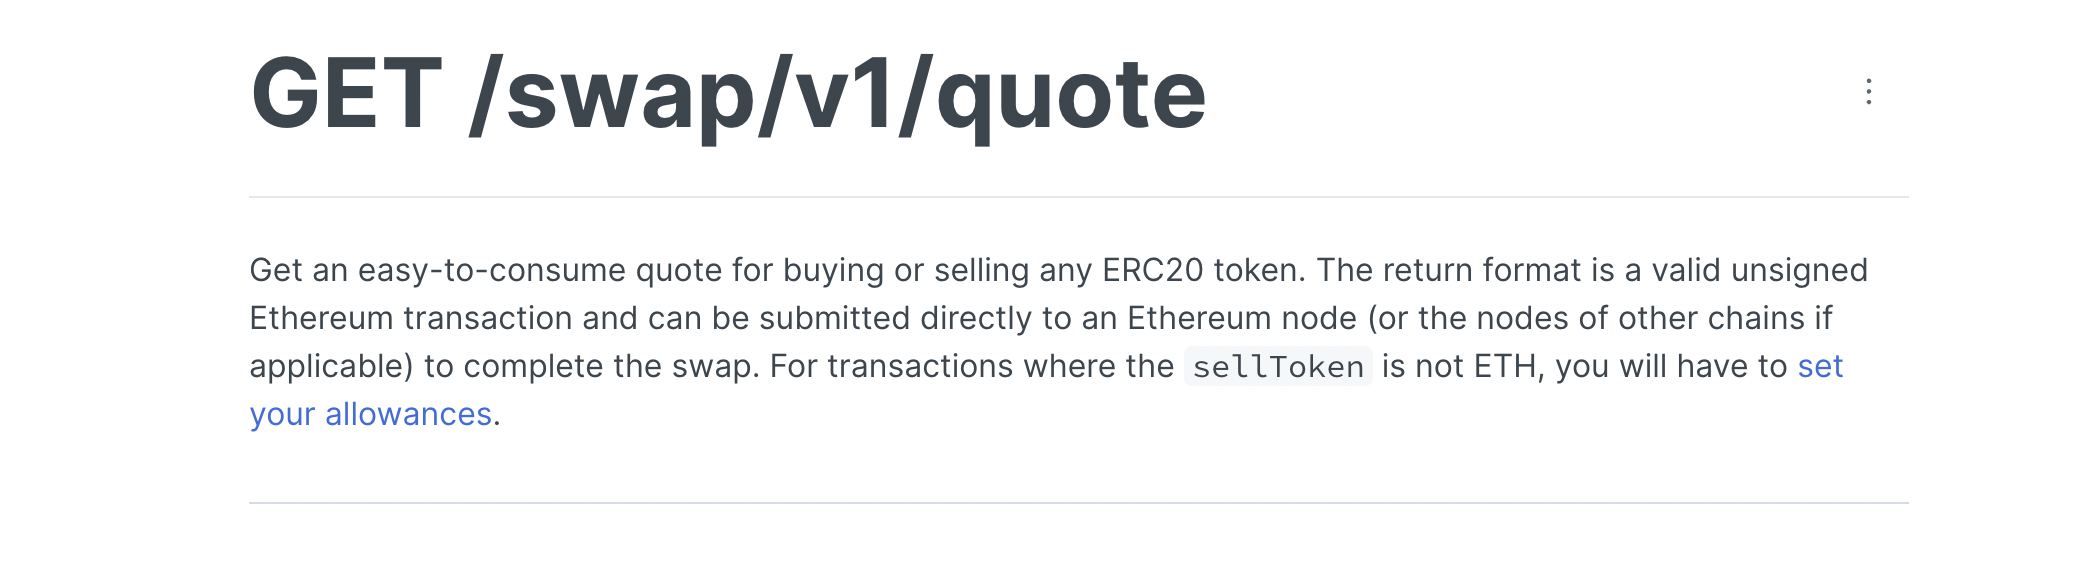
🔀 스왑기능 만들기
0x protocol의 api에는 3 종류가 있다. 첫 번째는 가격을 가져올 때 사용했던 price, 두 번째는 실제 스왑을 하고 주문을 넣을 때 필요한 quote, 마지막으로 가격의 출처를 알 수 있는 source. 이제 quote를 이용해 실제 주문을 넣어보자. api 요청 형식은 똑같기 때문에 price를 quote로 바꿔주기만 하면 된다.예제에서는 옵션으로 takerAddress를 추가했다. takerAddress는 사용자의 메타마스크 주소인데, 이 주소를 제공하는 이유는 스왑할 때 필요한 gas를 좀 더 정확하게 예측하고 스왑 도중 발생할 수 있는 revert를 잡아내기 위함이다.
async function getQuote(account) {
  if (!currentTrade.from || !currentTrade.to || !document.getElementById("from_amount").value) return;
  let amount = Number(document.getElementById("from_amount").value * 10 ** currentTrade.from.decimals);

  const params = {
    sellToken: currentTrade.from.address,
    buyToken: currentTrade.to.address,
    sellAmount: amount,
    takerAddress: account,
  }

  const response = await fetch(`https://api.0x.org/swap/v1/quote?${qs.stringify(params)}`);
  swapQuoteJSON = await response.json();
  console.log("price:", swapQuoteJSON);

  document.getElementById("to_amount").value = swapQuoteJSON.buyAmount / (10 ** currentTrade.to.decimals);
  document.getElementById("gas_estimate").innerHTML = swapQuoteJSON.estimatedGas;

  return swapQuoteJSON;
}
api 설명대로 ETH가 아닌 토큰을 팔려고 하면 allowance를 설정해줘야 한다. 0x protocol에 해당 토큰을 스왑할 수 있도록 권한 위임을 해줘야한다.
async function trySwap() {
  let accounts = await ethereum.request({ method: "eth_requestAccounts" });
  let takerAddress = accounts[0];
  const web3 = new Web3(Web3.givenProvider);
  console.log("takerAddress :", takerAddress);

  const swapQuoteJSON = await getQuote();
  const fromTokenAddress = currentTrade.from.address;
  const erc20abi = [{ "constant": true, "inputs": [], "name": "name", "outputs": [{ "name": "", "type": "string" }], "payable": false, "stateMutability": "view", "type": "function" }, { "constant": false, "inputs": [{ "name": "_spender", "type": "address" }, { "name": "_value", "type": "uint256" }], "name": "approve", "outputs": [{ "name": "", "type": "bool" }], "payable": false, "stateMutability": "nonpayable", "type": "function" }, { "constant": true, "inputs": [], "name": "totalSupply", "outputs": [{ "name": "", "type": "uint256" }], "payable": false, "stateMutability": "view", "type": "function" }, { "constant": false, "inputs": [{ "name": "_from", "type": "address" }, { "name": "_to", "type": "address" }, { "name": "_value", "type": "uint256" }], "name": "transferFrom", "outputs": [{ "name": "", "type": "bool" }], "payable": false, "stateMutability": "nonpayable", "type": "function" }, { "constant": true, "inputs": [], "name": "decimals", "outputs": [{ "name": "", "type": "uint8" }], "payable": false, "stateMutability": "view", "type": "function" }, { "constant": true, "inputs": [{ "name": "_owner", "type": "address" }], "name": "balanceOf", "outputs": [{ "name": "balance", "type": "uint256" }], "payable": false, "stateMutability": "view", "type": "function" }, { "constant": true, "inputs": [], "name": "symbol", "outputs": [{ "name": "", "type": "string" }], "payable": false, "stateMutability": "view", "type": "function" }, { "constant": false, "inputs": [{ "name": "_to", "type": "address" }, { "name": "_value", "type": "uint256" }], "name": "transfer", "outputs": [{ "name": "", "type": "bool" }], "payable": false, "stateMutability": "nonpayable", "type": "function" }, { "constant": true, "inputs": [{ "name": "_owner", "type": "address" }, { "name": "_spender", "type": "address" }], "name": "allowance", "outputs": [{ "name": "", "type": "uint256" }], "payable": false, "stateMutability": "view", "type": "function" }, { "payable": true, "stateMutability": "payable", "type": "fallback" }, { "anonymous": false, "inputs": [{ "indexed": true, "name": "owner", "type": "address" }, { "indexed": true, "name": "spender", "type": "address" }, { "indexed": false, "name": "value", "type": "uint256" }], "name": "Approval", "type": "event" }, { "anonymous": false, "inputs": [{ "indexed": true, "name": "from", "type": "address" }, { "indexed": true, "name": "to", "type": "address" }, { "indexed": false, "name": "value", "type": "uint256" }], "name": "Transfer", "type": "event" }]
  const ERC20TokenContract = new web3.eth.Contract(erc20abi, fromTokenAddress);

  const maxApproval = new BigNumber(2).pow(256).minus(1);
    ERC20TokenContract.methods.approve(
      swapQuoteJSON.allowanceTarget,
      maxApproval,
    )
      .send({ from: takerAddress })
      .then(tx => {
        console.log("tx: ", tx);
      })

  const receipt = await web3.eth.sendTransaction(swapQuoteJSON);
  console.log("receipt: ",receipt);
}
Contract 인스턴스를 만들기 위해선 jsonInterface 와 그에 맞는 주소값이 필요하다. 현재 상호작용할 컨트랙트는 erc-20이므로 이에 맞는 erc-20 abi 인터페이스를 가져오고, 거래할 토큰의 주소를 가져온다.

마지막으로 sendTransaction()으로 트랜잭션 보내면 끝!

Web3.js vs Ethers.js
토큰을 스왑하기 위해선 이더리움 노드와 통신해야 한다. js에서 이더리움 네트워크에 연결되기 위해서 라이브러리가 필요하다. 이 중에는 web3.js
와 ethers.js를 가장 많이 사용한다. 역할은 비슷하지만 여러 차이점이 있다. 생각보다 글이 길어질 것 같으므로 자세한 차이점은 다음에 작성할 예정. 예제에서는 Web3.js를 사용했다.
출처 및 참고자료