React 배포 방법
1. EC2 인스턴스 생성하기
- 이름 작성
- os 선택(ubuntu)
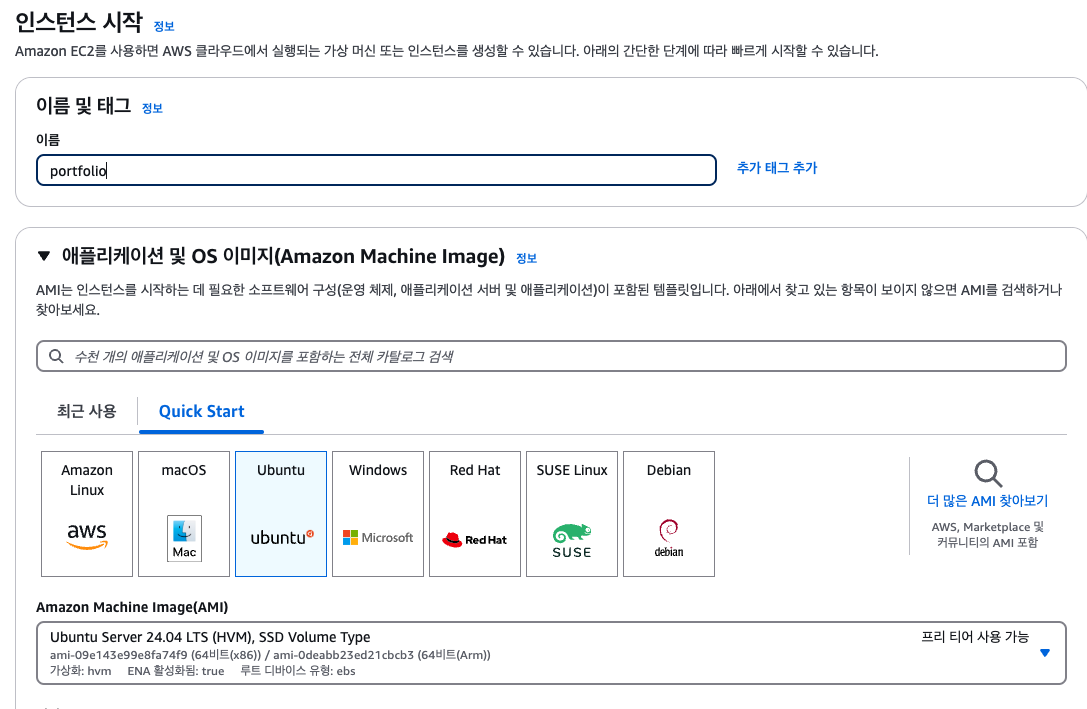
-
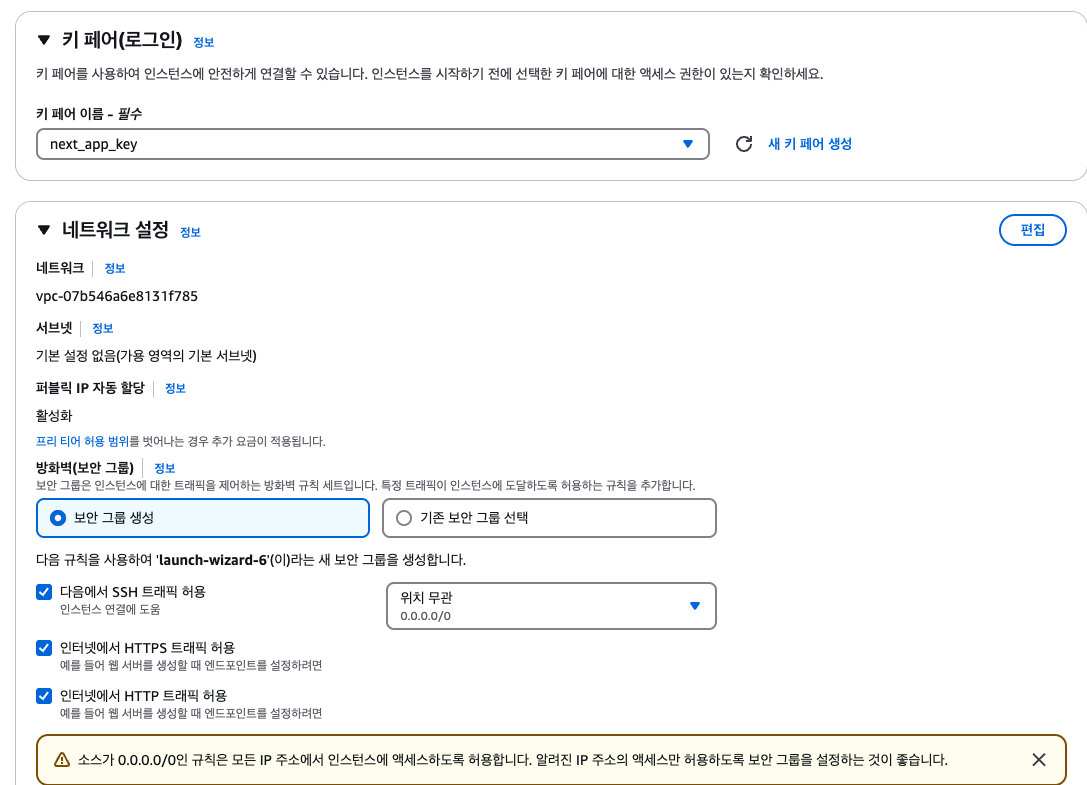
키 페어 생성, 선택
-
네트워크 설정
HTTP, HTTPS 트랙픽 허용
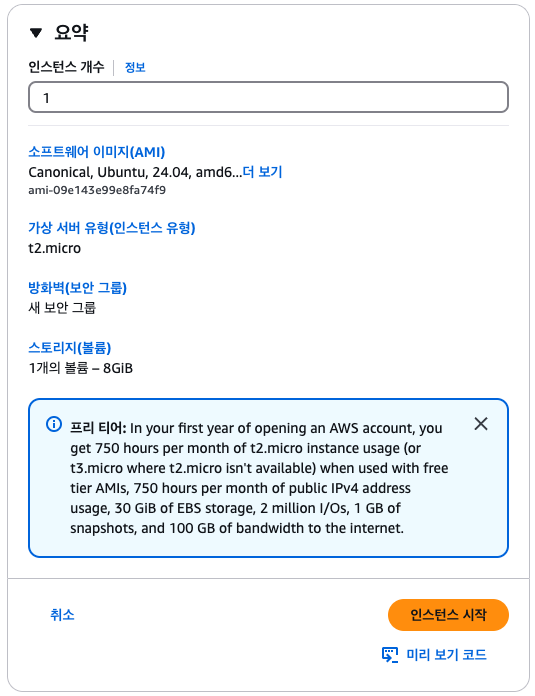
- 인스턴스 시작
2. 인스턴스에 ssh로 연결
- pem파일 권한 변경
chmod 400 "xxx.pem"- 인스턴스 연결
ssh -i "xxx.pem" ubuntu@퍼블릭 IPv4 DNS3. 인스턴스 세팅
- apt 패키지 목록 업데이트, 업그레이드
sudo apt-get update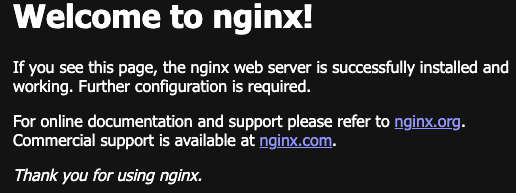
sudo apt-get upgrade- nginx 설치
sudo apt-get install nginxnginx 설치 후 퍼블릭 IPv4 주소에 접속하면 아래 화면이 나타남
- nvm 및 node 설치
curl -o- https://raw.githubusercontent.com/nvm-sh/nvm/v0.40.1/install.sh | bash
source ~/.bashrc
nvm
nvm install --lts
4. React 프로젝트 배포
- git clone
- react-router baseurl 세팅

- package.json homepage 세팅

git clone https://github.com/xxx/xxx.git

chmod 711 /home/ec2-user/xxx

cd project명

npm i
npm run build- nginx config 설정
/etc/nginx/nginx.conf는 sites-enabled 경로의 .conf들을 include하고 있다.
/etc/nginx/sites-available에 .conf를 생성 후 /etc/nginx/sites-enabled에 link 해 줘야함
- conf파일 생성
sudo nano /etc/nginx/sites-available/react.conf- HTTP 설정
// "퍼블릭 IPv4/"
server {
  listen 80;
  location / {
    root /home/ubuntu/xxx/xxx/build;
    index index.html index.htm;
    try_files $uri $uri/ /index.html;
  }
}

// "퍼블릭 IPv4/react"
server {
  listen 80;
  location /react {
    root /home/ubuntu/xxx/xxx/build;
    index index.html index.htm;
    try_files $uri $uri/ /react/index.html;
  }
}- sites-enabled에 link
sudo ln -s /etc/nginx/sites-available/파일명 /etc/nginx/sites-enabled/- nginx 재시작
- nginx 설정 확인
sudo nginx -t
sudo systemctl restart nginx퍼블릭 IPv4/react 접속.
뻘짓 3일동안 하다가 도움요청해서 성공했다..
다음은 퍼블릭 IPv4/next에 next배포
끝.

FRONT_END_DEVELOMENT