재고가 들어 왔다고 알림을 줘야하는데 slack을 사용하여 채널에 등록된 사용자들에게 알려줍시다.
참고
3-1. Setting Up
> npm i nestjs-slack-webhook
> npm i @slack/client @nestjs/config-
SlackConfig 등록 (webhook)
.envfile
우선 환경 변수 파일을 만들어 발급받은 Slack wehook URL을 저장합니다.
SLACK_WEBHOOK_URL=https://hooks.slack.com/services/{비밀입니다!}src/config/slack.config.tsfile
NestJS에 주입할 Slack 전용 Config를 만들어 줍시다.
    import { registerAs } from '@nestjs/config';
    import { SlackOptions } from 'nestjs-slack-webhook';

    export default registerAs(
      'slack',
      (): SlackOptions => ({
        url: process.env.SLACK_WEBHOOK_URL,
      }),
);-
SlackModule Global로 등록
src/app.module.tsfile
환경변수를 등록하고, 설치한 SlackModule을 AppModule에 주입합니다.
    // ...
    import { ConfigModule, ConfigService } from '@nestjs/config';
    import slackConfig from './config/slack.config';
    import { WatcherModule } from './watcher/watcher.module';

    @Module({
      imports: [
        ConfigModule.forRoot({
          load: [slackConfig],
        }),
        SlackModule.forRootAsync({
          imports: [ConfigModule],
          inject: [ConfigService],
          useFactory: (config) => config.get('slack'),
        }),
        // ...
      ],
      // ...
    })
export class AppModule {}- NotifyService
인자로 받은 메세지를 slack 채널에 발송하는 서비스를 만들어 줍니다.
  import { Injectable } from '@nestjs/common';
  import { IncomingWebhook, IncomingWebhookSendArguments } from '@slack/client';
  import { InjectSlack } from 'nestjs-slack-webhook';

  @Injectable()
  export class NotifyService {
    constructor(
      @InjectSlack()
      private readonly slack: IncomingWebhook,
    ) {}

    async notify(args: IncomingWebhookSendArguments) {
      return await this.slack.send(args);
    }
  }
3-2. WatcherService Test Code 작성
WatcherService에 NotifyService를 사용할 겁니다.
우선 NotifyService Mock 객체를 만들어 주자
const mockNotifyService = {
  notify: jest.fn(),
};
그리고 NotifyService를 TestModule에 주입합시다.
describe('WatcherService', () => {
  // ...
  let notifyService: NotifyService;

  beforeEach(async () => {
    const module: TestingModule = await Test.createTestingModule({
      // ...
      providers: [
        // ...
        { provide: NotifyService, useValue: mockNotifyService }, // <- 주입
      ],
    }).compile();
test 코드를 작성할때 NotifyService를 jest의 spyOn 의 기능으로 메서드 구라를 칩시다.
또한 toHaveBeenCalledTimes, toHaveBeenCalledWith 메서드로 해당 method가 수행 되었는지 체크합시다.
describe('notify()', () => {
it('should notify to slack', async () => {
// given
const requestNotify: IncomingWebhookSendArguments = {
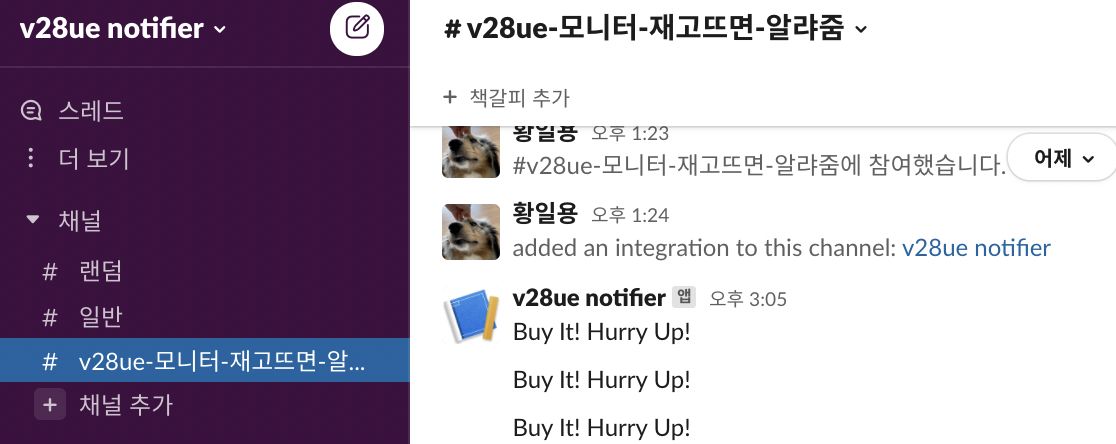
text: '(test-code) Buy It! Hurry Up!',
};
const resultNotify: IncomingWebhookResult = {
text: 'ok',
};
jest
.spyOn(notifyService, 'notify')
.mockImplementation(
async (arg: IncomingWebhookSendArguments) => resultNotify,
);
// when
const result = await watcherService.notify(requestNotify);
// then
// expect(notifyService.notify).toHaveBeenCalledTimes(1);
expect(result).toEqual(resultNotify);
expect(notifyService.notify).toHaveBeenCalledTimes(1);
expect(notifyService.notify).toHaveBeenCalledWith(requestNotify);
});
});3-3. WatcherService notify method 작성
테스트코드를 작동 할 수 있도록 소스 코드를 구현합니다.
@Injectable()
export class WatcherService {
  constructor(
    // ...
    private readonly notifyService: NotifyService,
  ) {}

  // ...

  async notify(requestNotifyToSlack: IncomingWebhookSendArguments) {
    return await this.notifyService.notify(requestNotifyToSlack);
  }
}
그럼 결과로 test를 통과하게 할 수 있게 되었습니다.
 PASS  src/crawler/watcher.service.spec.ts
  WatcherService
    ✓ should be defined (9 ms)
    getHTTPRequest()
      ✓ should request http given url (4 ms)
    parseHtmlAndCheckIsSoldOut()
      ✓ should parse Html And Check Is SoldOut (8 ms)
      ✓ should parse Html And Check Is SoldOut is false (4 ms)
    notify()
      ✓ should notify to slack (2 ms) # <====== 테스트 통과
참고
NotifyService에 대한 테스트코드도 미리 작성해야합니다.

BackEnd Developer