재고상태를 요청하는 watcher service를 만들어 봅시다.
2-1. watcher service를 만들어 줍니다.
> nest generate module watcher
> nest gnereate service watcher
그러면 watcher.service.spec.ts 파일이 만들어지는데 이 파일이 watcher.service.ts 에 대한 테스트를 담당합니다.
2-2. 우선 시나리오를 통해 WatcherService 에서 어떤 것을 해야할 지 파악해보죠.
-
Get URL HTTP Request
-
Parse HTML And Check Sold Out
-
Notify Slack Notifier
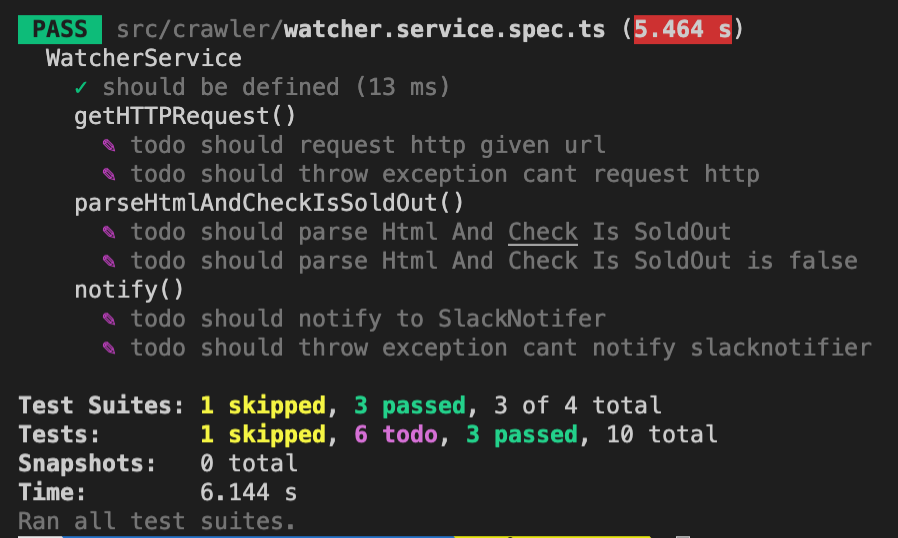
2-3. 그리고 Test 코드를 먼저 작성합시다. (TDD)
describe('getHTTPRequest()', () => {
  it.todo('should request http given url');
  it.todo('should throw exception cant request http'); // TODO:
});

describe('parseHtmlAndCheckIsSoldOut()', () => {
  it.todo('should parse Html And Check Is SoldOut');
  it.todo('should parse Html And Check Is SoldOut is false');
});

describe('notify()', () => {
  it.todo('should notify to SlackNotifer');
  it.todo('should throw exception cant notify slacknotifier'); // TODO:
});
하나 하나씩 Test들을 만들어 나갑시다.
2-4. Get URL HTTP Request
구현하기 전에 테스트 코드를 먼저 작성합시다.
it('should request http given url', async () => {
  // given
  const givenUrl = 'https://www.naver.com';

  // when
  const result = await watcherService.getHttpRequest(givenUrl);

  // then
  expect(result).not.toBeNull();
});
이렇게 작성하고 돌리시면 당연히 에러가 나겠죠. 당연합니다.
2-5. 이제 이 코드를 잘 돌아가게끔 수정합시다.
(요즘 axios는 rxjs를 써서 하는게 대세인가봅니다... 배울게 너무 많아 🥲)
// carwler.service.ts
async getHttpRequest(givenUrl: string) {
  const result = await firstValueFrom(
    this.httpService.get(givenUrl).pipe(map((response) => response.data)),
  );

  WatcherService.logger.log(result);
  return result;
}
2-6. 결과
그럼 결과 메세지로 이렇게 뜨고 passed 되었다고 합니다.

그럼 나머지 테스트 코드도 작성해봅시다. (링크)
