MySQL 환경 세팅하기
우선 설치파일 먼저 로컬에 가져오자
없다면 공식홈페이지 가서 받고, 8버전 빠르게 받고싶다하면 아래 링크 다운받으면 됨
MySQL 설치파일 : mysql-installer-community-8.0.35.0.msi
이게 안된다면
blob:https://velog.io/3a06b2d3-3e66-4922-ae2a-b18efbe12717
링크에 넣자
설치방법을 사실상 사진만 복붙해둔 것 같아보인다면
솔직히 맞음 ㅎㅎㅎ 잘 따라해보자 =)
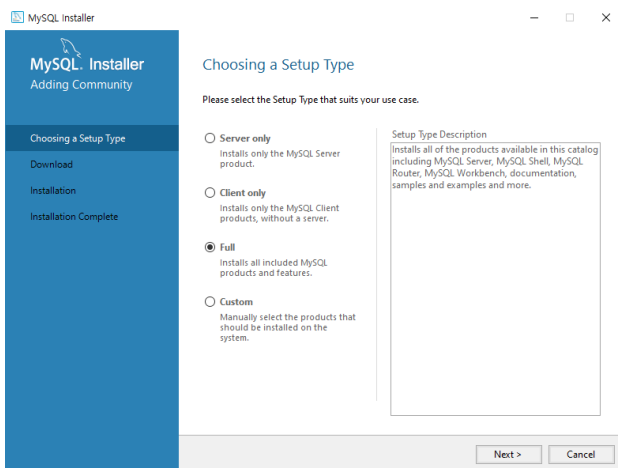
여기서 아래 화면이 안나온다면 높은 확률로 미설치된 사전 프로그램들이 있는 것임
천천히 설치 다 진행하고 다음 화면으로 넘어오자

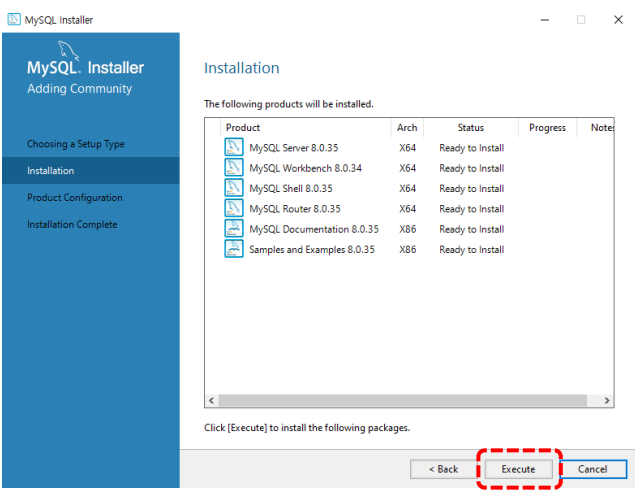
Installation - Excute
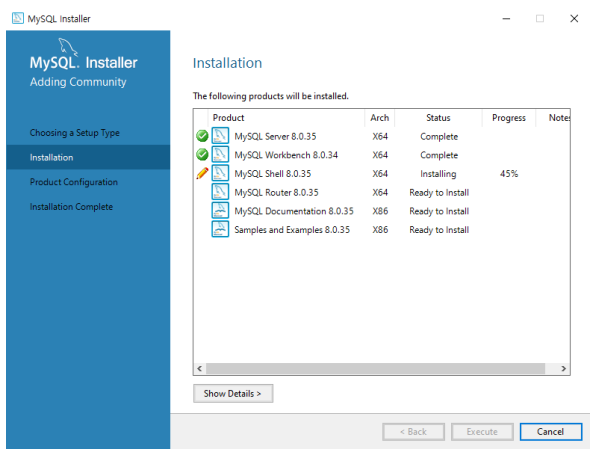
Installation - 로딩 끝나면 다음으로
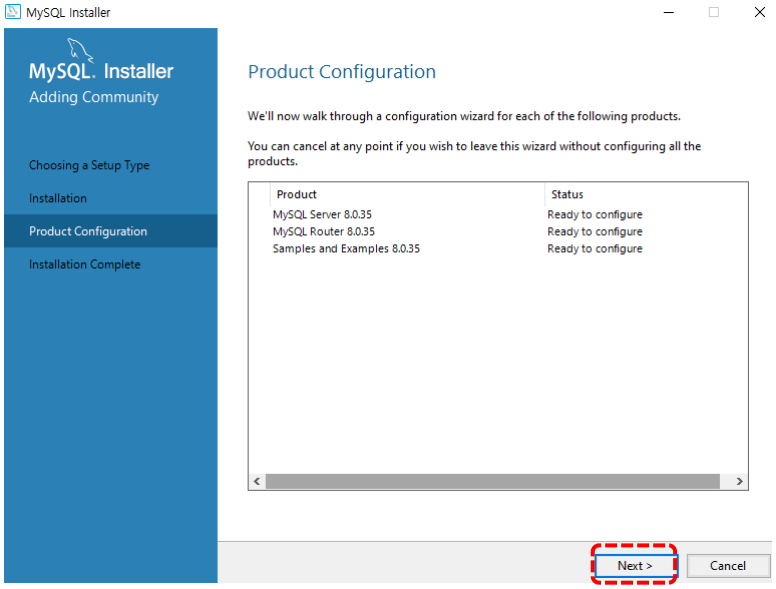
Product Configuration > Next
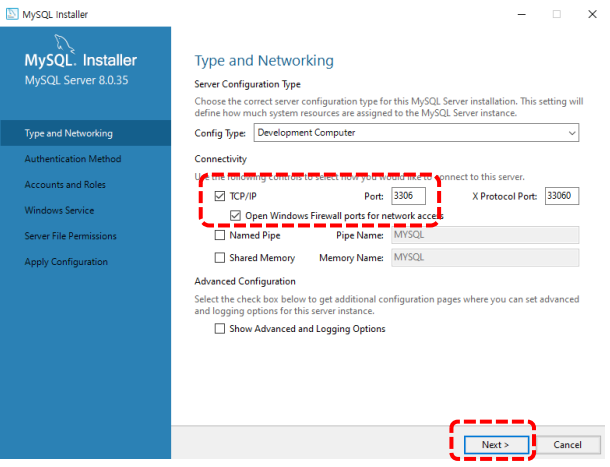
Type and Networking > TCP/IP 선택, Port : 3306 선택, Open Windows Firewall ~~ 선택
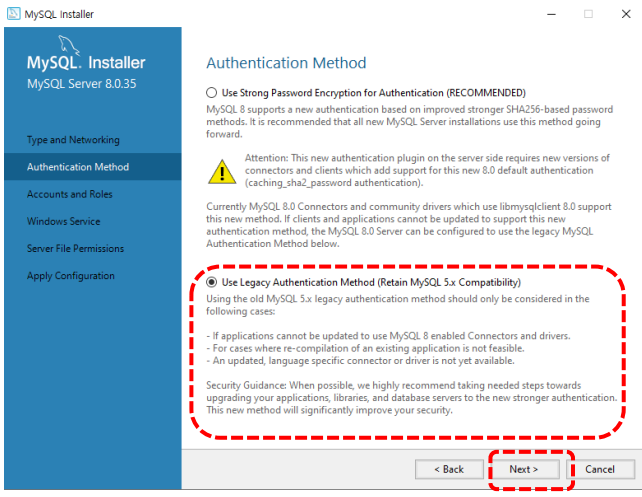
Authentication Method > Use Legacy Authentication Method ~~ 선택
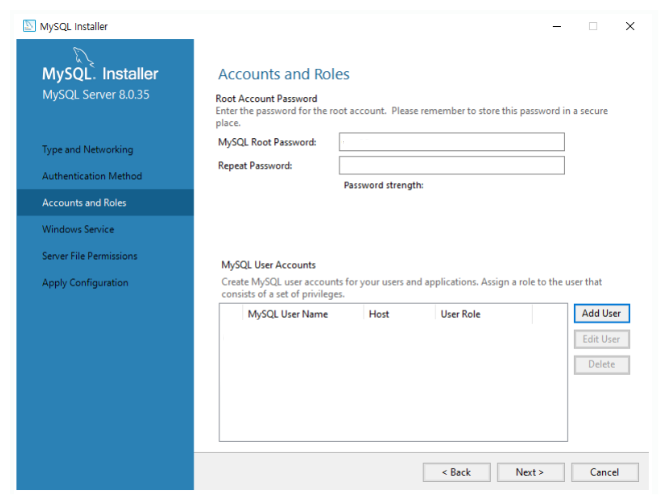
Accounts and Roles > Add User 선택

MySQL User Account > 각 설정정보를 입력하자
password는 가능한 기억하기 쉬운걸로!!
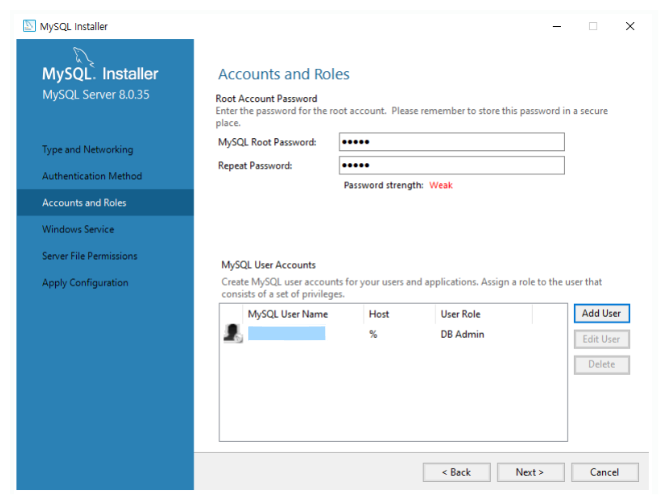
User가 생성되었다면 패스워드 입력하고 Next
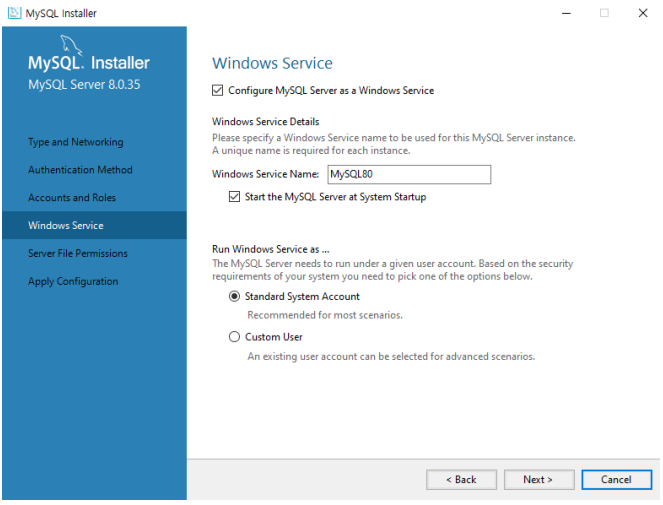
Window Service > 기본 설정 그대로 Next
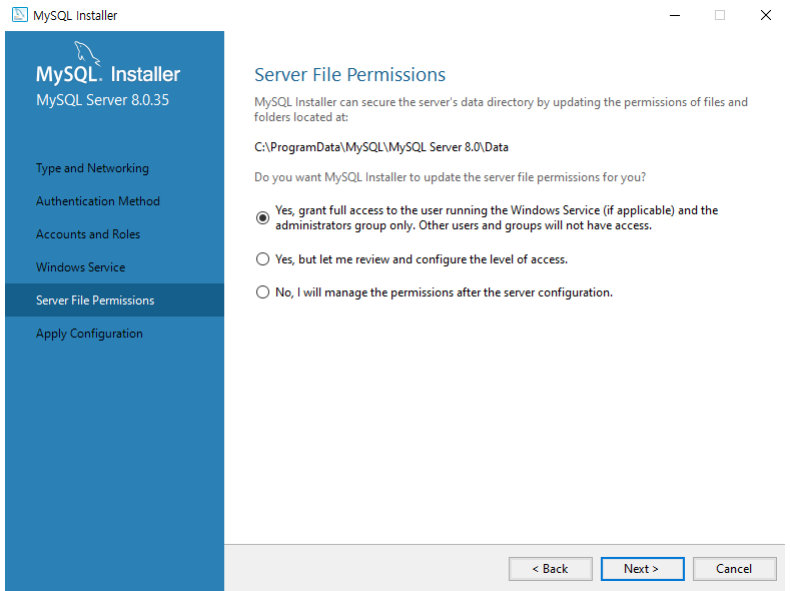
Server File Permissions > 그대로 Next
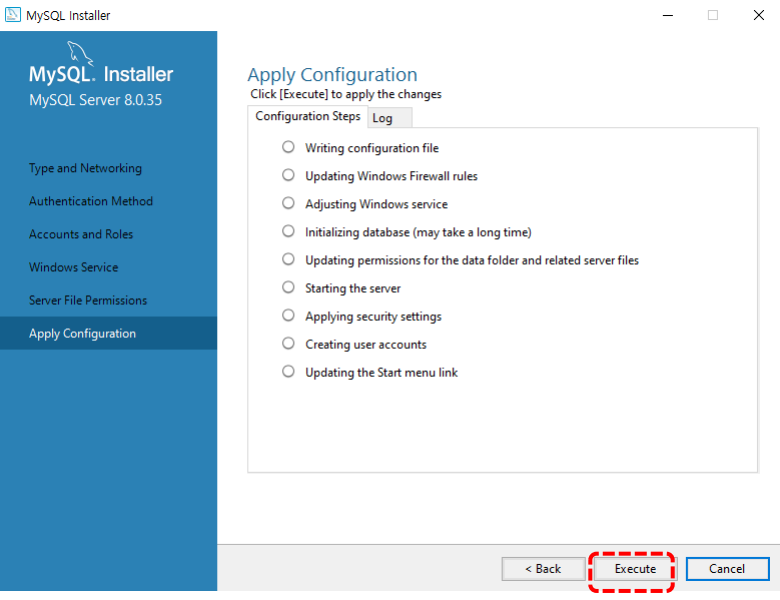
Apply Configuration > Excute!
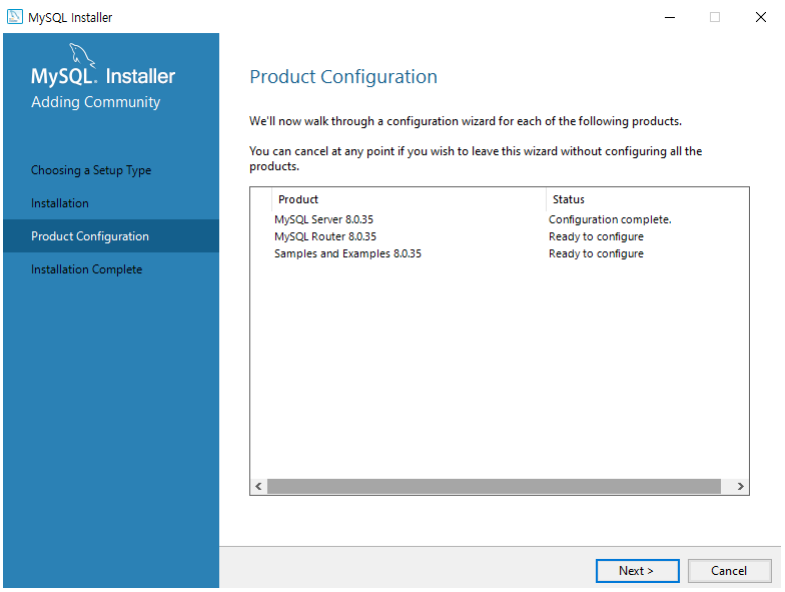
Product Configuration > Next
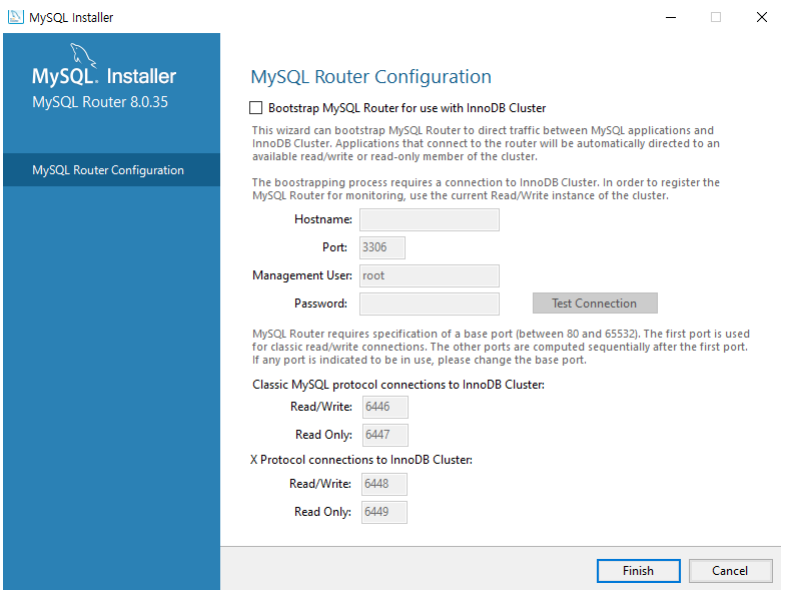
MySQL Router Configuration > Finish!
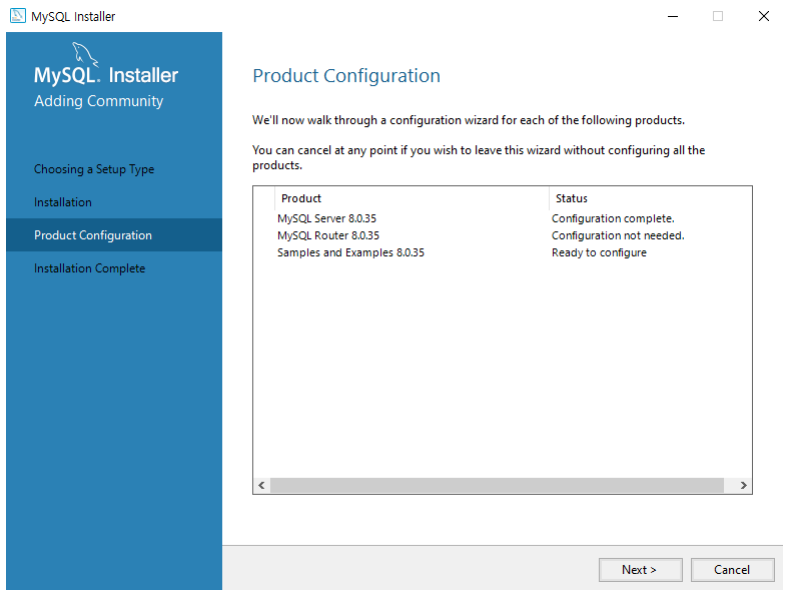
Product Configuration > Next
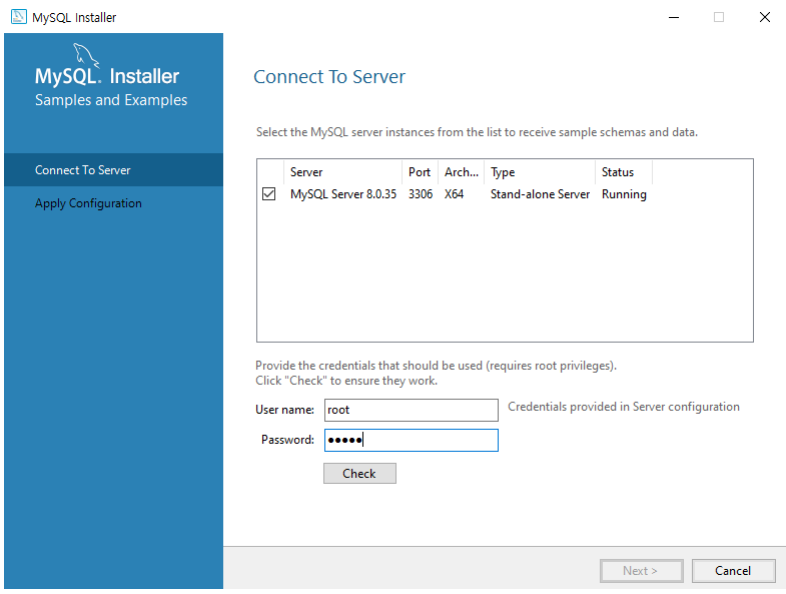
Connect To Server > password 입력하고 check하면 성공했다는 창이 뜰거임 그러면 Next
만약 성공이 아니라면 패스워드 잘못입력했거나 설정이 이상하거나~~
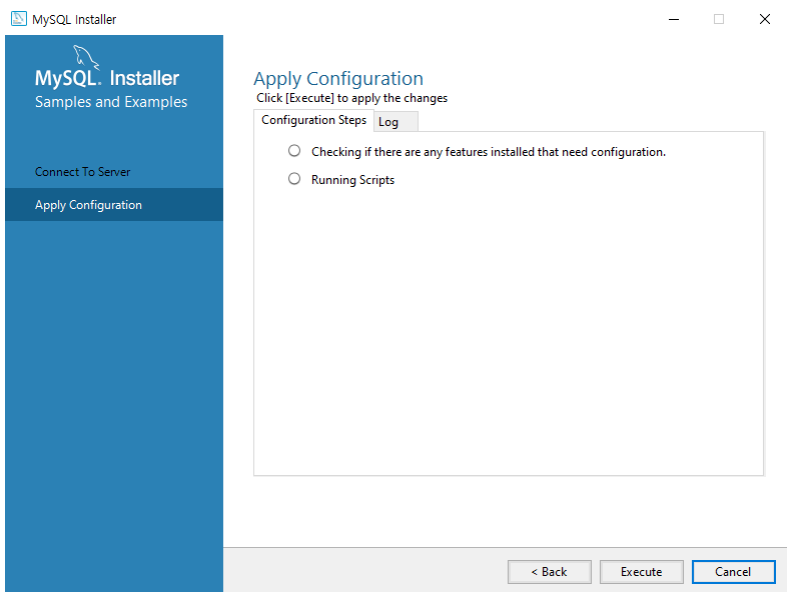
Apply Configuration > Execute
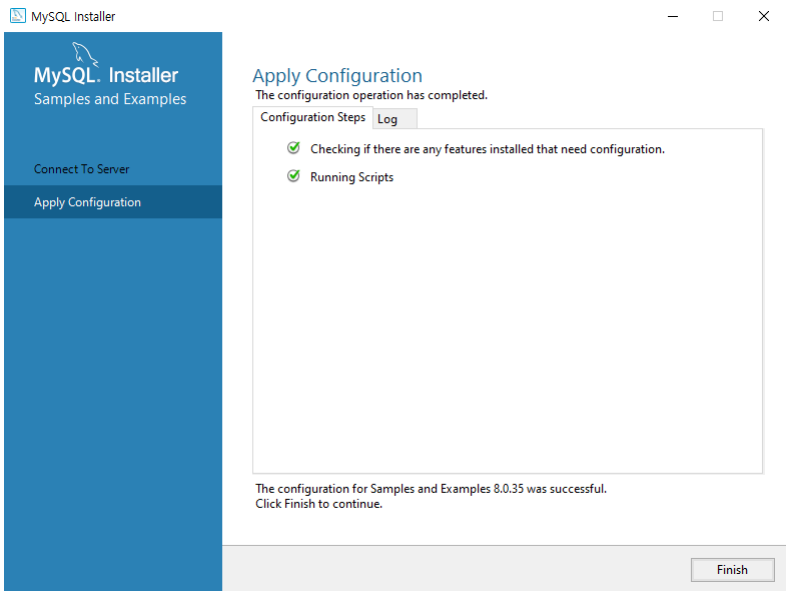
Apply Configuration > Finish
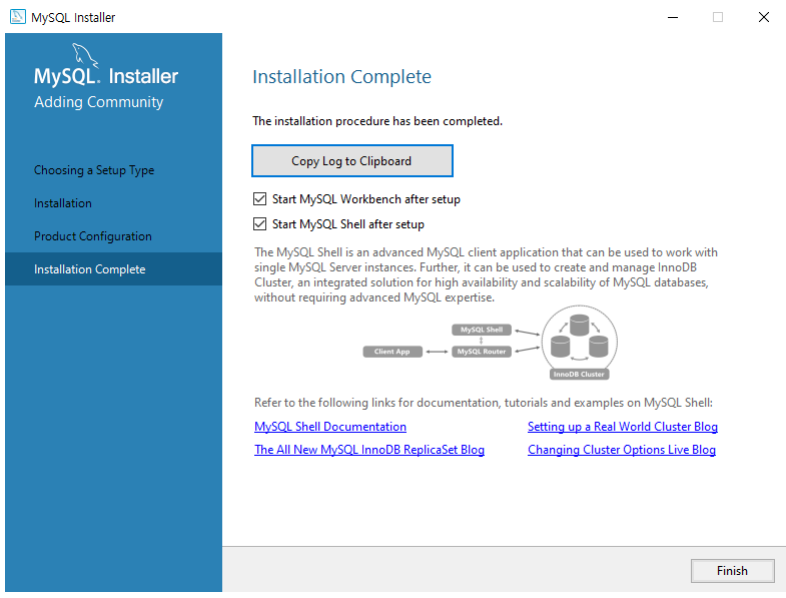
Installation Complete > Finish
끝!