py 파일 작성 및 실행
python 파일 작성
앞서 첫번째 글에서 작성한 dag의 순서도를 기본으로 해 dag를 만들기 전, 기본이 되는 python 파일(확장자 .py)를 생성하고 실행이 되는지 확인하였다.
아래는 내가 작성한 py파일의 전문
(이 코드를 실행하기 위해선 연결된 mysql db에 생성된 table과 column이 존재해야한다.)
# 초기 DB에 적재하는 코드(크롤링만)
import requests
from bs4 import BeautifulSoup
from datetime import datetime
import pandas as pd
import pymysql
import re
import numpy as np


# DB 연결
con = pymysql.connect(
    host = '127.0.0.1',
    port = 4000,
    user = 'root',
    password = '123',
    database = 'final'
)
cur = con.cursor()

# 크롤링 및 전처리 후 DB에 적재하는 함수
def crawling(start_article_id, stop_article_id, start=1, article_num=0):
    article_id = start_article_id
    while article_id <= stop_article_id:
        print(start/(stop_article_id - start_article_id + 1))
        url = f"https://apis.naver.com/cafe-web/cafe-articleapi/v2.1/cafes/28866679/articles/{article_id}?query=&menuId=1&boardType=L&useCafeId=true&requestFrom=A"
        response = requests.get(url)
        data = response.json()

        # 게시글 정보 추출
        article = data.get('result', {}).get('article', {})
        article_timestamp = article.get('writeDate', 0) / 1000  # 작성일자를 밀리초에서 초로 변환

        # 작성일자를 datetime 형식으로 변환
        article_time = datetime.fromtimestamp(article_timestamp)

        # 게시글 작성일자가 현재 이후 또는 삭제된 게시글인 경우 None 반환
        if (article_time >= datetime.now()) or (not article.get('menu')):
            article = None
            comments = None
            article_time = None

        # 댓글 정보 추출
        comments = data.get('result', {}).get('comments', {}).get('items', [])

        if article is not None: #게시글 정보가 있는 경우
            article_menu = article.get('menu', {}).get('name', '')
            article_subject = article.get('subject', '')

            # 게시글 내용 추출
            article_content_html = article.get('contentHtml', '')
            article_content_soup = BeautifulSoup(article_content_html, 'html.parser')
            article_content = article_content_soup.find('div', class_='se-component se-text se-l-default')
            if article_content:
                article_content = article_content.text.strip()
            else:
                article_content = ""

            # 댓글 내용 추출
            comment_contents = []
            for comment in comments:
                comment_contents.append(comment.get('content', ''))
            article_comment = ' '.join(comment_contents)

            # 정규표현식 전처리
            article_menu = re.sub(r'[^ㄱ-ㅎㅏ-ㅣ가-힣 ]', '', article_menu)
            article_subject = re.sub(r'[^ㄱ-ㅎㅏ-ㅣ가-힣 ]', '', article_subject)
            article_content = re.sub(r'[^ㄱ-ㅎㅏ-ㅣ가-힣 ]', '', article_content)
            article_comment = re.sub(r'[^ㄱ-ㅎㅏ-ㅣ가-힣 ]', '', article_comment)

            # DB에 적재
            try:
                cur.execute(f'insert into wordcloud values("{article_id}", "{article_menu}", "{article_subject}", "{article_content}", "{article_comment}", "{article_time}")')
                con.commit()
            except Exception as e:
                print(f"에러 발생: {str(e)}")

            article_num += 1 #DB에 적재된 데이터 개수

        # article_id 증가
        article_id += 1
        start += 1

    return article_num

# 함수 실행(시작할 게시글 id, 종료할 게시글 id)
crawling(5780000,5790000)
# 최종 완성본 py 코드
import requests
from bs4 import BeautifulSoup
from datetime import datetime, timedelta
import pandas as pd
import pymysql
import re
from wordcloud import WordCloud
from PIL import Image
import matplotlib.pyplot as plt
from collections import Counter
import numpy as np
from konlpy.tag import Okt
okt = Okt()
# DB 연결
con = pymysql.connect(
host = '127.0.0.1',
port = 4000,
user = 'root',
password = '123',
database = 'final'
)
cur = con.cursor()
# 크롤링 함수 선언
def crawling(start=1, article_num=0):
# 기존 DB에 적재된 데이터 중 가장 최신 id값 가져오기
cur.execute('select max(id) from wordcloud;')
recent_article_id = cur.fetchall()[0][0]
article_id = recent_article_id + 1
while article_id <= recent_article_id + 100: # 한번 크롤링 할때마다 100개씩 추출
url = f"https://apis.naver.com/cafe-web/cafe-articleapi/v2.1/cafes/28866679/articles/{article_id}?query=&menuId=1&boardType=L&useCafeId=true&requestFrom=A"
response = requests.get(url)
data = response.json()
# 게시글 정보 추출
article = data.get('result', {}).get('article', {})
article_timestamp = article.get('writeDate', 0) / 1000 # 작성일자를 밀리초에서 초로 변환
# 작성일자를 datetime 형식으로 변환
article_time = datetime.fromtimestamp(article_timestamp)
# 게시글 작성일자가 현재 이후 또는 삭제된 게시글인 경우 None 반환
if (article_time >= datetime.now()) or (not article.get('menu')):
article = None
comments = None
article_time = None
# 댓글 정보 추출
comments = data.get('result', {}).get('comments', {}).get('items', [])
if article is not None: #게시글 정보가 있는 경우
article_menu = article.get('menu', {}).get('name', '')
article_subject = article.get('subject', '')
# 게시글 내용 추출
article_content_html = article.get('contentHtml', '')
article_content_soup = BeautifulSoup(article_content_html, 'html.parser')
article_content = article_content_soup.find('div', class_='se-component se-text se-l-default')
if article_content:
article_content = article_content.text.strip()
else:
article_content = ""
# 댓글 내용 추출
comment_contents = []
for comment in comments:
comment_contents.append(comment.get('content', ''))
article_comment = ' '.join(comment_contents)
# 정규표현식 전처리
article_menu = re.sub(r'[^ㄱ-ㅎㅏ-ㅣ가-힣 ]', '', article_menu)
article_subject = re.sub(r'[^ㄱ-ㅎㅏ-ㅣ가-힣 ]', '', article_subject)
article_content = re.sub(r'[^ㄱ-ㅎㅏ-ㅣ가-힣 ]', '', article_content)
article_comment = re.sub(r'[^ㄱ-ㅎㅏ-ㅣ가-힣 ]', '', article_comment)
# DB에 적재
try:
cur.execute(f'insert into wordcloud values("{article_id}", "{article_menu}", "{article_subject}", "{article_content}", "{article_comment}", "{article_time}")')
con.commit()
except Exception as e:
print(f"에러 발생: {str(e)}")
article_num += 1 # 방금 크롤링으로 DB에 적재된 데이터 개수
# article_id 증가
article_id += 1
start += 1
return article_num
#함수 실행
crawling()
# 해당 기간동안의 크롤링 데이터 DB에서 불러오기
def get_content(days):
# 불러오고 싶은 기간 선택(인자 days)
today = datetime.now()
select_day = datetime.strftime(today - timedelta(days=days),"%Y-%m-%d %H:%M:%S")
# db에 적재된 게시글들의 정보 불러오기
cur.execute(f"SELECT subject,content,comment FROM wordcloud WHERE time > '{select_day}';")
result = cur.fetchall()
# 데이터 한 문자열로 합치기
join_result = [' '.join(sub_tuple) for sub_tuple in result]
final_result = ' '.join(join_result)
return final_result
def make_wordcloud(word_data):
# 자연어 처리
nouns = okt.nouns(word_data) # 명사인 것들만 추출
words = [n for n in nouns if len(n) > 1] # 단어가 1글자 이상인 것만 추출
word_counts = Counter(words) # 빈도수 count
# 워드클라우드 만들기
wc = WordCloud(
font_path="./NanumGothic.ttf", # 폰트 지정 << 경로 문제 발생 가능
width=400, # 너비 지정
height=400, # 높이 지정
max_font_size=100, # 가장 빈도수 높은 단어의 폰트 사이즈 지정
background_color="white" # 배경색 지정
)
word_cloud = wc.generate_from_frequencies(word_counts) # 워드클라우드 빈도수 지정
# 워드클라우드 그래프 출력
plt.figure()
plt.imshow(word_cloud)
plt.axis("off")
# 워드클라우드 PNG 파일로 저장
today = datetime.now().date()
a = word_cloud.to_image().save(f"wc_{today}.png", format='PNG')
return a
# 워드클라우드 함수 실행
make_wordcloud(get_content(3)) WSL 환경 설정
py 파일 또는 ipynb파일을 WSL에서 실행하기 위해서는 WSL 환경에 각종 환경설정을 해주어야 한다. (특히 한글 형태소 분석 환경 설정 필수 !)
1. WSL 가상환경 생성 후 실행
- WSL안에서 버전충돌이 일어나지 않게 하기 위해 wordcloud를 위한 가상환경을 새로 생성해주었다.
python3 venv -m wordcloudsource wordcloud/bin/activate
2. 서버 패키지와 리포지토리 최신화
sudo apt -y upgradepip install --upgrade pip
3. JAVA JDK 설치
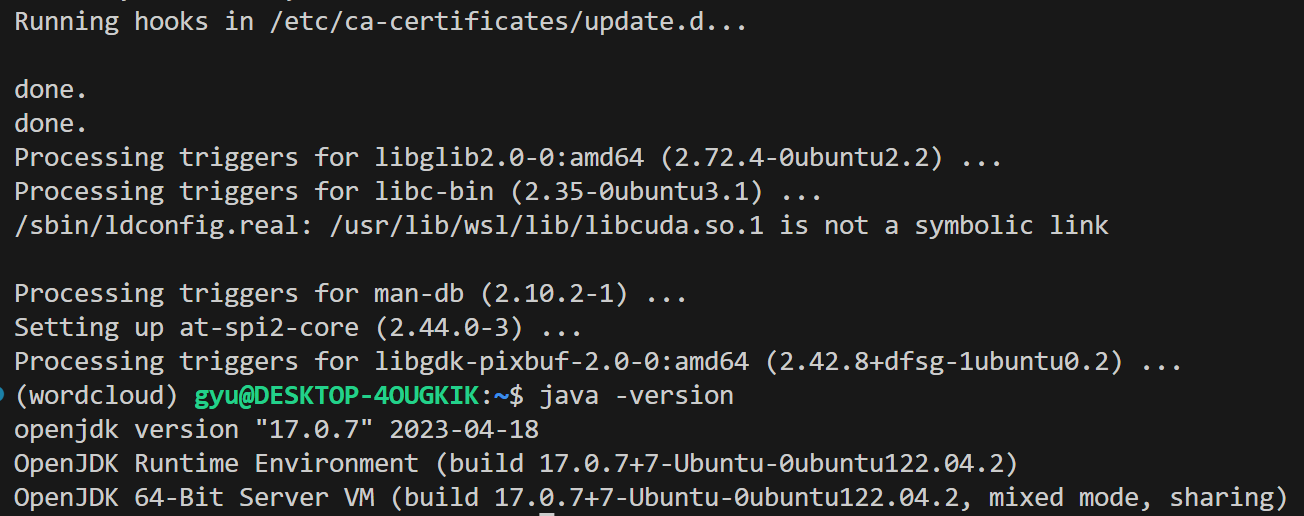
- 자바가 깔려있는지 여부 확인:
java -version->Command 'java' not found이면 깔려있지 않은 것 sudo apt install openjdk-버전-jdk openjdk-버전-jre -y- 나의 경우 WSL에서 아직 JDK-20은 설치가 안돼서 JDK-17버전으로 설치함
- 제대로 설치가 잘 된 것을 볼 수 있음
WSL에서 JAVA 환경변수 설정 (난 안해줬지만 실행됨)
0. JAVA 설치 위치 확인
which java
->/usr/bin/javareadlink -f /usr/bin/java
->/usr/lib/jvm/java-17-openjdk-amd64/bin/java
- 환경변수 파일에 내용 추가
sudo vi /etc/environment- insert 모드 상태에서
JAVA_HOME=//usr/lib/jvm/java-17-openjdk-amd64추가- ESC -> w + q
- 내용 적용
source /etc/environment
- 설정 완료 확인
echo $JAVA_HOME
4. JPype1 설치
- 자바 라이브러리 사이의 통신용 툴인 JPype1를 설치
pip3 install JPype1
5. KoNLPy 설치
- 한글 자연어 처리 패키지를 설치
pip3 install konlpy
6. Jupyter notebook 설치 및 실행
pip install jupyter notebook- 실행은
python3 -m jupyter notebook --no-browser후 화면에 뜨는 http 주소를 크롬창에 입력하면 된다.
7. wordcloud 글꼴 설정(안해주면 wordcloud 생성이 안됨)
1) 나눔 폰트 설치
sudo apt-get install fonts-nanum*
2) 폰트 캐시 삭제
fc-cache -fv
3) wordcloud 경로 확인
python -c "import wordcloud; print(wordcloud.__file__)"- 위의 코드를 입력해 wordcloud의 경로를 확인한다.

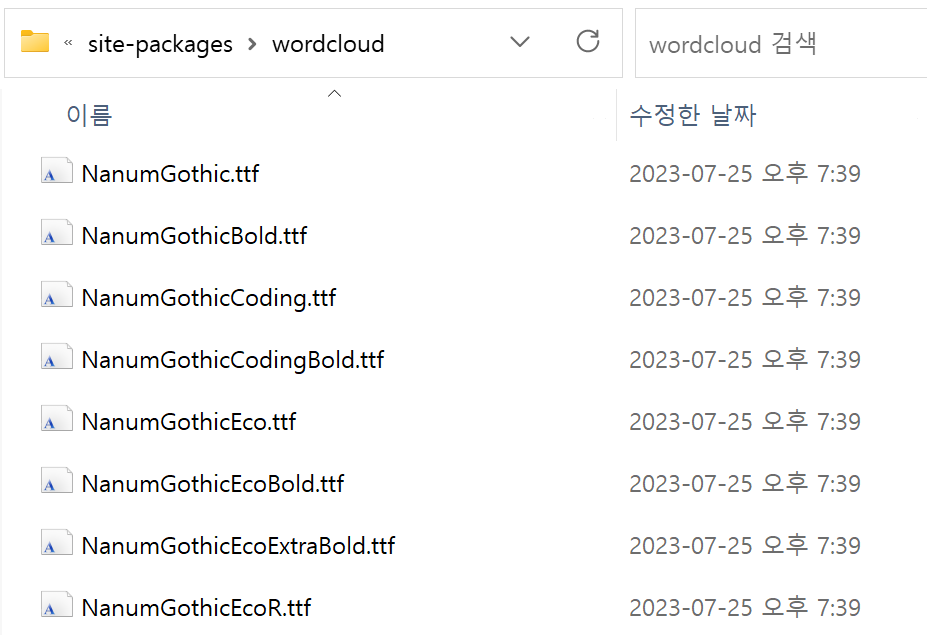
4) 폰트 위치 복사하기
cp /usr/share/fonts/truetype/nanum/Nanum* /home/gyu/wordcloud/lib/python3.10/site-packages/wordcloud/fonts//usr/share/fonts/truetype/nanum/Nanum경로에 설치된 Nanum 폰트들을 (3)에서 확인한 wordcloud가 설치된 경로로 옮겨준다.
5) wordcloud 폰트 캐시 삭제: rm -rf ~/.cache/wordcloud/*
참고한 블로그
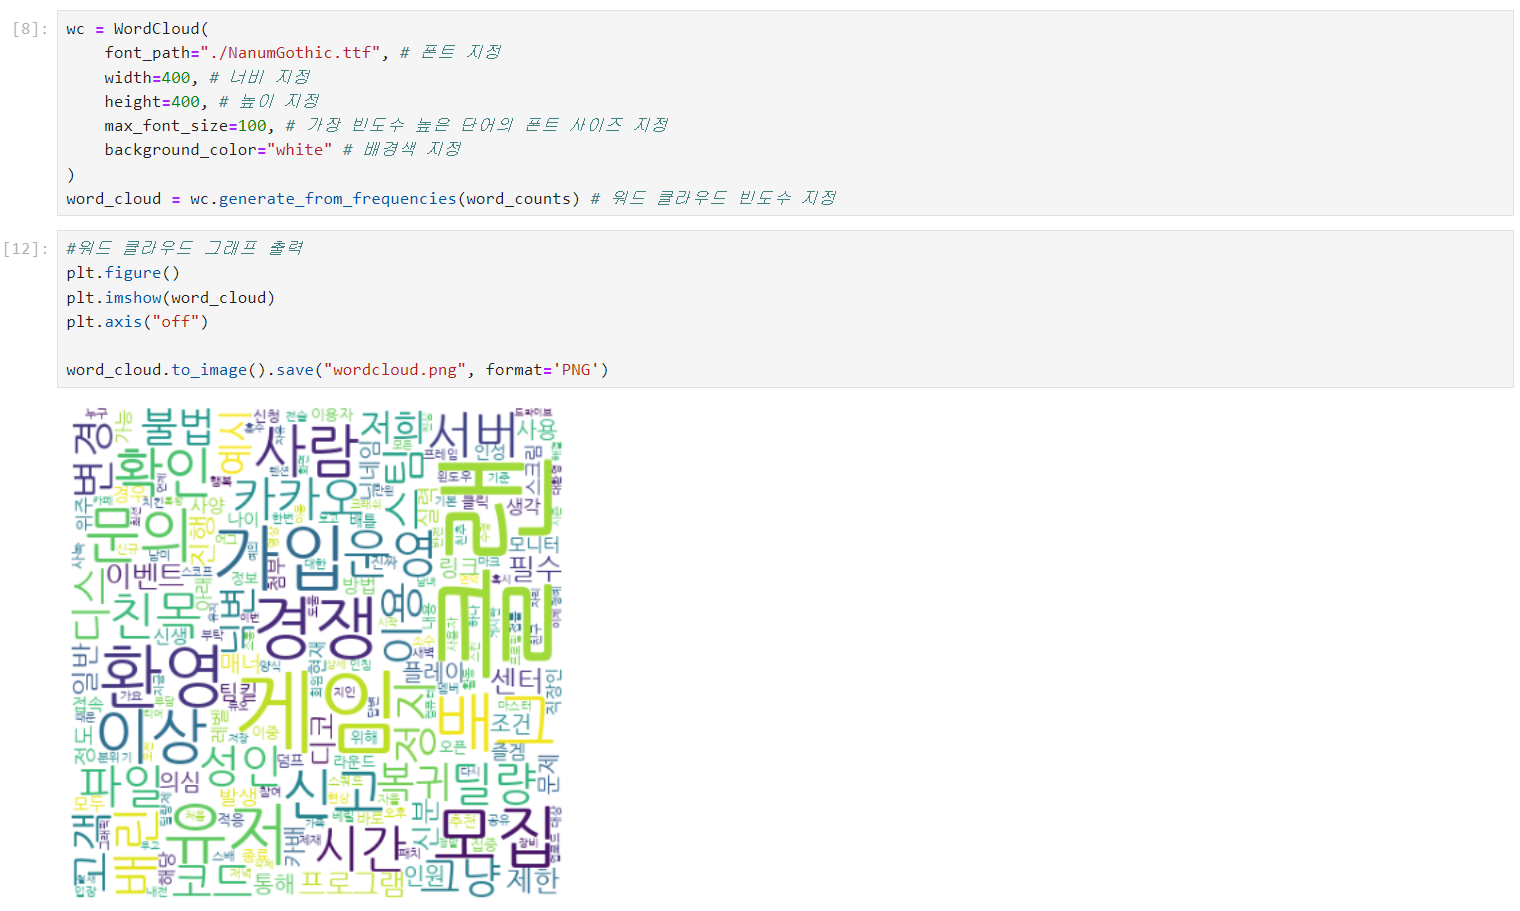
위에 모든 환경 설정들을 실행해주고, 이전에 만들어놓은 코드를 jupyter notebook에서 실행시키면 제대로 워드클라우드가 생성되는 것을 볼 수 있다 !
- jupyter notebook에서 실행된 모습
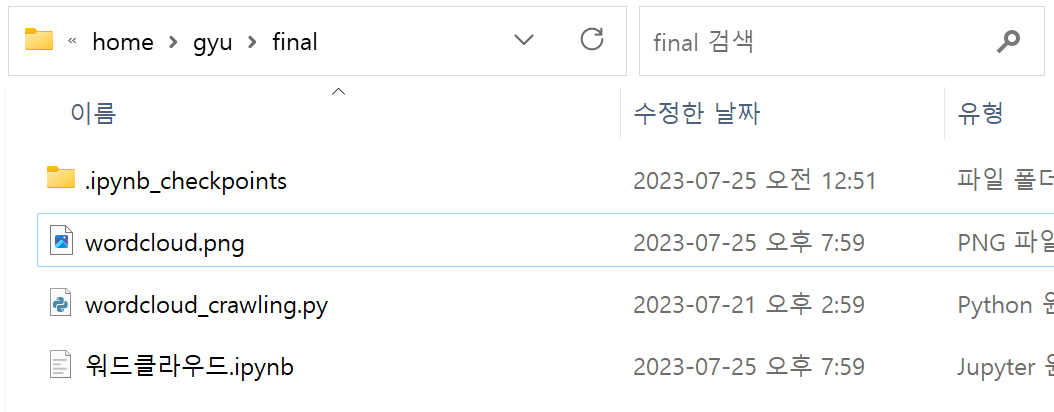
- 로컬에도 저장된 워드클라우드 파일을 확인할 수 있다.


공부합시당