iOS의 UI 구현 방식
iOS에서 UI를 구현하기 위해 3가지 방식을 이용
1. 스토리보드로 구현
2. 코드로 구현
3. NIB, XIB로 구현
코드로 구현
Frame-Based Layout
override func viewDidLoad(){
	super.viewDidLoad()

    let testButton: UIButton = .init(frame: .init(x: 100, y: 100, width: 200, height: 200))
    testButton.backgroundColor = .yellow
    testButton.setTitle("Hello world", for: .normal)

    self.view.addSubview(testButton)
}
AutoLayout
그리기
1. addSubView로 뷰 추가해주기
override func viewDidLoad(){
	super.viewDidLoad()

    let testButton: UIButton = .init(frame: .init())
    testButton.backgroundColor = .yellow
    testButton.setTitle("Hello world", for: .normal)

    self.view.addSubview(testButton) // 1
}
코드로 AutoLayout을 설정하기전에, 먼저 SUperView를 설정하는 addSubView작업이 선행 되어야 함
2. translatesAutoResizeingMaskIntoConstraints를 false로 설정하기
override func viewDidLoad(){
	super.viewDidLoad()

    let testButton: UIButton = .init(frame: .init())
    testButton.backgroundColor = .yellow
    testButton.setTitle("Hello world", for: .normal)

    self.view.addSubview(testButton) // 1
    testButton.translatesAutoresizingMaskIntoConstraints = false // 2
}
translatesAutoResizeingMaskIntoConstraints :
true - AutoLayout을 따르지 않고 frame을 따르겠다(Frame-Based Layout)
false - AutoLayout을 따르겠다
3. 제약조건(Constraints) 설정
override func viewDidLoad(){
	super.viewDidLoad()

    let testButton: UIButton = .init(frame: .init())
    testButton.backgroundColor = .yellow
    testButton.setTitle("Hello world", for: .normal)

    self.view.addSubview(testButton) // 1
    testButton.translatesAutoresizingMaskIntoConstraints = false // 2

    // 3
    testButton.topAnchor.constraint(equalTo: self.view.topAnchor, constant: 100).isActive = true
    testButton.leadingAnchor.constraint(equalTo: self.view.leadingAnchor, constant: 100).isActive = true
    testButton.trailingAnchor.constraint(equalTo: self.view.trailingAnchor, constant: -80).isActive = true
}
AutoLayout을 설정하고 싶은 View의 topAnchor/leadingAnchor/trailingAnchor/bottomAnchor 의 constraint 메서드 호출(Anchor를 빼도 무방). 그 후 isActive 상태를 true로 바꿔줌
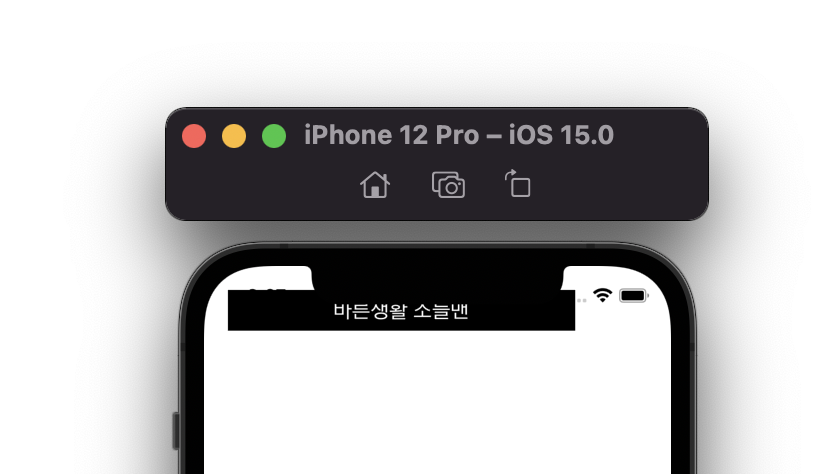
trailingAnchor, bottomAnchor constant 설정 시 주의점
코드로 constant를 설정할 경우, trailingAnchor/bottomAnchor 에 한해서 storyboard와 달리 -(minus)를 붙여주어야 함.
self.view(rootView)에 붙일 경우, SafeAreaLayoutGuide를 사용
- constraint의 기준이 되는 view를 self.view로 잡을 경우
- SafeAreaLayoutGuide를 사용할 경우
testButton.topAnchor.constraint(equalTo: self.view.safeAreaLayoutGuide.topAnchor, constant: 20).isActive = true
testButton.leadingAnchor.constraint(equalTo: self.view.safeAreaLayoutGuide.leadingAnchor, constant: 20).isActive = true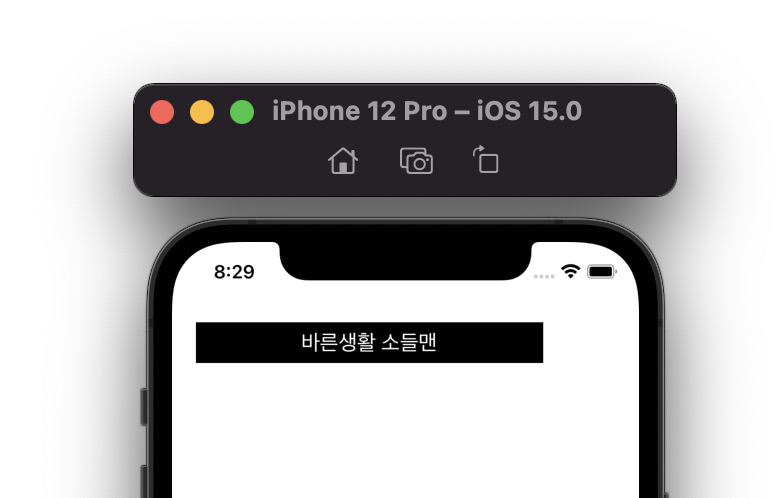
.isActive = true를 매번 하기 귀찮을 경우
- NSLayoutConstraint.activate 사용
NSLayoutConstraint.activate([
    testButton.topAnchor.constraint(equalTo: self.view.safeAreaLayoutGuide.topAnchor, constant: 20),
    testButton.leadingAnchor.constraint(equalTo: self.view.safeAreaLayoutGuide.leadingAnchor, constant: 20)
])
widthAnchor, heightAnchor 같이 기준 뷰 없이 constant만 설정하고 싶을 경우
- constraint(equalToConstant:)사용
testButton.widthAnchor.constraint(equalToConstant: 200).isActive = true
testButton.heightAnchor.constraint(equalToConstant: 200).isActive = true
재사용 View 클래스 만들기
UIView를 상속받는 class 생성
File -> New -> File -> Cocoa Touch Class -> UIView 선택
Custom View 작성
//예시
import UIKit

class CustomView: UIView{
    let imageView = UIImageView()
    let nameLabel = UILabel()
    let ageLabel = UILabel()
    //추가한 성별 UILabel()
    let gender = UILabel()

    override init(frame: CGRect) {
        super.init(frame: frame)

        //code
        ab()
    }

    required init?(coder: NSCoder) {
        fatalError("init(coder:) has not been implemented")

        //storyboard
    }

    private func ab(){
        print("Init")
    }
}- init(frame:) : 코드로 뷰를 생성할 때 생성자
- init(coder:) : Storyboard로 뷰가 생성될 때 생성자
다른 UIComponent들 처럼 사용
import UIKit

class ViewController1: UIViewController{

    let profileView = CustomView()

    override func viewDidLoad() {
        super.viewDidLoad()

        //profileView autolayout code or setting...
        profileView.imageView.image = ...
        profileView.nameLabel.text = "홍길동"
        profileView.ageLabel.text = "1970년 1월 1일"
    }
}
+추가
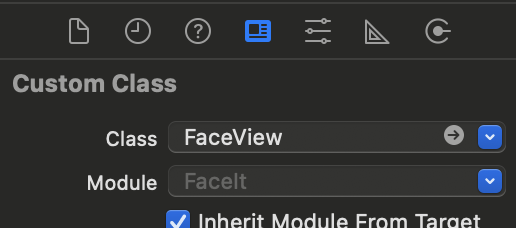
스토리보드와 Custom View 연결
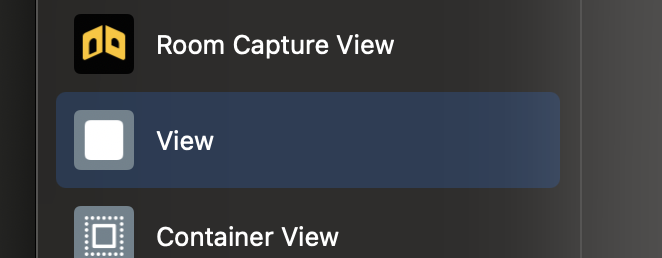
1. Storyboard에 뷰 추가
(shift+command+l)
2. 생성한 View의 identity inspector에서 수정