1) 학습한 내용
오늘은 어제에 이어 가상선택자에 대해 알아보고, 호스트를 만들어 도메인주소로 내가 만든것을 볼 수 있도록 연결하며 수정에 용이하도록 css,img 파일저장만이 아닌 각 폴더를 생성해서 불러오는 기능을 기본으로 실습해해보았다.
1.가상선택자
:
-html
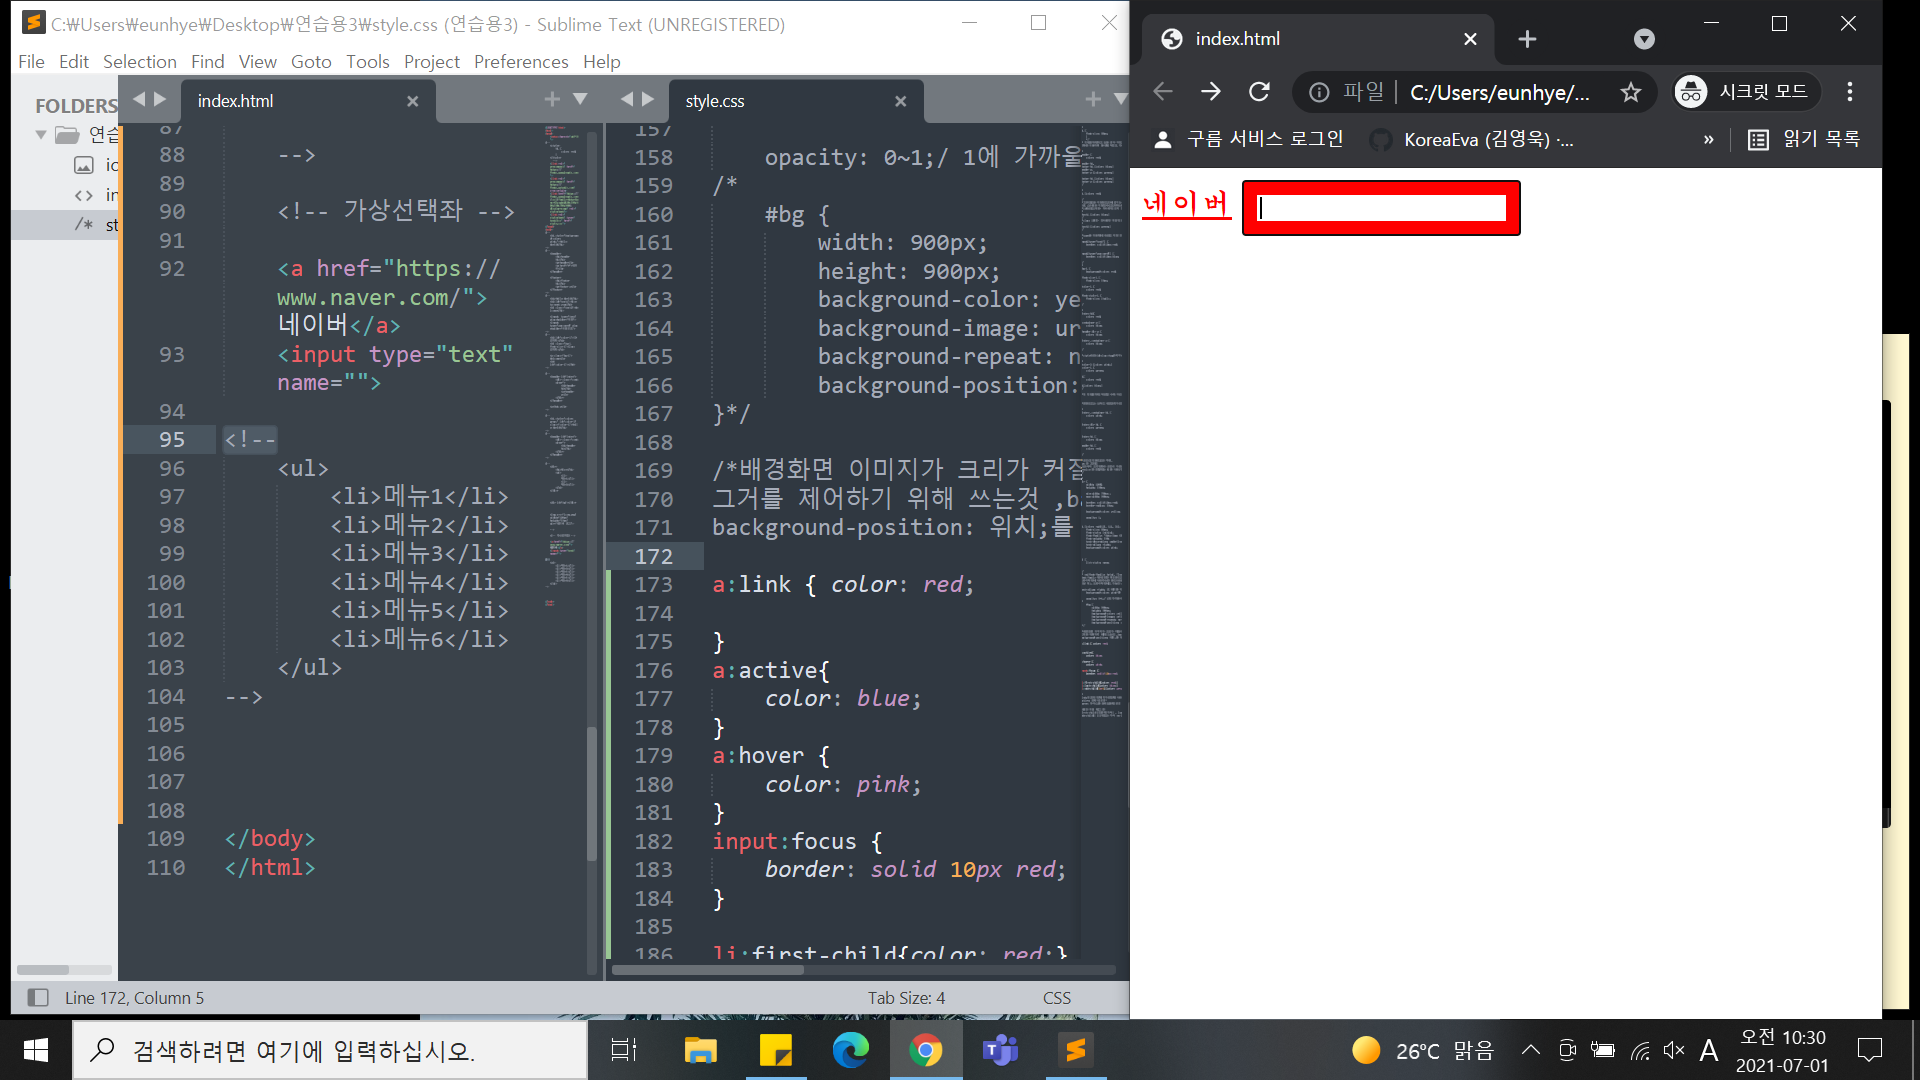
<!-- 가상선택자 -->
<!--
<a href="https://www.naver.com/">네이버</a>
<input type="text" name="">
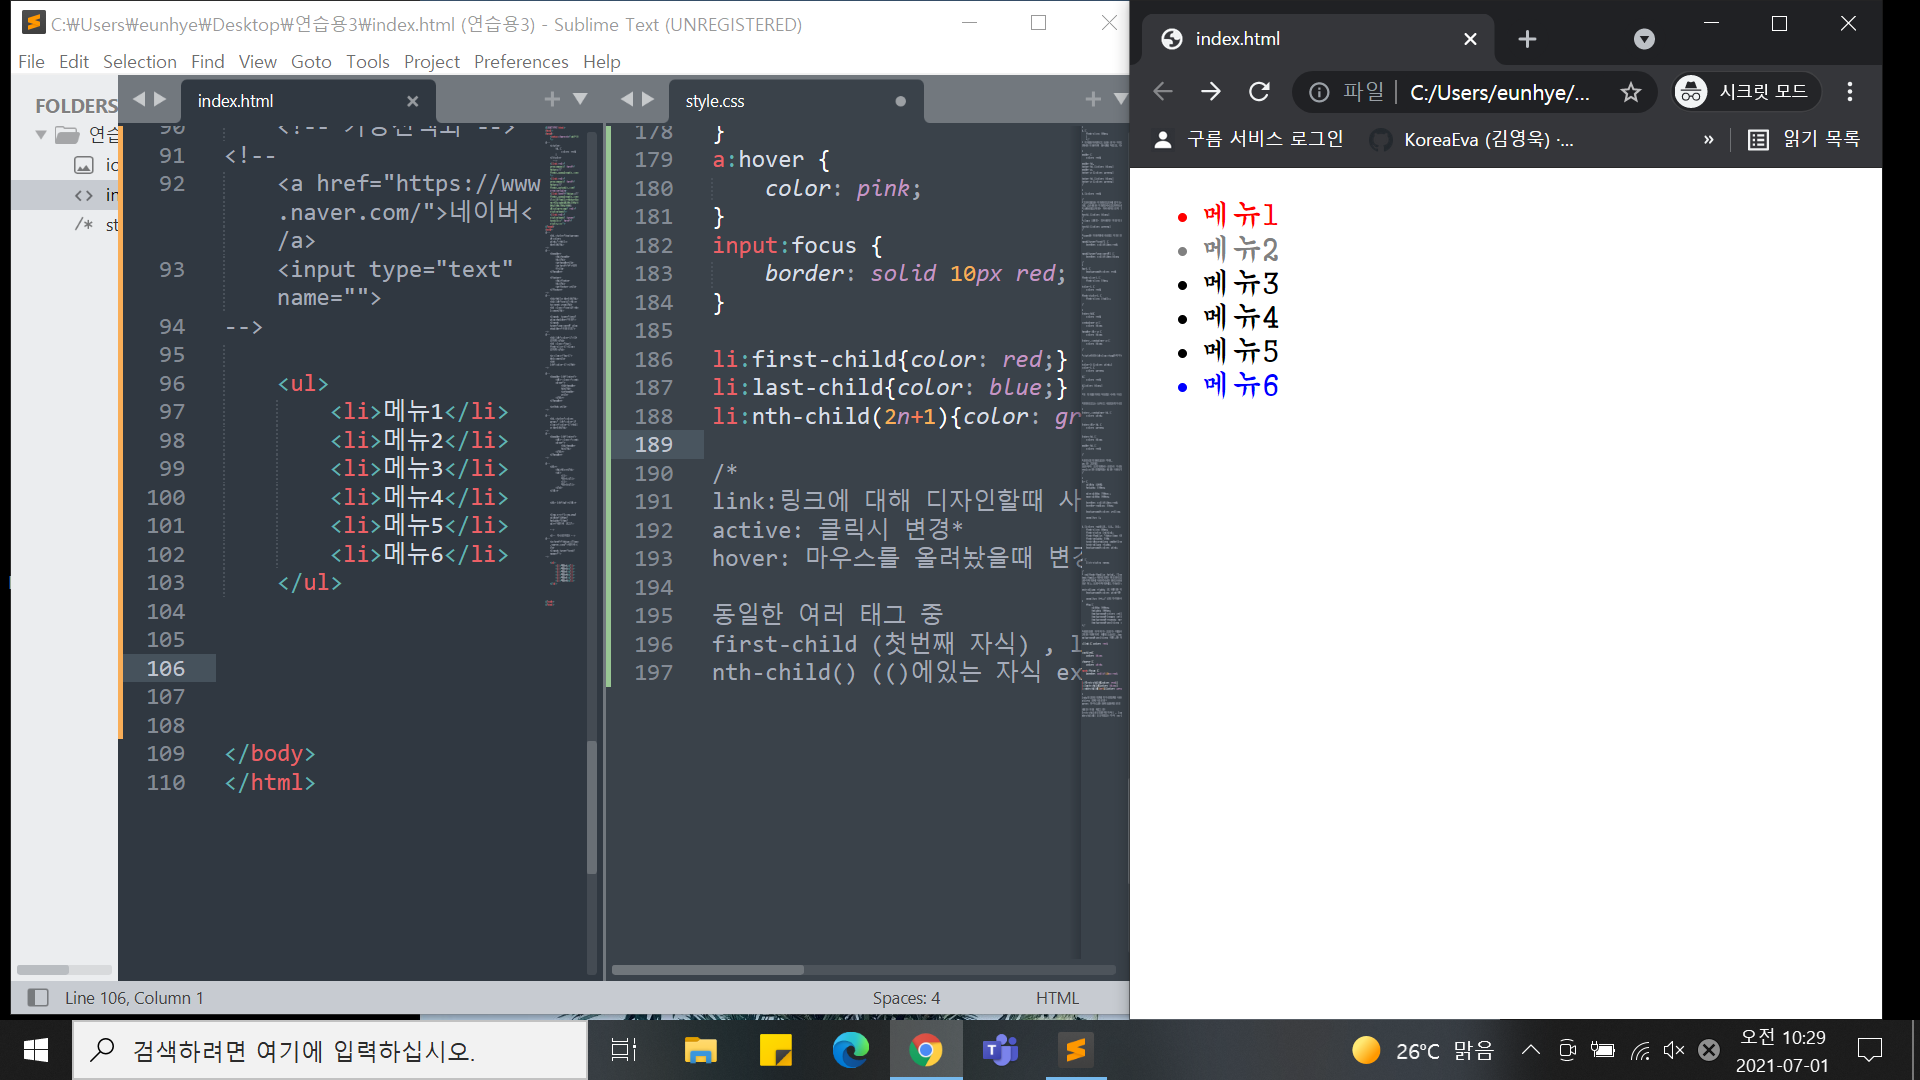
<ul>
<li>메뉴1</li>
<li>메뉴2</li>
<li>메뉴3</li>
<li>메뉴4</li>
<li>메뉴5</li>
<li>메뉴6</li>
</ul>
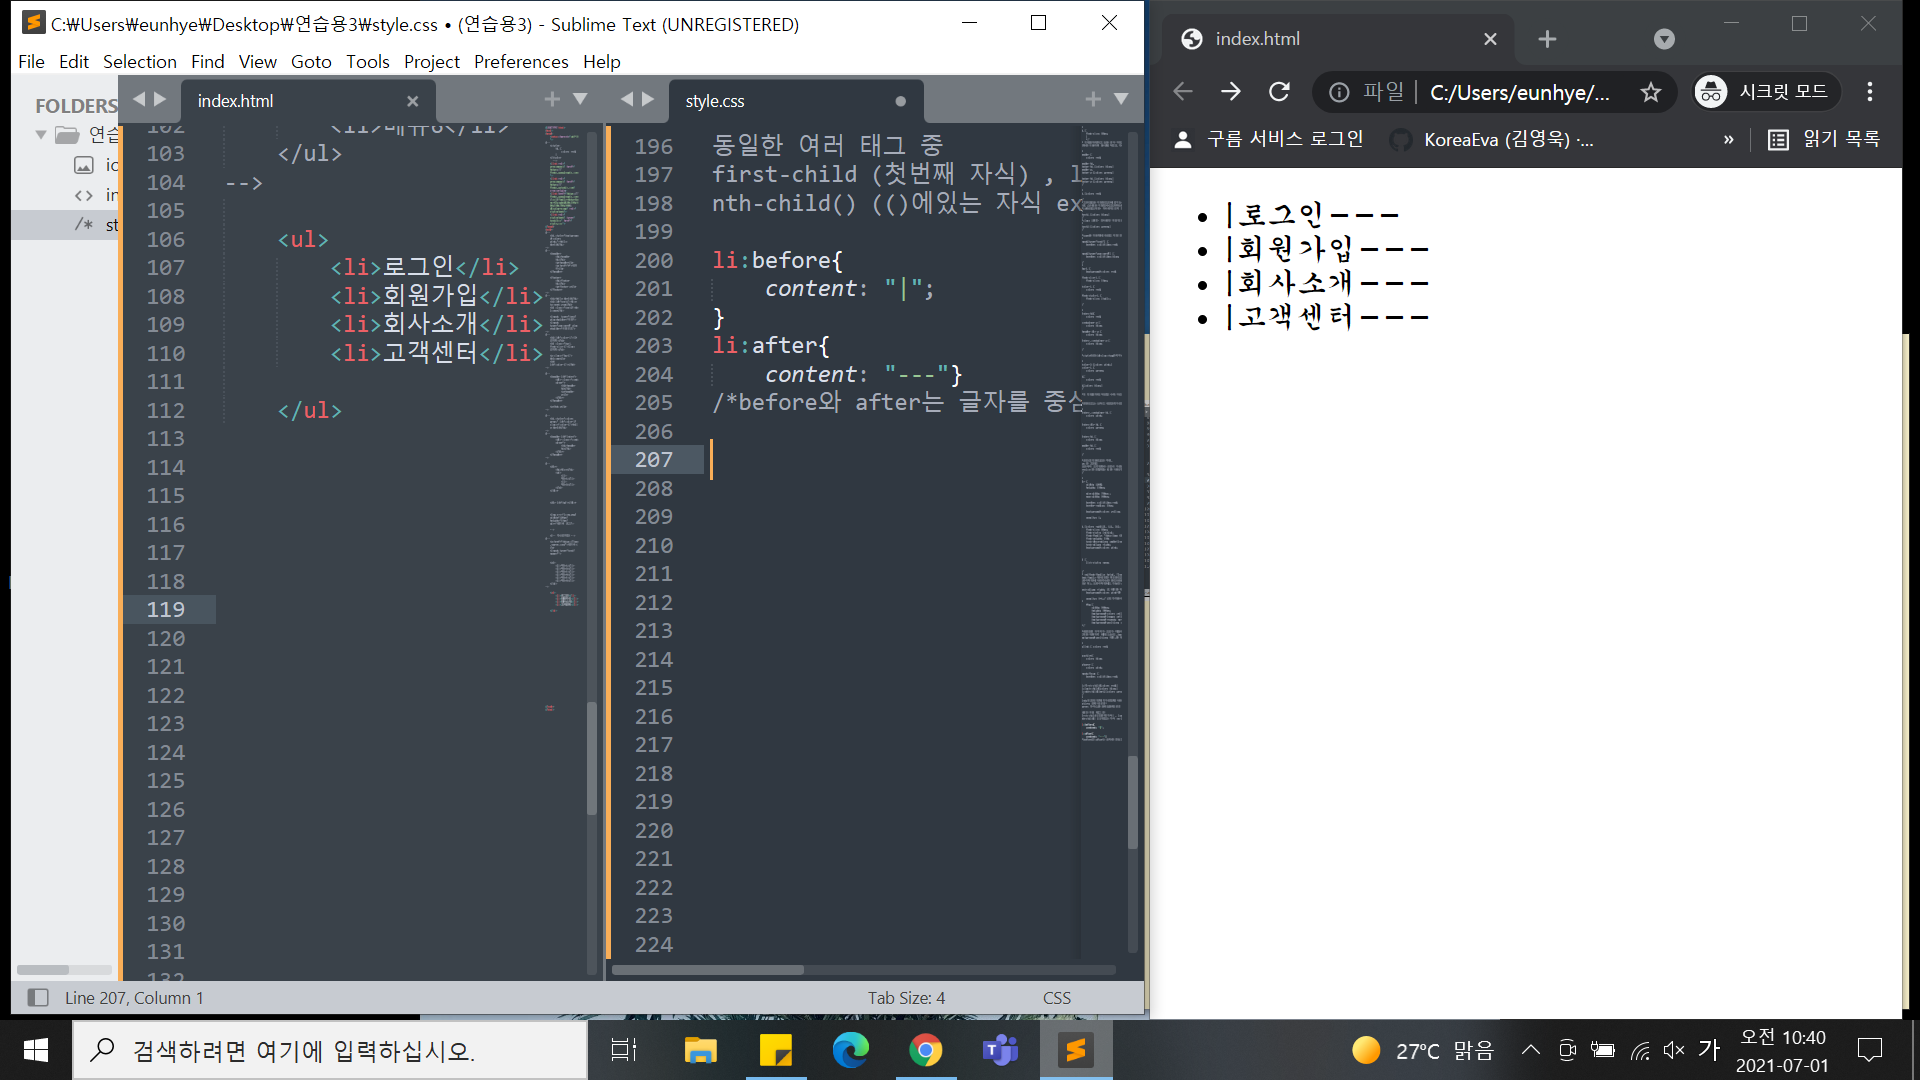
<ul>
<li>로그인</li>
<li>회원가입</li>
<li>회사소개</li>
<li>고객센터</li>
</ul>
-->-css
/*
a:link { color: red;

}
a:active{
	color: blue;
}
a:hover {
	color: pink;
}
input:focus {
	border: solid 10px red;
}

li:first-child{color: red;}
li:last-child{color: blue;}
li:nth-child(2n+1){color: grey;}
*/
/*
link:링크에 대해 디자인할때 사용
active: 클릭시 변경*
hover: 마우스를 올려놨을때 변경

동일한 여러 태그 중
first-child (첫번째 자식) , last-child (마지막자식),
nth-child() (()에있는 자식 ex-2n+1홀수,2n짝수)*/
/*
li:before{
	content: "|";
}
li:after{
	content: "---"}
*/
/*before와 after는 글자를 중심으로 어떤 내용물을 강제적으로 삽입 가능*/
2.project_1
-html
<!DOCTYPE html>
<html>
<head>
	<meta charset="utf-8">

	<link rel="stylesheet" type="text/css" href="css/style.css">
	<!-- 눈에 보이는 순서대로 / 를 이용하여 경로 작성 -->
</head>
<body>

	<h1>Hello World</h1>

	<div></div>

	<img src="img/icon.png">

</body>
</html>
-css
h1 {color: red;}

div {
	width: 300px;
	height: 300px;
	background-image: url(../img/icon.png) ;
}


	/*url(..(폴더안에서 밖으로 나간다는 뜻)/img/icon.png)*/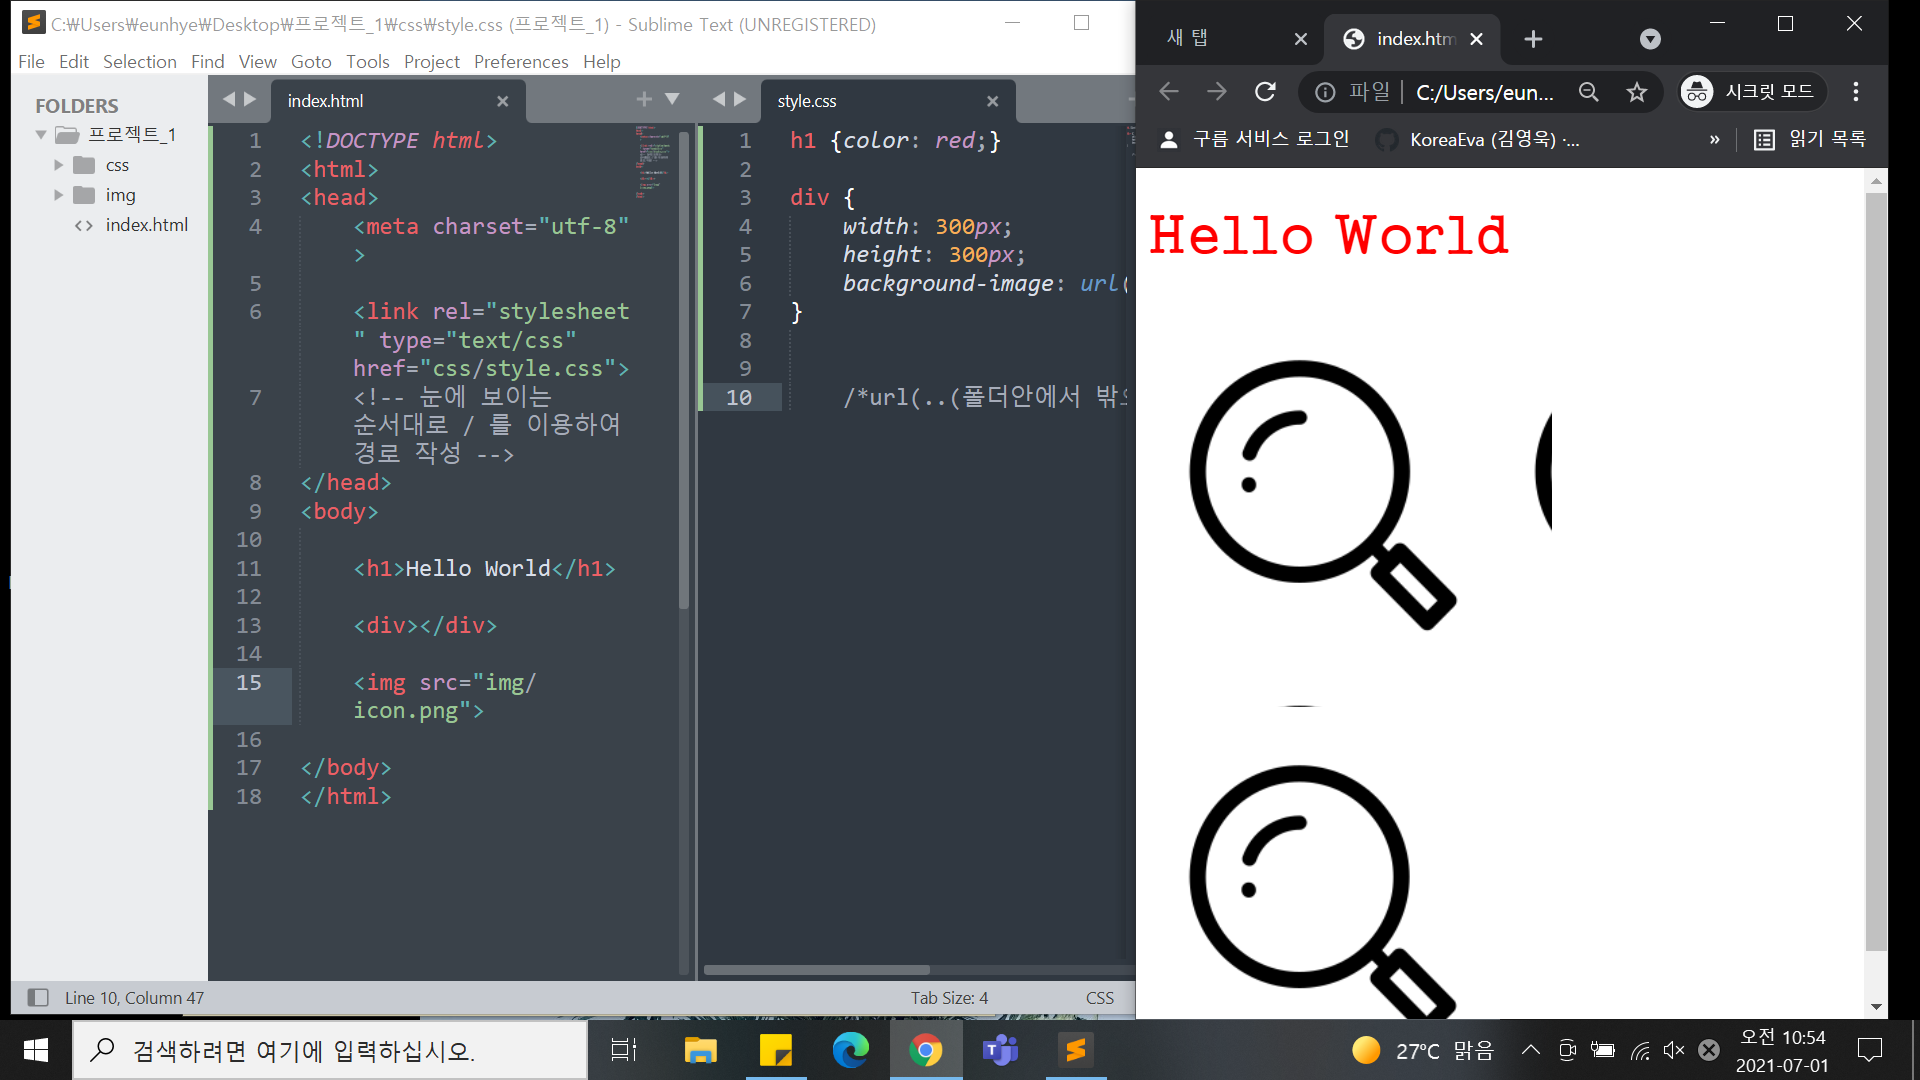
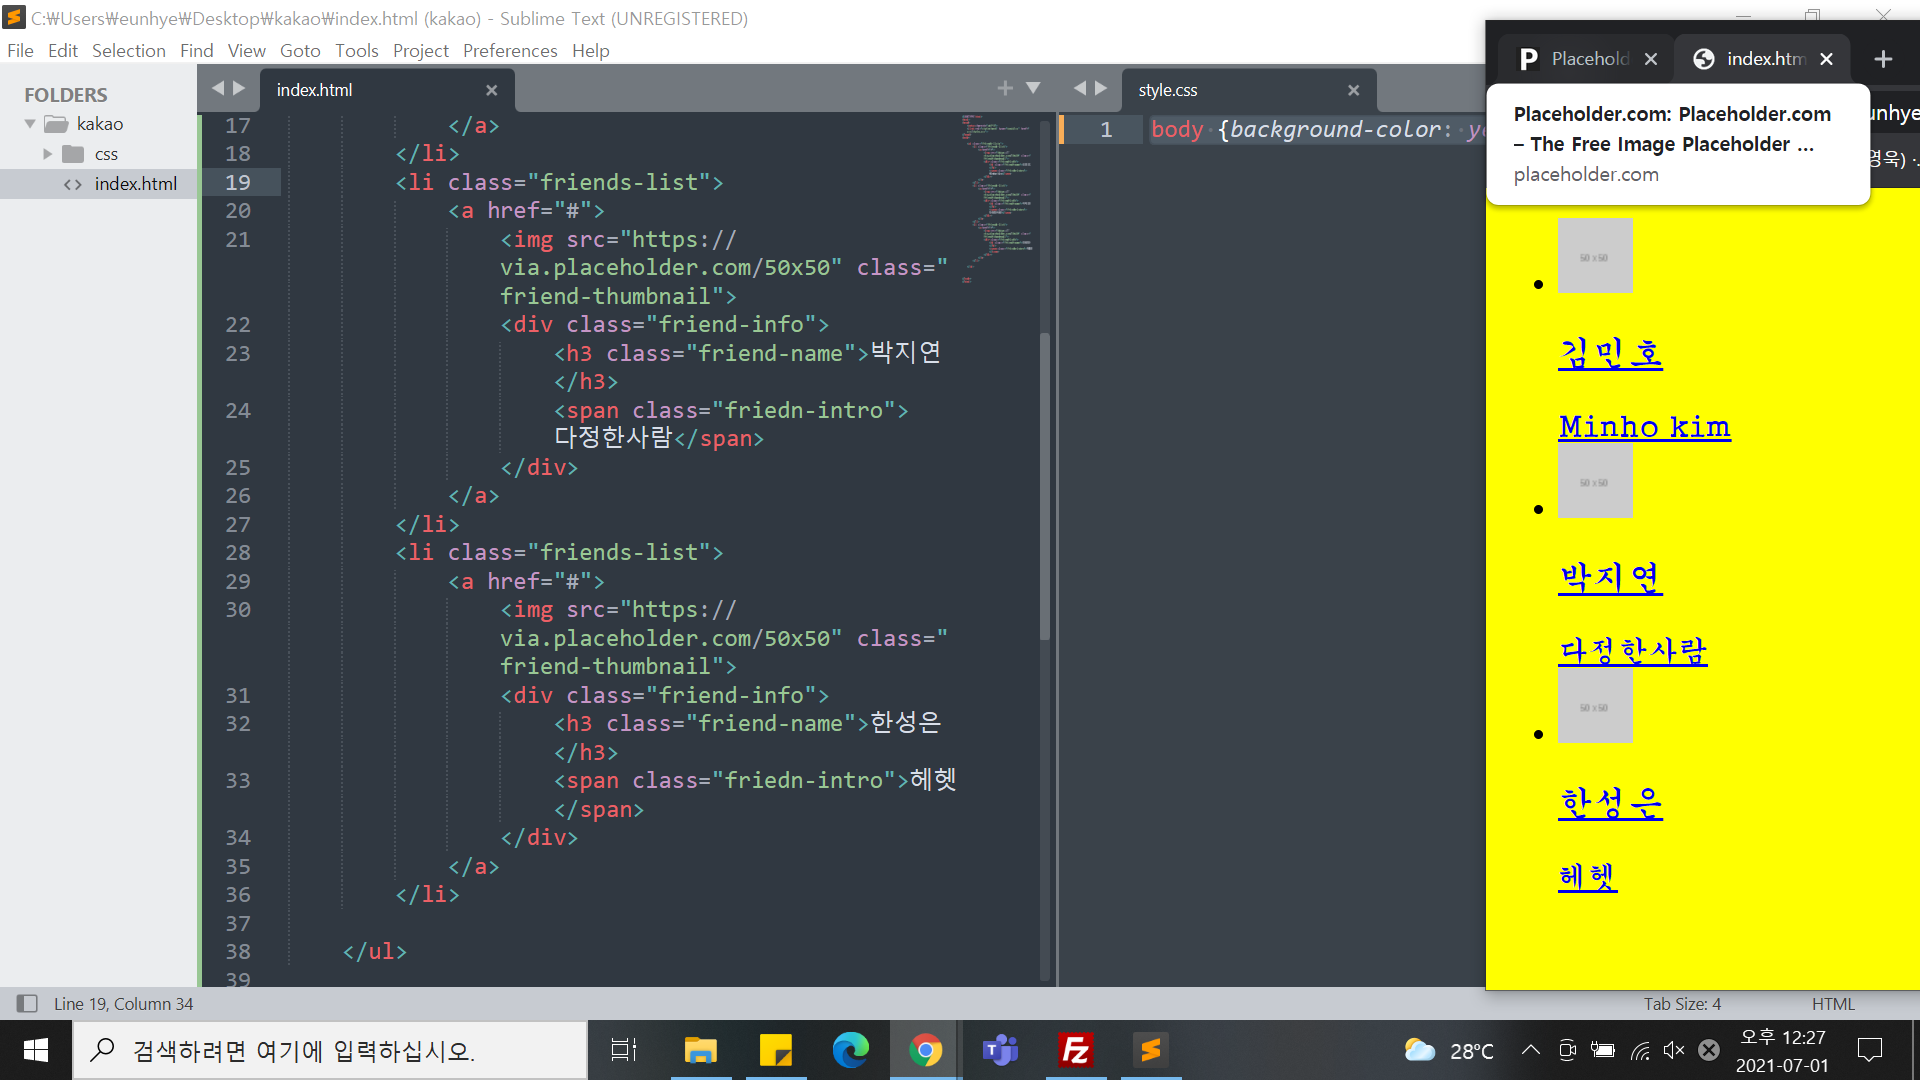
3.kakao 리스트
-html
<!DOCTYPE html>
<html>
<head>
	<meta charset="utf-8">
	<link rel="stylesheet" type="text/css" href="css/style.css">
</head>
<body>

	<ul class="friends-lists">
		<li class="friends-list">
			<a href="#">
				<img src="https://via.placeholder.com/50x50" class="friend-thumbnail">
				<div class="friend-info">
					<h3 class="friend-name">김민호</h3>
					<span class="friend-intro">Minho kim</span>
				</div>
			</a>
		</li>
		<li class="friends-list">
			<a href="#">
				<img src="https://via.placeholder.com/50x50" class="friend-thumbnail">
				<div class="friend-info">
					<h3 class="friend-name">박지연</h3>
					<span class="friend-intro">다정한사람</span>
				</div>
			</a>
		<li class="friends-list">
			<a href="#">
				<img src="https://via.placeholder.com/50x50" class="friend-thumbnail">
				<div class="friend-info">
					<h3 class="friend-name">한성은</h3>
					<span class="friend-intro">헤헷</span>
				</div>
			</a>
		</li>

	</ul>

</body>
</html>
-css
body {background-color: yellow;}
.friends-lists{
	list-style: none;
}
.friends-lists .friends-list a {
	color: #000000;
	text-decoration: none;}
.friends-lists .friends-list a .friend-thumbnail {
	border: solid 2px gray;
	border-radius: 20px;}

.friends-lists .friends-list a .friend-info .friend-name {
	font-size: 20px;
	color: #000000;}
.friends-lists .friends-list a .friend-info .friend-intro{
	font-size: 15px;
	color: #c8c8c8;
}
/*Custom*/
.friends-lists .friends-list a .friend-info .friend-name{
	font-size: 50px;
	color: red;
}
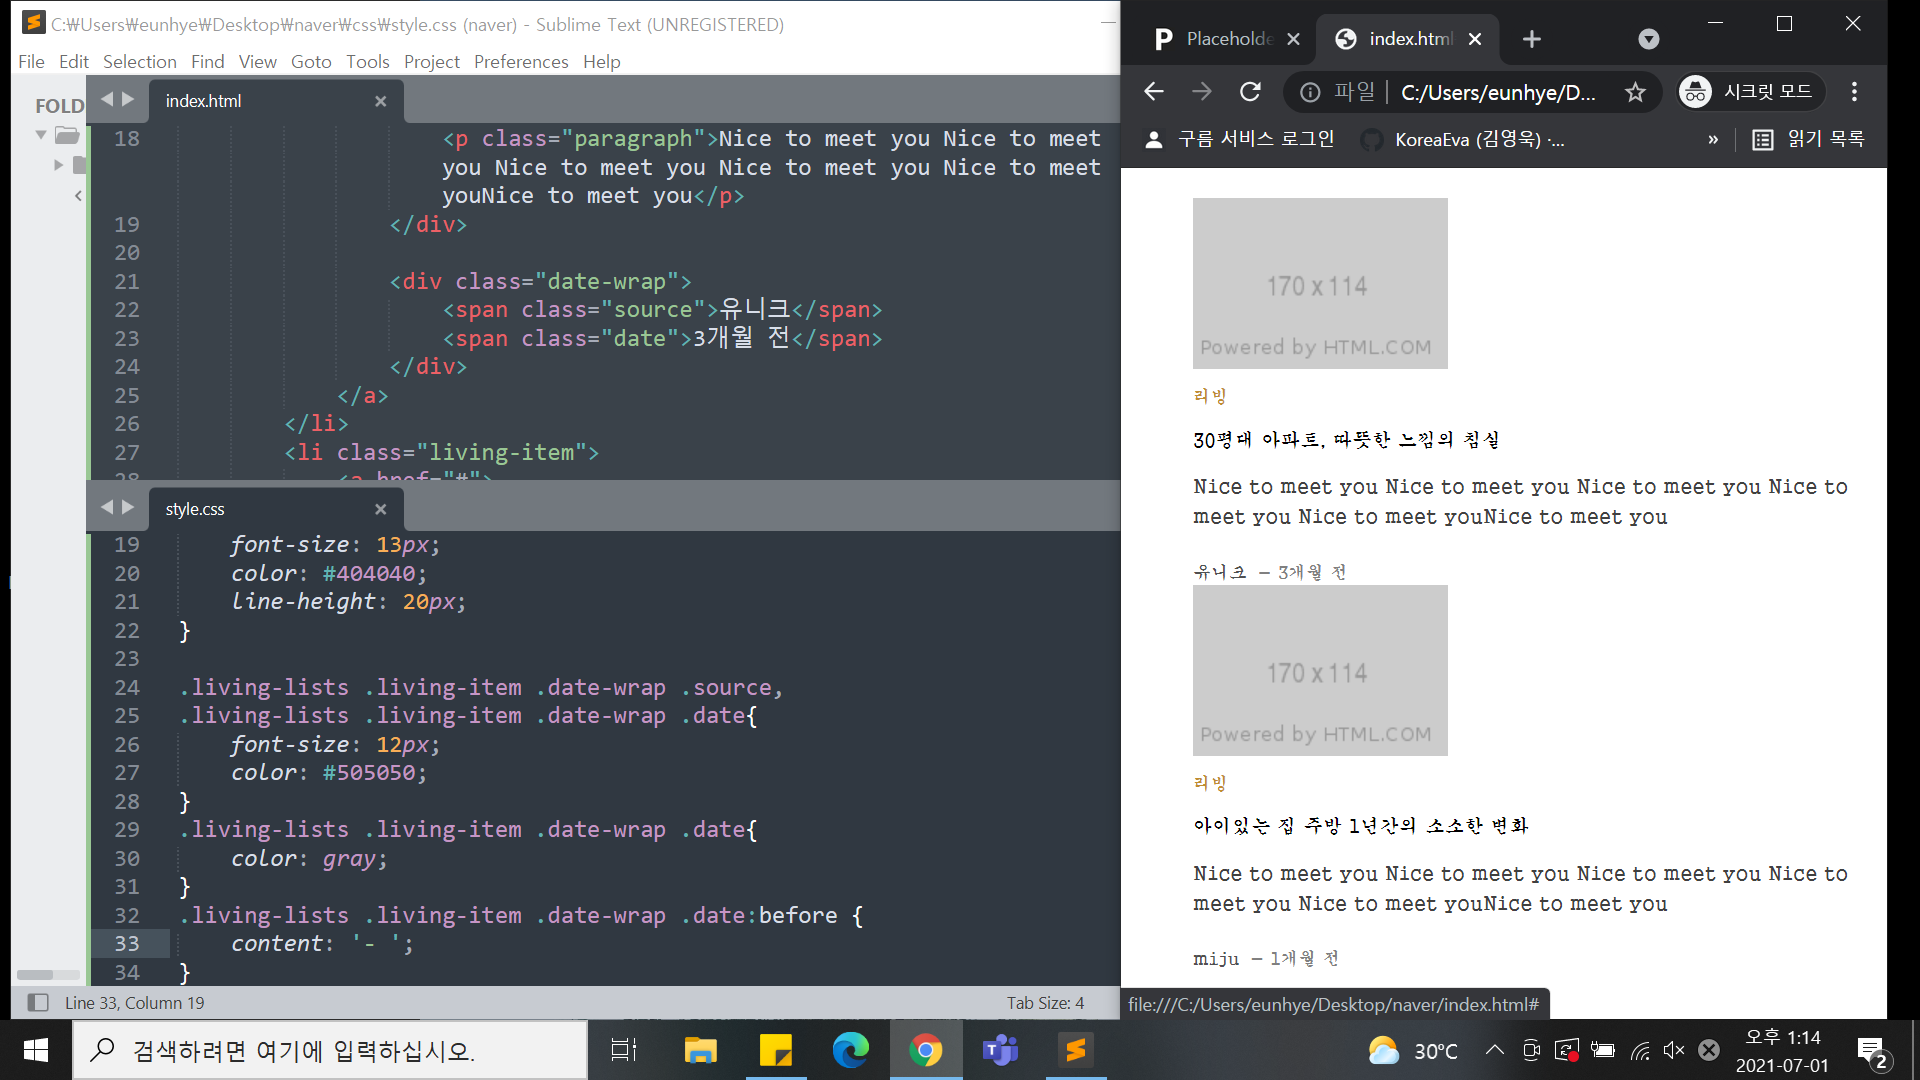
4.naver 리빙
-html
<!DOCTYPE html>
<html>
<head>
	<meta charset="utf-8">

	<link rel="stylesheet" type="text/css" href="css/style.css">

</head>
<body>

	<ul class="living-lists">
		<li class="living-item">
			<a href="#">
				<img src="https://via.placeholder.com/170x114" class="living-thumbnail">
				<div class="living-info">
					<span class="type">리빙</span>
					<h3 class="title">30평대 아파트, 따뜻한 느낌의 침실</h3>
					<p class="paragraph">Nice to meet you Nice to meet you Nice to meet you Nice to meet you Nice to meet youNice to meet you</p>
				</div>

				<div class="date-wrap">
					<span class="source">유니크</span>
					<span class="date">3개월 전</span>
				</div>
			</a>
		</li>
		<li class="living-item">
			<a href="#">
				<img src="https://via.placeholder.com/170x114" class="living-thumbnail">
				<div class="living-info">
					<span class="type">리빙</span>
					<h3 class="title">아이있는 집 주방 1년간의 소소한 변화</h3>
					<p class="paragraph">Nice to meet you Nice to meet you Nice to meet you Nice to meet you Nice to meet youNice to meet you</p>
				</div>

				<div class="date-wrap">
					<span class="source">miju</span>
					<span class="date">1개월 전</span>
				</div>
			</a>
		</li>
	</ul>

</body>
</html>
-css
.living-lists {
list-style: none;
}
.living-lists .living-item a {
color: #000000;
text-decoration: none;
}
.living-lists .living-item .living-info .type {
color: #c08d31;
font-weight: 700;
font-size: 12px;
}
.living-lists .living-item .living-info .title{
font-size: 13px;
color: #000000;
}
.living-lists .living-item .living-info .paragraph{
font-size: 13px;
color: #404040;
line-height: 20px;
}
.living-lists .living-item .date-wrap .source,
.living-lists .living-item .date-wrap .date{
font-size: 12px;
color: #505050;
}
.living-lists .living-item .date-wrap .date{
color: gray;
}
/*cascading(캐스케이딩) -
1.엘리먼트는 다양한 CSS 선언의 영향을 받는다. 이 때 충돌을 피하기 위해서 우선순위를 정하는데 이를 캐스케이딩이라고함.
2.디테일하게 할수록 우선순위가 높아진다.
3.아래로 내려갈수록 우선순위가 높아진다.*/
.living-lists .living-item .date-wrap .date:before {
content: '- ';
}
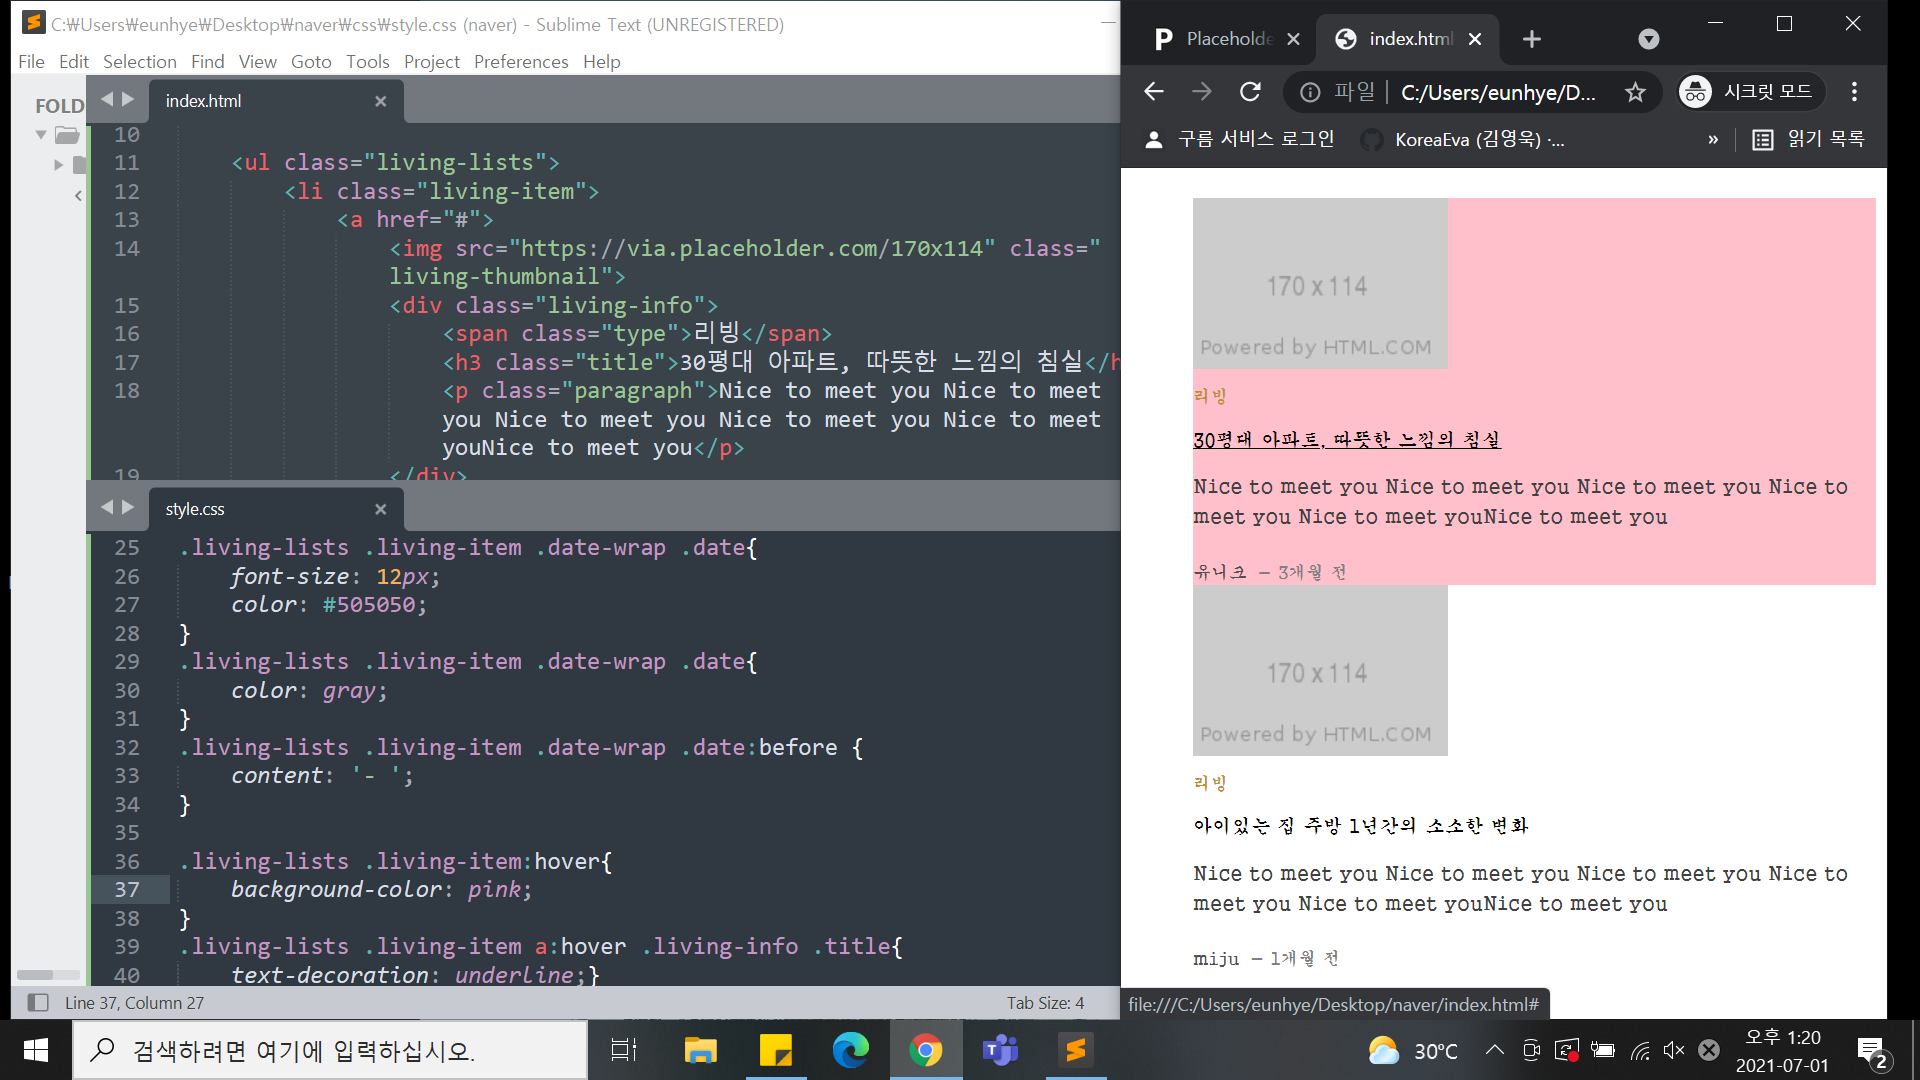
.living-lists .living-item:hover{
background-color: pink;
}
.living-lists .living-item a:hover .living-info .title{
text-decoration: underline;}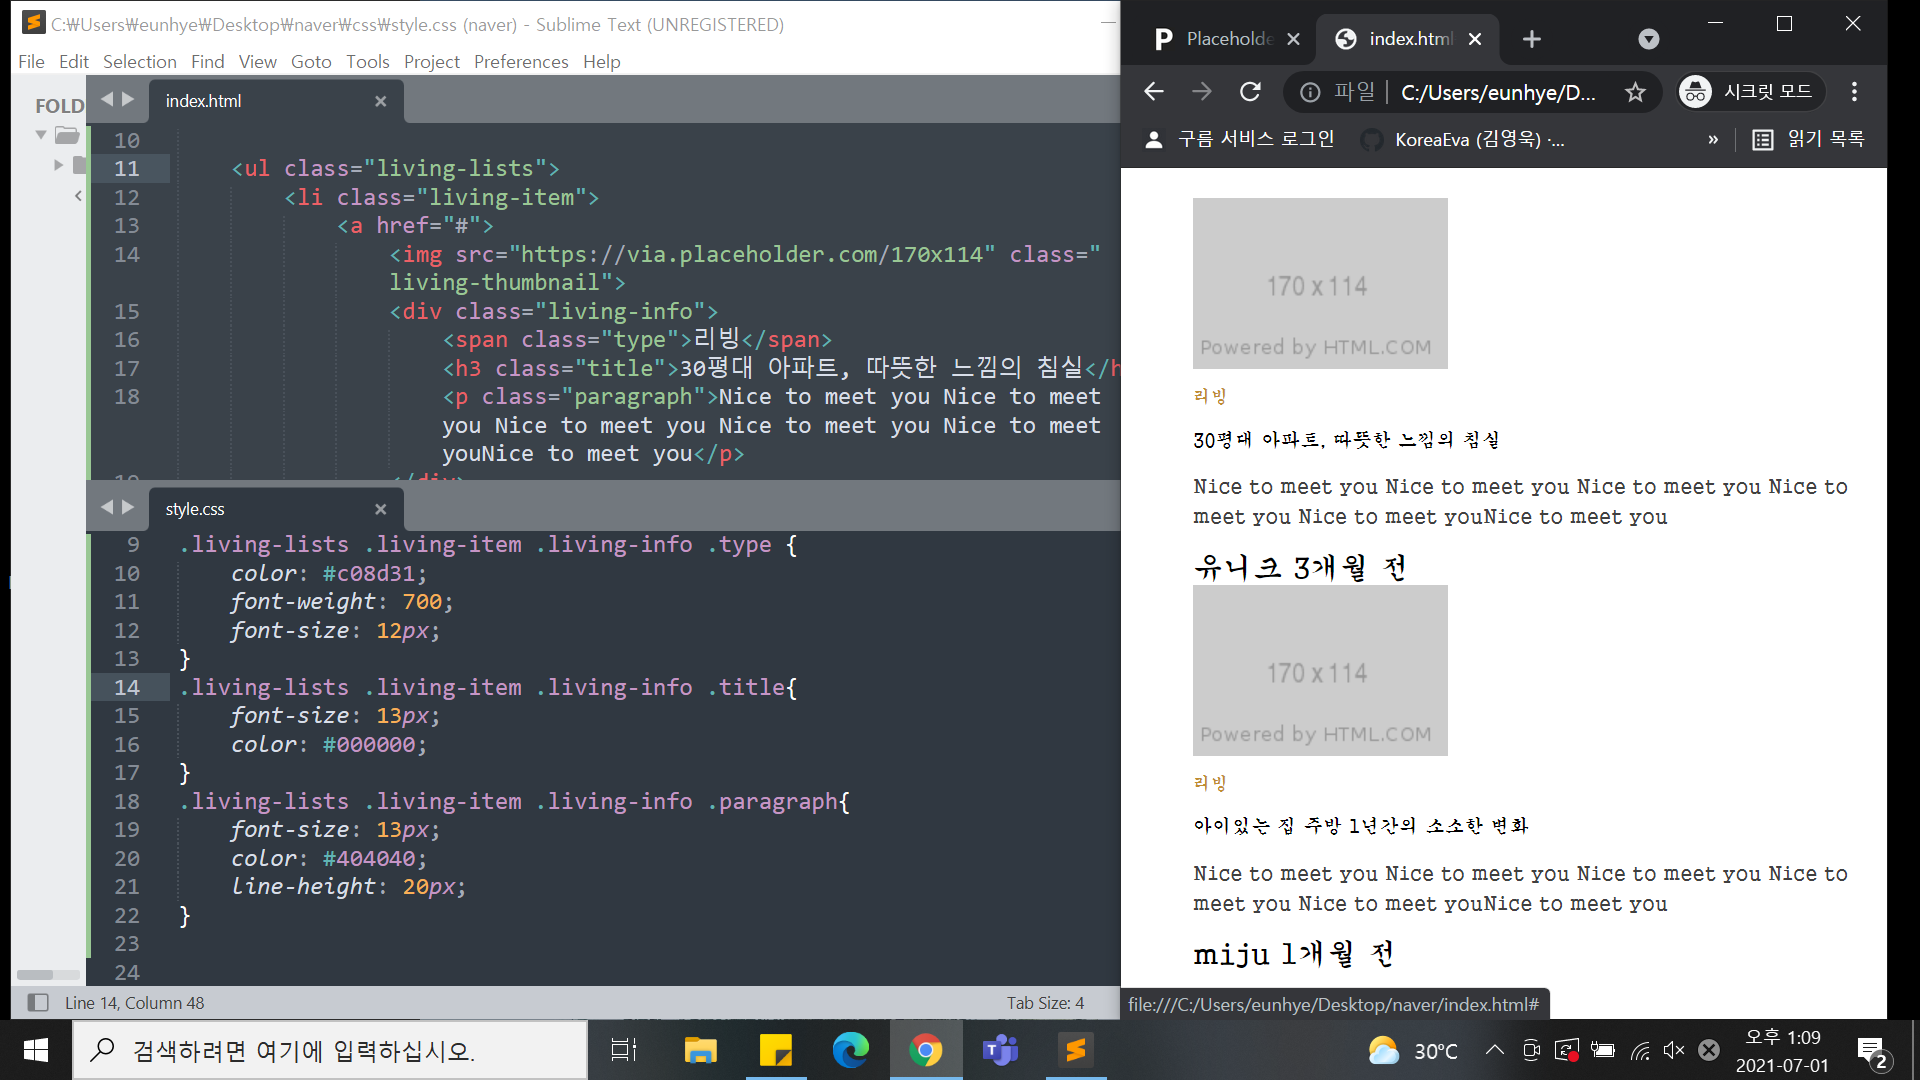
- 작업한 결과물을 서버에 올려서 도메인주소로 확인하는 방법
무료 호스팅 업체
dothome :https://www.dothome.co.kr/
터널
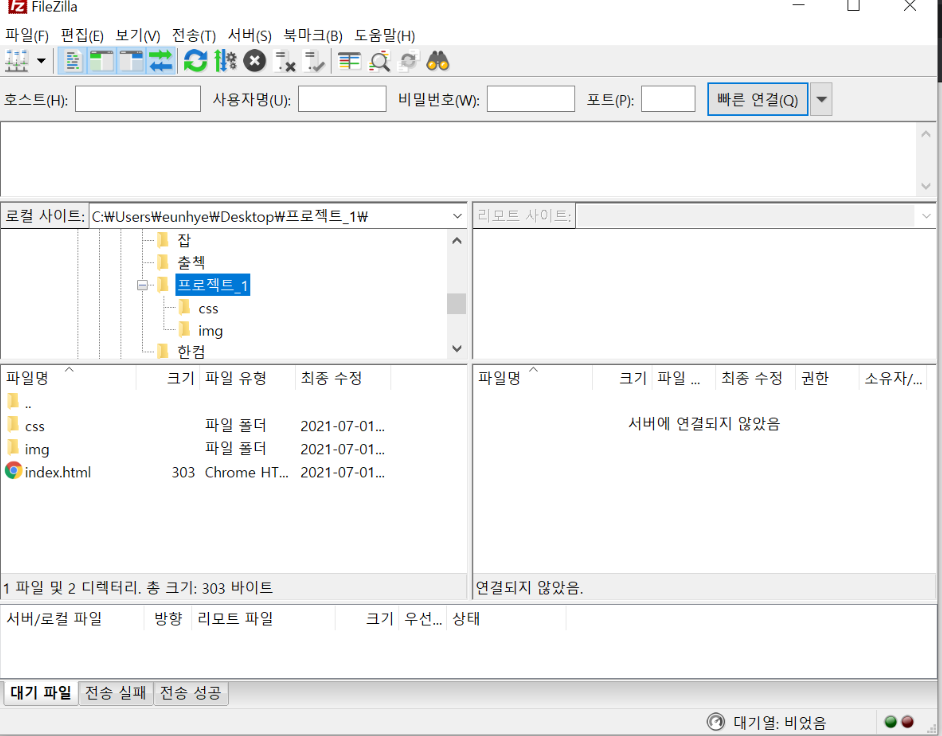
파일질라 : https://filezilla-project.org/
dothome 회원가입후 무료 웹호스팅 만들기
다운로드한 파일질라를 이용하여
미리 만들어놓은 index파일이있는 폴더 클릭후
호스트,사용자명,비밀번호 코드21 입력후 연결한다.
연결된후 html 파일로 옮기고 싶은 파일 모두 선택 후 오른쪽마우스를 이용해 업로드를 한다.
**여기서 연결이 되지 않는 문제가 발생.
1. 닷홈 호스팅의 경우, 보안 상의 이유로 FTP 접속이 [접근제한] 상태로 세팅되어 있다.
[마이닷홈] - [호스팅 관리] - [웹호스팅 목록] - [상세보기]를 통해
[FTP 접속설정] 항목을 [접속허용]으로 선택하신 뒤 [변경] 버튼을 클릭하신 후 다시 시도.
매일 오전 4시 FTP 접속이 제한으로 변경되므로 FTP 접속이 필요하신 경우 [마이닷홈] - [호스팅 관리] - [웹호스팅 목록] - [상세보기]를 확인
2. 접속허용 시에도 연결이 어려운 경우 잦은 연결 실패로 IP가 차단되었을 수 있으므로 IP를 1:1문의로 확인을해봐달라 남긴다.
*ip주소 확인 -> 네이버 : 내아이피
다행히 많은 분들의 도움으로 이렇게 문제를 해결 할 수 있었다!
2) 학습내용 중 어려웠던 점
오늘은 다른것 보다도 파일질라와 닷홈을 이용과정에 생긴 문제점이 해결이 어려웠다. IP주소도 제대로 확인할 줄 몰라.. 잘못된 IP주소로 문의를 하여 더 오랜 시간이 걸렸다ㅠ_ㅠ
3) 해결방법
다행히 많은 분들의 글과 도움으로 인해 해결 할 수 있었다.
그러나 IP주소를 제대로 확인하지 못해..조금 더 시간이 걸렸다.
'네이버 - 내아이피 검색'을 통해 아주 빠르고 쉽게.. 알 수 있었다.
4) 학습소감
오늘은 좀 더 다양하고 디테일하게 꾸미는 기능들을 사용 한 것 같다~ 강의 중간에 네이버를 통해 검사 결과를 보는데 확실히 처음 봤을때와는 다르게 많은 것들이 보여서 신기했다.
또 혼자서 공부를 하다보면 많은 어려운 점이 있을텐데 다행히 좋은 프로그램을 통해 이렇게 배우다보니 많은 사람들과 함께 쉽고 빠르게 그런 문제들을 해결 할 수 있는 것 같아 너무 든든했다..!!!