
🙌🏻 해당 글은 Three.js Journey의 강의 노트입니다.
12 Materials
Materials는 geometry의 각 픽셀에 색상을 지정하는데 사용된다. 각 픽셀의 색상을 결정하는 알고리즘은 shader라고 하는 프로그램에 저장되어 있다. shaders를 작성하는 것은 WebGL과 Three.js에서 가장 도전적인 것 중 하나이다. 그러나 Three.js에는 이미 shader가 포함된 많은 내장 material들이 있다. shader를 직접 만드는 것은 후에 다루도록 한다.
Prepare our scene
material을 테스트하기 위해, 우선 scene을 준비하고, 다양한 Object를 추가해준다.
const material = new THREE.MeshBasicMaterial();

const sphere = new THREE.Mesh(new THREE.SphereGeometry(0.5, 16, 16), material);
sphere.position.x = -1.5;

const plane = new THREE.Mesh(new THREE.PlaneGeometry(1, 1), material);

const torus = new THREE.Mesh(
  new THREE.TorusGeometry(0.3, 0.2, 16, 32),
  material
);
torus.position.x = 1.5;

scene.add(sphere, plane, torus);
텍스쳐를 로드한다! Material을 인스턴스화하기전에 텍스쳐를 로드해야 한다.
아래 코드와 같이 다양한 텍스쳐를 모두 로드해준다.
또한, 텍스쳐가 제대로 로드되었는지 확인하기 위해서 우리는 map 속성을 사용해줄 수 있다.
/**
 * Textures
 */
const textureLoader = new THREE.TextureLoader()

const doorColorTexture = textureLoader.load('/textures/door/color.jpg')
//...

const material = new THREE.MeshBasicMaterial({ map: doorColorTexture })
MeshBasicMaterial
가장 기본적인 Material이다. 우리는 아직 MeshBasicMaterial의 중요한 속성 두 가지를 사용하지 않았다. 첫 번째는 map, 두 번째는 color 속성이다.
const material = new THREE.MeshBasicMaterial()
material.map = doorColorTexture

// 색상을 지정할 때는 아래와 같이 다양한 방식을 사용할 수 있다.
material.color = new THREE.Color('#ff0000')
material.color = new THREE.Color('#f00')
material.color = new THREE.Color('red')
material.color = new THREE.Color('rgb(255, 0, 0)')
material.color = new THREE.Color(0xff0000)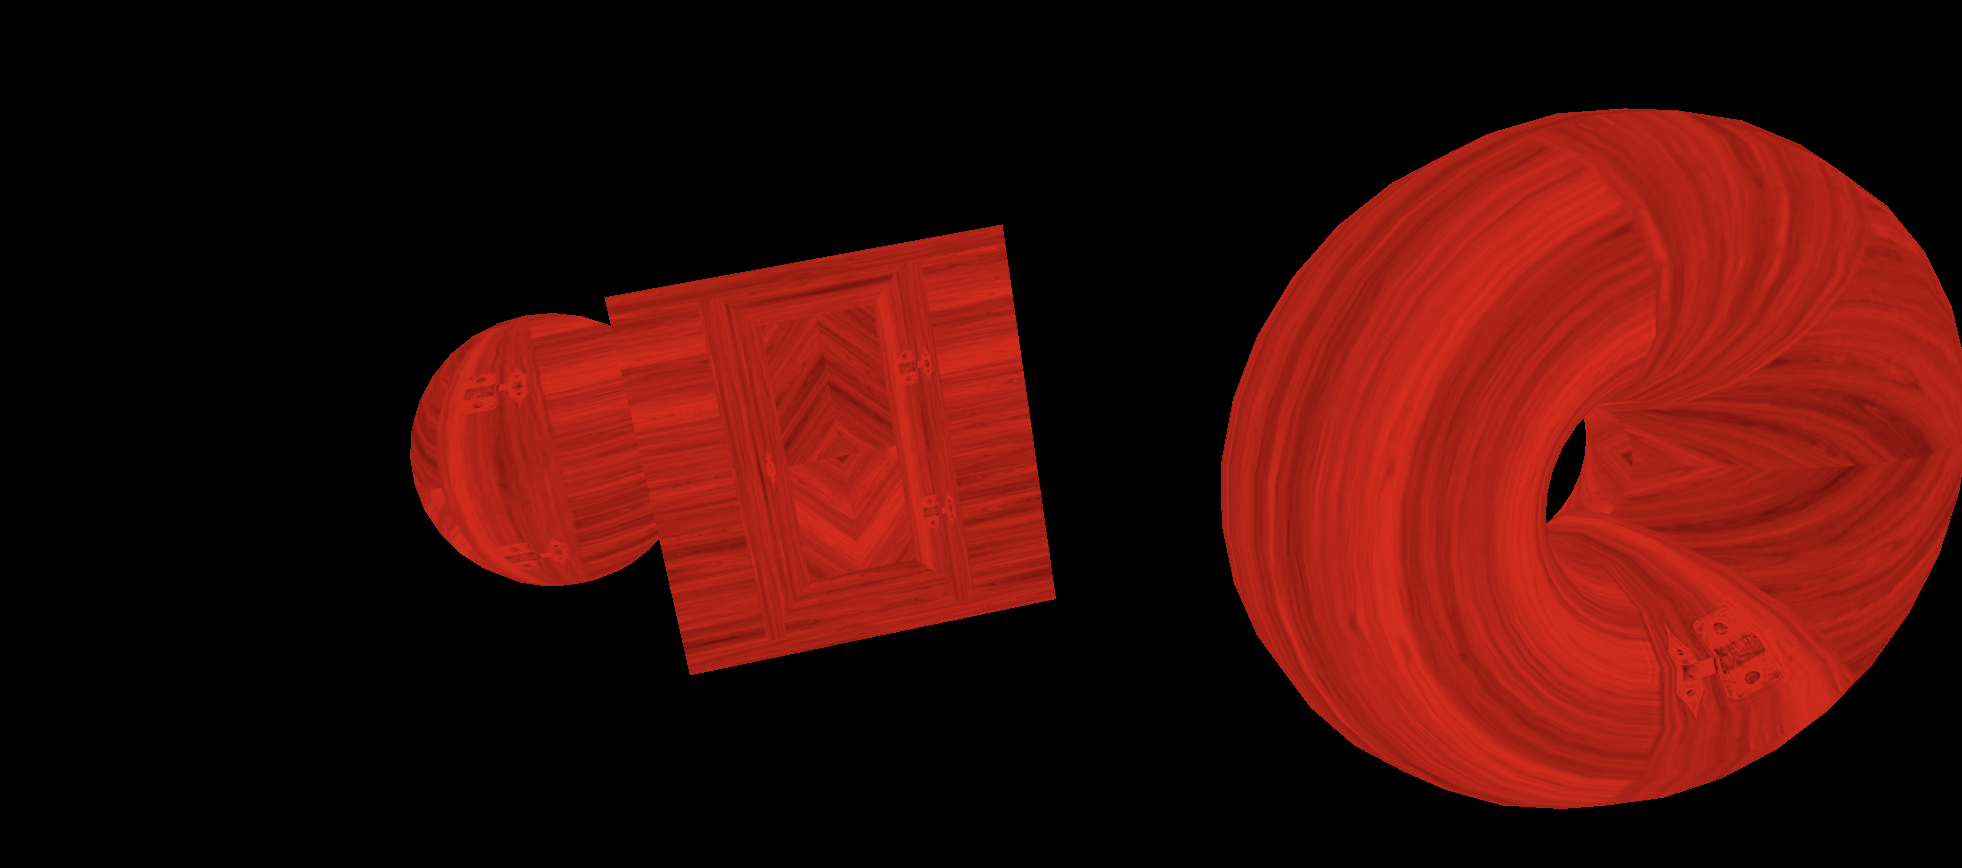
wireframe 속성은 geometry를 구성하고 있는 삼각형들을 보여준다.
material.wireframe = true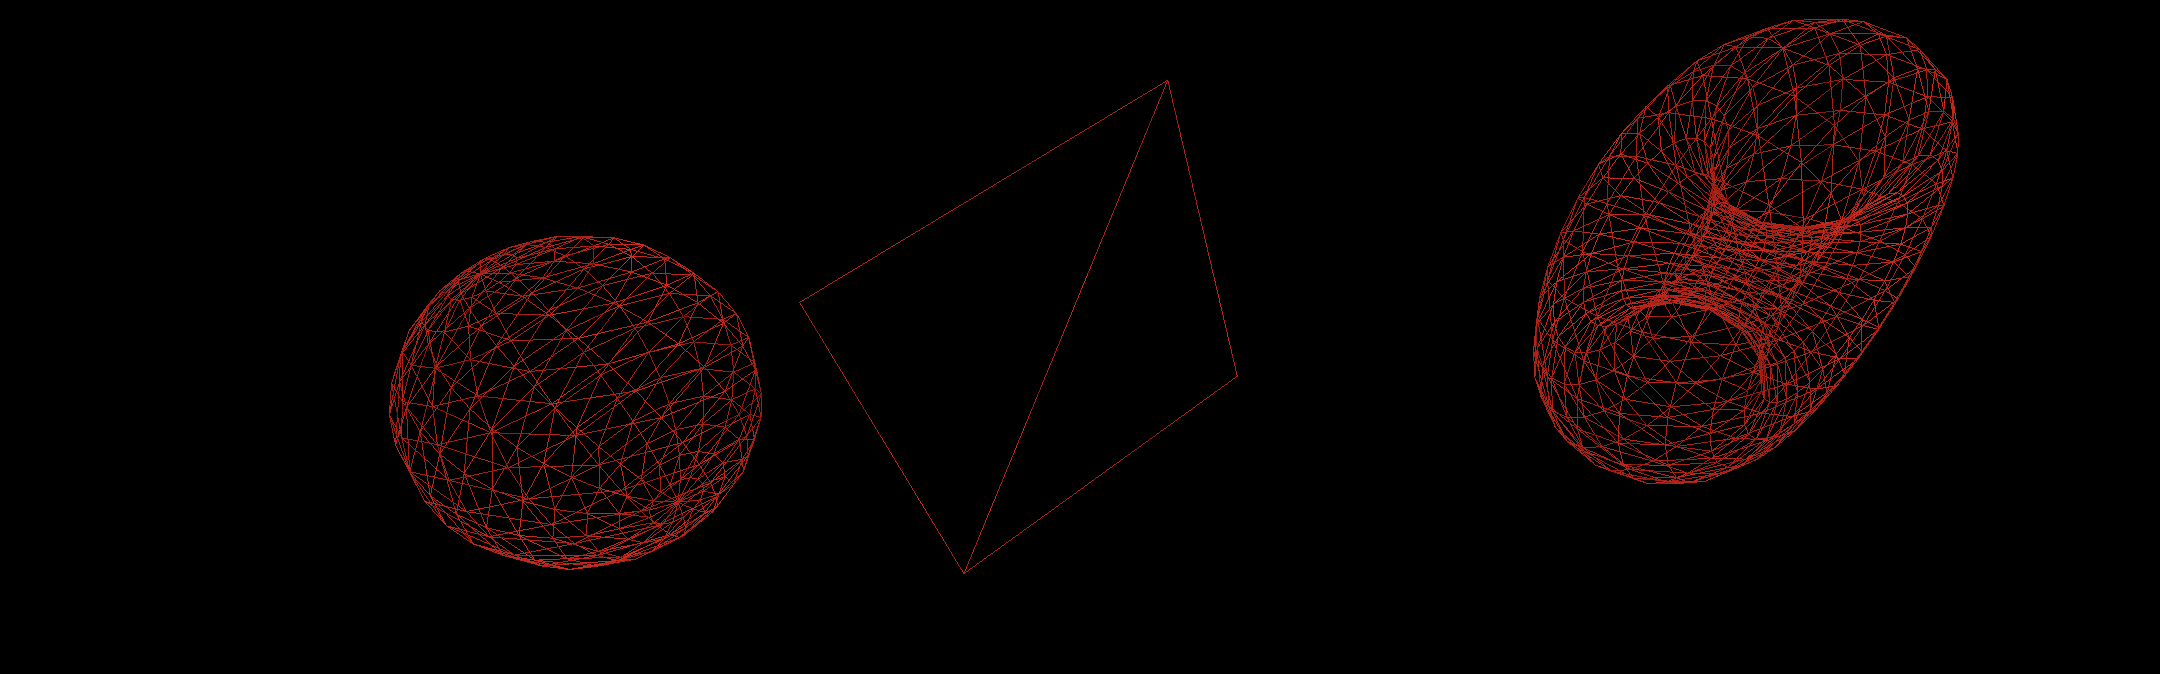
투명도를 적용해줄 때는 opacity와 transparent 속성을 사용한다.
material.transparent = true
material.opacity = 0.5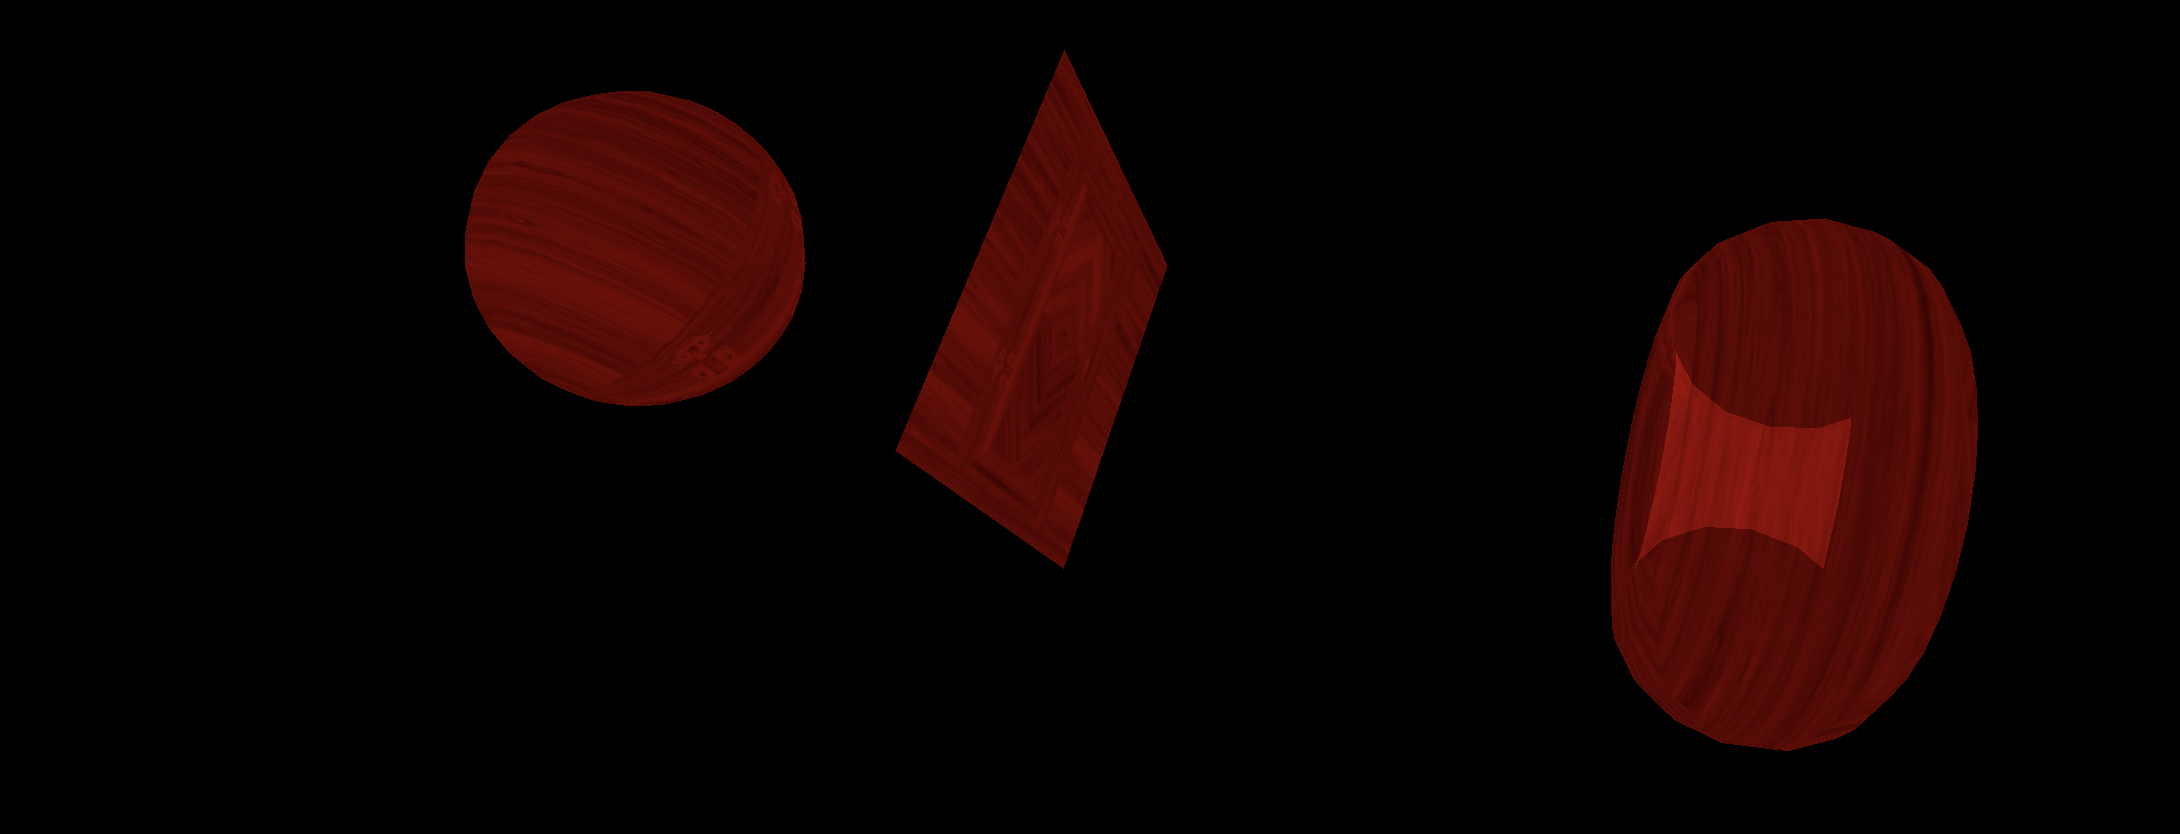
투명도를 활성해화놓으면 우리는 이제 alphaMap을 활용할 수 있다.
material.transparent = true
material.alphaMap = doorAlphaTexture
side 속성을 사용하면 geometry의 어떤 면을 visible하게 설정할지 결정할 수 있다. default로는 앞면이 표시되지만(THREE.FrontSide) 뒷면을 대신 표시(THREE.BackSide)하거나 둘 다(THREE.DoubleSide)할 수 있다. 아래와 같이 코드를 작성하면, 중앙에 위치한 plane의 뒷면도 확인할 수 있다.
material.side = THREE.DoubleSide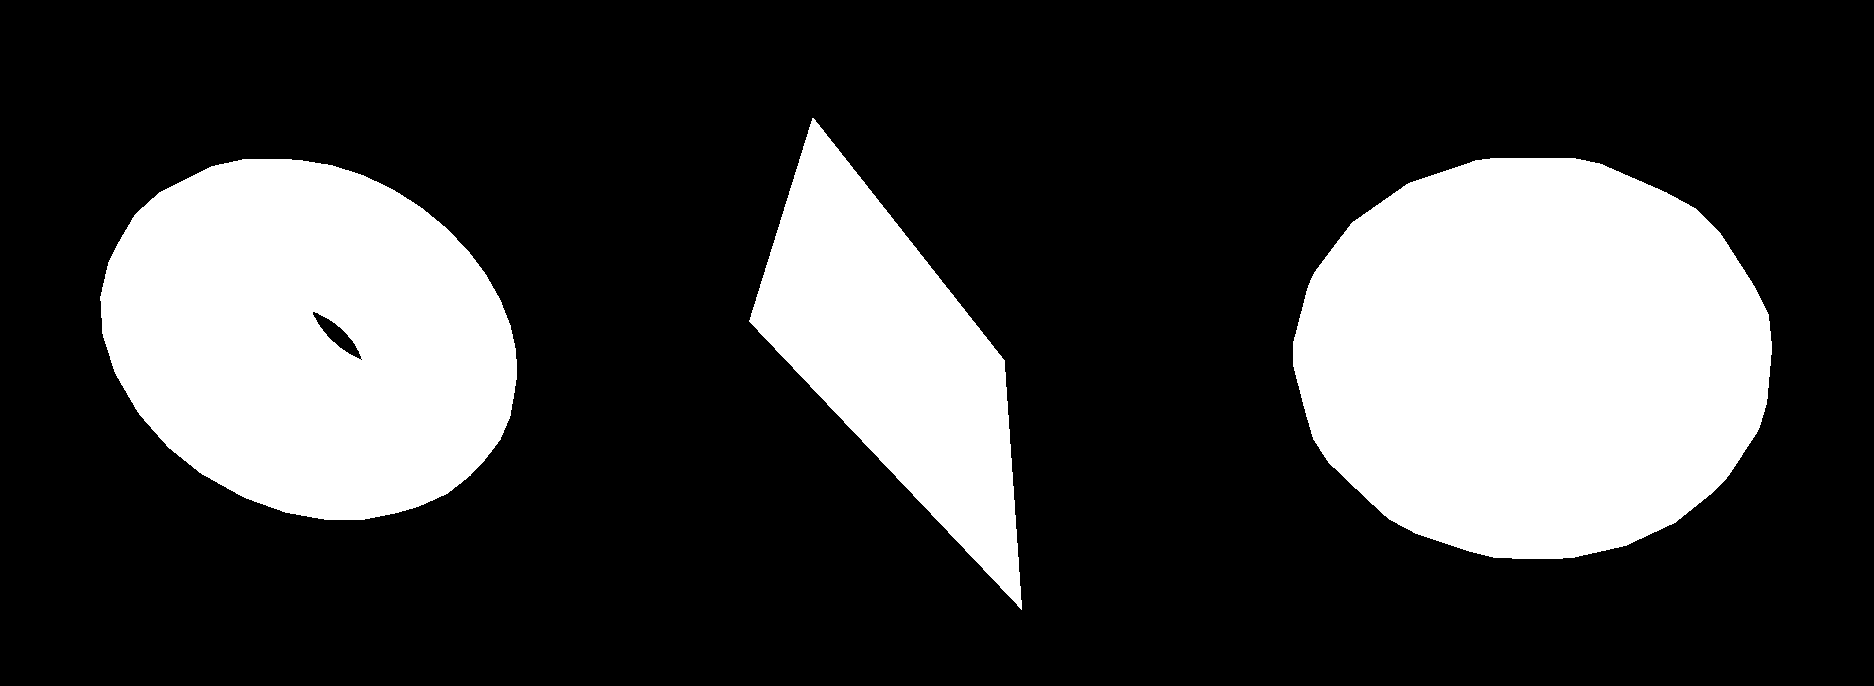
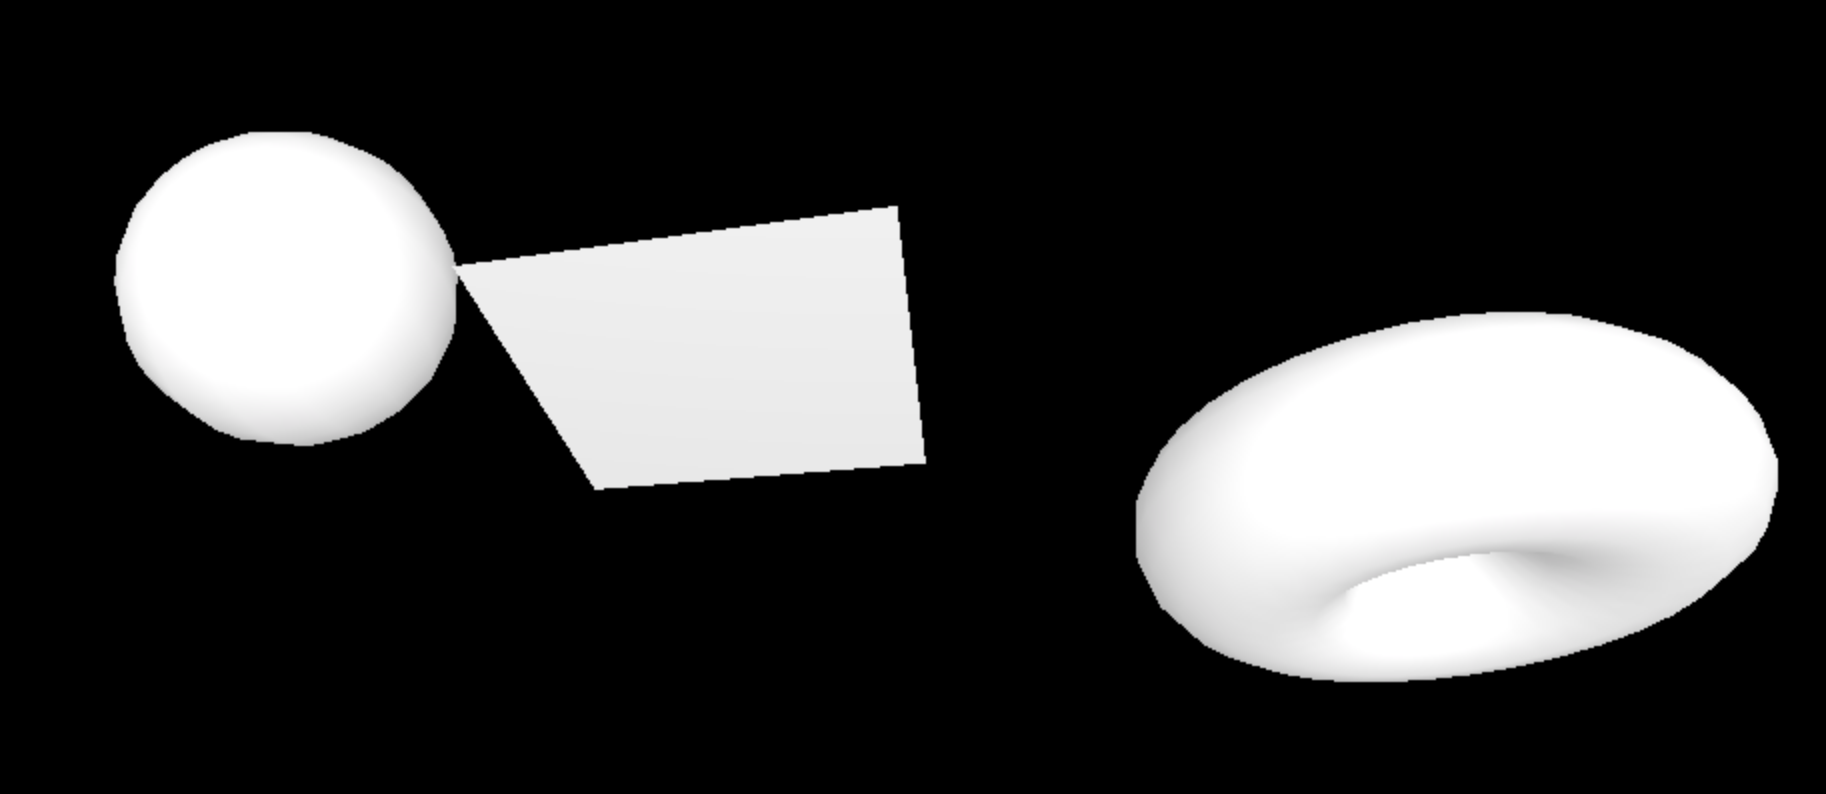
MeshNormalMaterial
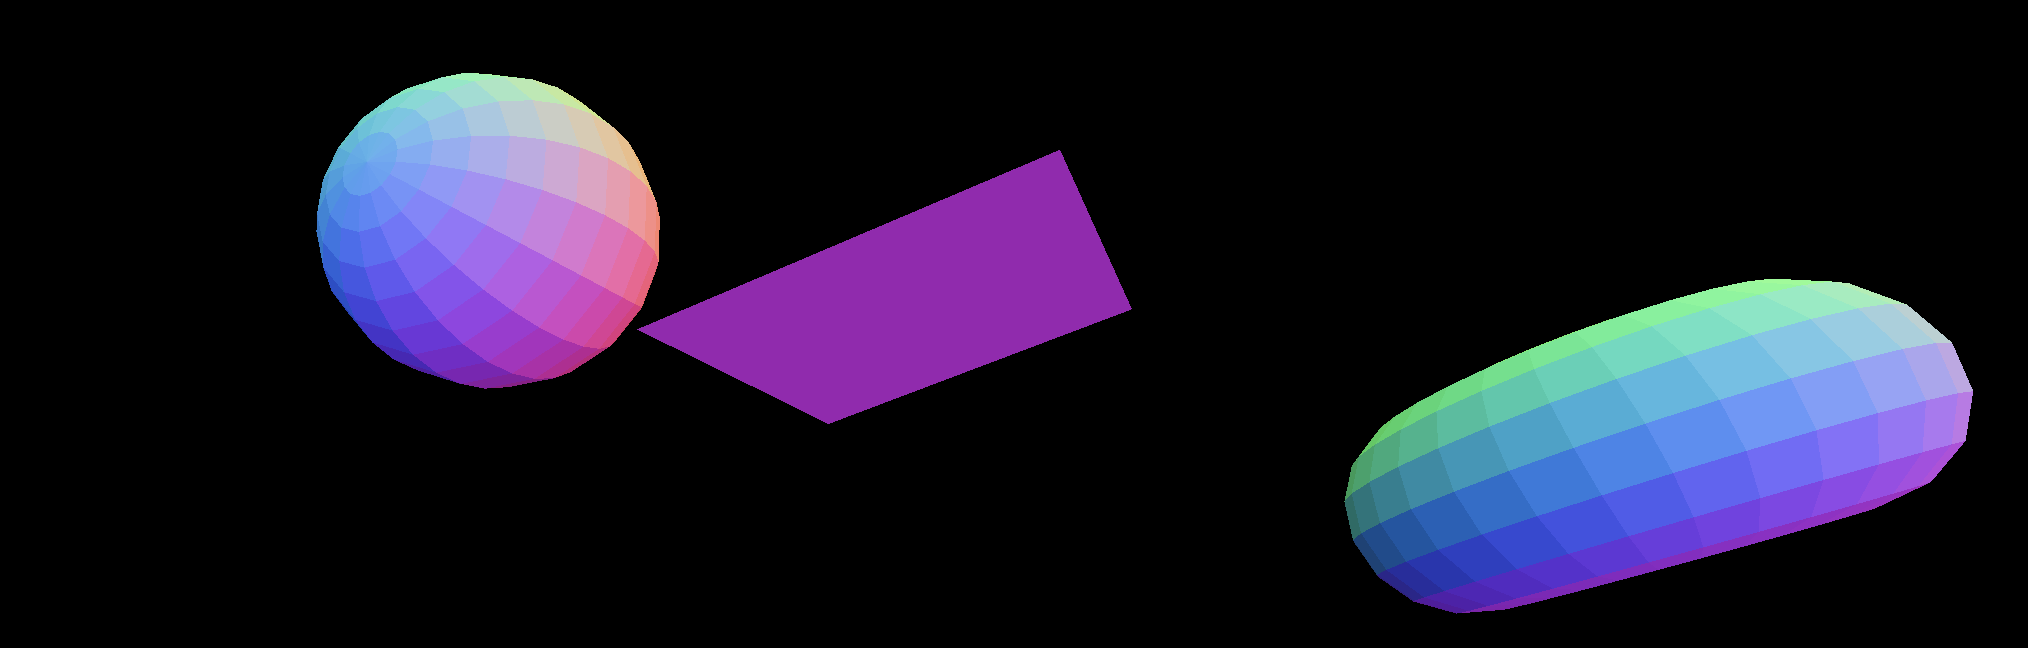
normal이라는 것은 face의 외부의 방향을 포함하는 각 정점에 인코딩된 정보를 말한다. 이러한 normal을 화살표로 표시하면 geometry를 구성하는 각 정점에서 직선이 나온다! 보통은 특정 face를 비추거나 할 때 빛이 어떻게 geometry의 표면에서 반사 또는 굴절되어야 하는지 계산하는 것과 같은 작업 등에 normal이 응용된다. MeshNormalMaterial은 카메라에 대한 법선 상대 방향만 표시한다. 구와 같은 경우 어느 부분을 보고 있든지 색상이 항상 동일하다.

우리는 flatShading이라는 속성도 사용할 수 있다.
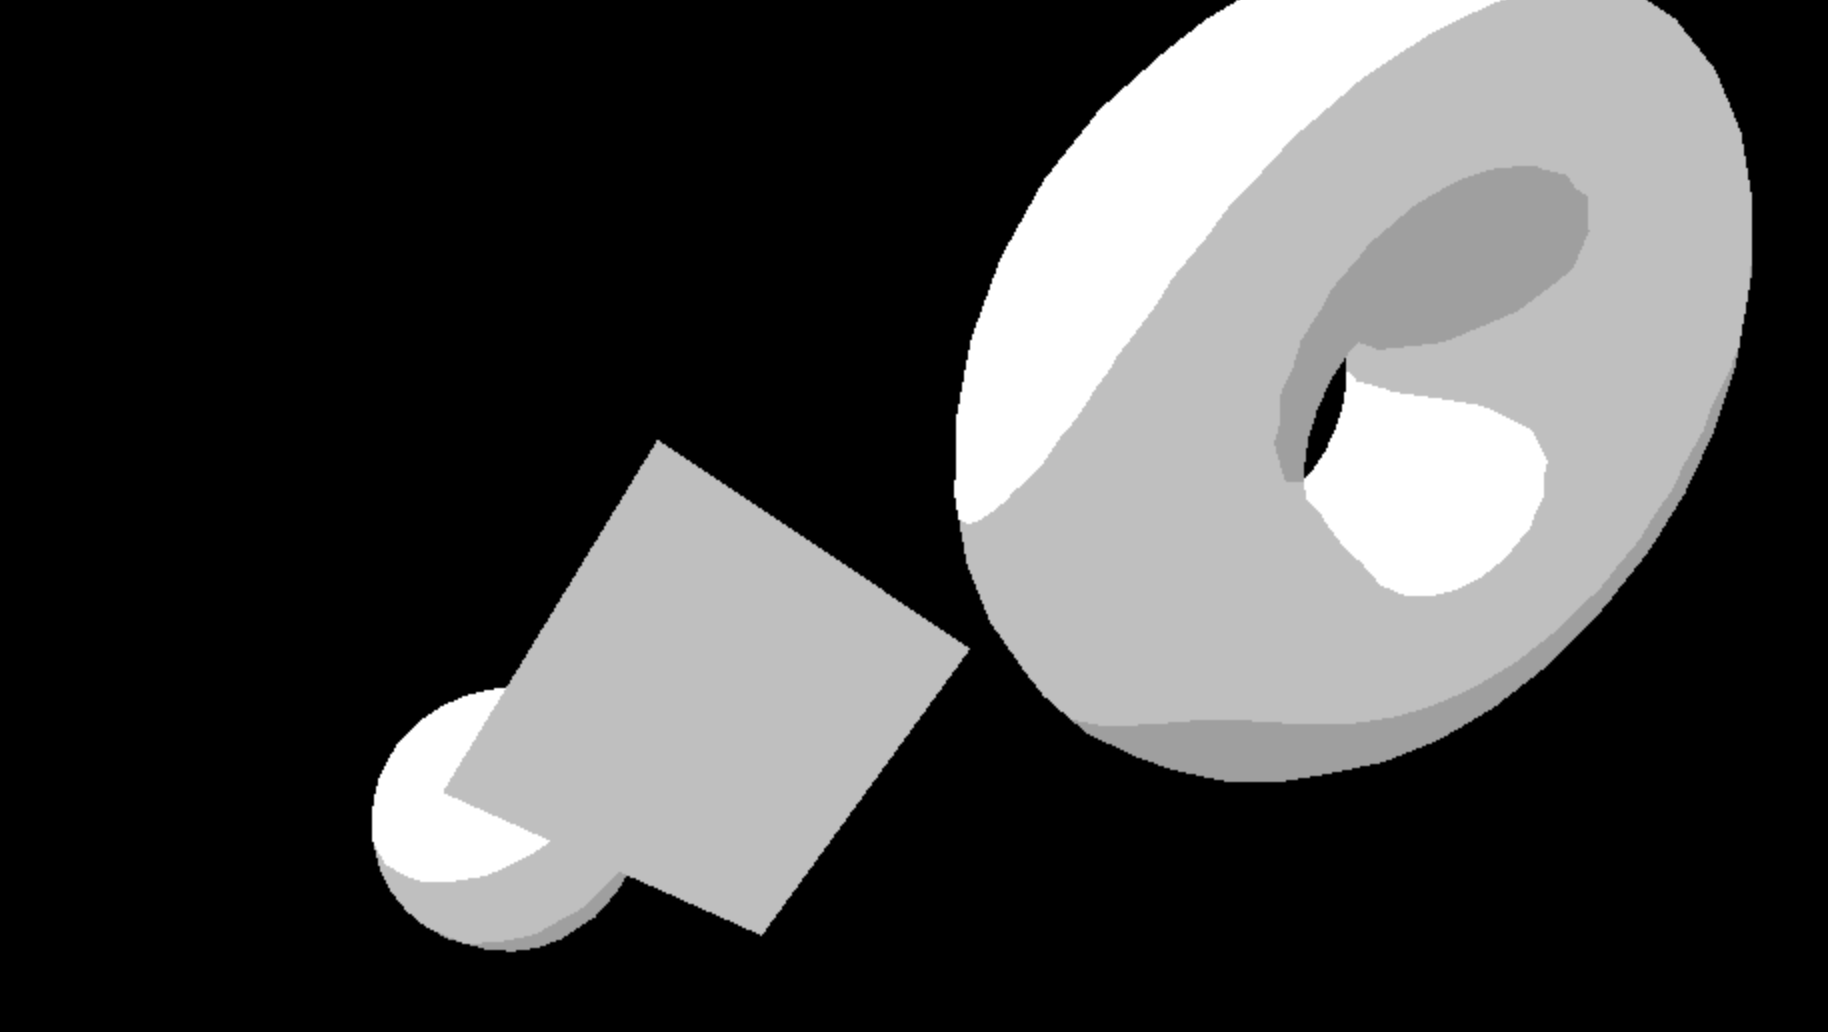
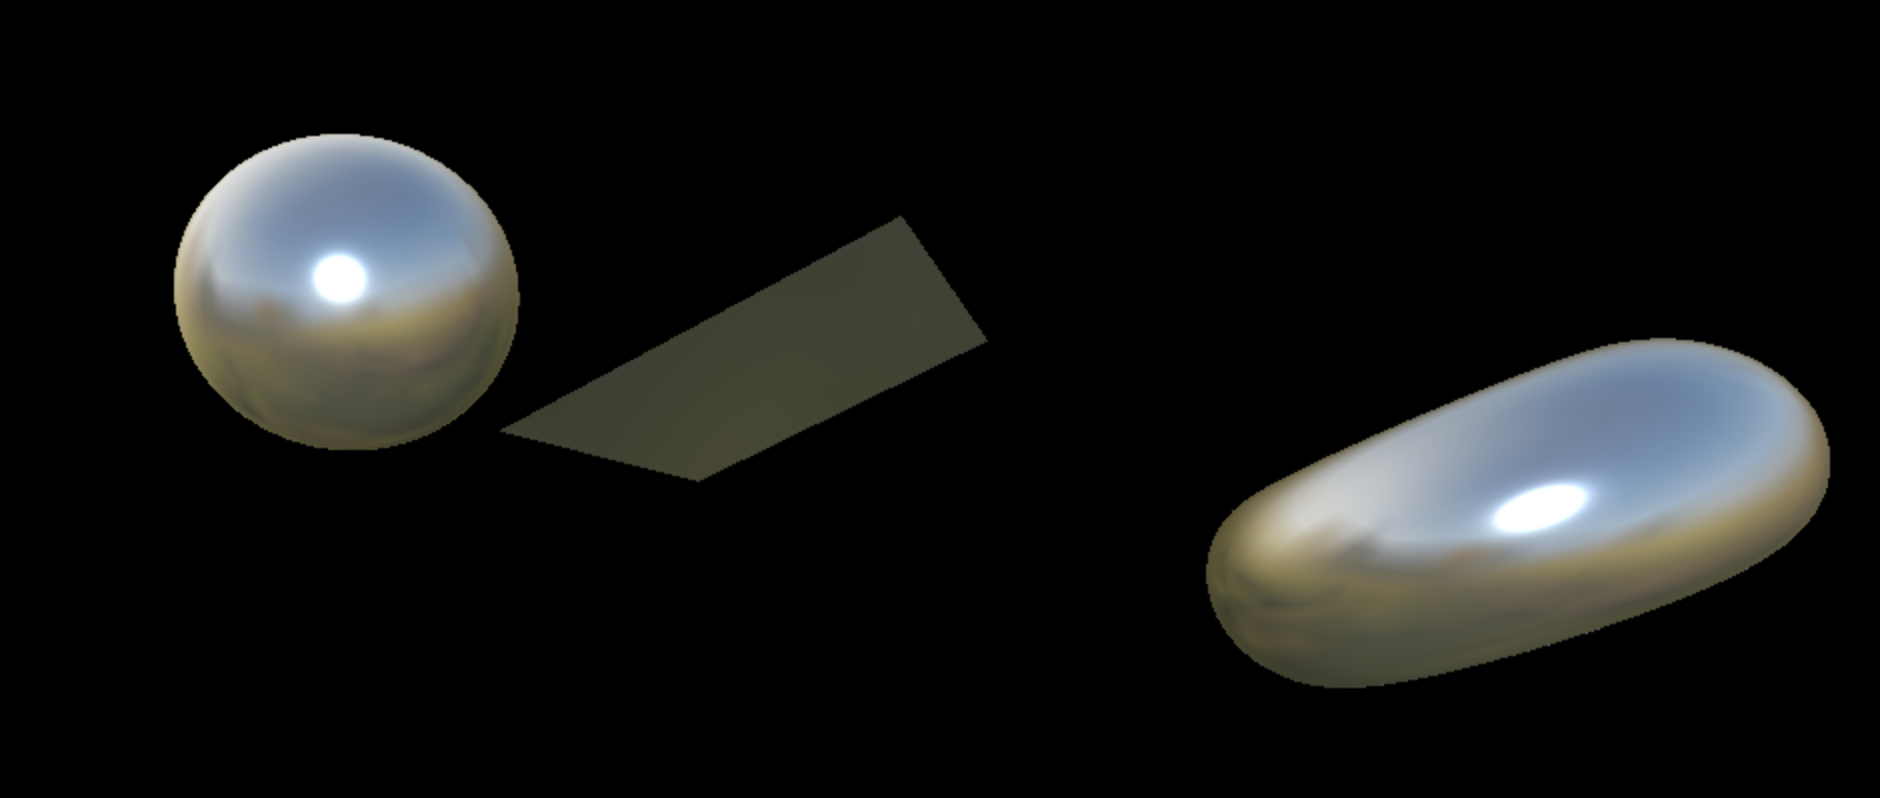
MeshMatcapMaterial
MeshMatcapMaterial을 사용하려면 구처럼 보이는 reference 텍스쳐가 있어야 한다. 이 텍스쳐가 있으면, 카메라를 기준으로 한 방향에 따라 텍스쳐의 색상이 결정된다.

const material = new THREE.MeshMatcapMaterial()
material.matcap = matcapTexture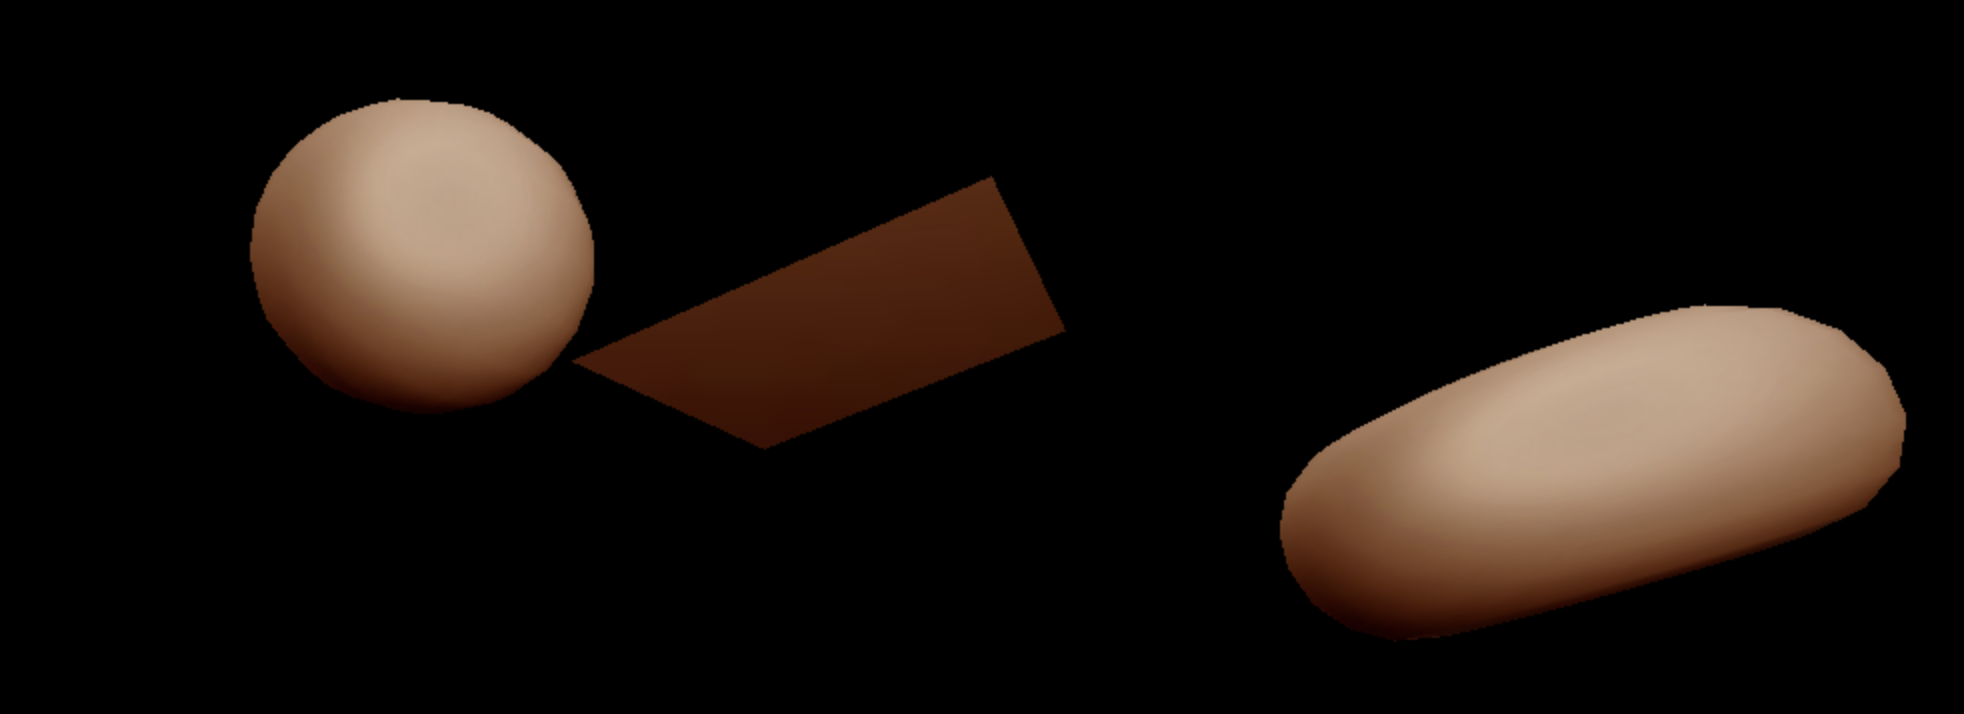
빛을 적용해주지 않았지만, 빛을 적용한 듯한 착시를 자아낸다. 물론 카메라의 방향에 무관하게 착시가 동일하다는 단점이 있다.
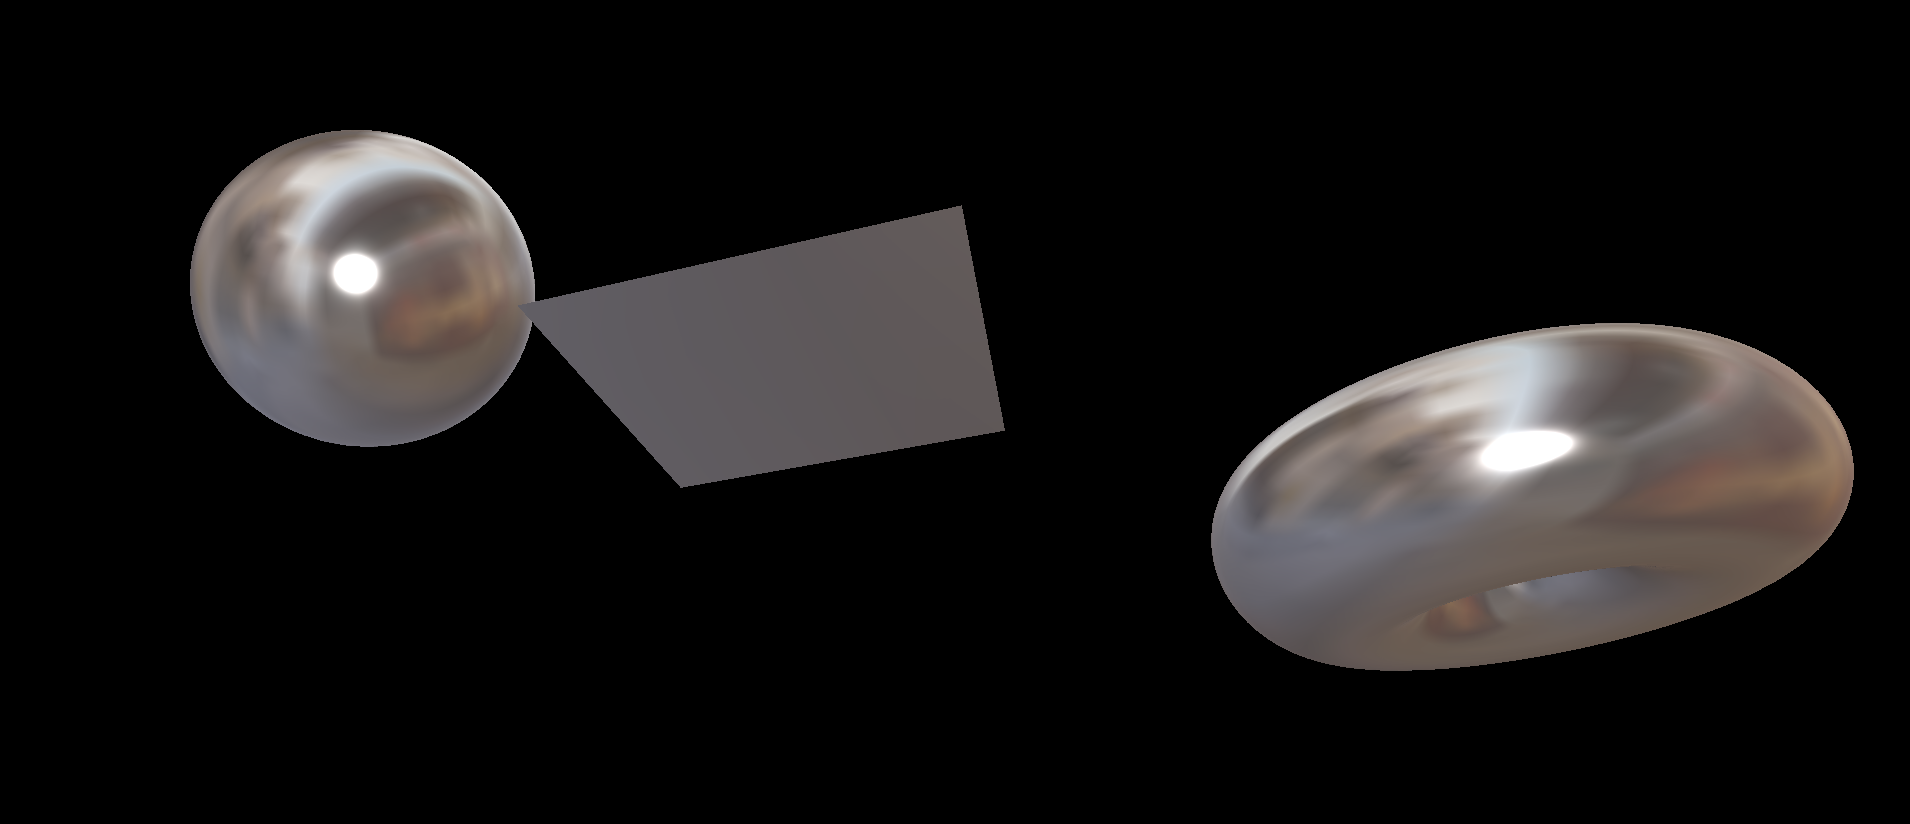
MeshDepthMaterial
MeshDepthMaterial은 카메라에 가깝냐 머냐에 따라 흑백으로 geometry를 채색한다.
const material = new THREE.MeshDepthMaterial()
MeshLambertMaterial
MeshLambertMaterial은 오늘 우리가 다룰 Material 중 처음으로 빛에 반응하는 material이다. 그렇기 때문에 빛과 관련한 속성을 지원한다. MeshLambertMaterial은 조명을 사용할 때 가장 좋은 Material이지만, 매개변수가 그닥 단순하지 않으며, 구와 같이 둥근형상을 자세히보면 이상한 패턴이 발견되는 것을 알 수 있다.
const material = new THREE.MeshLambertMaterial()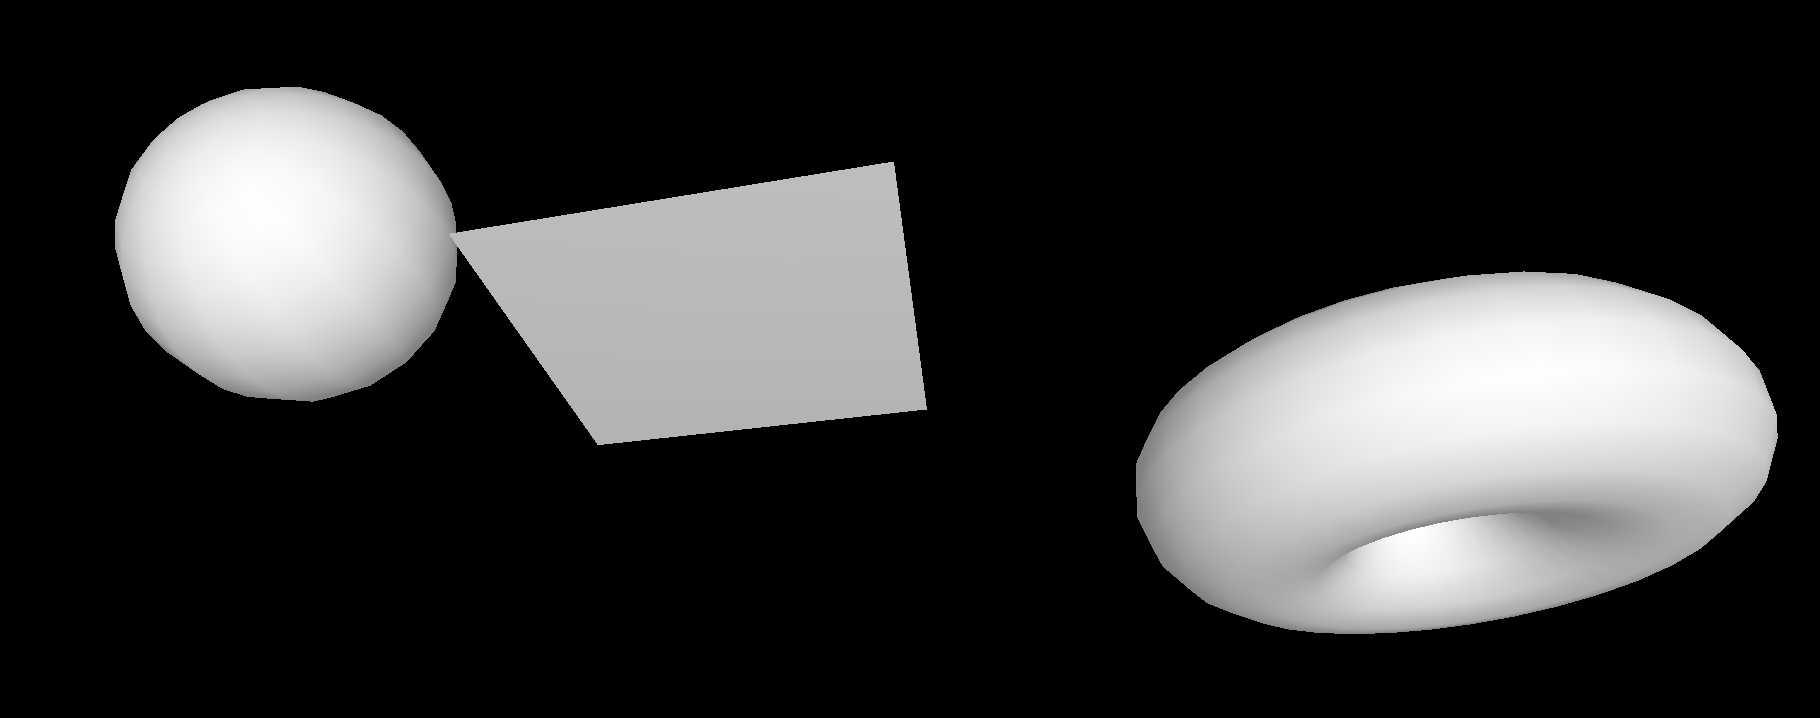
MeshPhongMaterial
MeshLambertMaterial과 비슷하지만, 이상한 패턴이 덜 보이고, 빛의 반사를 볼 수 있다. 하지만 MeshLambertMaterial과 비교해 약간 성능이 떨어진다. shininess 속성으로 빛의 반사를 제어할 수 있다. 값이 높을 수록 표면이 더 반짝거린다.
const material = new THREE.MeshPhongMaterial()
material.shininess = 100
material.specular = new THREE.Color(0x1188ff)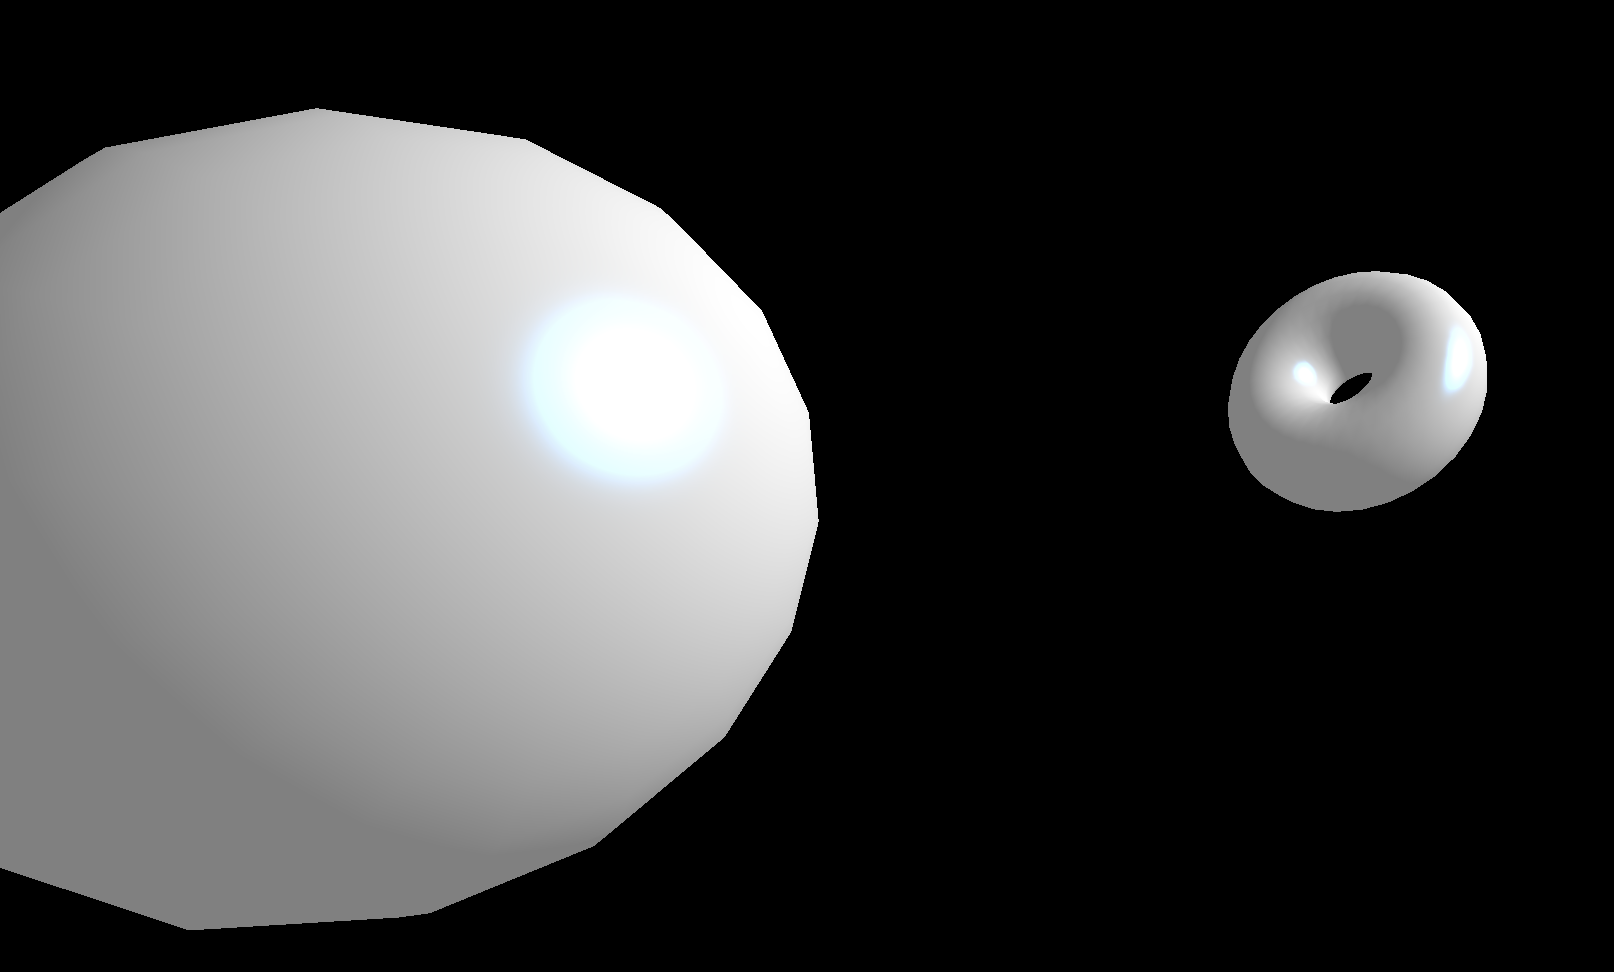
MeshToonMaterial
MeshLambertMaterial과 속성같은 설정들이 거의 비슷하다. 하지만 cartoon 스타일. 보통 아래와 같이 색상이 두 부분으로 딱 나뉘어 진다!
const material = new THREE.MeshToonMaterial()
material.gradientMap = gradientTexture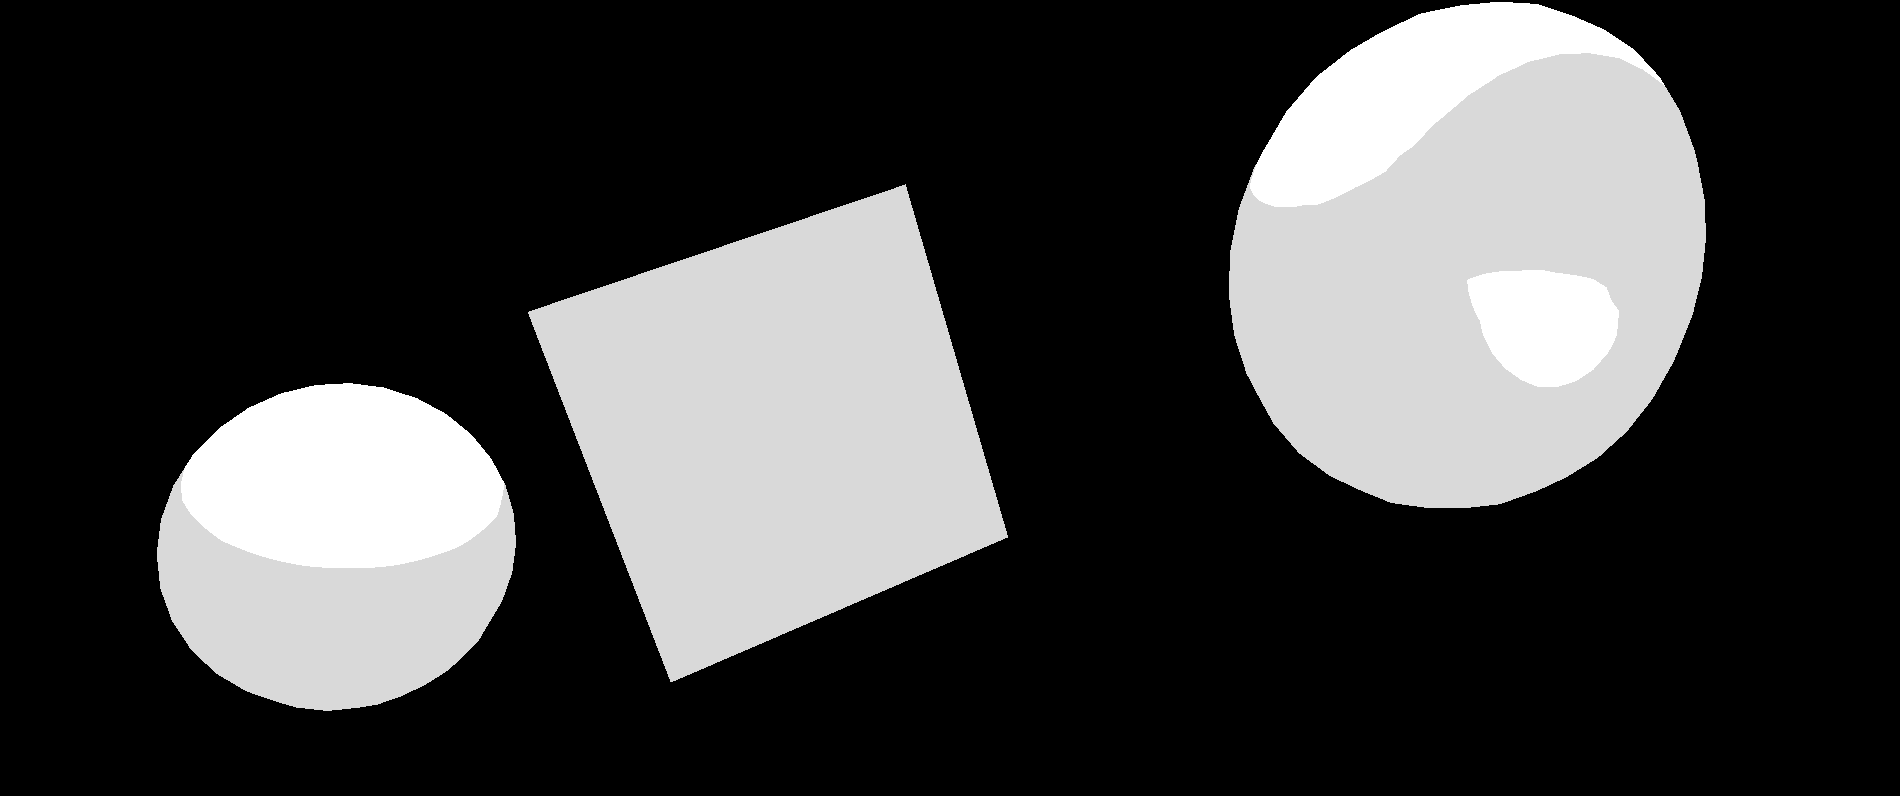
gradientMap을 사용해주면 부드러워진 것을 확인할 수 있다.
근데 이러면 이걸 ToonMaterial이라고 할 수 있을까. 이것은 우리가 사용한 gradient Texture가 너무 작기 때문이다. 텍스쳐의 픽셀들이 blended되어버린 것! minFilter와 magFilter 그리고 mipmapping의 문제이다! 아래와 같이 코드를 작성해주자!
gradientTexture.minFilter = THREE.NearestFilter
gradientTexture.magFilter = THREE.NearestFilter
gradientTexture.generateMipmaps = false
이제 딱 둘로 나누어지지 않은 부드러우면서도 catoon효과가 적용된 것을 볼 수 있다!
MeshStandardMaterial
MeshLambertMaterial 및 MeshPhongMaterial과 마찬가지로 조명을 지원하지만 더 현실적인 알고리즘과 거칠기 및 금속성과 같은 매개변수를 사용한다. PBR이 적용된다는 것이 특징인데, PBR이 많은 소프트웨어, 엔진 및 라이브러리에서 표준이 되고 있기 때문에, StandardMaterial이 된 것!
const material = new THREE.MeshStandardMaterial()

material.metalness = 0.45
material.roughness = 0.65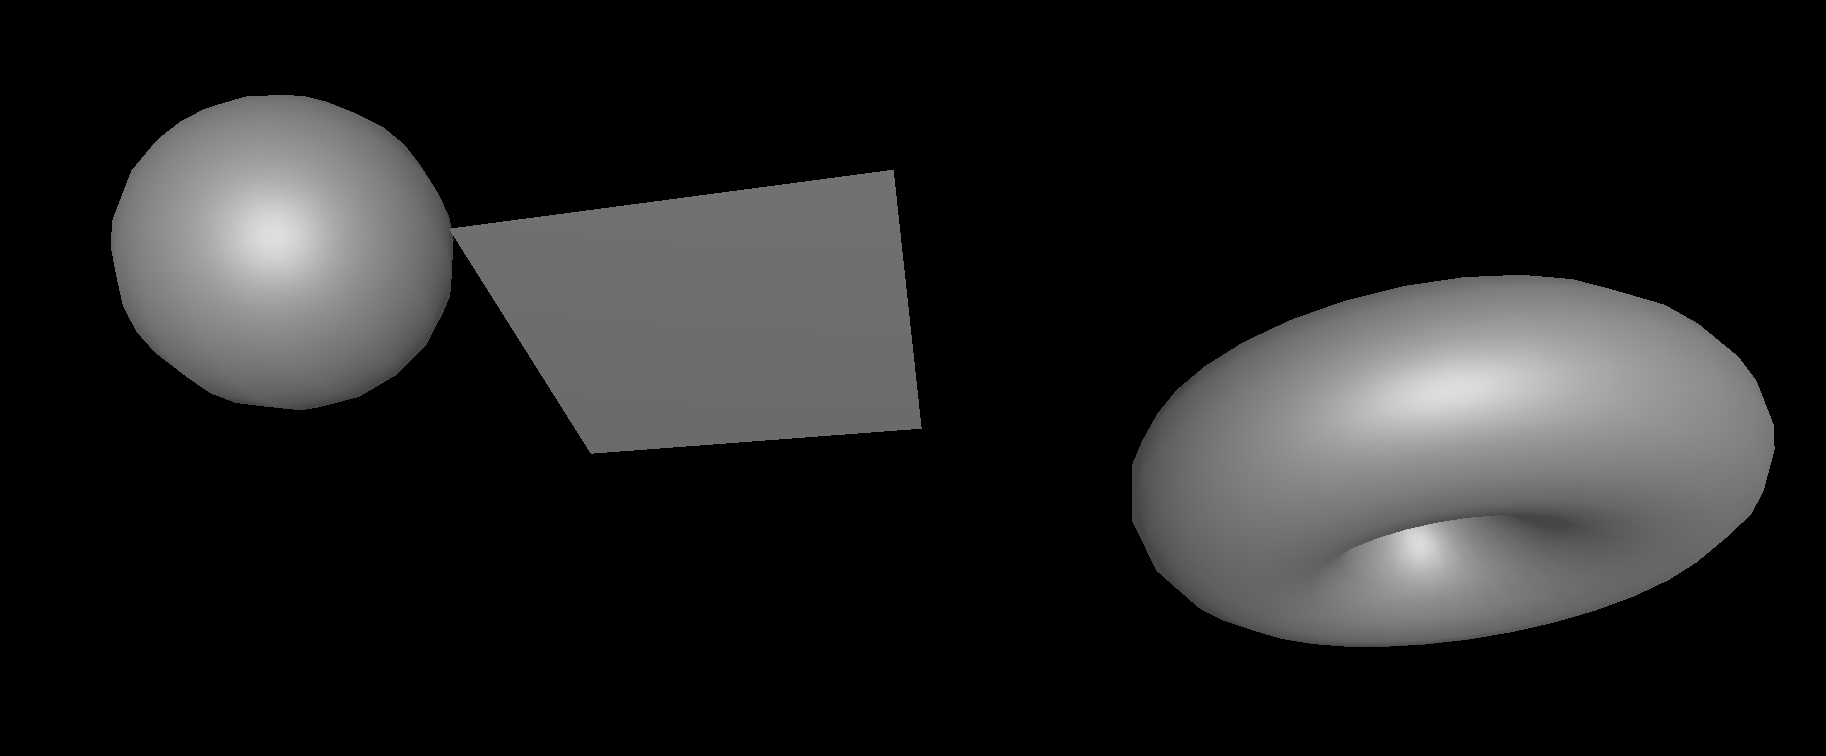
map 속성을 사용하면 간단한 텍스쳐를 적용할 수 있다. aoMap 속성은 텍스쳐가 어두운 곳에 그림자를 추가한다. 작동하려면 두 번째 UV세트라고 하는 것을 추가해야 한다.
material.map = doorColorTexture

sphere.geometry.setAttribute('uv2', new THREE.BufferAttribute(sphere.geometry.attributes.uv.array, 2))
plane.geometry.setAttribute('uv2', new THREE.BufferAttribute(plane.geometry.attributes.uv.array, 2))
torus.geometry.setAttribute('uv2', new THREE.BufferAttribute(torus.geometry.attributes.uv.array, 2))

material.aoMap = doorAmbientOcclusionTexture
material.aoMapIntensity = 1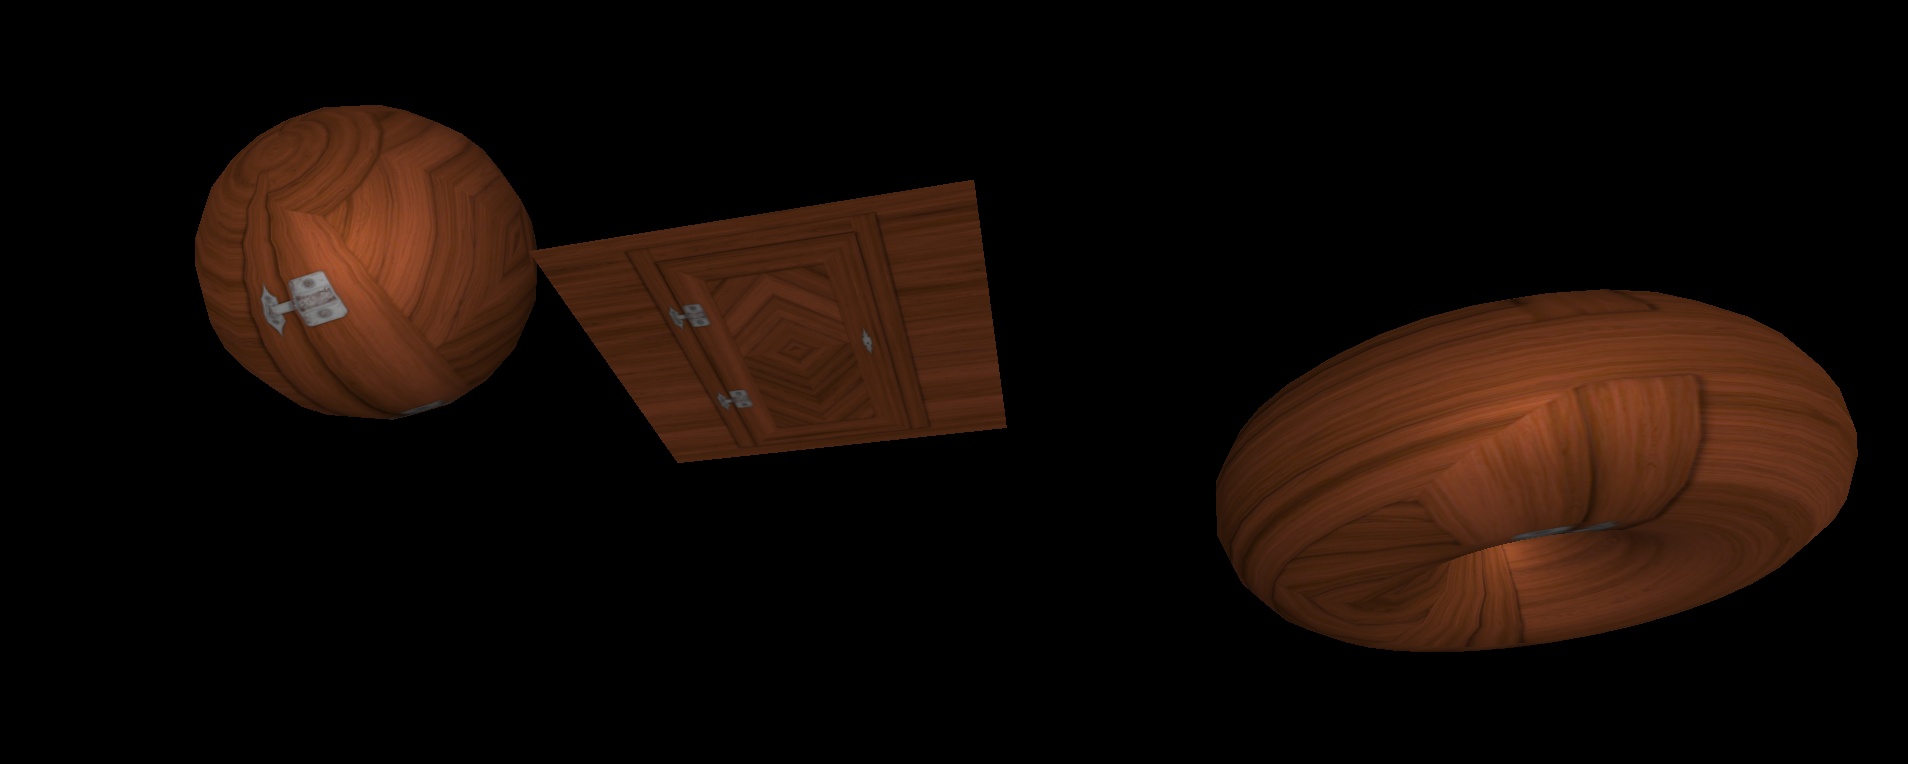
틈새는 더 어둡게 보이게 만들어 콘트라스트와 dimension을 조성할 수 있다. DisplacementMap 속성을 이용하자!
material.displacementMap = doorHeightTexture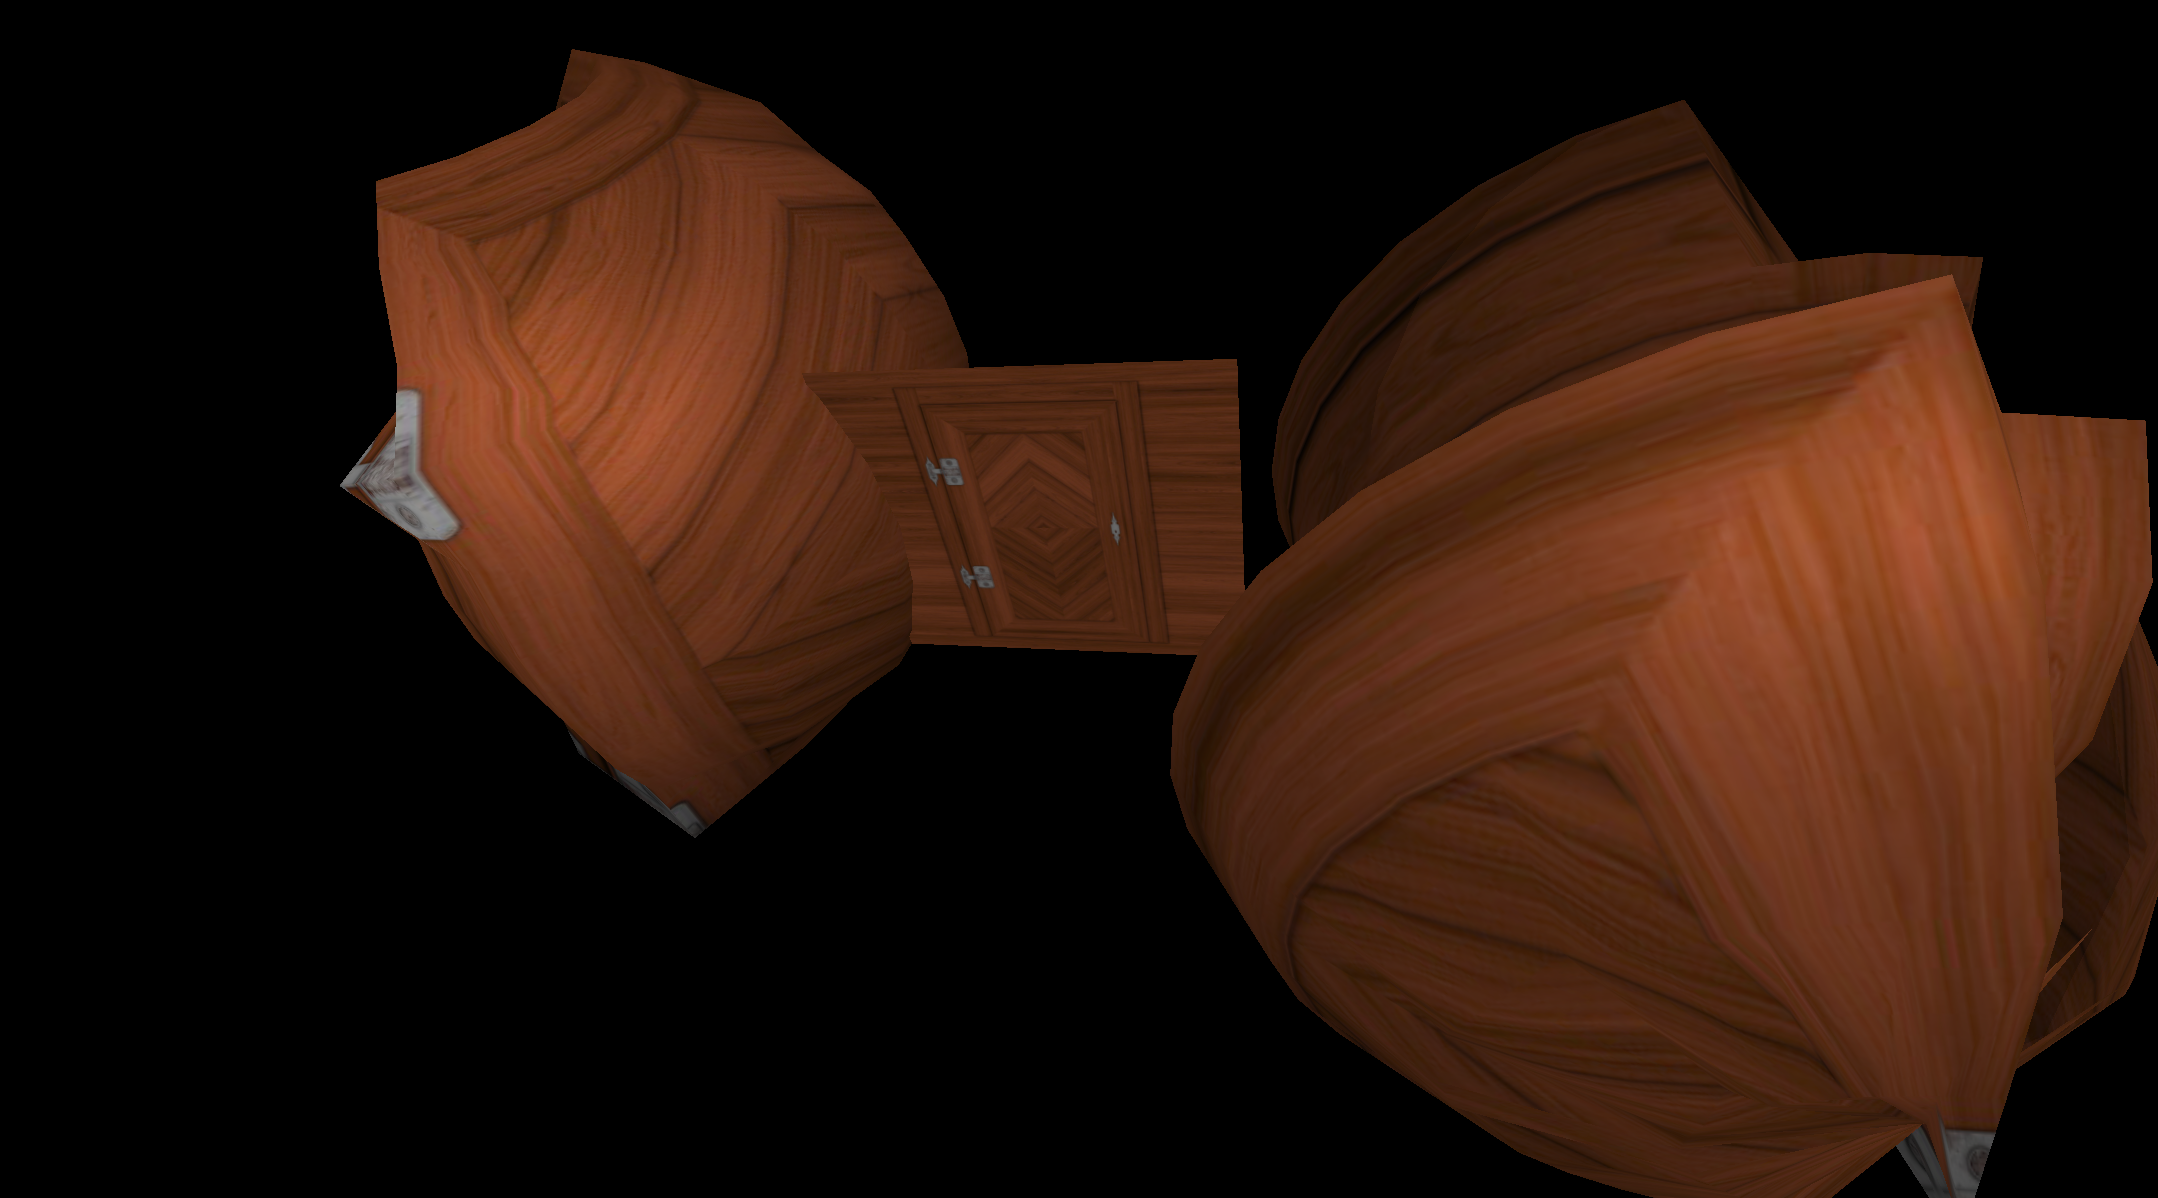
무엇? 정점이 너무 없고, displacement가 너무 강해져서 생기는 문제다!
material.displacementScale = 0.05

// ...

new THREE.SphereGeometry(0.5, 64, 64),

// ...

new THREE.PlaneGeometry(1, 1, 100, 100),

// ...

new THREE.TorusGeometry(0.3, 0.2, 64, 128),
우리는 거칠기와 금속성 역시 균일하게 적용하지 않고, metalnessMap 및 RoughnessMap을 사용할 수 있다. 여기에 normalMap까지 추가해주면 더 리얼한 연출이 가능하다.
material.metalnessMap = doorMetalnessTexture
material.roughnessMap = doorRoughnessTexture

material.metalness = 0
material.roughness = 1

material.normalMap = doorNormalTexture
여기에 알파맵까지 추가해줄 수 있다. (사실 아직 alphaMap이 뭐하는 애인지 잘 모르겠다.)
material.normalScale.set(0.5, 0.5)

material.transparent = true
material.alphaMap = doorAlphaTexture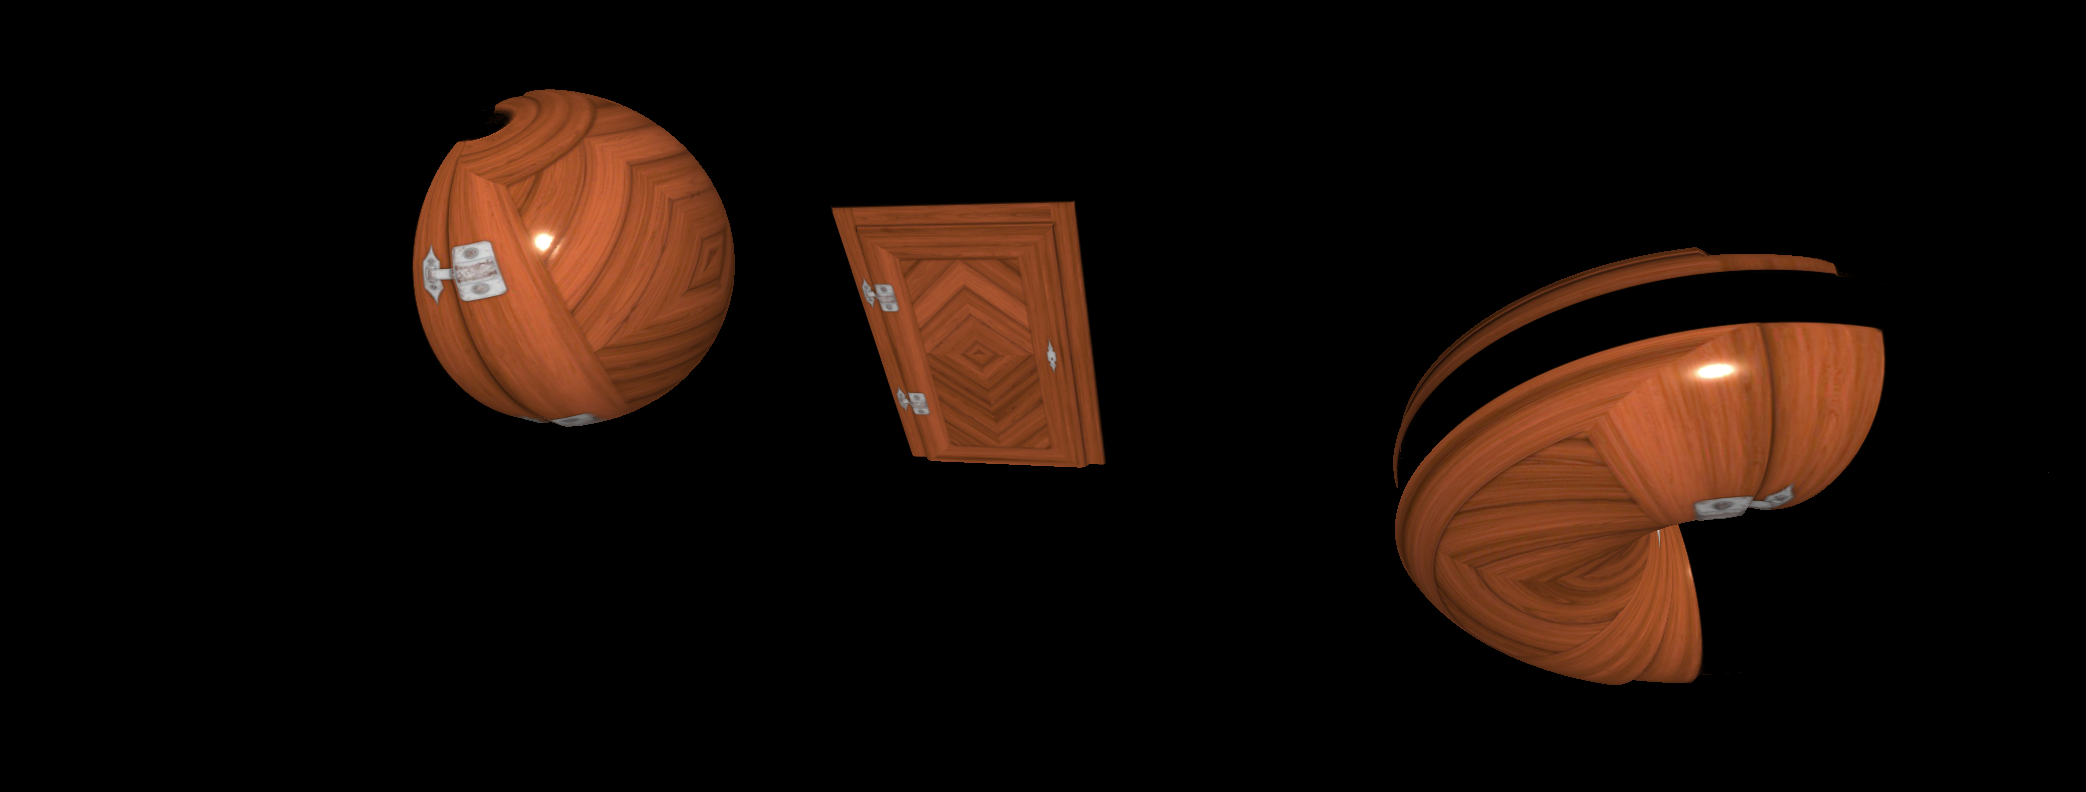
그외 Materials
- MeshPhysicalMaterial: MeshStandardMaterial와 동일하지만 clear coat 효과를 지원한다.
- PointsMaterial: 입자 material
- ShaderMaterial and RawShaderMaterial: 나만의 material
Environment map
environment map은 scene을 둘러싼 이미지와 같다. Object에 반사 또는 굴절을 추가할 수도 있으며, 조명 정보로도 사용할 수 있다. environment map을 추가해주려면 envMap 속성을 사용해야 한다. Cube environment maps는 큐브의 6면에 해당하는 6개의 이미지이다. cubeTexture를 로드하려면, 일반 TextureLoader 대신 CubeTextureLoader를 사용해야 한다. 사용해서 적용까지 해주면, Geometry 표면에 environment가 적용된 것을 볼 수 있다.
// 세팅
const material = new THREE.MeshStandardMaterial()
material.metalness = 0.7
material.roughness = 0.2
gui.add(material, 'metalness').min(0).max(1).step(0.0001)
gui.add(material, 'roughness').min(0).max(1).step(0.0001)

// 로드
const cubeTextureLoader = new THREE.CubeTextureLoader()

const environmentMapTexture = cubeTextureLoader.load([
    '/textures/environmentMaps/0/px.jpg',
    '/textures/environmentMaps/0/nx.jpg',
    '/textures/environmentMaps/0/py.jpg',
    '/textures/environmentMaps/0/ny.jpg',
    '/textures/environmentMaps/0/pz.jpg',
    '/textures/environmentMaps/0/nz.jpg'
])

// 적용
material.envMap = environmentMapTexture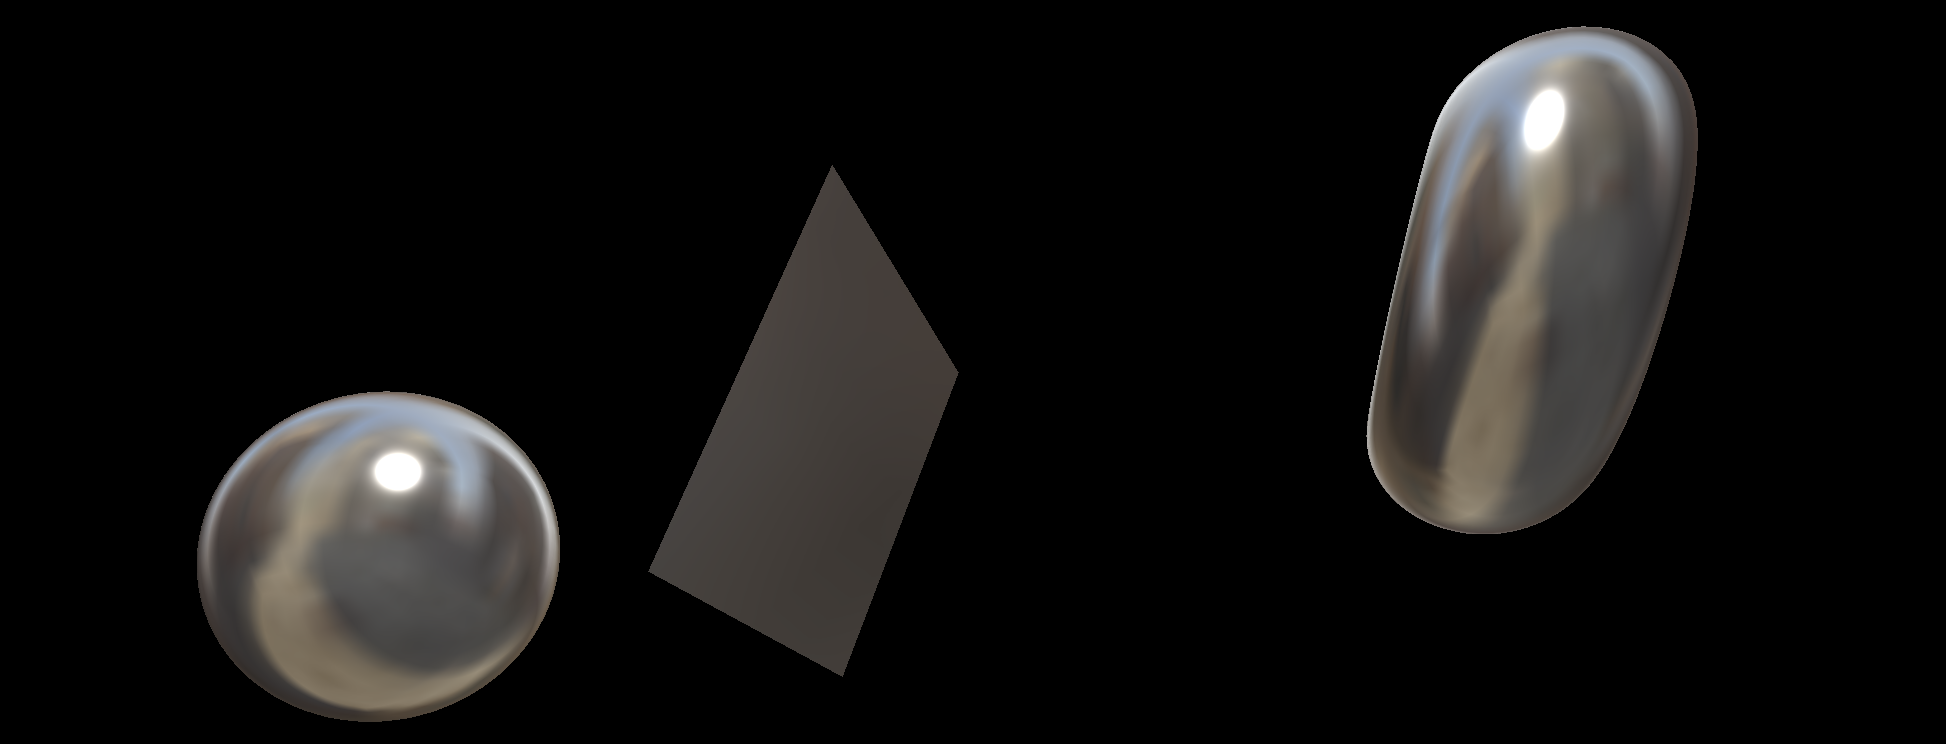
Where to find environment maps
HDRI는 High Dynamic Range Imaging의 약자. 큐브맵이 아니라, 하나의 이미지로 구성되어 있다. 훨씬 더 사실적이고 더 나이스한 조명 정보를 갖고 있다. HDRIHaven의 이미지는 무료이미지이며, 작성자를 표시하지 않고도 원하는 모든 작업을 수행할 수 있다.
그러나 하나 문제가 있다. Three.js는 큐브맵만 자원한다. HDRI를 큐브맵으로 변환하려면 다음의 온라인 도구를 사용해야 한다.