🙌🏻 해당 글은 Three.js Journey의 강의 노트입니다.
14 Lights
Light를 추가하는 것은 Mesh를 추가하는 것만큼이나 간단하다. 인스턴스화 해서, Scene에 add하기만 하면 된다. 이미 AmbientLight와 PointLight를 살펴보았고, 나머지 다른 클래스들도 살펴볼 것이다.
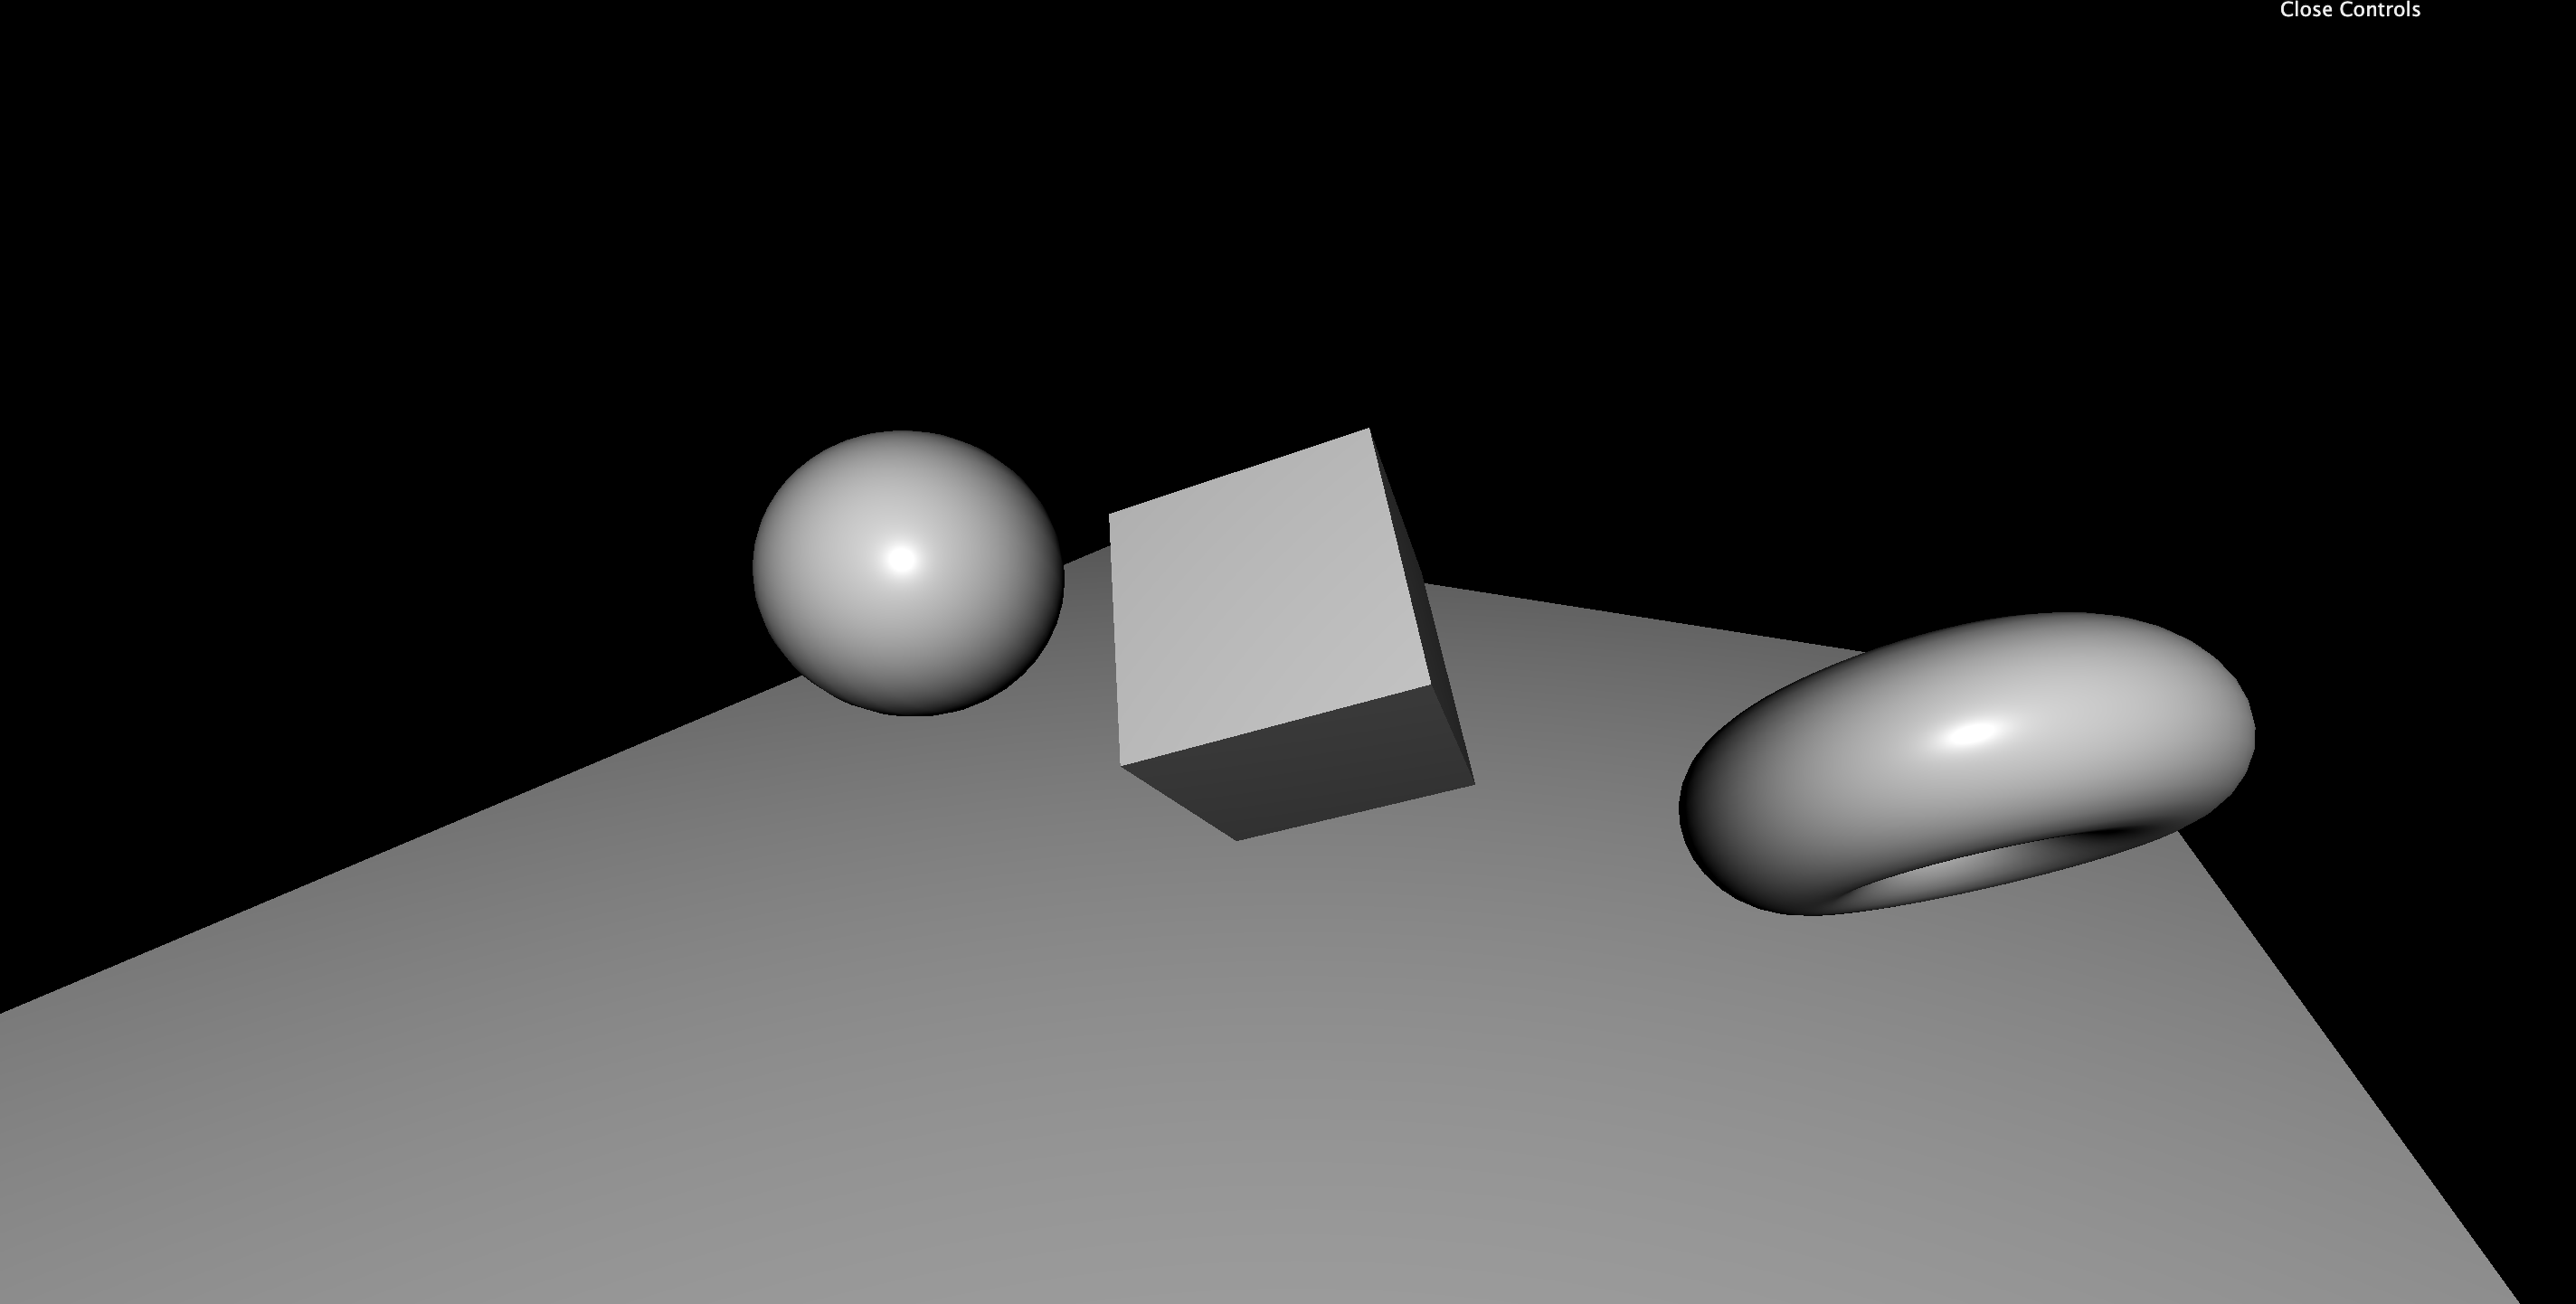
우선, 조명을 사용할 것이기 때문에, 조명에 반응하는 재질을 사용해 object들을 만들어야 한다.
MeshLambertMaterial, MeshPhongMaterial, MeshToonMaterial을 사용해도 되지만, 여기서는 일단 가장 사실적인 MeshStandardMaterial을 사용한다. 빛의 반사를 보기 위해 재질의 거칠기를 줄인다.
초기 셋업

const material = new THREE.MeshToonMaterial();
material.roughness = 0.4;
서로 다른 material을 적용한 모습 (MeshLambertMaterial, MeshPhongMaterial, MeshToonMaterial, MeshStandardMaterial)
AmbientLight
AmbientLight는 scene 내의 모든 object들에 전 방향에서 조명을 비춰준다.
전달인자는 아래와 같다. 재질은 인자로 넘겨주어도 되고, 후에 변경해도 된다.
THREE.AmbientLight(color, intensity);

// 후에 변경할 때는 아래와 같은 방식
let myLight = new THREE.AmbientLight();
myLight.color = 0xffffff;
myLight.intensity: 0.7;
좌측부터
THREE.AmbientLight(0xffffff, 0.5)
THREE.AmbientLight(0xffff00, 0.5)
THREE.AmbientLight(0xffff00, 1)
현실에서는 어떤 물체를 비추었을 때 빛이 반사되기 때문에 반대쪽 면이 완전히 검정색이 되지 않는다. 이를 Light Bouncing이라고 하는데, 성능상의 이유로 Three.js는 이를 완벽히 지원하지는 않는다. 대신 미미한 AmbientLight를 사용해 Light Bouncing을 fake로 만들 수 있다.
DirectionalLight
DirectionalLight는 태양광, 평행하기 이동하는 빛이다. 매개변수는 AmbientLight와 같다! default로 빛은 항상 위에서 온다! 바꿔주고 싶다면 position을 통해 위치를 변경한다. 거리와 같은 경우는 Light에서는 중요한 속성이 아니다.
const directionalLight = new THREE.DirectionalLight(0x00fffc, 0.3);
directionalLight.position.set(1, 0.25, 0);
scene.add(directionalLight);
좌측부터 (0, 0, 0), (1, 0.25, 0), (1, 0.25, 2)
HemisphereLight
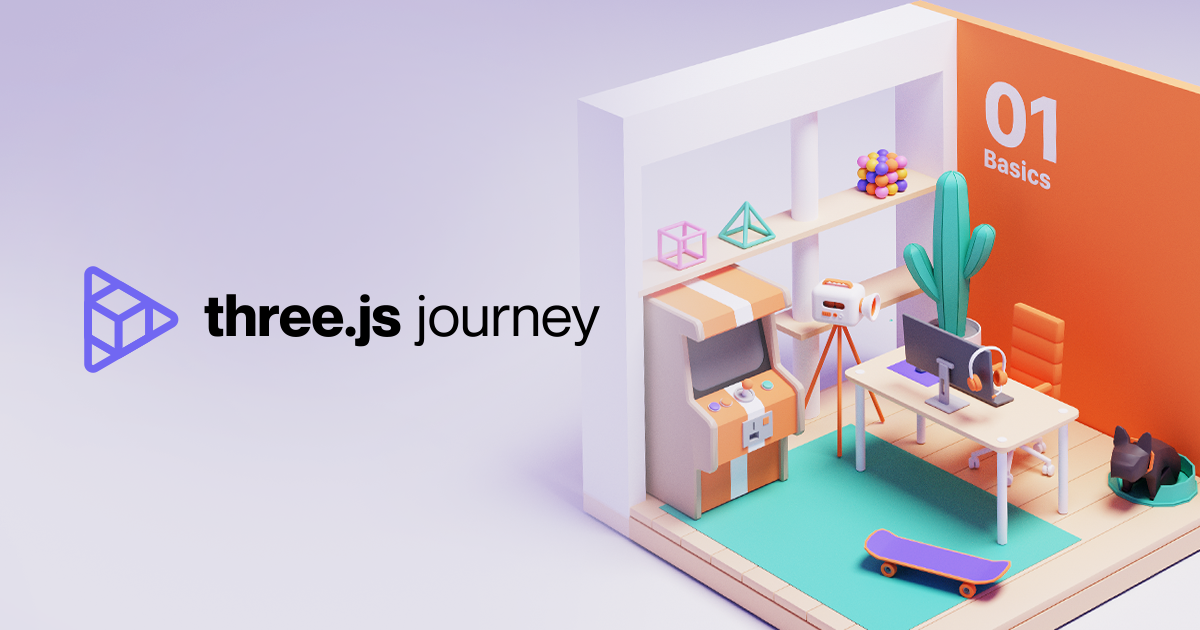
HemisphereLight는 AmbientLight와 비슷하지만, 두 가지 색상을 매개변수로 받는다. 첫 번째 매개변수는 하늘을 향하는 면을 비추는 색상, 두 번째 매개변수는 바닥을 향하는 면에 비춰지는 색상이다.
const hemisphereLight = new THREE.HemisphereLight(0xff0000, 0x0000ff, 0.3)
scene.add(hemisphereLight)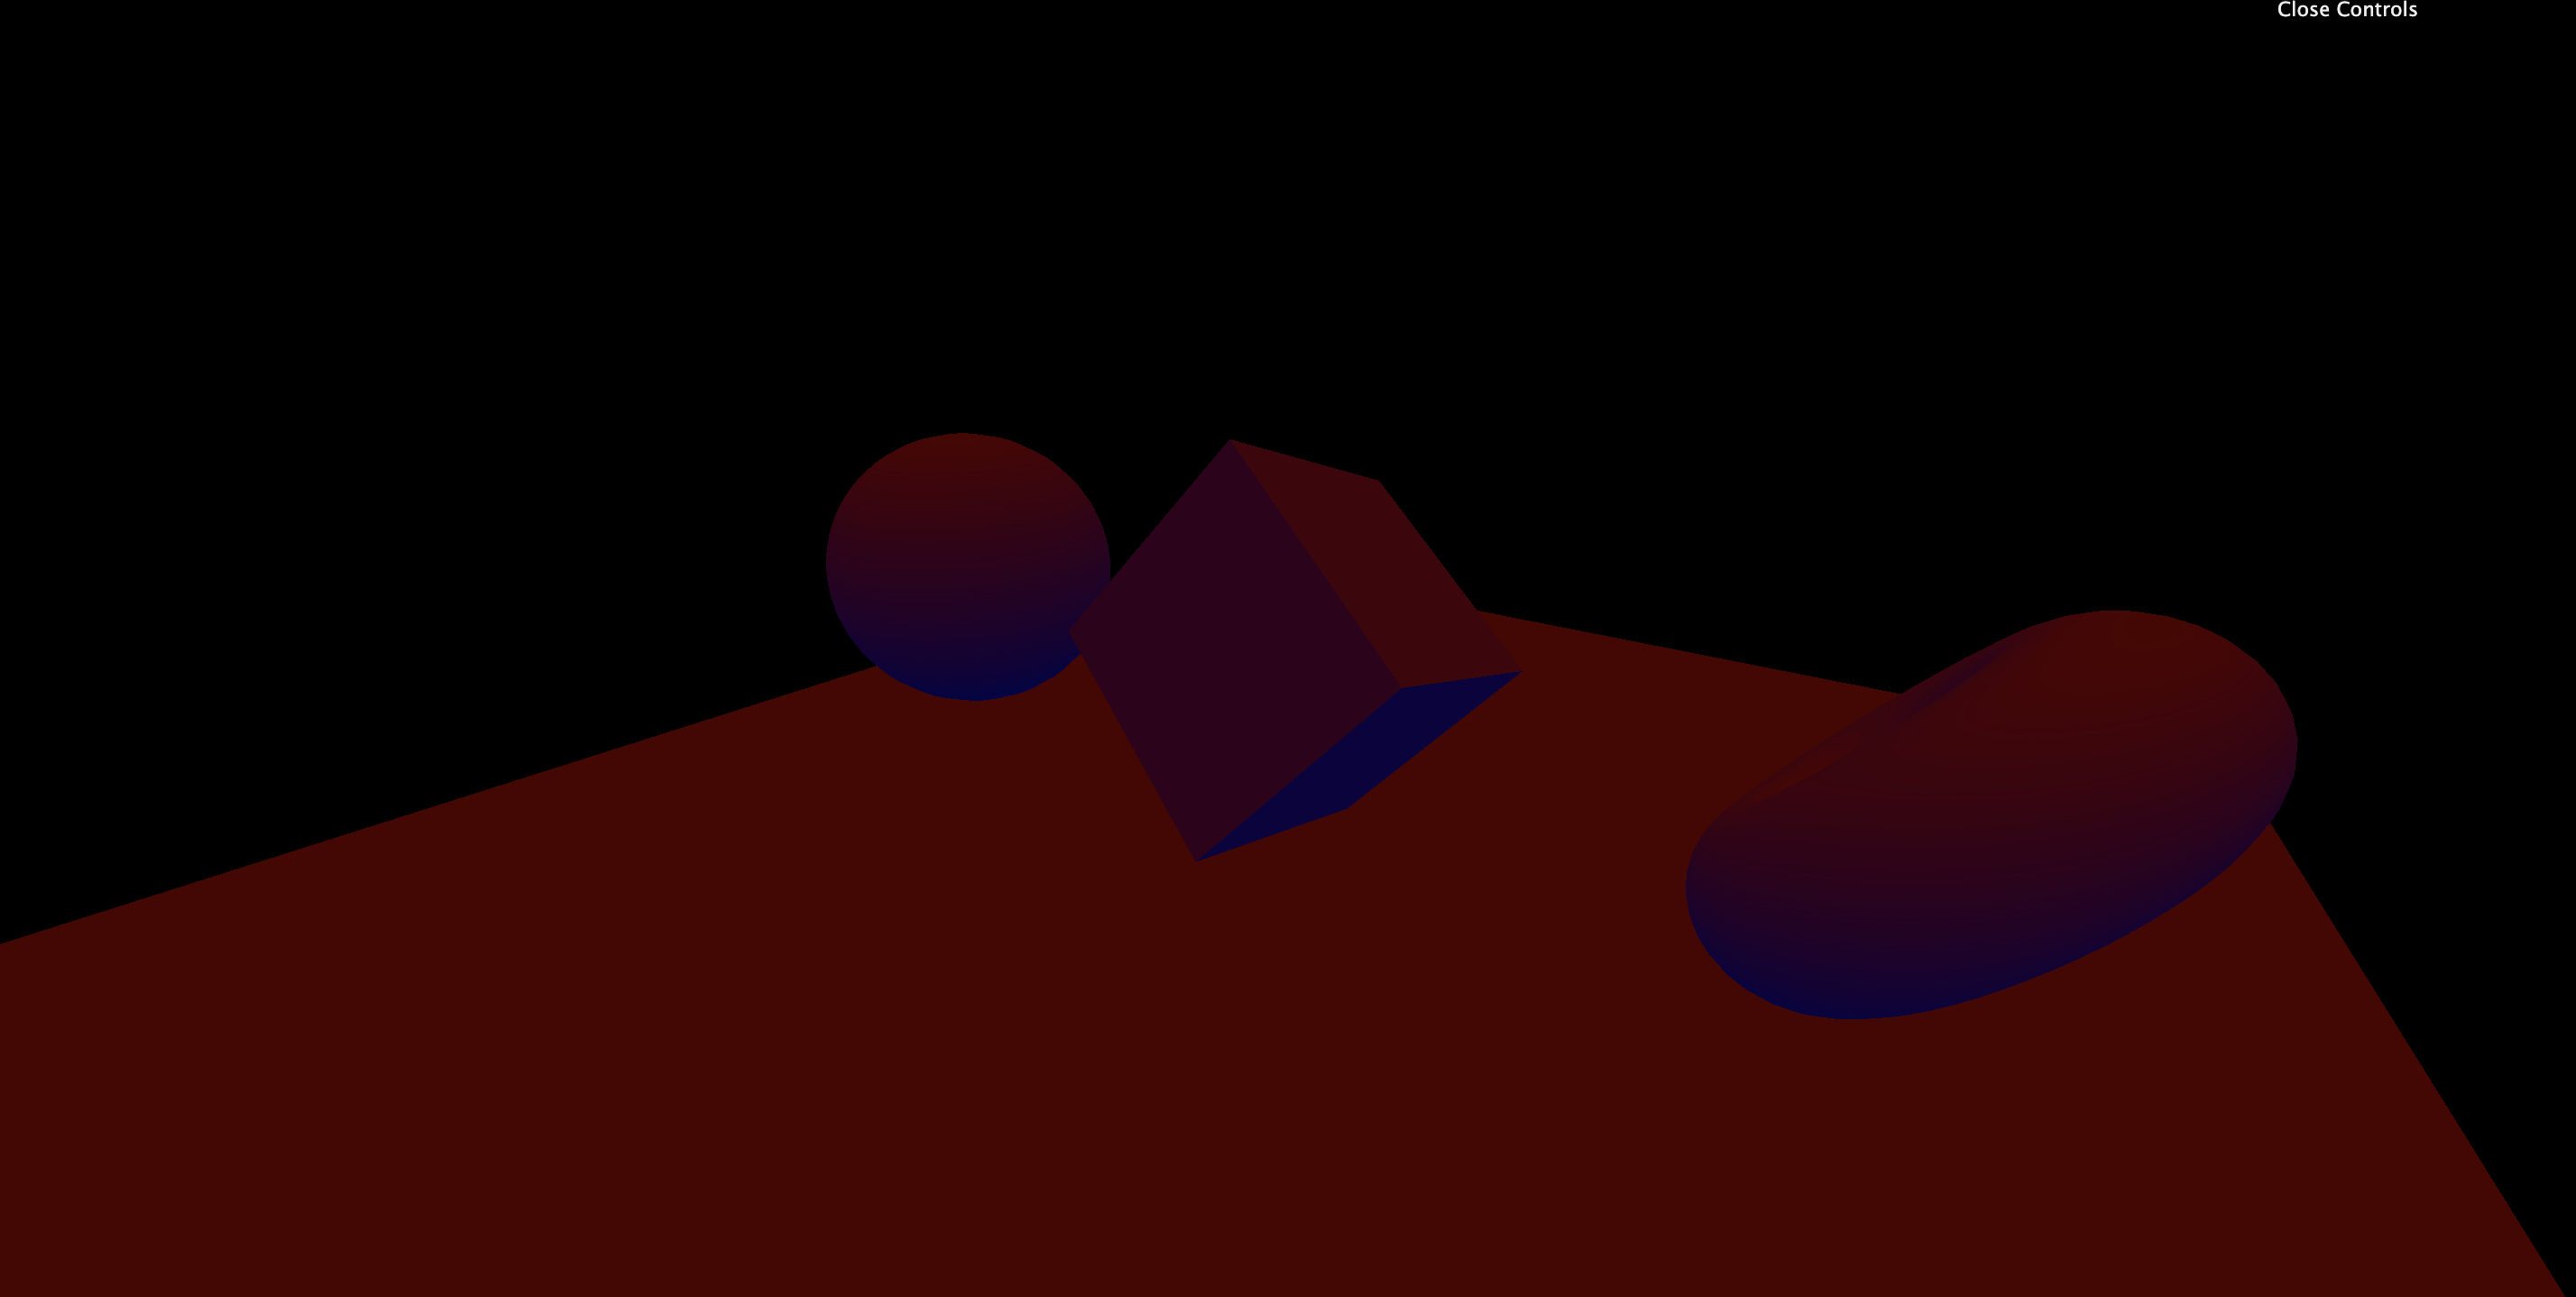
PointLight
모든 방향으로 균일하게 퍼지는 빛.
// 세 번째 네 번째 변수들의 값을 키워주면 물체들이 희미해진다.
const pointLight = new THREE.PointLight(0xff9000, 0.9, 15, 3);
pointLight.position.x = 2;
pointLight.position.y = 3;
pointLight.position.z = 4;
scene.add(pointLight);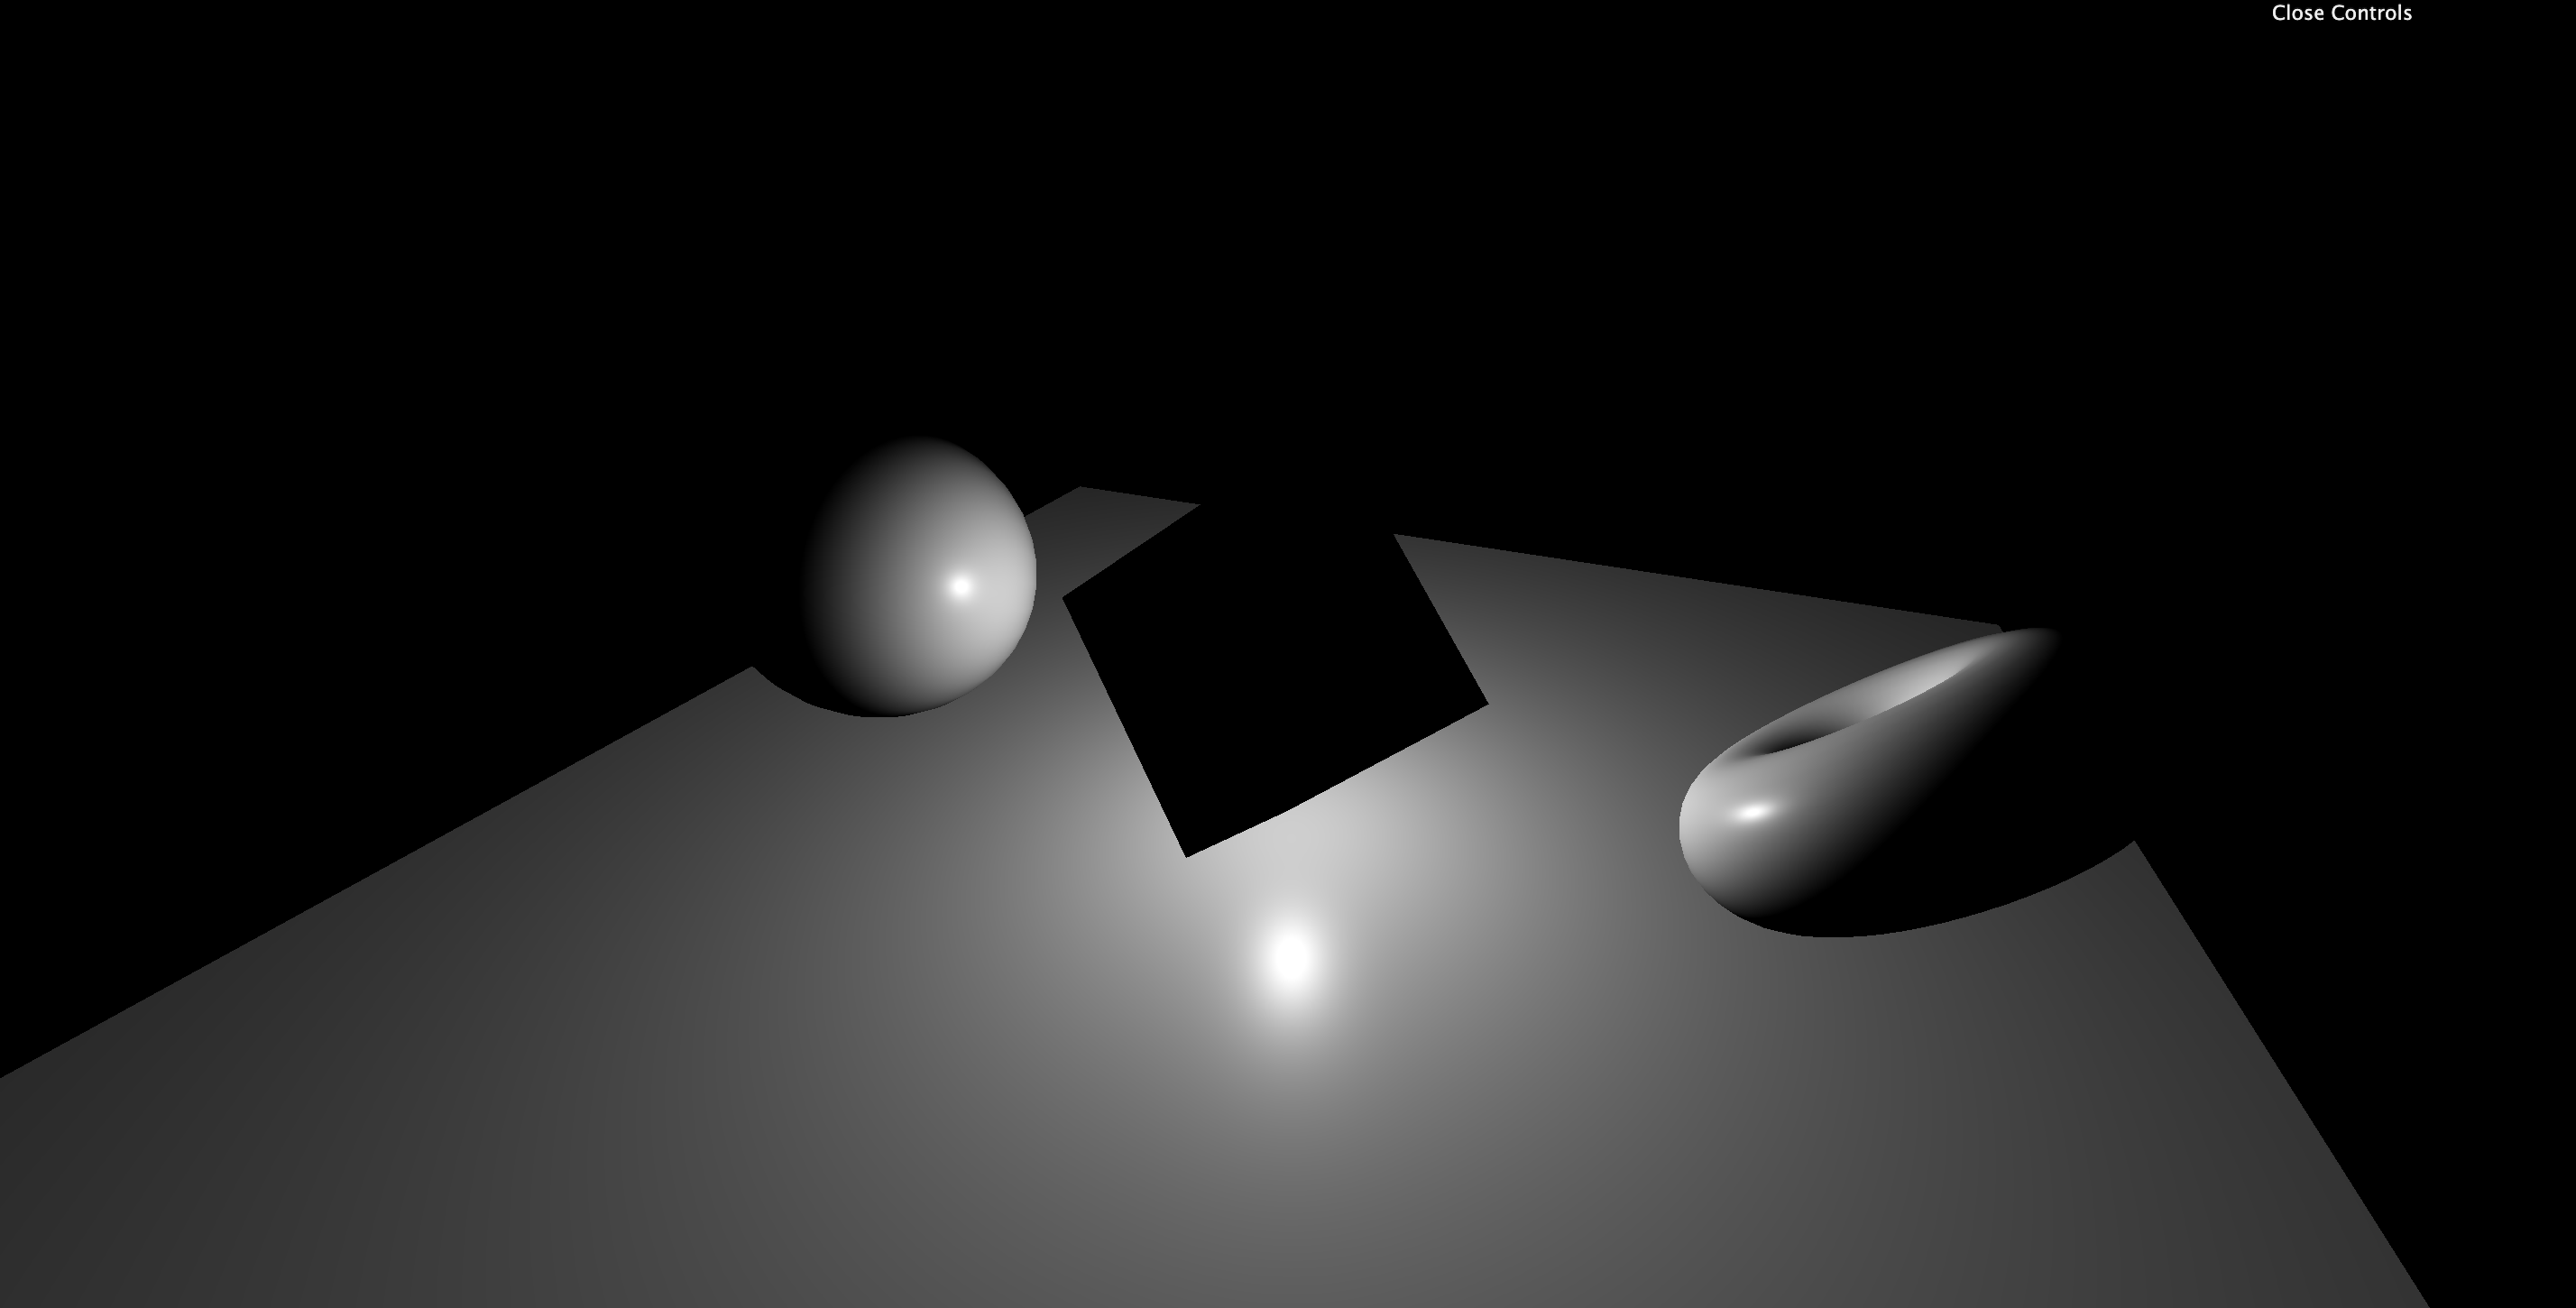
기본적으로 조명의 강도는 희미해지지 않는다. 그러나 세 번째, 네 번째 매개 변수를 설정해 distance와 decay(얼마나 빠르게 빛이 희미해져가는가) 속성을 조절해줄 수 있다.
RectAreaLight
촬영장의 직사각형 조명과 비슷하다. 방향성조명과 확산조명의 중간 형태라고 볼 수 있다. 세 번째 매개변수는 직사각형의 너비, 네 번째 매개변수는 높이이다.
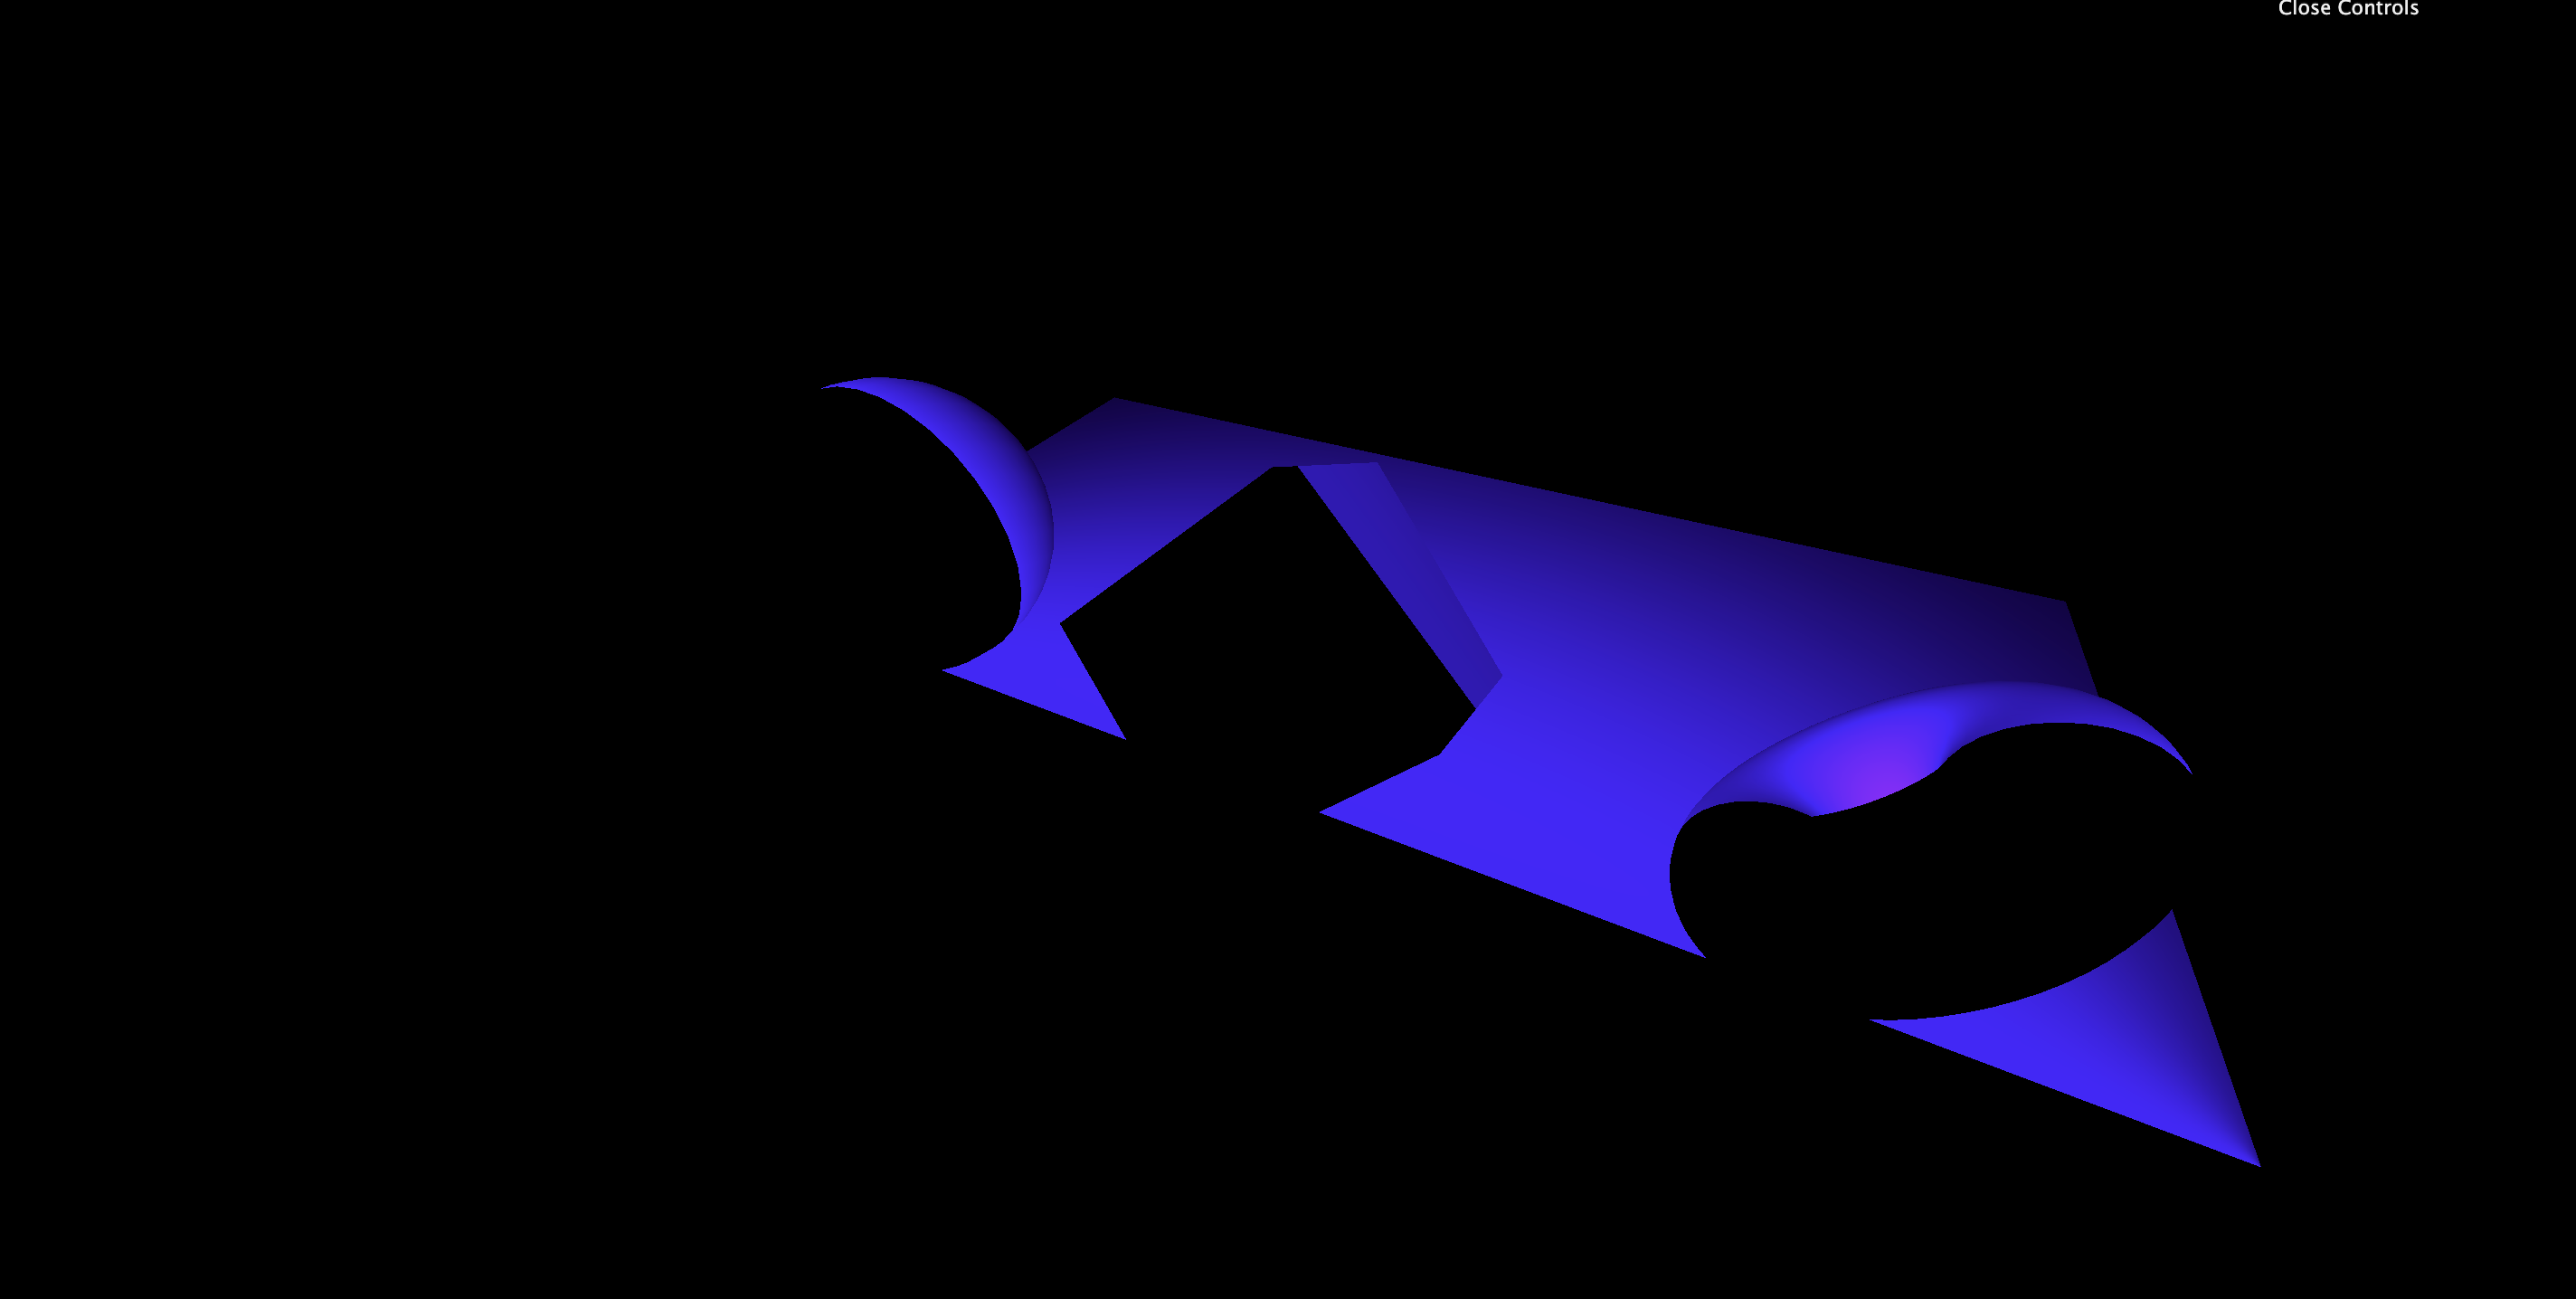
const rectAreaLight = new THREE.RectAreaLight(0x4e00ff, 2, 5, 5);
rectAreaLight.position.set(-1.5, 0, 1.5);
rectAreaLight.lookAt(new THREE.Vector3());
scene.add(rectAreaLight);
RectAreaLight는 MeshStandardMaterial 및 MeshPhysicalMaterial에만 반응한다. 물론 이 조명은 회전과 이동이 가능하다.

SpotLight
손전등. 점에서 시작해 원뿔모양으로 퍼져나간다.
매개변수는 다음과 같다. (color, intensity, distance, angle, penumbram, decay)
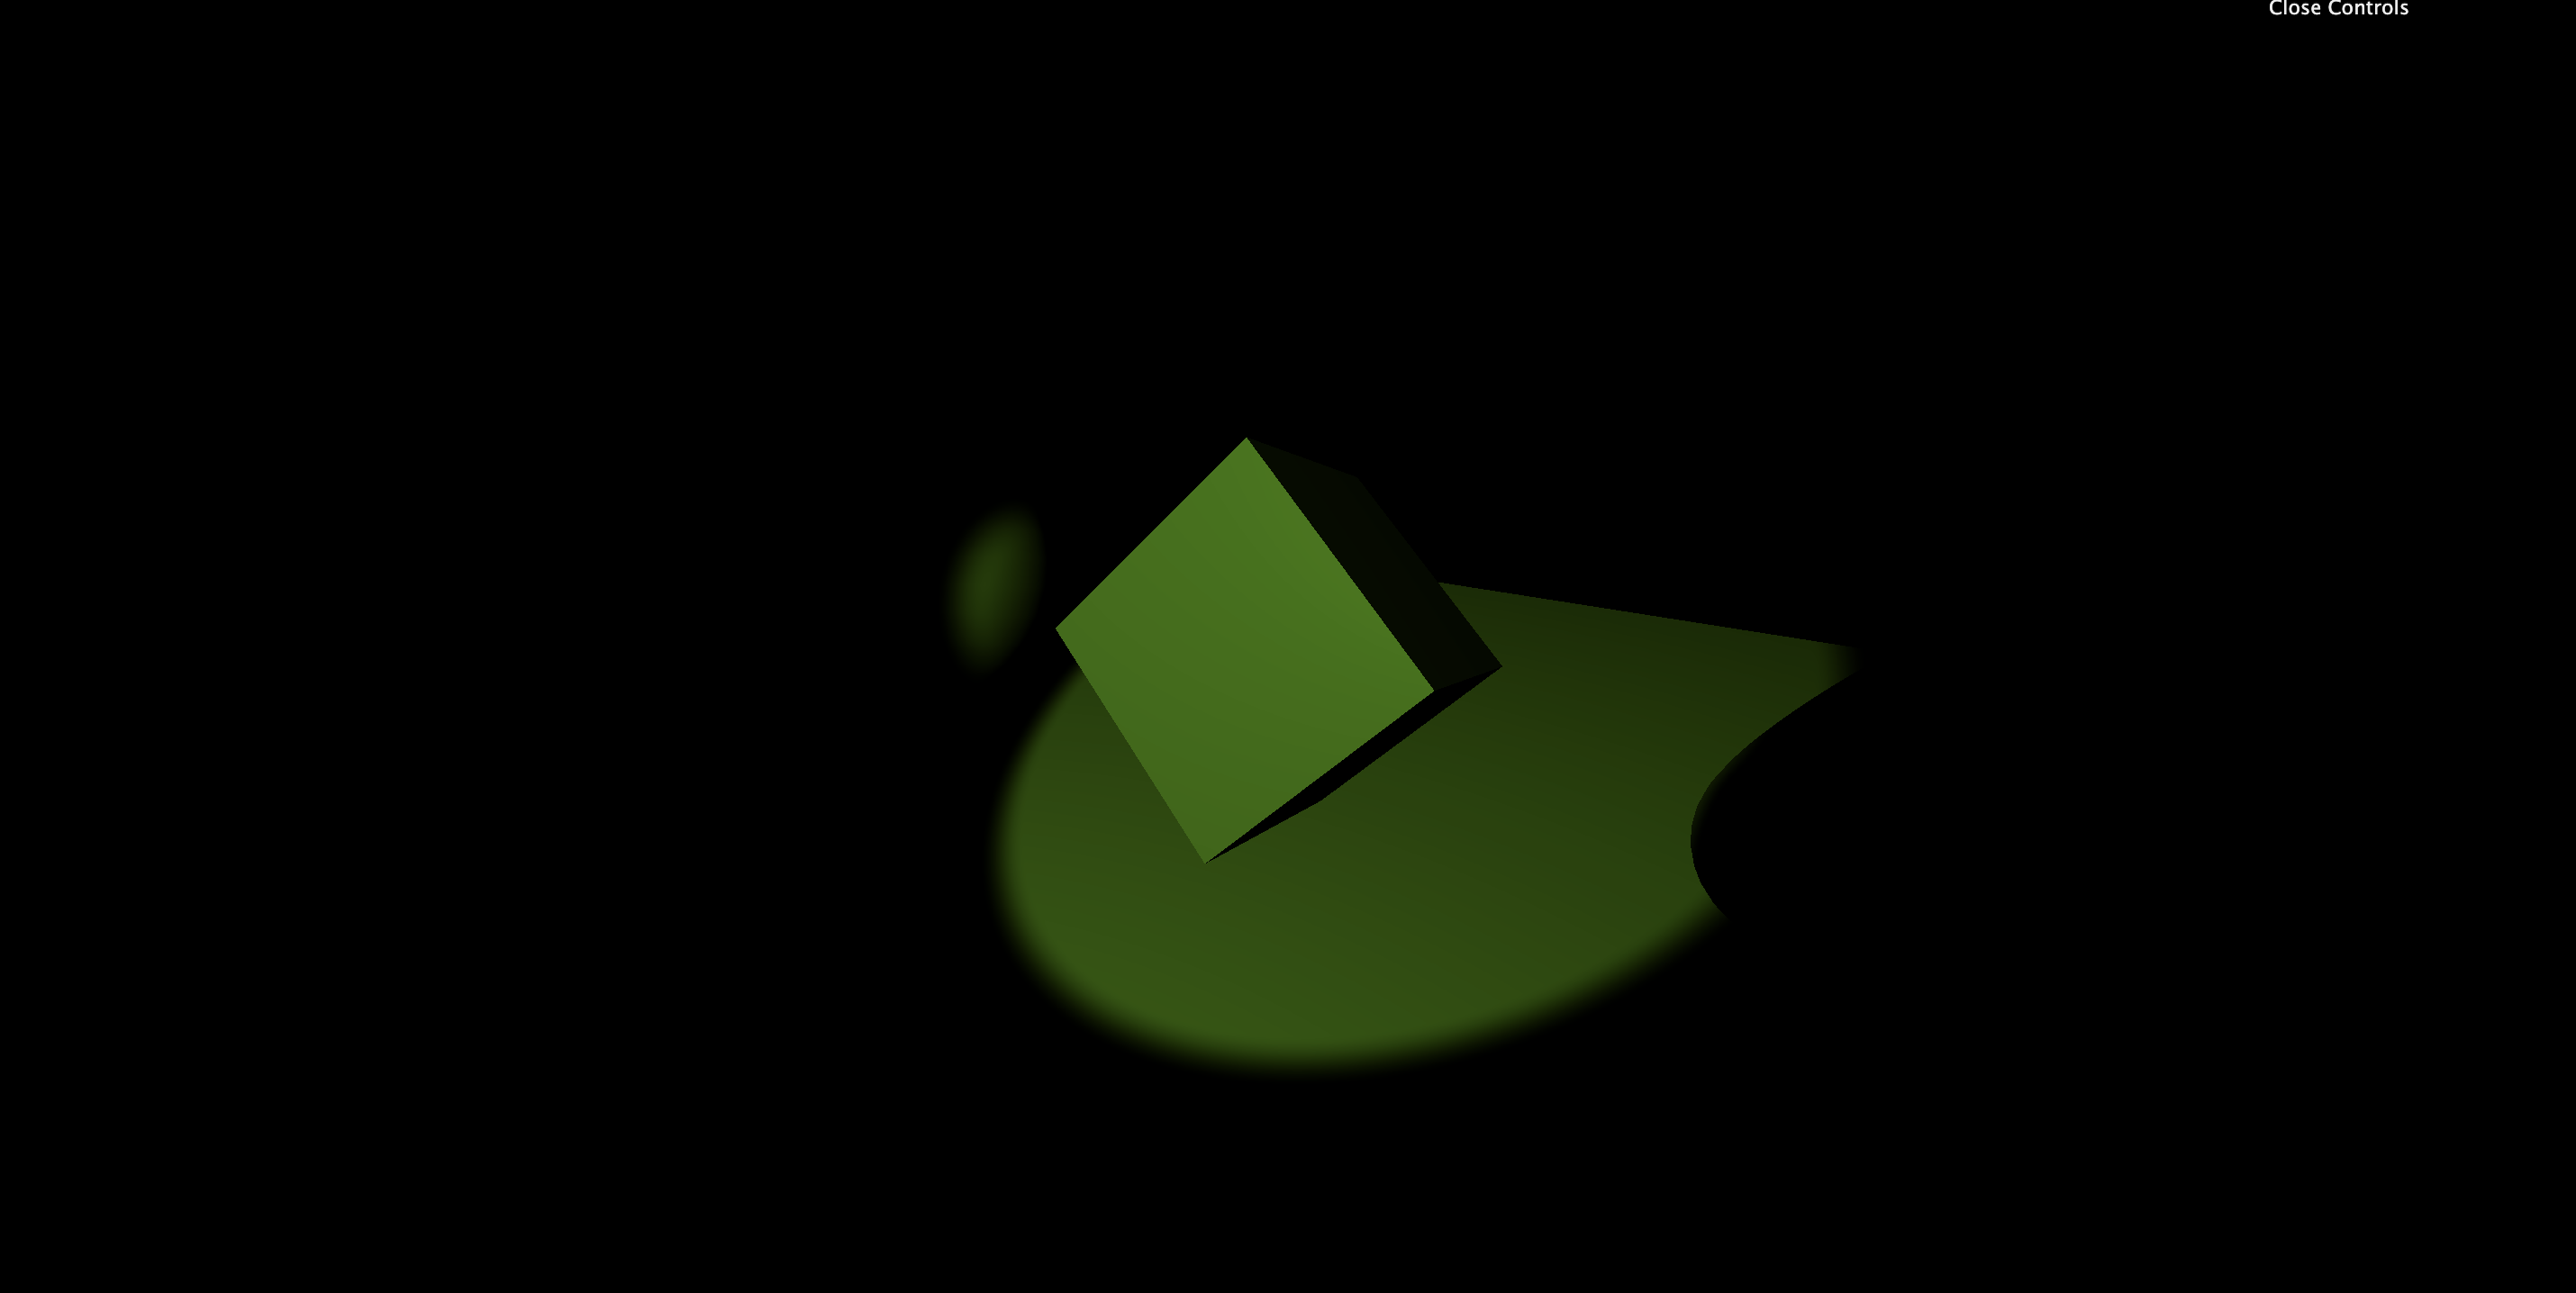
const spotLight = new THREE.SpotLight(0x78ff00, 0.5, 30, Math.PI * 0.1, 0.1, 1);
spotLight.position.set(0, 2, 3);
scene.add(spotLight);

spotLight.target.position.x = -0.75;
scene.add(spotLight.target);
SpotLight는 회전시키기가 어렵다. Object3D 안의 target이라는 걸 항상바라본다. 위치를 변경하려고 해도, SpotLight는 쉽게 움직이지 않는다. target의 포지션을 변경해주고, scene에 add해주면 방향이 변하는 것을 확인할 수 있다.
Performance
조명을 아무렇게나 잘 사용하면 좋겠지만, 조명 별로 성능에 차이가 있다. 그리고 빛은 엄청나게 많은 것들을 계산하기 때문에 비용과 성능을 잘 고려해 조명을 구성하는 것은 몹시 중요하다. 가능한 적은 비용으로 많은 효과를 내어야 한다.
Ambient / Hemisphere
Directional / Point
Spot / RectArea
위에서 아래 순으로 비용이 많이 드는 조명들이다. 성능을 조금만 고민해보면 당연하다.
Baking
사실 조명을 설치하는 것보다는 빛을 텍스쳐에 구워내는 것, 그러니까 object의 면에 아예 애초에 구워내버리는 것이 더 좋은 기술이기는하다. 물론, 이 경우 조명을 이동할 수 없다는 치명적인 단점이 있기는 하지만, 비용 측면에서 몹시 효율적이다. 3D 소프트 웨어를 통해 Baking이 가능하다.
Helpers
AxesHelper가 있듯이, 조명에도 Helper가 존재한다.
const hemisphereLight = new THREE.HemisphereLight(0xff0000, 0x0000ff, 0.3);
scene.add(hemisphereLight);

const hemisphereLightHelper = new THREE.HemisphereLightHelper(
  hemisphereLight,
  0.2
);
scene.add(hemisphereLightHelper);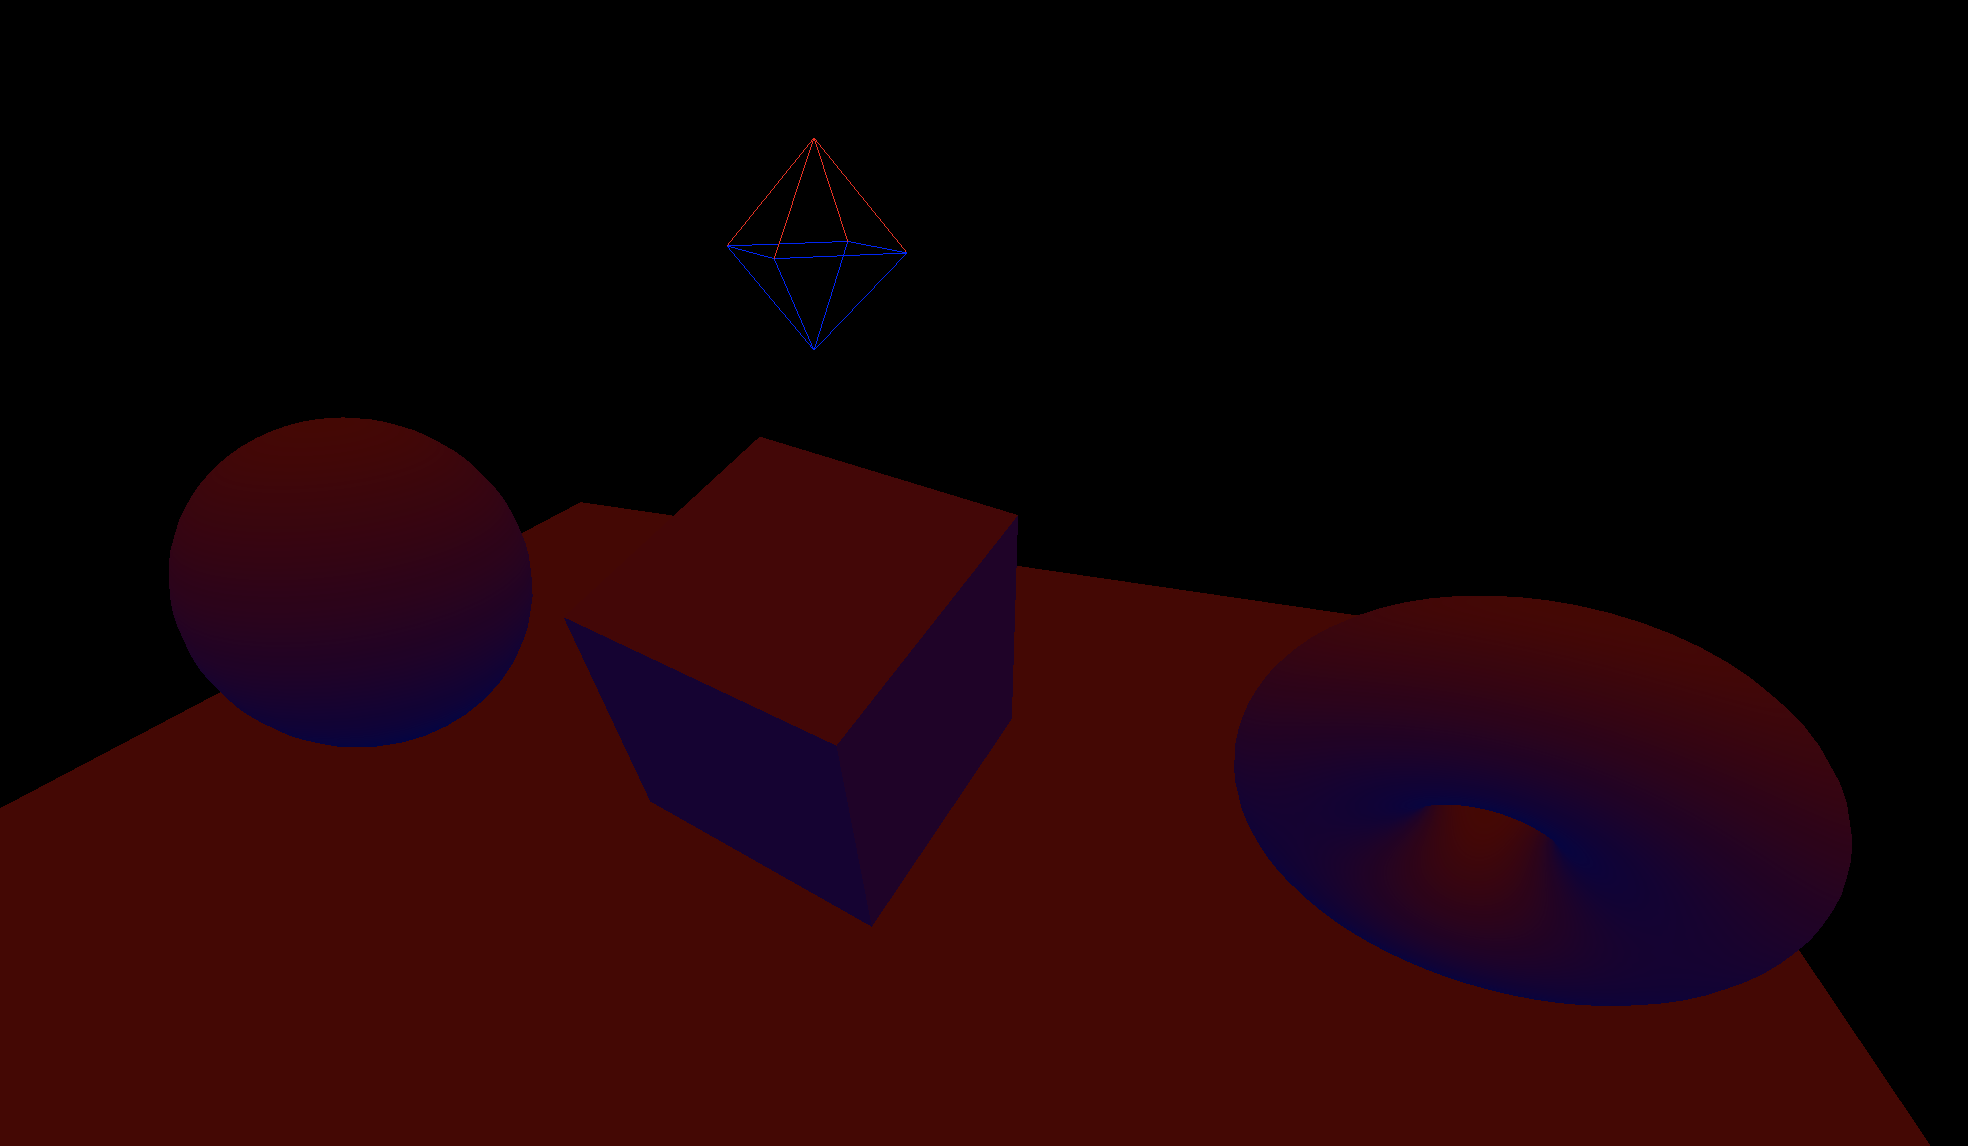
희미하게 보이지만 위에 둥둥 떠있는 것이 Helper!
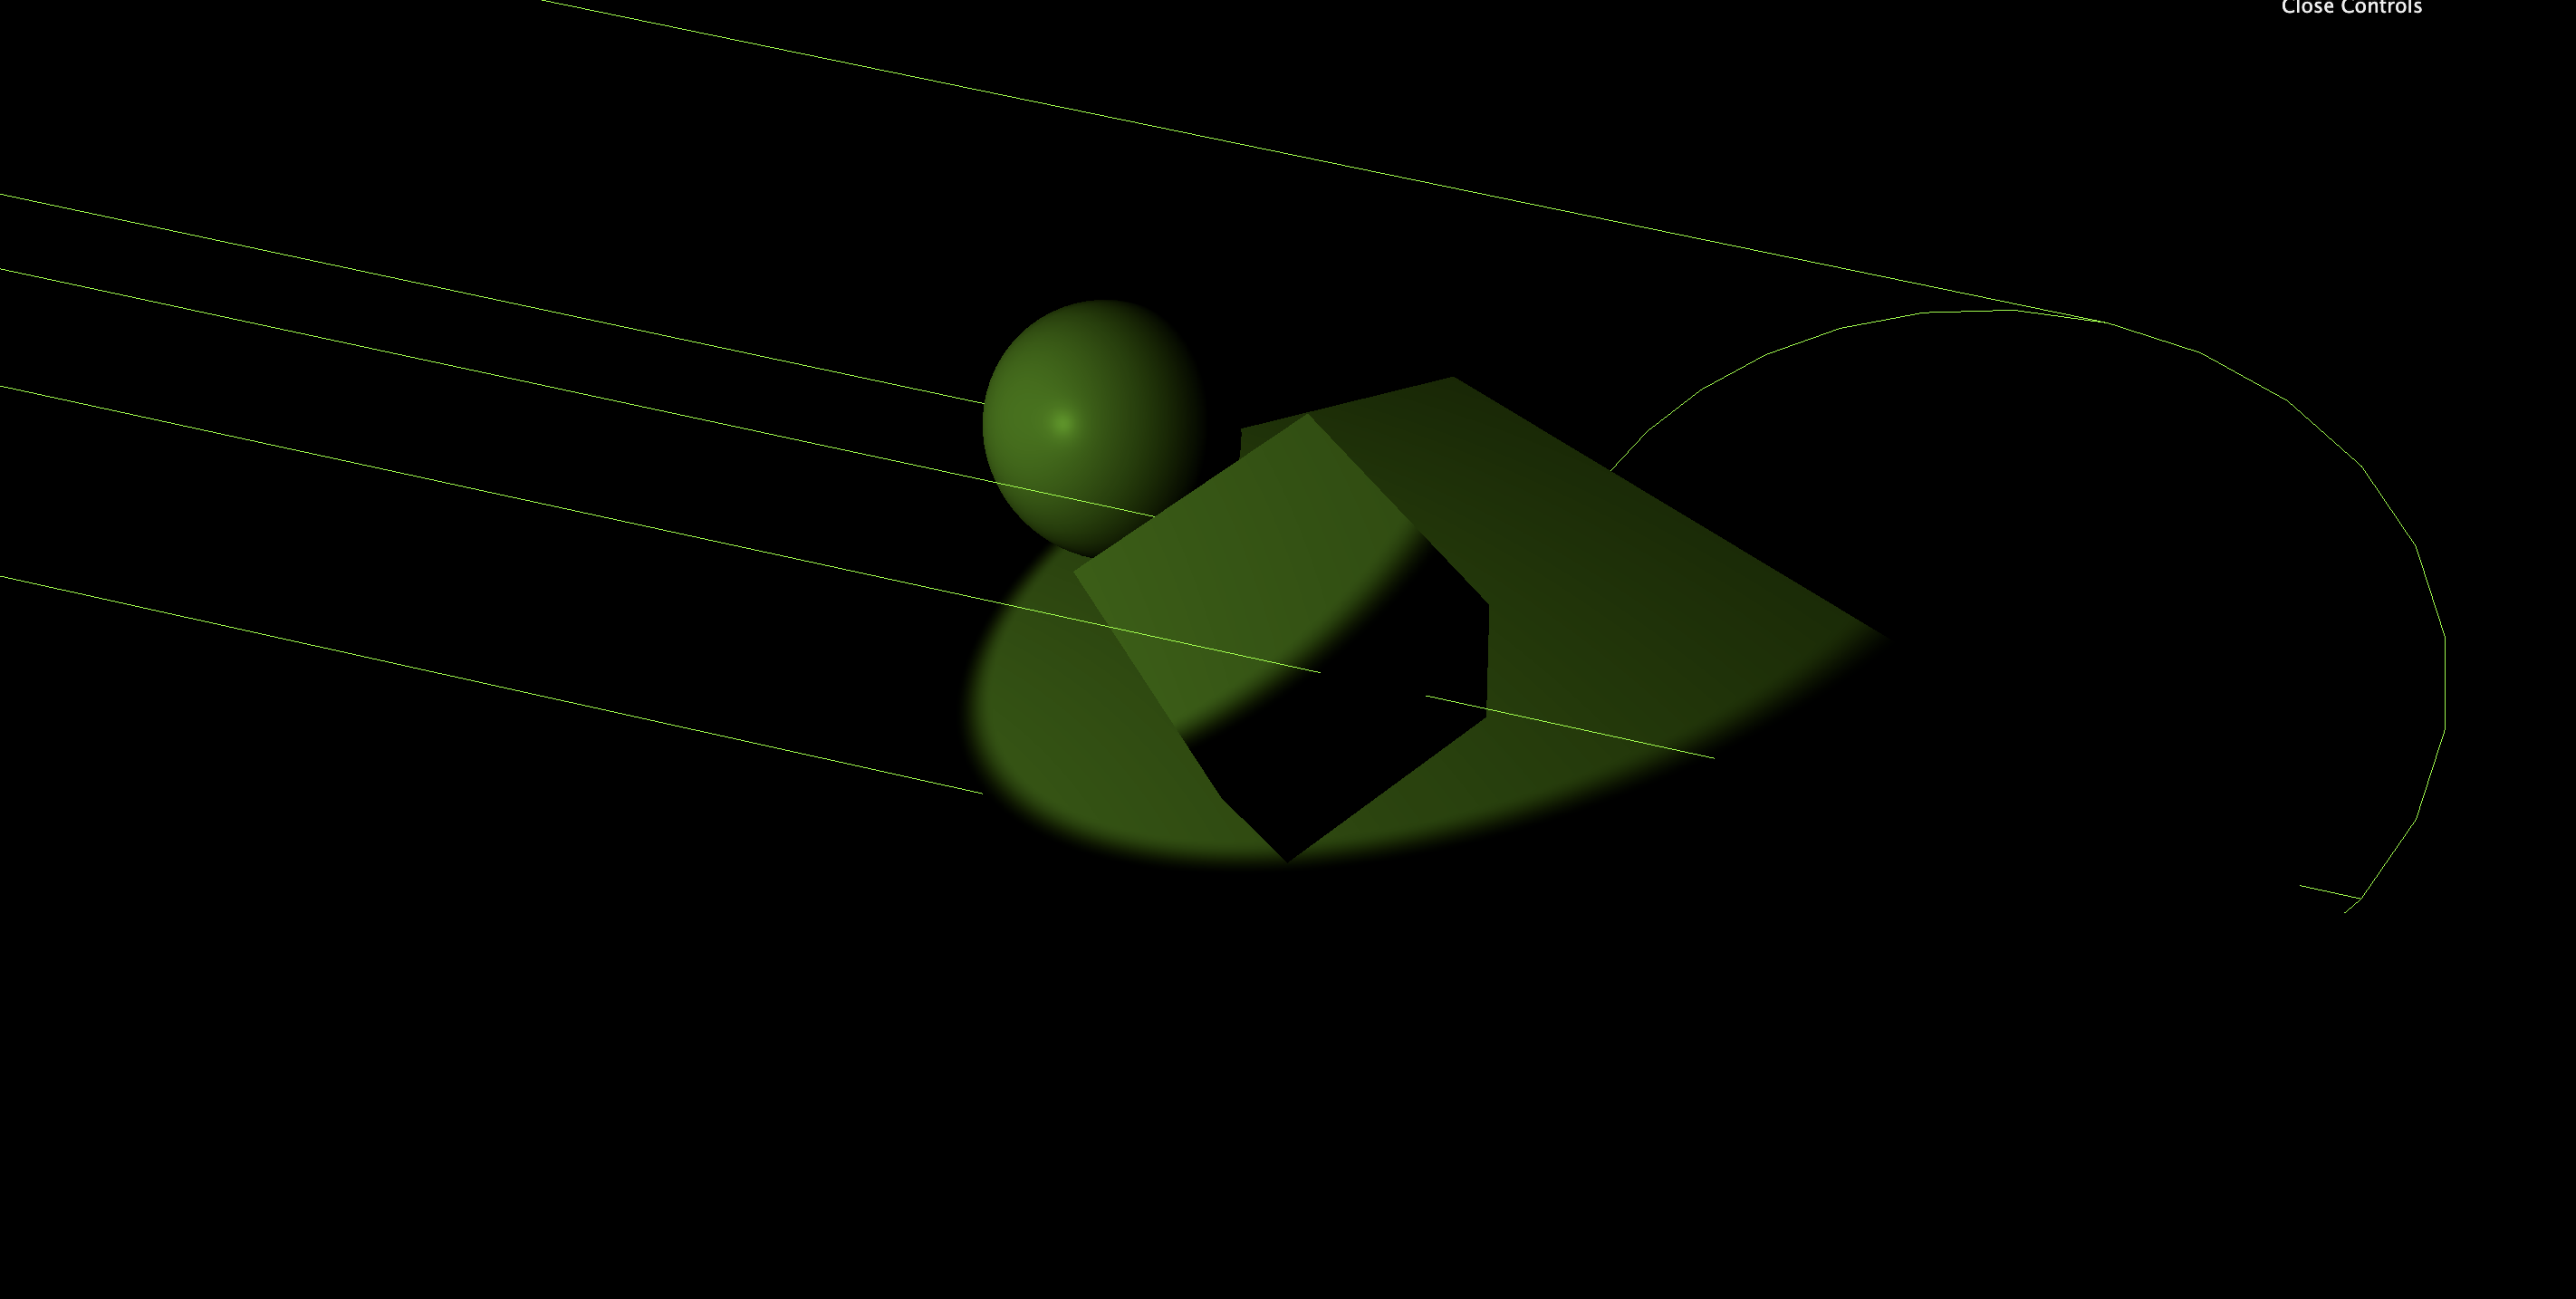
spotLightHelper는 좀 예외!
일단 크기를 결정하는 매개변수가 없으며, 대상을 이동하고 나서 update 메서드를 호출해주어야 한다.
const spotLightHelper = new THREE.SpotLightHelper(spotLight);
scene.add(spotLightHelper);
window.requestAnimationFrame(() => {
  spotLightHelper.update();
});
RectLightHelper도 따로 알아보자
OrbitControl 따로 import 해주었던 것과 같이 RectLightHelper도 따로 import해주어야 한다!
import { RectAreaLightHelper } from 'three/examples/jsm/helpers/RectAreaLightHelper.js'

const rectAreaLightHelper = new RectAreaLightHelper(rectAreaLight)
scene.add(rectAreaLightHelper)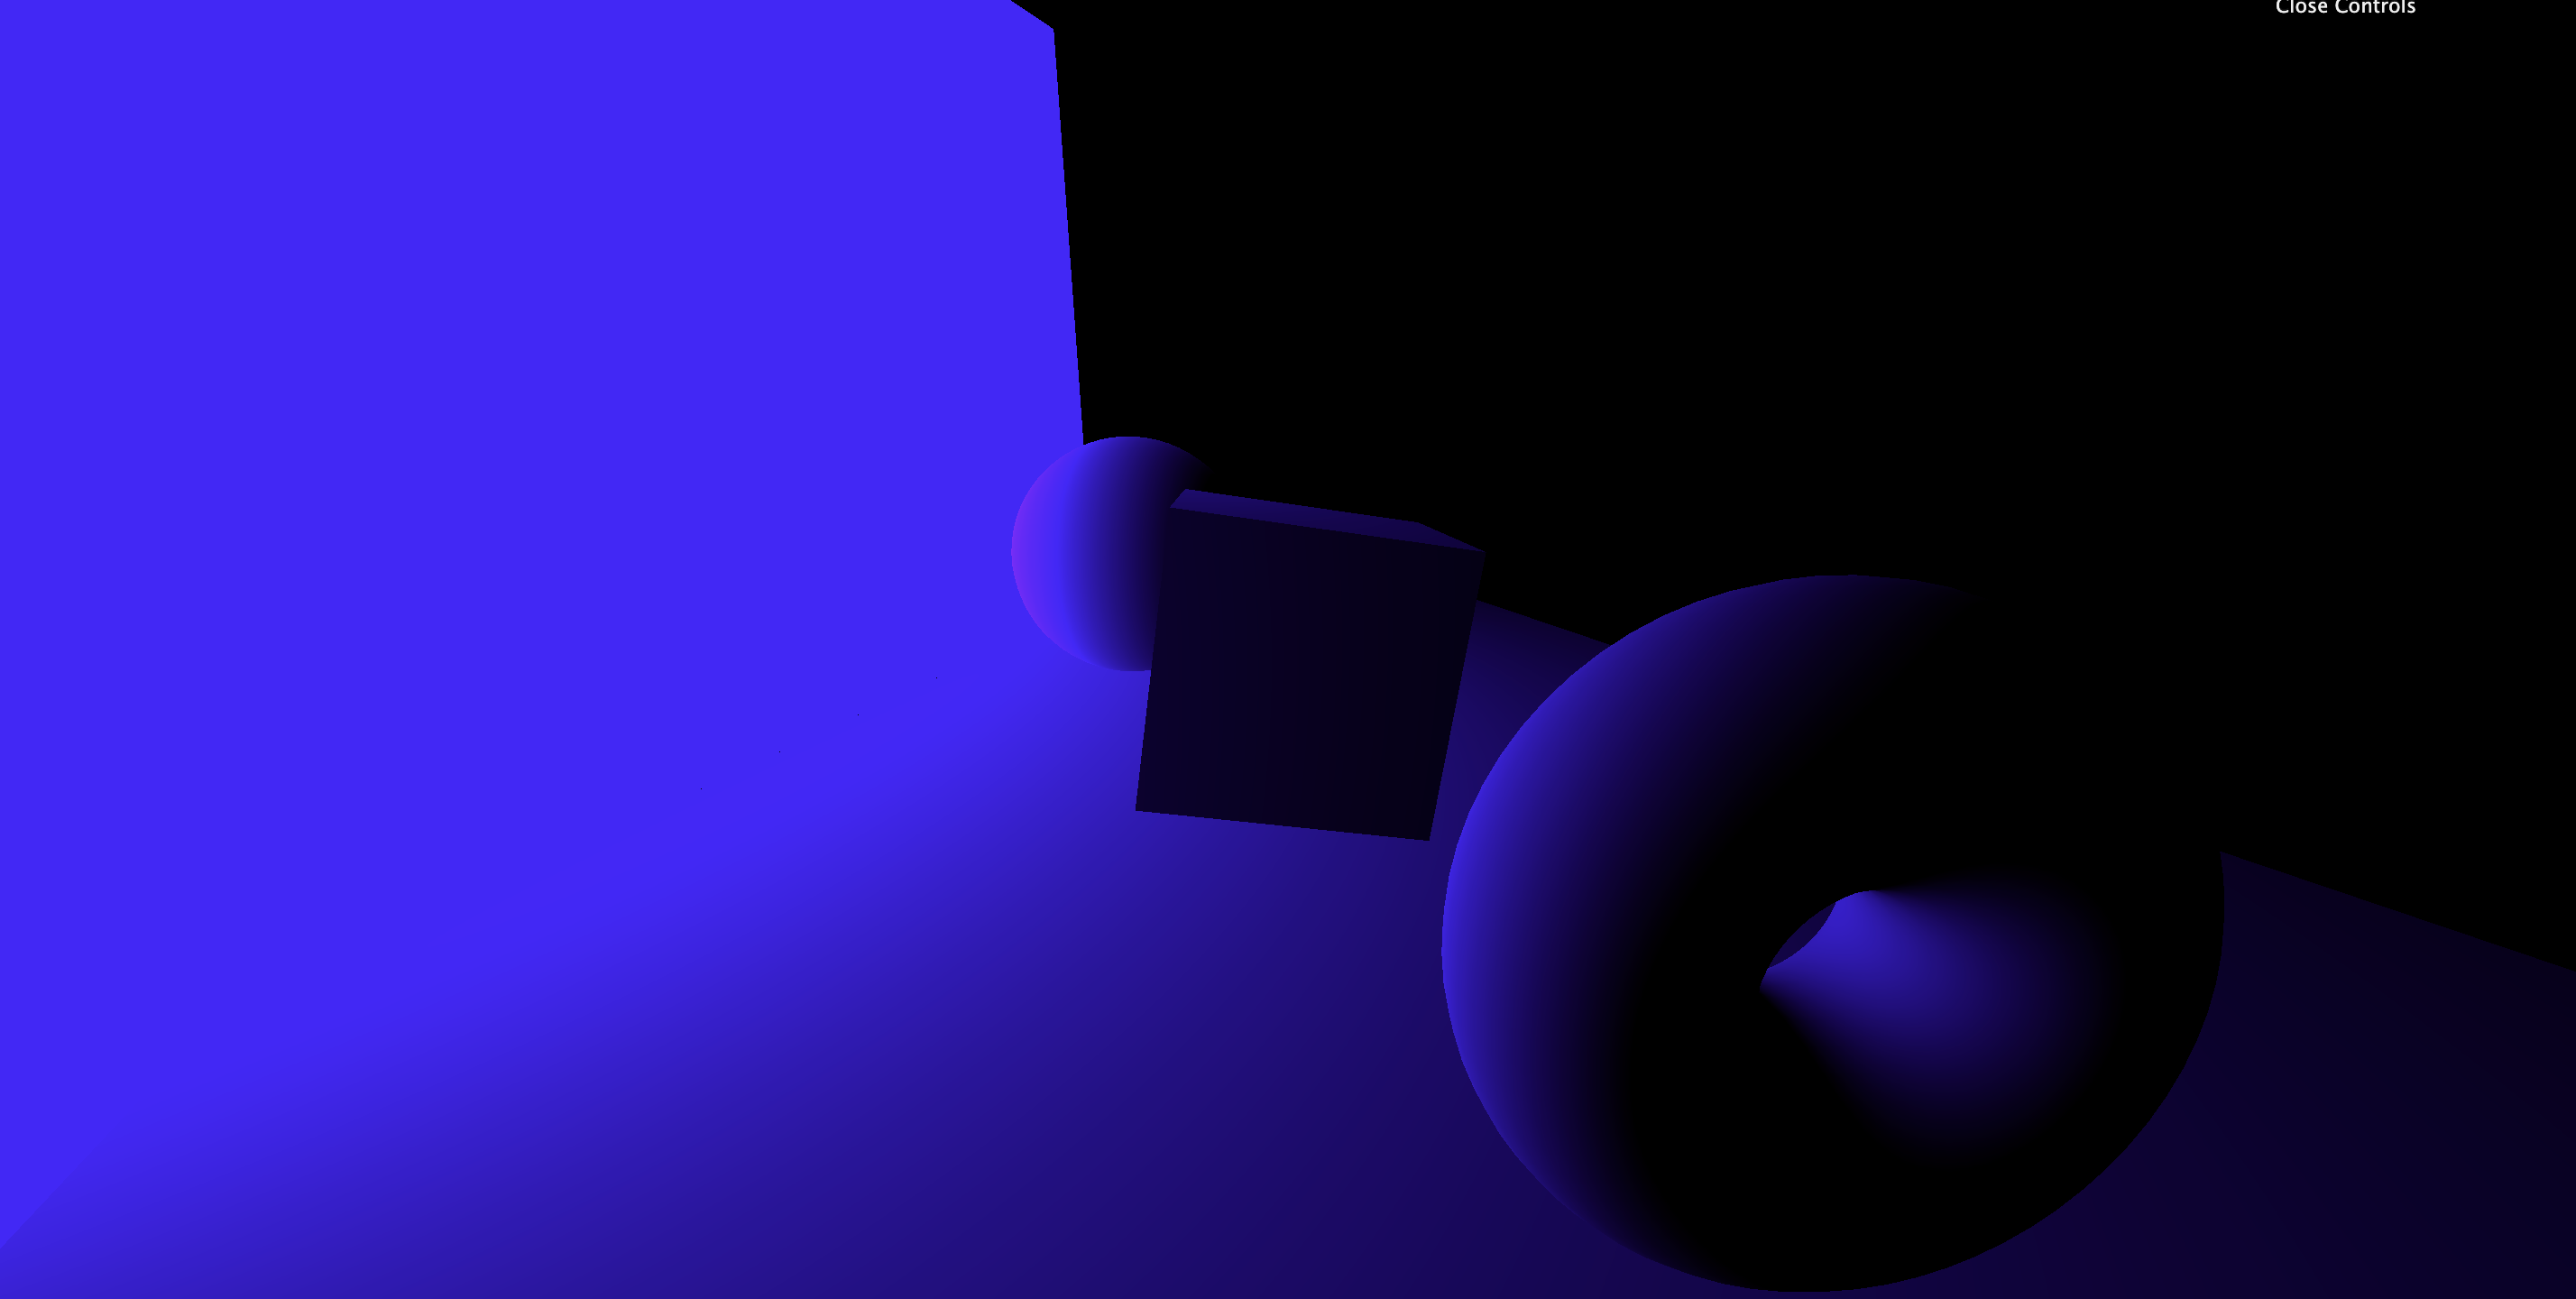

혹시 셋업 코드를 좀 알 수 있을까요
바닥이 나오지 않고 그냥 도형만 둥둥 떠다녀서 밑에 그림자를 확인하기가 어렵습니다.