HI~ Today, I'm documenting my journey of diving into Git~, and successfully deploying a personal web invitation page using GitHub Pages.
1. Git and GitHub
- Git : A version control tool and program that operates locally on my computer. It acts as an engine to track and manage changes in the source code.
- GitHub : A cloud-based web service where Git repositories are hosted. It serves as a collaboration platform, providing powerful features like Pull Requests, Issues, and Code Reviews.
In Short, Git is the 'version control engine', while GitHub is the 'service for collaboration and sharing'
2. Core Keywords- Commit & Branch
- Commit : A unit of record that saves changes as a specific version. It creates a snapshot of the code, and the key is to leave as clear message explaining 'what was changed and why'.
- Branch : An independent, virtual workspace. IT allows you to develop new features safely without messing up the existing, stable. Multiple features can be developed simultaneously and merged back later.
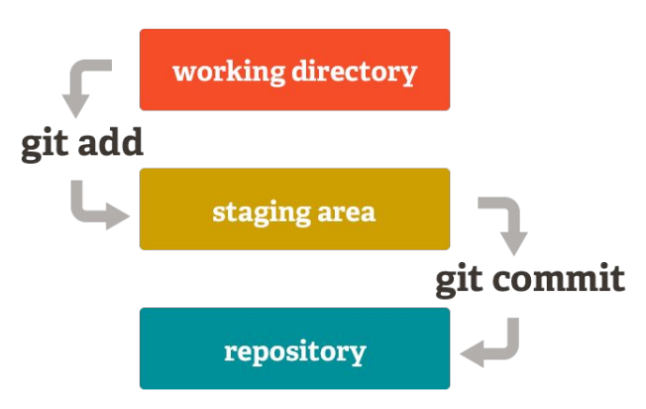
3. Git's 3 Structural Areas
- Working Directory : The actual project folder on my computer where I edit files.
- Staging Area : A temporary "shopping cart" where files are gathered before making a snapshot. We use the 'git add' command here.
- Repository : The secure 'vault' where the staged files are permanently saved with a label. We use the 'git commit' command here.
4. Branch Management Strategy
I also explored how professional teams structure and manage their branches effectively.
1. Main - The most stable version, always ready for production/ deployment.
2. Dev - The central integration branch where newly developed features are merged and tested.
3. Feature - Dedicated branches used to develop individual features independently.
4. Hotfix - Urgent branches created to quickly fix bugs found dirsctly in the productionmainenvironment.
5. Step by step Guide to Creating the Invitation Page
step 1. Initialize the Local Repositoty - init
Open the terminal-powershell- and initialize the project folder so Git can start tracking.
- command : git init -- this creates a hidden '.git'folder inside your directoty
step 2. Create a File and First Commit - add , commit
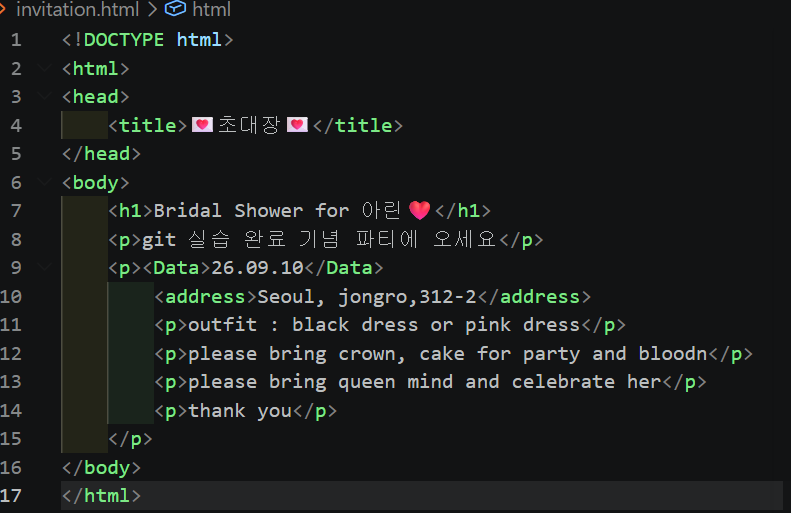
Open vs code, create the 'invitation.html'file, write the markup, and log the very first version.
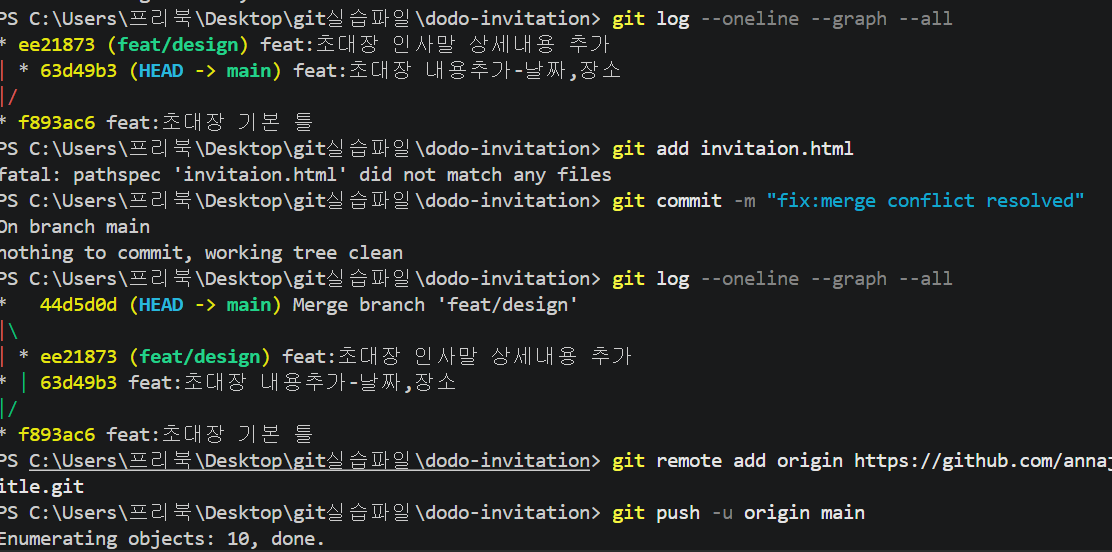
- command : 'git add invitation.html'-stage the file , 'git commit -m "feat: invitation base"'-commit the file to the vault
step 3. Feature Development & Merging - branch , merge
keep the original codebase safe while experimenting with new styling or designs on a separate branch.
1. Create and switch to a design branch: 'git switch -c feat/design'
2. After editing, return to the main line with 'git switch main' and combine them via 'git merge feat/design'
- Key Check point : Since there were no divergent changes, Git performed a clean 'Fast-forward' merge, simply moving the main pointer forward.
step 4. Connect to GitHub & Upload - remote , push
Publish the local work to the cloud repository so it can be accessed globally.
1. link the remote repository : 'git remote add origin [my URL]'
2. push the code : 'git push -u origin main'
step 5. Web Deployment via GitHub Pages
- Navigate to 'settings' > 'pages' within your GitHub repository.
- Under the branch configuration, select 'main' and click 'save'.
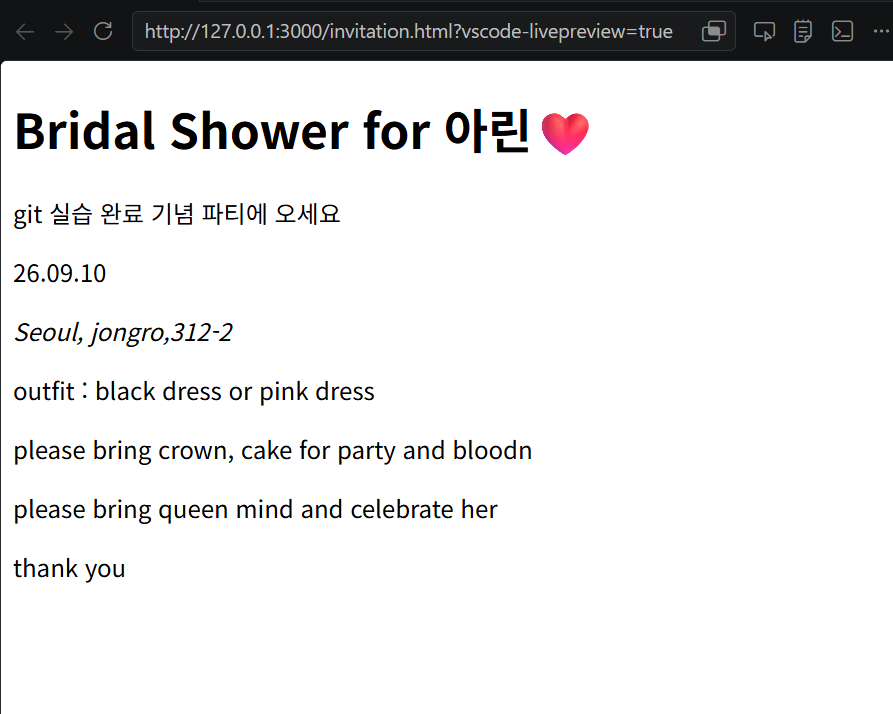
- After a brief moment, click the generated URL link to confirm your live invitation page works flawlessly across the globe.