최종프로젝트
디테일 페이지 지도
- kakao에서 제공하는 자바스크립트 코드를
index.html에 넣어준다.
 <script
      type="text/javascript"
      src="//dapi.kakao.com/v2/maps/sdk.js?appkey={API_KEY}&libraries=services,clusterer"
></script>- 지도를 만들어 줄
div 태그에 이름을 지정하고 지도를 만들 때 사용한다. - 사용할 컴포넌트에서
window.kakao.map ...을 이용해서map과 관련된 함수를 사용한다.
import { useEffect, useRef } from 'react';
import { useLocation } from 'react-router-dom';
import styled from 'styled-components';

// map를 호출해서 detailData.lat, detailData.lon의 위치를 마커표시해준다.

const DetailMap = () => {
  const MapRef = useRef(null);
  const { state: detailData } = useLocation();

  const detailLocation = new window.kakao.maps.LatLng(
    detailData.lat,
    detailData.lon,
  );

  useEffect(() => {
    let options = {
      //지도를 생성할 때 필요한 기본 옵션
      center: detailLocation, //지도의 중심좌표.
      level: 3, //지도의 레벨(확대, 축소 정도)
    };

    let map = new window.kakao.maps.Map(MapRef.current, options); //지도 생성 및 객체 리턴

    const zoomControl = new window.kakao.maps.ZoomControl();
    map.addControl(zoomControl, window.kakao.maps.ControlPosition.RIGHT);

    new window.kakao.maps.Marker({
      map,
      position: detailLocation,
    });
  }, []);

  return <DetailPageMap ref={MapRef}></DetailPageMap>;
};

export default DetailMap;

const DetailPageMap = styled.div`
  width: 500px;
  height: 500px;
`;
날씨 API / 미세먼지 API
openweather.org에서 제공하는 API를 사용하여 구현한다.- api.ts에서
axios를 사용하여 get함수를 만들어준다. - component에서
useQuery를 사용해서 api를 호출하였다.
// api.ts

import axios from 'axios';

interface getDetailWeatherData {
  lat: string;
  lon: string;
  api: string;
}

const OPENWEATHER_URL = 'https://api.openweathermap.org/data/2.5';

export const getDetailData = async () => {
  const { data } = await axios.get('http://localhost:3010/Store');
  return data;
};

export const getDetailWeatherData = async ({
  lat,
  lon,
  api,
}: getDetailWeatherData) => {
  const { data } = await axios.get(
    `${OPENWEATHER_URL}/weather?lat=${lat}&lon=${lon}&appid=${api}&lang=kr&units=metric`,
  );
  return data;
};

export const getDetailAirPollutionData = async ({
  lat,
  lon,
  api,
}: getDetailWeatherData) => {
  const { data } = await axios.get(
    `${OPENWEATHER_URL}/air_pollution?lat=${lat}&lon=${lon}&appid=${api}`,
  );
  return data;
};
// DetailWeather.tsx
import { useQuery } from 'react-query';
import { useLocation } from 'react-router-dom';
import {
getDetailAirPollutionData,
getDetailWeatherData,
} from '../../../services/api';
const API_KEY = '';
interface airPollutionChangeTheText {
[key: string]: string | number;
}
const DetailWeather = () => {
const { state: detailData } = useLocation();
const queryProps = {
lat: detailData.lat,
lon: detailData.lon,
api: API_KEY,
};
// 날씨 데이터 가져오는 함수
const { data: weatherData } = useQuery('weather', () =>
getDetailWeatherData(queryProps),
);
// 미세먼지 데이터 가져오는 함수
const { data: airPollutionData } = useQuery('airpollution', () =>
getDetailAirPollutionData(queryProps),
);
// 미세먼지가 숫자로 표시되어 문자로 변환하기 위한 상수
const airPollutionChangeTheText: airPollutionChangeTheText = {
1: '매우 좋음',
2: '좋음',
3: '보통',
4: '나쁨',
5: '매우 나쁨',
};
return (
<div>
<h3>날씨 : {weatherData?.weather[0].main}</h3>
<h3>온도 : {weatherData?.main.temp}도</h3>
<h3>
미세먼지 :{' '}
{airPollutionChangeTheText[airPollutionData?.list[0].main.aqi]}
</h3>
</div>
);
};
export default DetailWeather;지도UI
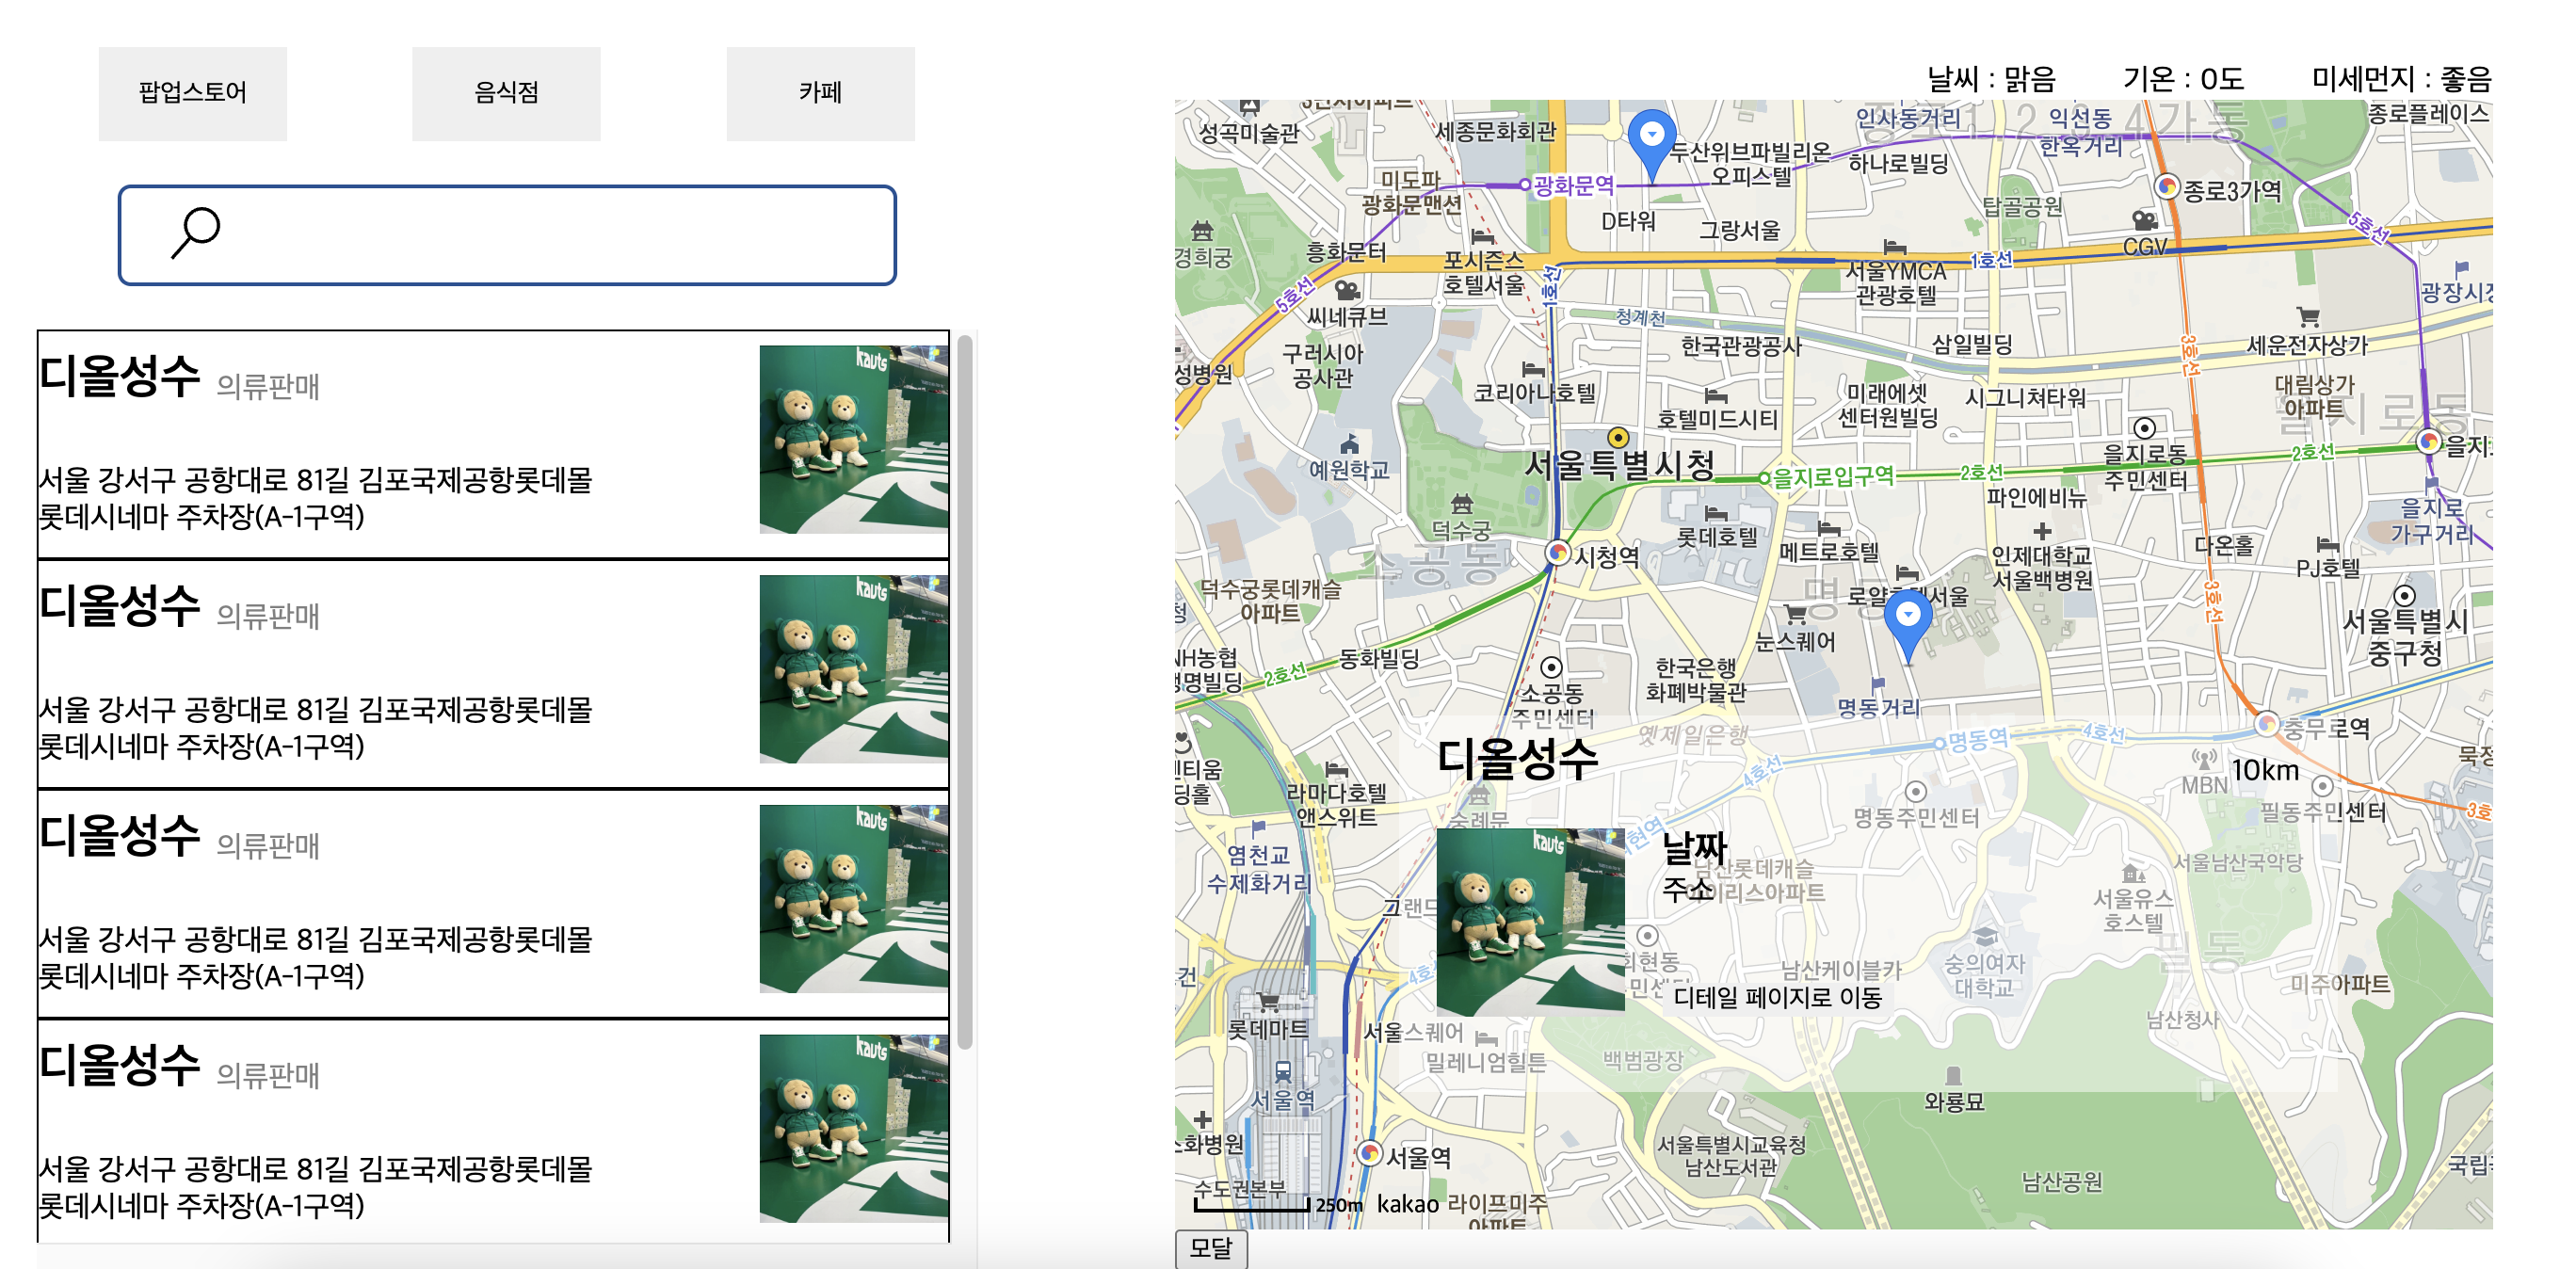
- 지도 페이지의 UI를 만들었는데, 와이어프레임 단계라서 위치와 간단한 박스만 만들었다.
- 지도를 쓸 것이기 때문에 여기서도 지도를 불러왔다.

취준 개발자