이벤트 처리
DOM의 이벤트 처리 방식과 비슷하지만...
- 카멜 케이스(camelCase) 를 사용
{ }속의 이벤트 처리 함수(이벤트 핸들러, Event handler)로 전달
onChange
이 속성이 들어간 태그의 값이 바뀔 때마다 발생하는 이벤트
function NameForm() {
  const [name, setName] = useState("");

  const handleChange = (e) => {
    setName(e.target.value);
  }

  return (
    <div>
      <input type="text" value={name} onChange={handleChange}></input>
      <h1>{name}</h1>
    </div>
  )
};
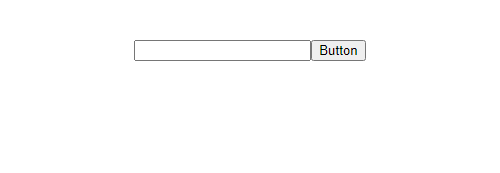
onClick
클릭 하였을 때 발생하는 이벤트
function NameForm() {
  const [name, setName] = useState("");

  const handleChange = (e) => {
    setName(e.target.value);
  }

  return (
    <div>
      <input type="text" value={name} onChange={handleChange}></input>
      <button onClick={alert(name)}>Button</button>
      <h1>{name}</h1>
    </div>
  );
};
위와 같이 onClick에서 함수를 바로 실행시켜 버린다면
State가 바뀔 때마다 새로 렌더링 되면서
onClick에 있는 함수가 그 때마다 실행되어버린다
함수를 실행한 것이 아닌 함수 자체를 넣어준다
onClick내에서 익명 함수로 전달
<button onClick={() => alert(name)}>Button</button>- 함수 자체를 전달
const handleClick = () => {
  alert(name);
};
...
<button onClick={handleClick}>Button</button>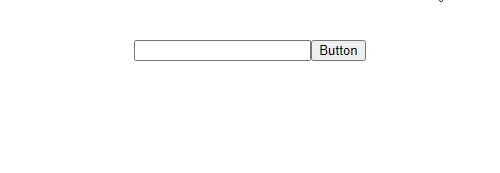
버튼을 눌렀을 때만 함수가 작동한다
<select>에서 활용
<select> : dropdown 목록을 만드는 태그
function App() {
  const [choice, setChoice] = useState("apple");

  const fruits = ["apple", "orange", "pineapple", "strawberry", "grape"];
  const options = fruits.map((fruit) => {
    return <option value={fruit}>{fruit}</option>;
  });
  const handleFruit = (event) => {
    setChoice(event.target.value);
  };

  return (
    <div className="App">
      <select onChange={handleFruit}>{options}</select>
      <h3>{choice}</h3>
    </div>
  );
}
<select>태그 안에 목록 내용이 들어 있다- 선택할 수 있는 옵션은
<option>태그로 감싼다
-<option value={fruit}>{fruit}</option>
value속성 →event.target.value
뒤의 텍스트는 목록을 열었을 때 보여질 내용
- 여러 개인 경우map을 활용한다
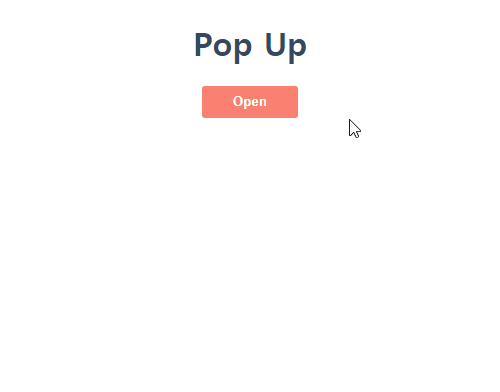
팝업(pop up) 활용
팝(pop)하고 튀어나오는(up) 웹페이지 표시방법을 가리킨다. 새창을 표시하기 위해 기존페이지를 전환하는 방식이 아닌, 새로운 웹창을 하나 더 추가시키는 기능
App.js
function App() {
  const [showPopup, setShowPopup] = useState(false);

  const togglePopup = () => {
    setShowPopup(!showPopup)
  };

  return (
    <div className="App">
      <h1>Pop Up</h1>
      <button className="open" onClick={togglePopup}>Open</button>
      {showPopup ? (
        <div className="popup">
          <div className="popup_inner">
            <h2>Success!</h2>
            <button className="close" onClick={togglePopup}>
              Close
            </button>
          </div>
        </div>
      ) : null}
    </div>
  );
}
팝업 창을 위해 css도 같이 넣으면
App.css
.App {
  font-family: sans-serif;
  text-align: center;
}
.App > h1 {
  color: #34495e;
}
.open {
  width: 6rem;
  height: 2rem;
  border: none;
  border-radius: 3px;
  background-color: salmon;
  color: white;
  font-weight: bolder;
}
.popup {
  position: fixed;
  width: 100%;
  height: 100%;
  top: 0;
  left: 0;
  right: 0;
  bottom: 0;
  margin: auto;
  background-color: rgba(0, 0, 0, 0.5);
}

.popup_inner {
  position: absolute;
  left: 25%;
  right: 25%;
  top: 25%;
  bottom: 25%;
  margin: auto;
  background: white;
}
.popup_inner > h2 {
  position: absolute;
  left: 25%;
  right: 25%;
  top: 25%;
  bottom: 25%;
  margin: auto;
  color: #34495e;
}
.close {
  position: absolute;
  left: 25%;
  right: 25%;
  top: 40%;
  bottom: 25%;
  margin: auto;
  width: 6rem;
  height: 2rem;
  border: none;
  border-radius: 3px;
  background-color: salmon;
  color: white;
  font-weight: bolder;
  outline: none;
}

항상배우기