CreateView 를 통한 회원가입 구현
1. AccountCreateView 클래스 view 만들기
# pragmatic/accountapp/views.py
from django.contrib.auth.models import User
...
from django.views.generic import CreateView

def hello_world(request): ...

class AccountCreateView(CreateView): # CreateView 를 상속받는다.
    model = User
    form_class = UserCreationForm
    success_url = reverse_lazy('accountapp:hello_world')
    template_name = 'accountapp/create.html'
class 기반 view 를 만들 떄 주요한 파라미터를 입력해주어야 한다.
-
1) 무슨 모델을 사용할 것인지
- 장고에서 기본적으로 제공해주는 User 라는 모델을 사용
Option + Enter: 자동 import
cammnd + b: User 클래스 정의 부분으로 이동class User(AbstractUser):: AbstractUser 를 상속 받아 User 재정의class AbstractUser(AbstractBaseUser, PermissionsMixin):: 기본적으로 User 에 대한 검증 내용이 들어간 모델
- 장고에서 기본적으로 제공해주는 User 라는 모델을 사용
-
2) 이 User 모델을 만들기 위해서 form 이 필요
- UserCreationForm 이라는 폼 사용
class UserCreationForm(forms.ModelForm):: 검증 작업에 대한 내용이 들어가있다
- UserCreationForm 이라는 폼 사용
-
3) 이 계정 만들기에 성공했다면 어느 경로로 다시 연결을 할 것인가
- 지금까지 만들어 놓은 hello_world 라는 경로로 reverse_lazy 를 사용하여 redirection
reverse vs reverse_lazy
- reverse : 함수형 view 에서 사용
- reverse_lazy : 클래스형 view 에서 사용
- 4) 템플릿 지정해주기 : 회원가입 화면을 어느 html 파일을 이용하여 볼지
- accountapp/create.html 은 이후 만들어 작성해주어야 된다.
2. 경로 지정
회원가입을 할 경로가 필요하기 떄문에 다음과 같이 경로 추가
# pragmatic/accountapp/urls.py
from django.urls import path
from accountapp.views import hello_world, AccountCreateView

app_name = "accountapp"

# path 의 두번쨰 파라미터에 방금 만들었던 클래스 기반의 view 를 넣어준다
urlpatterns = [
    # 함수형 view 의 경우, 함수 이름 그대로 기입
    path('hello_world/', hello_world, name='hello_world'),

    # 클래스형 view 의 경우, as_view() 사용
	path('create/', AccountCreateView.as_view(), name='create'),
]
3. templates 폴더에 Create.html 파일 만들기
<!--accountapp/templates/accountapp/Create.html-->
{% extends 'base.html' %}

{% block content %}

<div>
  <form action="{% url 'accountapp:create' %}" method="post">  <!--url 일원화, post 방식 으로 전송 -->
    {% csrf_token %}  <!-- csrf_token 은 항상 들어 가야 하는 것 -->
    {{ form }}  <!-- 우리가 원하는 모든 form 을 html 로 만들어 준다. -->
    <input type="submit" class="btn btn-primary">
  </form>
</div>

{% endblock %}


<!--{% url 'accountapp:create' %} 부분 해석 -->

<!--액션 내부 에는 요청을 보내는 url 이 필요함, 모두 일원화 하여 작성-->
<!--기존에는 accountapp/hello_world 로 작성했으나 -->
<!--reverse 에서 accountapp:hello_world 이런식으로 작성을 했었는데 -->
<!--이 형식을 템플릿에서도 동일하게 사용-->
<!--accountapp 안에 있는 create 라는 라우트로 연결해라 라는 의미-->- 중앙 정렬
<div style="text-align : center">
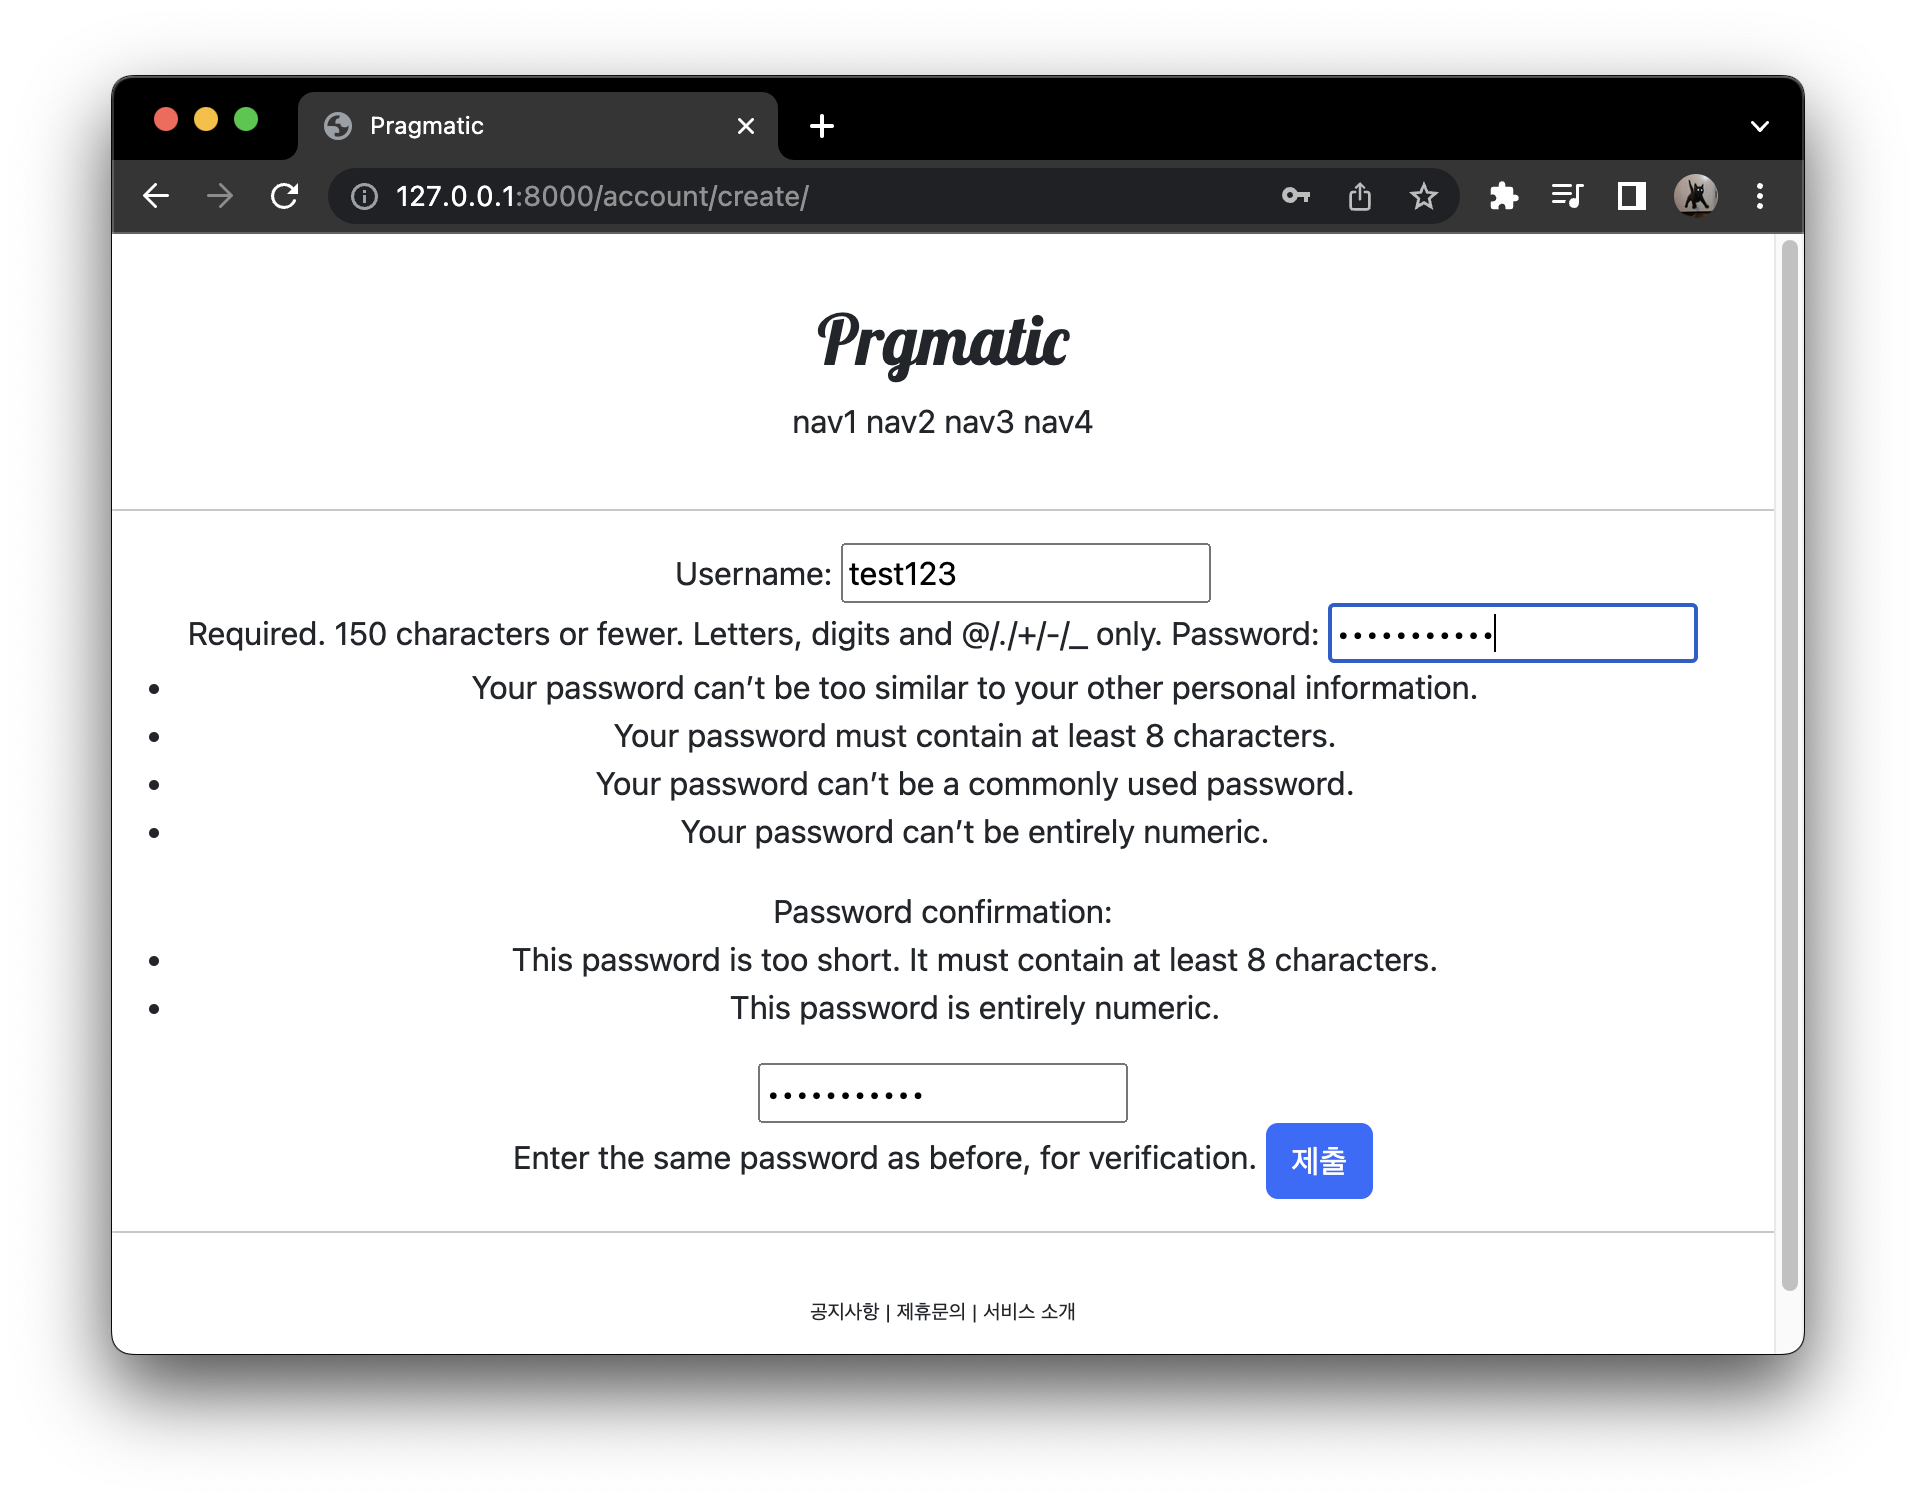
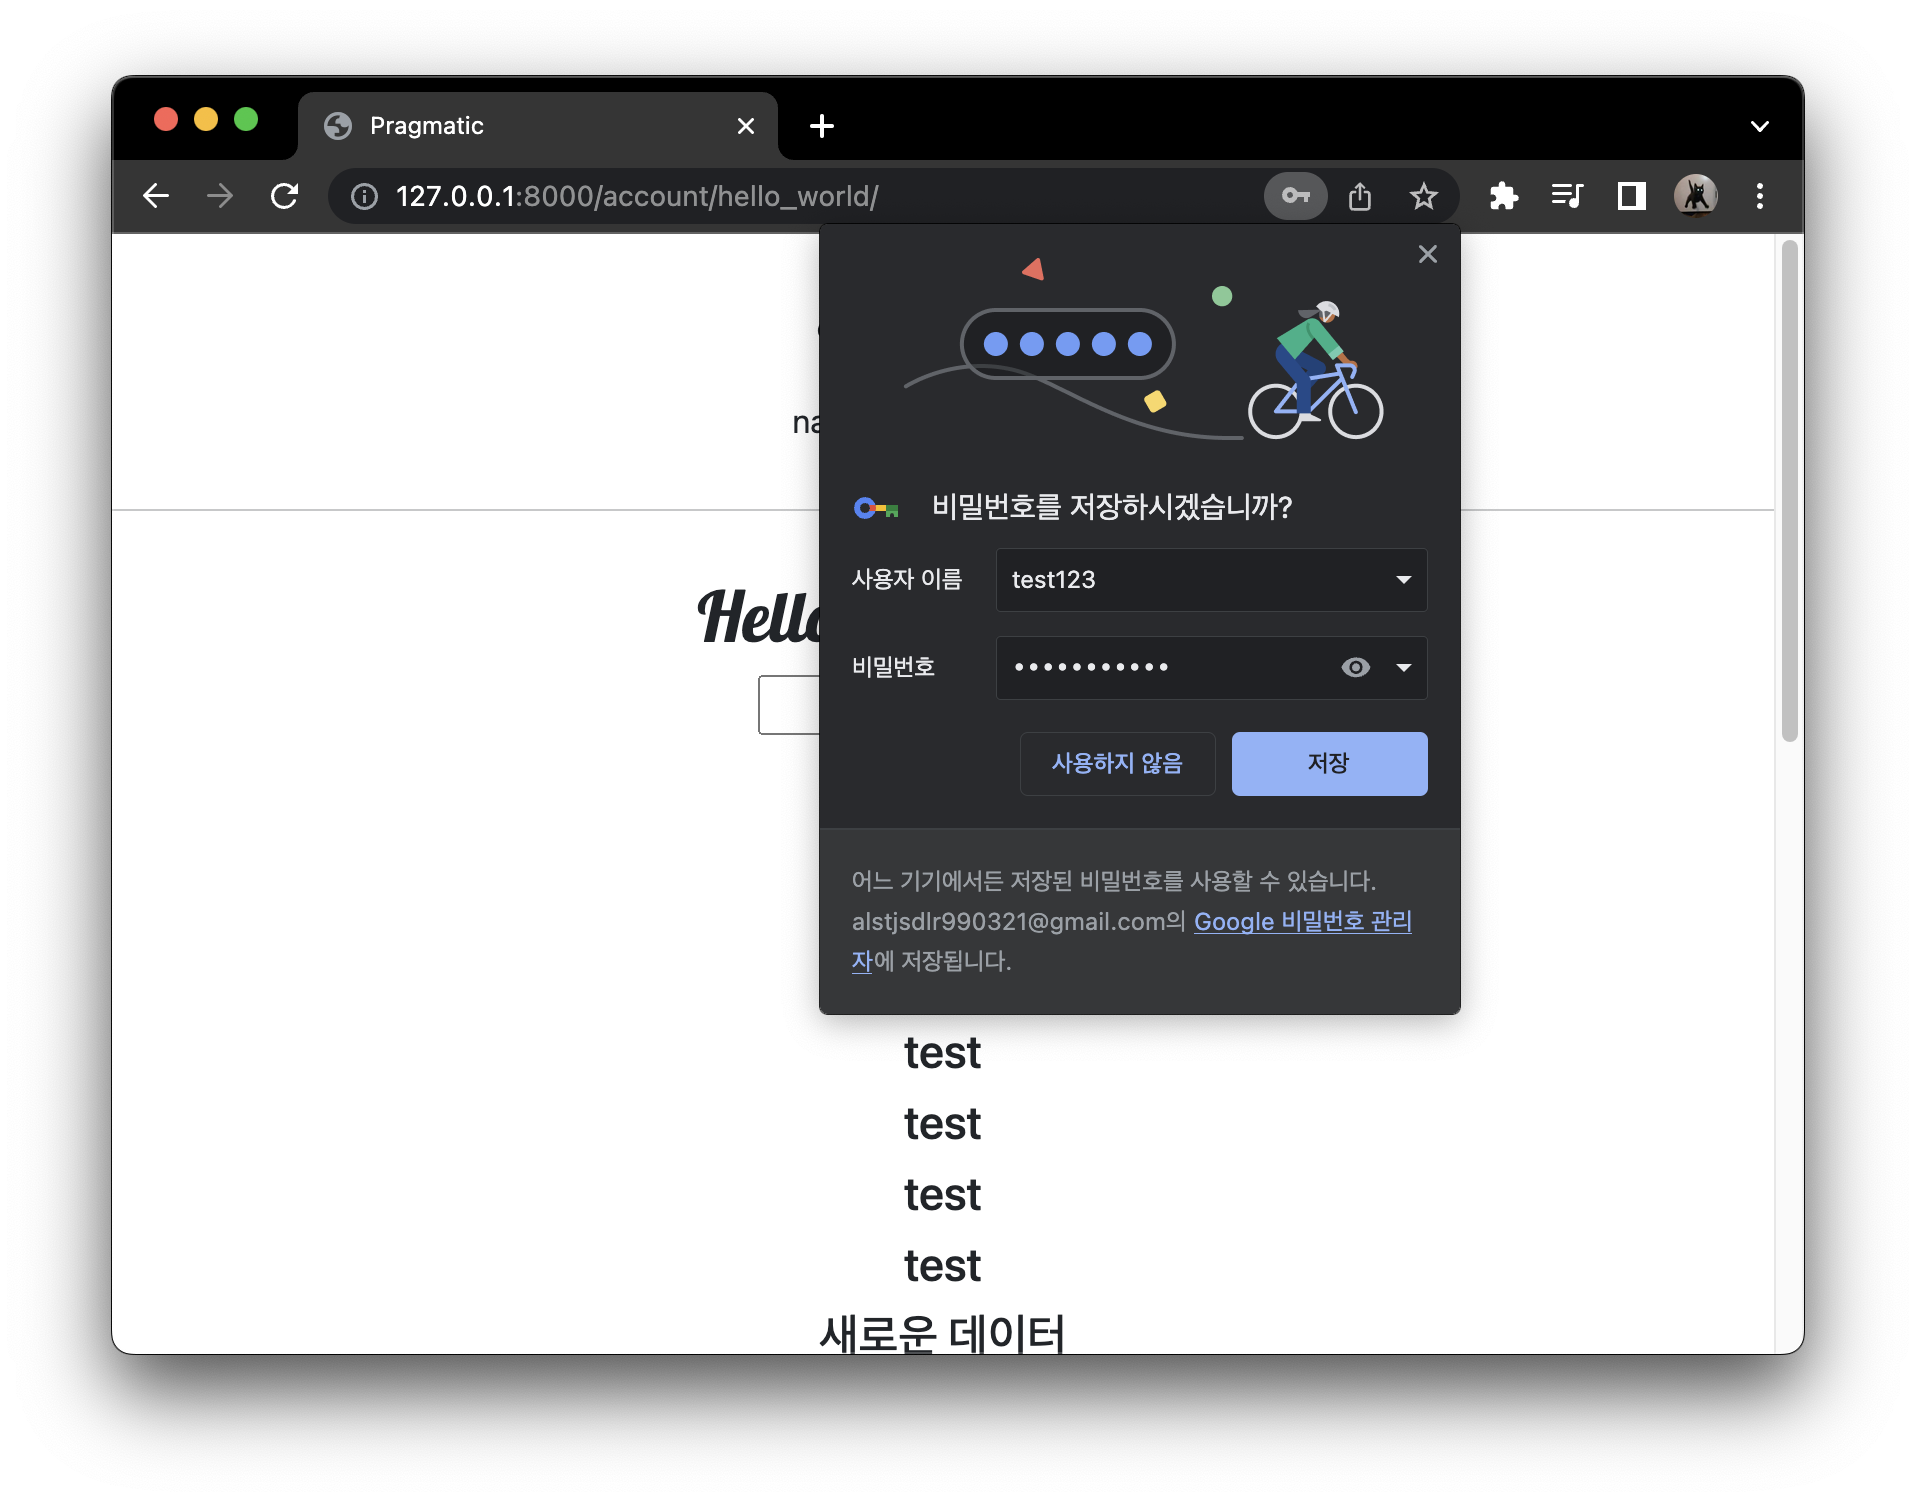
- Username, Password, Password Confirm 에 입력 후 hello_world 로 리다이렉션
- 로그인이 되었는지는 확인이 아직 불가능하다 -> 확인 절차 다음 강의.
- 로그인이 되었는지는 확인이 아직 불가능하다 -> 확인 절차 다음 강의.
commit

git commit


공부한 것 기록용