- 저번 구글 로그인에 이어 네이버, 카카오 로그인도 구현해보도록 하겠습니다!
- 이번 내용은 저번 포스팅인 구글 로그인에서 파일들이 이어지기 때문에 저번 포스트를 보고 오시기를 권장드립니다!
저는 이 곳에서 학습을 위한 목적으로 우선 구현을 사용자 인증 정보를 세션에 저장하는 방식을 사용하고 있습니다. 이 방식은 서버에서 클라이언트의 상태를 유지해야 하므로, 서버의 부하 증가 등 여러 문제를 야기할 수 있기 때문에 추후 토큰 기반의 인증 방식을 사용할 것을 권장드립니다!
네이버 로그인
- 네이버 로그인을 먼저 구현해보겠습니다!!
- 여러 블로그 글과 네이버 개발자 가이드를 참고했습니다!!
1. 네이버 오픈 Api 이용 신청
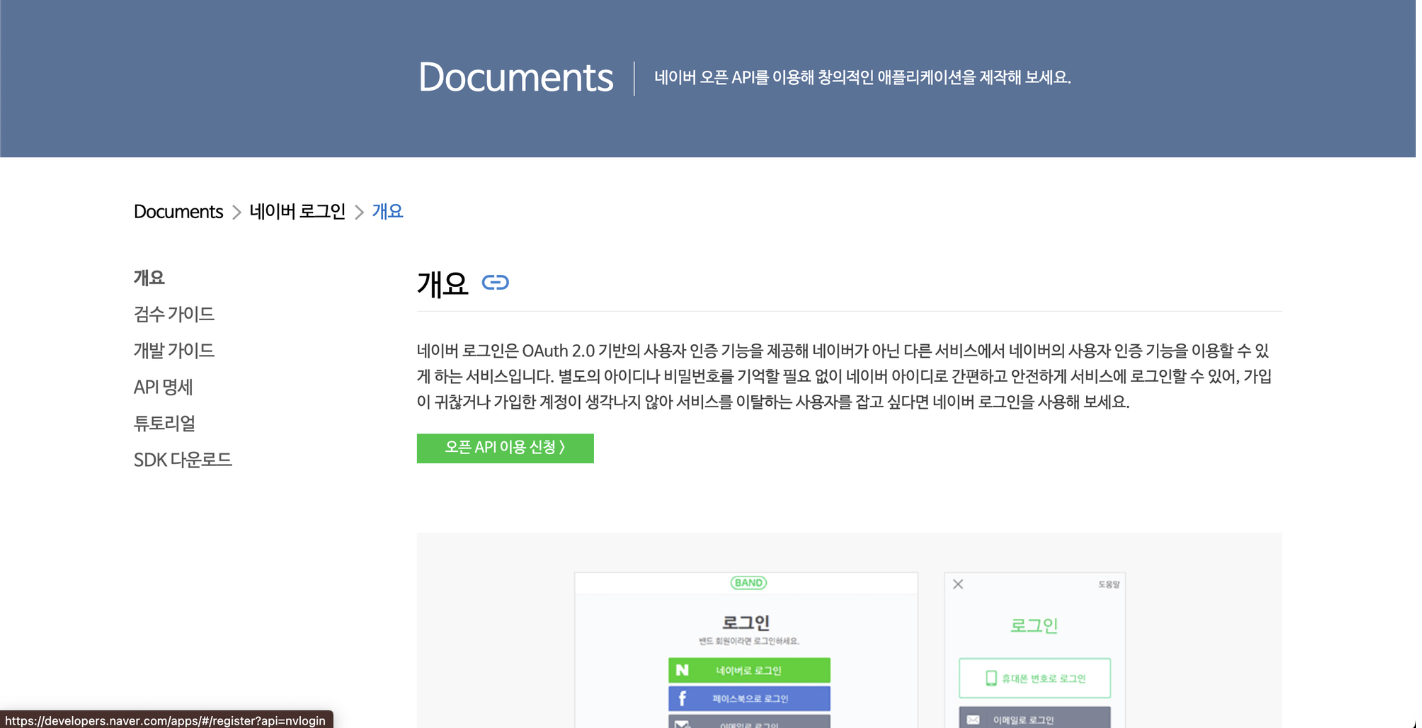
- https://developers.naver.com/docs/login/overview/overview.md 👈 이 사이트로 접속하여 오픈 API 이용 신청을 클릭해줍니다.
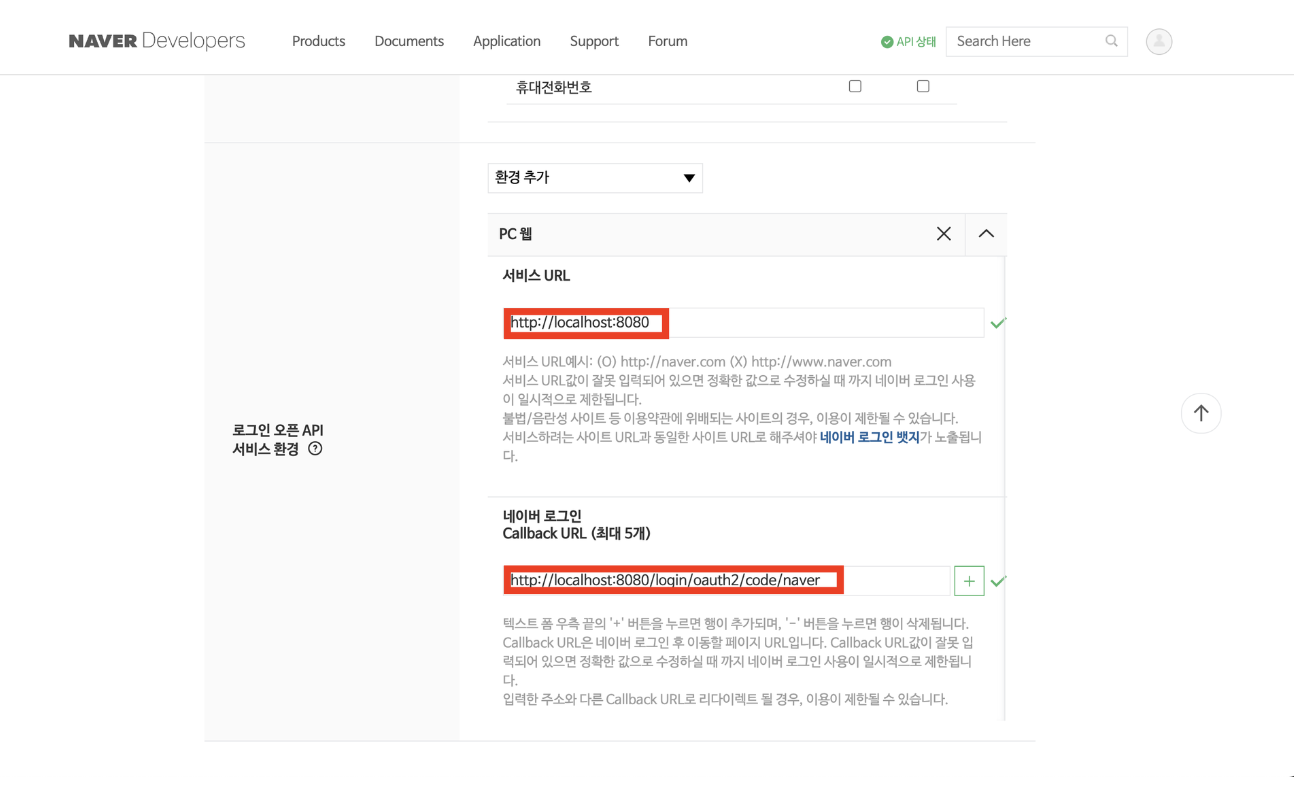
- 애플리케이션 이름과 사용 API를 설정하고 로그인 오픈 API 서비스 환경을 설정해줍니다!
- 저는 사용 API는 네이버 로그인 서비스 환경은 우선 테스트를 진행할 PC웹으로 설정하여 URL을 입력해주었습니다.
- 완료하면 클라이언트 아이디와 비밀번호가 발급됩니다!
2. application.properies에 관련 설정 추가
spring.security.oauth2.client.registration.naver.client-id={클라이언트-id}
spring.security.oauth2.client.registration.naver.client-secret={클라이언트-비밀번호}
spring.security.oauth2.client.registration.naver.redirect-uri=http://로컬주소/본인 설정 Callback URL
spring.security.oauth2.client.registration.naver.scope=name,profile,email
spring.security.oauth2.client.registration.naver.authorization-grant-type=authorization_code
spring.security.oauth2.client.provider.naver.authorization-uri=https://nid.naver.com/oauth2.0/authorize
spring.security.oauth2.client.provider.naver.token-uri:https://nid.naver.com/oauth2.0/token
spring.security.oauth2.client.provider.naver.user-info-uri:https://openapi.naver.com/v1/nid/me
spring.security.oauth2.client.provider.naver.user-name-attribute: response- 위 내용은 네이버 개발자 가이드 5장에 잘 나와있으니 차근차근 보고 공부하신다면 이해하기 어렵지 않으실 거라고 생각합니다!!
3. OAuthAttributes에 네이버 로그인 관련 메소드 추가
- 네이버는 구글과 달리 유저 정보를 json형태로 response 안에 담아줘서 전송하기 때문에 꺼낼 때 또한 response 안에서 꺼내줘야 합니다!
- of 메소드 변경
public static OAuthAttributes of(String registrationId, String userNameAttributeName, Map<String, Object> attributes) {
        if ("naver".equals(registrationId)) {
            return ofNaver(registrationId, userNameAttributeName, attributes);
        }

        return ofGoogle(registrationId, userNameAttributeName, attributes);
}- ofNaver 메소드 구현
private static OAuthAttributes ofNaver(String registrationId, String userNameAttributeName, Map<String, Object> attributes) {
        Map<String, Object> response = (Map<String, Object>) attributes.get("response");

        return OAuthAttributes.builder()
                .name((String) response.get("name"))
                .email((String) response.get("email"))
                .picture((String) response.get("profile_image"))
                .attributes(attributes)
                .provider(registrationId)
                .providerId((String) response.get("id"))
                .nameAttributeKey(userNameAttributeName)
                .build();
}- 위에서 설명했듯이 받은 attributes에서 response를 꺼내어 사용하는 것을 알 수 있습니다.
4. 테스트해보기
- 이전 구글 로그인을 구현할 때 여러 로그인 방법이 추가될 것을 염두에 두고 코드를 구현했기 때문에 더 이상 구현할 것은 없습니다!
- 그러면 index.html에 링크를 추가하고 테스트해보겠습니다!
<!DOCTYPE html>
<html lang="en">
<head>
  <meta charset="UTF-8">
  <title>Title</title>
</head>
<body>
<a href="/oauth2/authorization/google">google login</a><br>
<a href="/oauth2/authorization/naver">naver login</a>
</body>
</html>
- 이후 필수 데이터로 등록한 데이터 제공에 대한 동의화면이 뜨고 리다이렉션 페이지로 잘 이동했다면 데이터 베이스의 저장을 확인하시면 됩니다!

카카오 로그인
- 카카오 로그인은 카카오 로그인 개발자 문서를 참고했습니다!
- 다음은 REST API 기반 카카오 로그인의 다이어그램입니다.
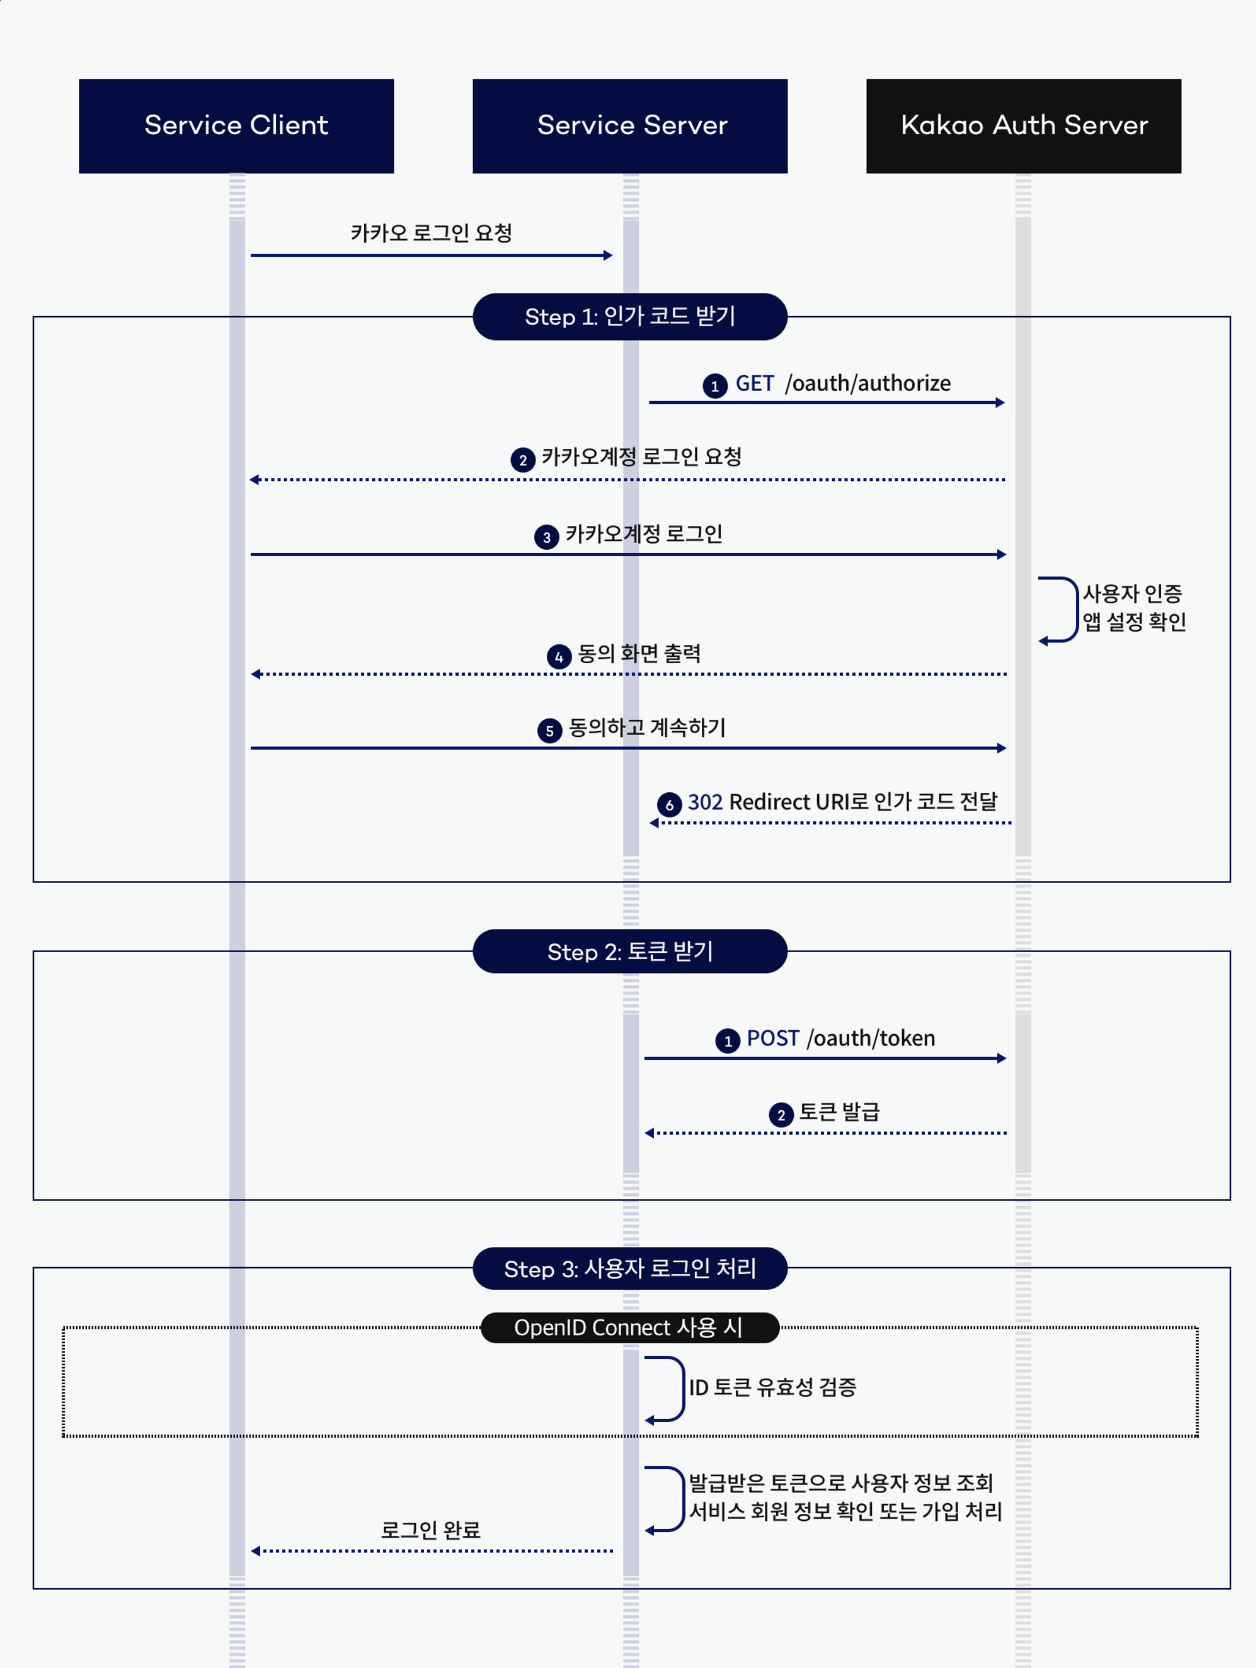
출처 : https://developers.kakao.com/docs/latest/ko/kakaologin/rest-api
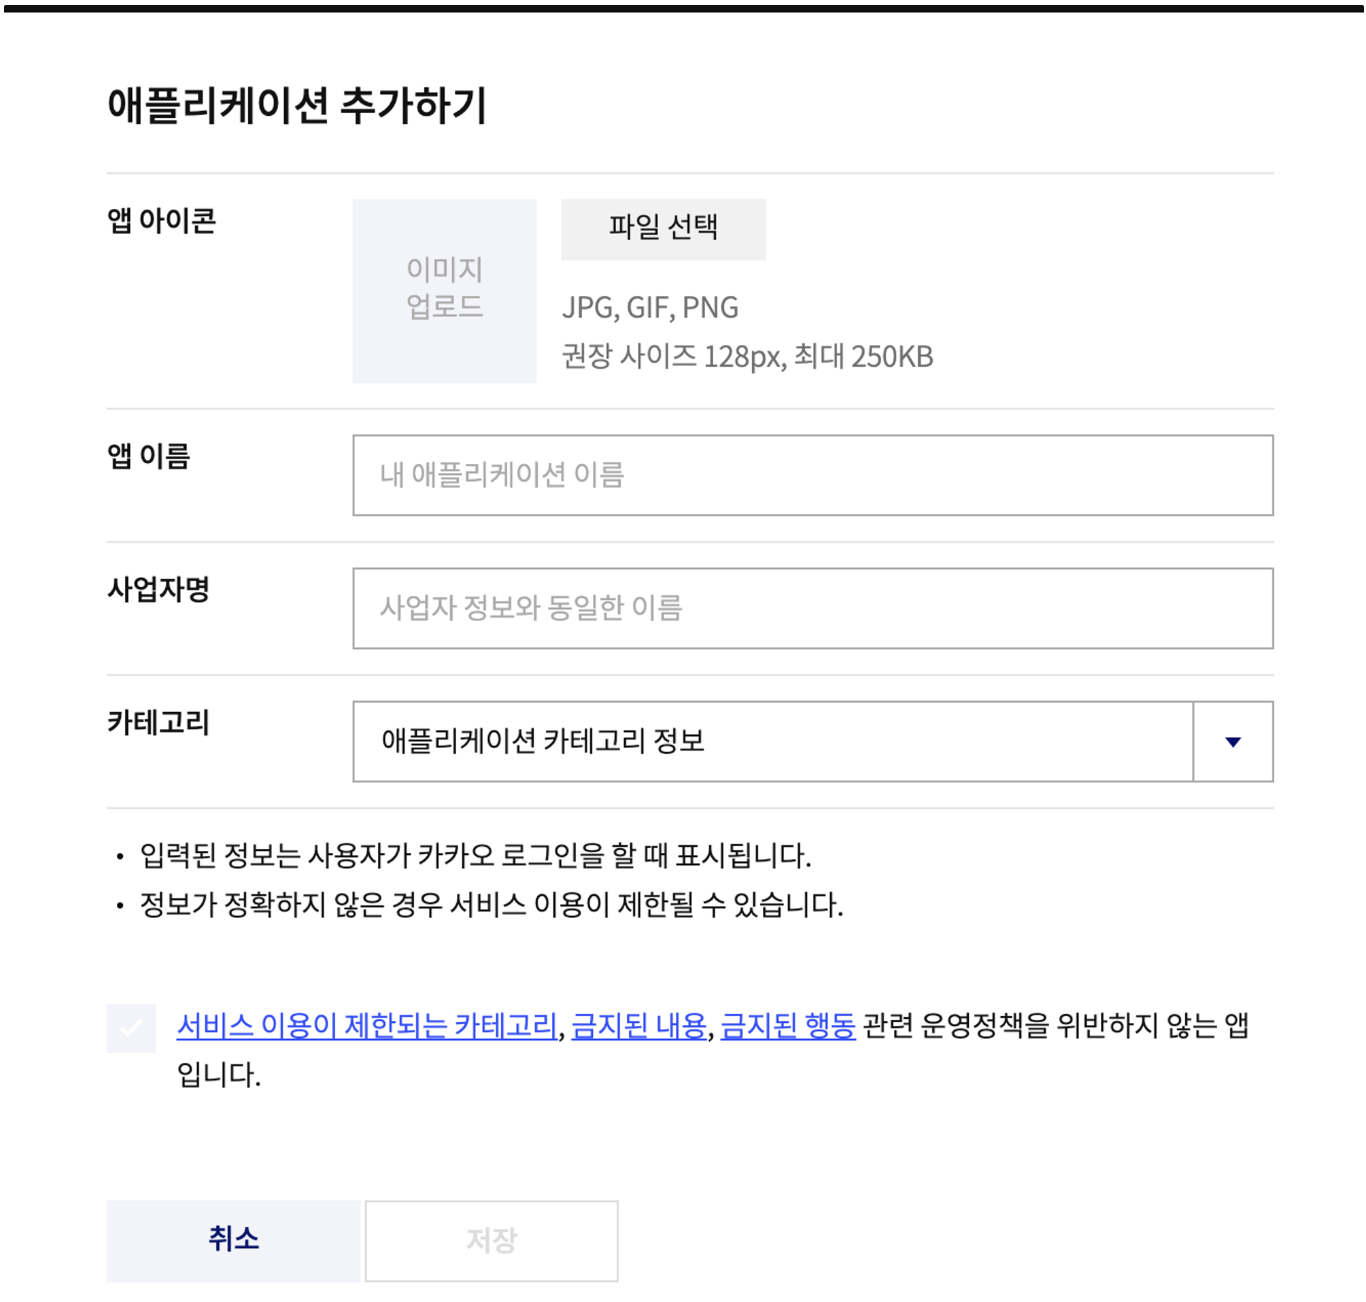
1. 카카오 로그인 애플리케이션 추가하기
- 카카오 로그인 내 애플리케이션에서 애플리케이션 추가하기 후 정보 등록
2. 애플리케이션 설정
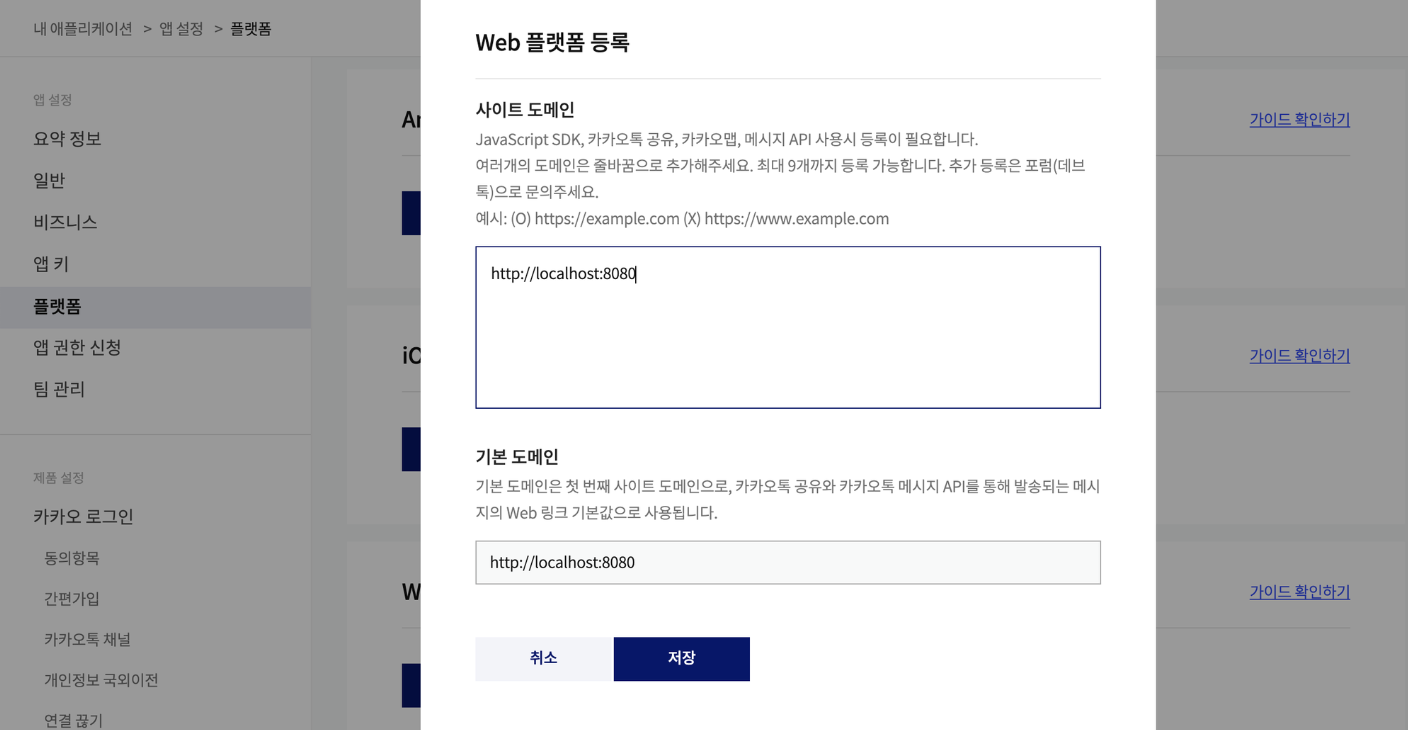
- 플랫폼 설정
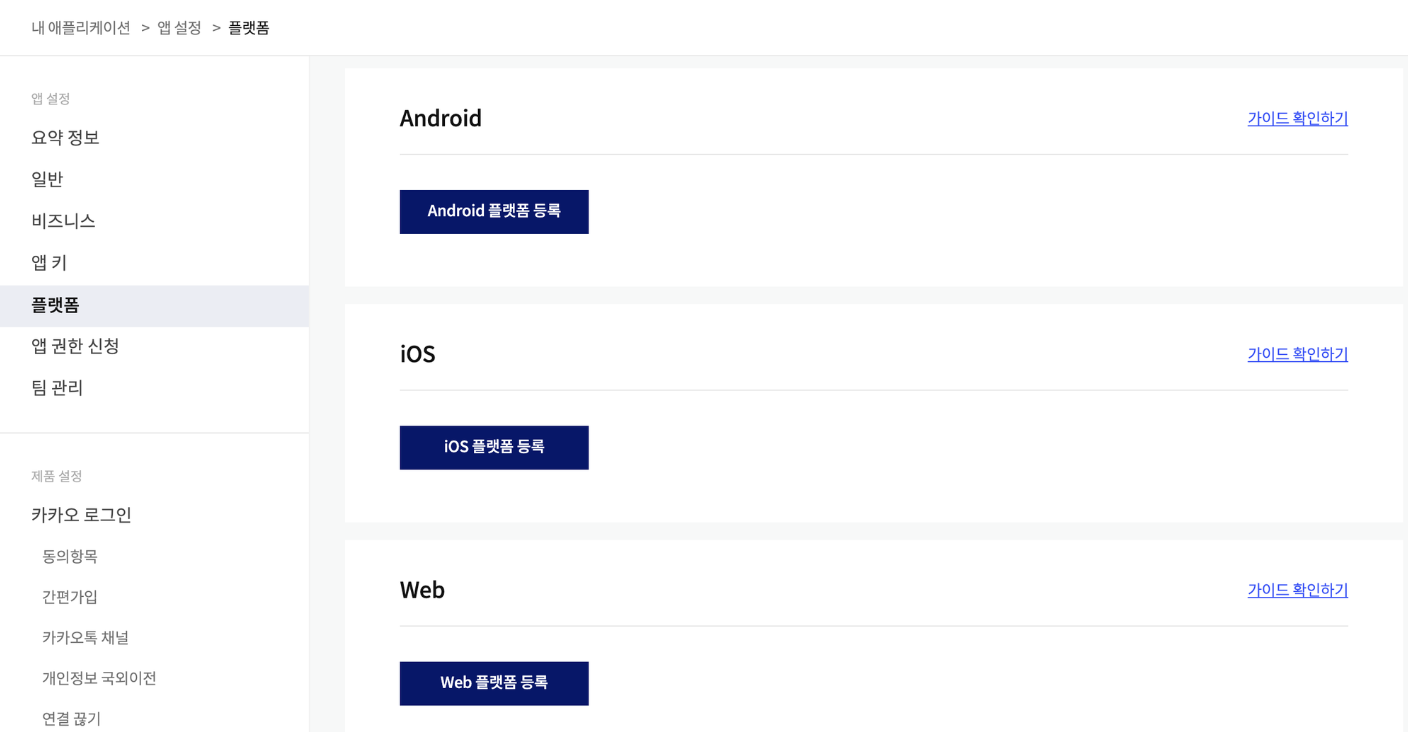
- 저는 Web으로 진행하였습니다!!
- 성공! 아래의 등록하러 가기를 클릭합니다.
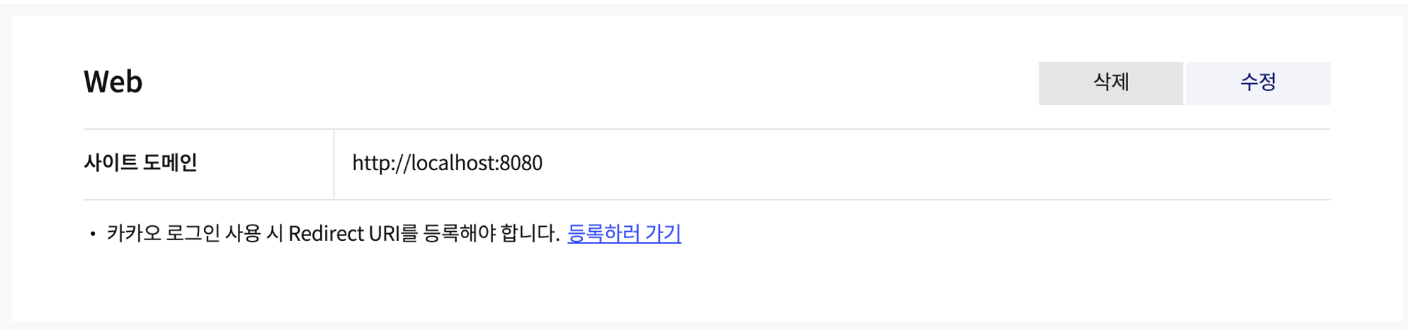
-
활성화 설정을 활성화해주고 Redirect URI를 설정해줍니다!

-
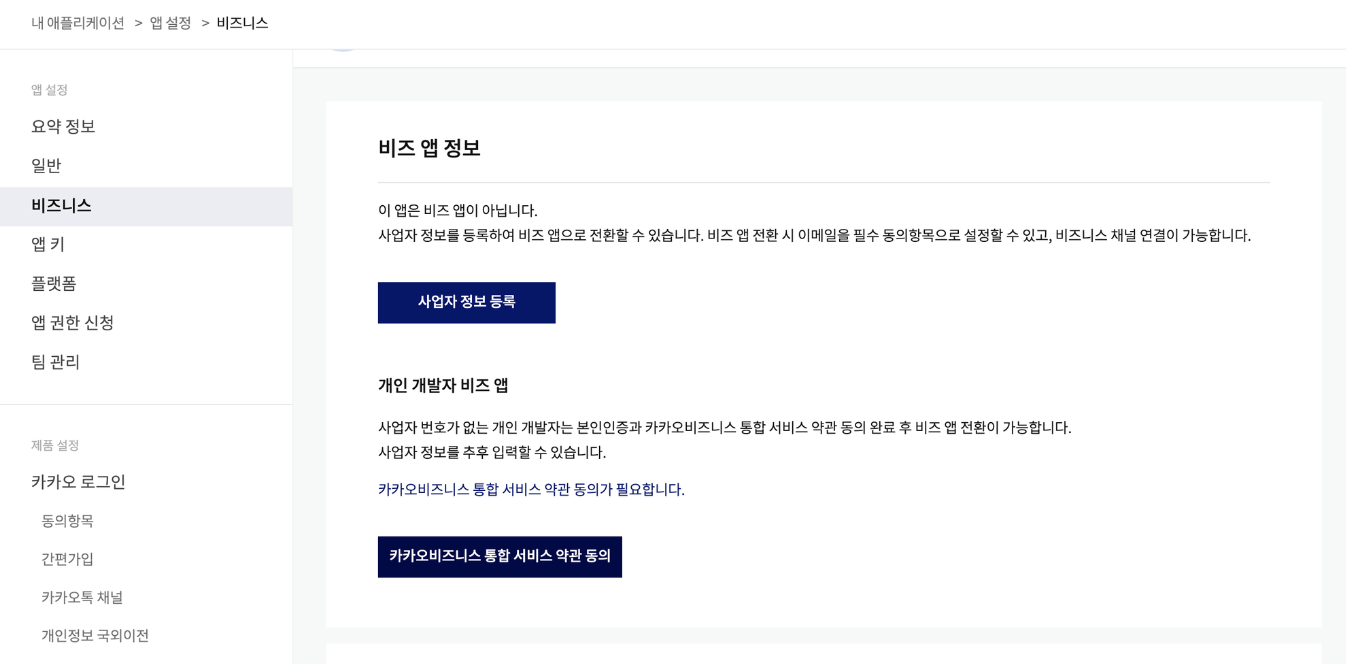
비즈 앱 전환 신청
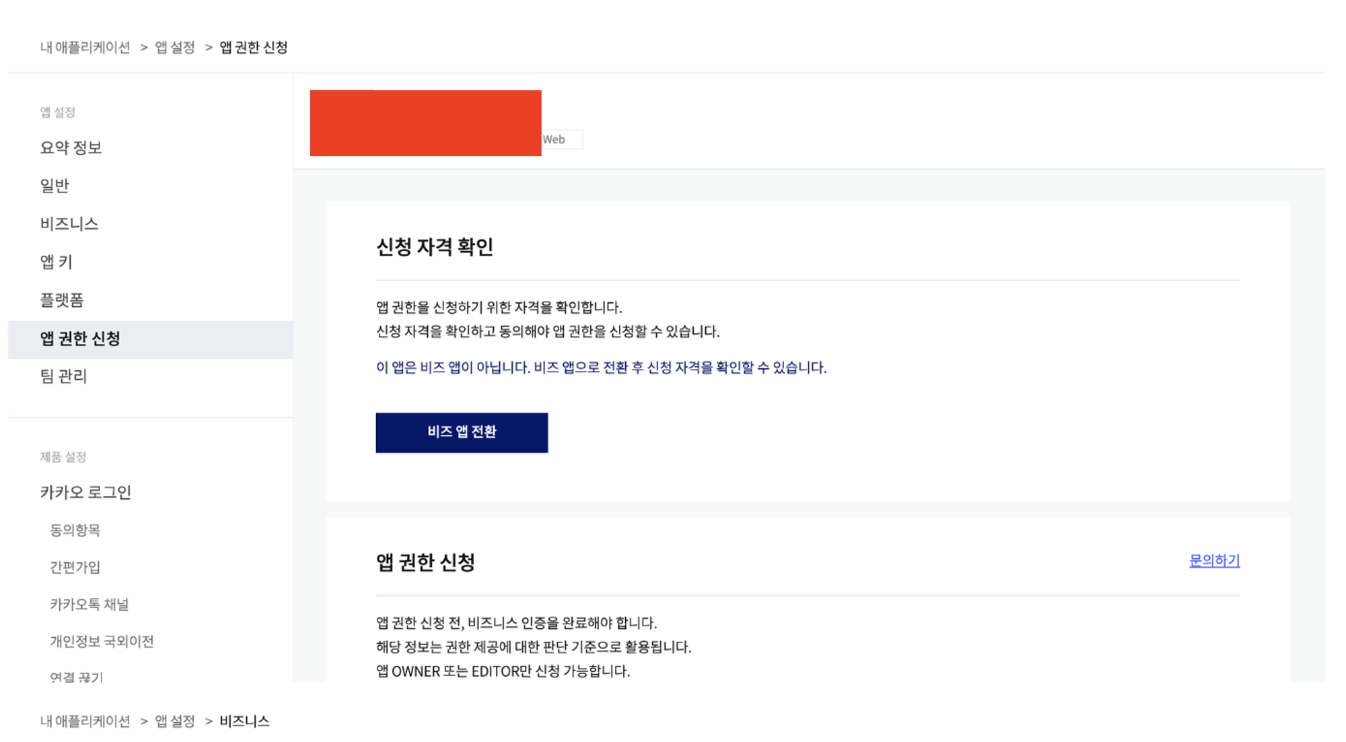
-
카카오 비즈니스 통합 서비스 약관 동의하기 후 비즈앱 전환
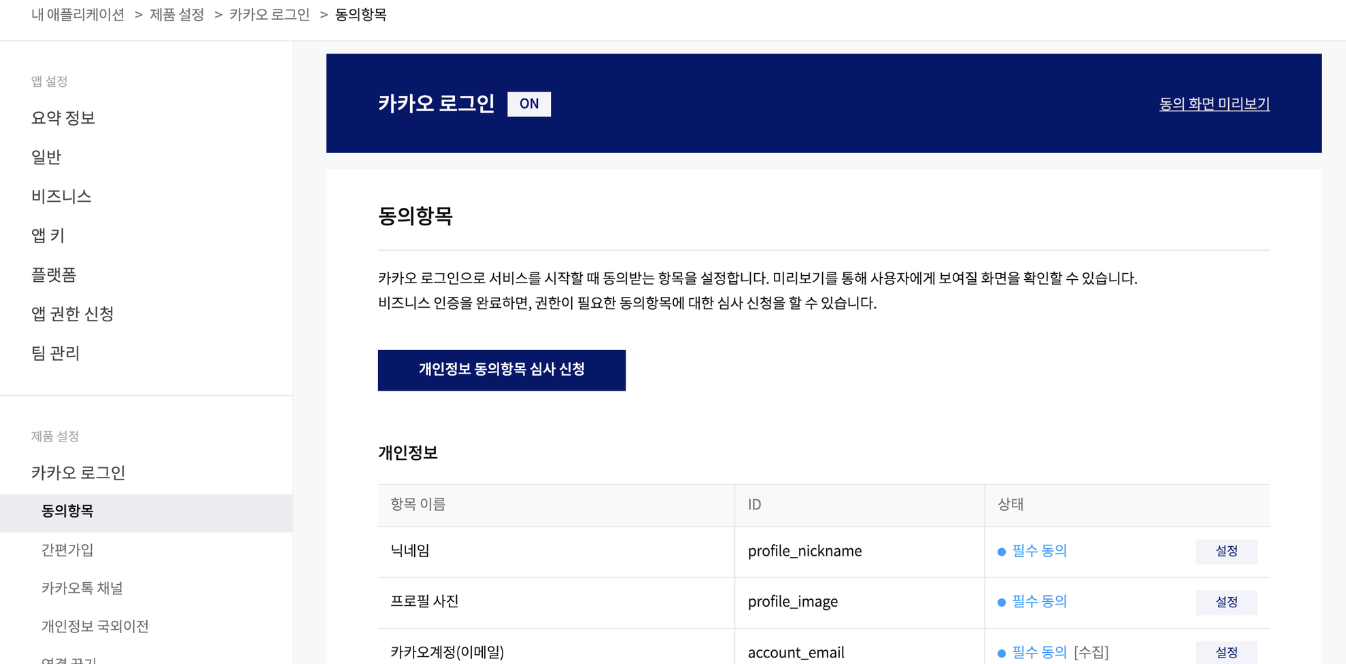
-
제품 설정 -> 동의 항목 -> 동의 항목 설정
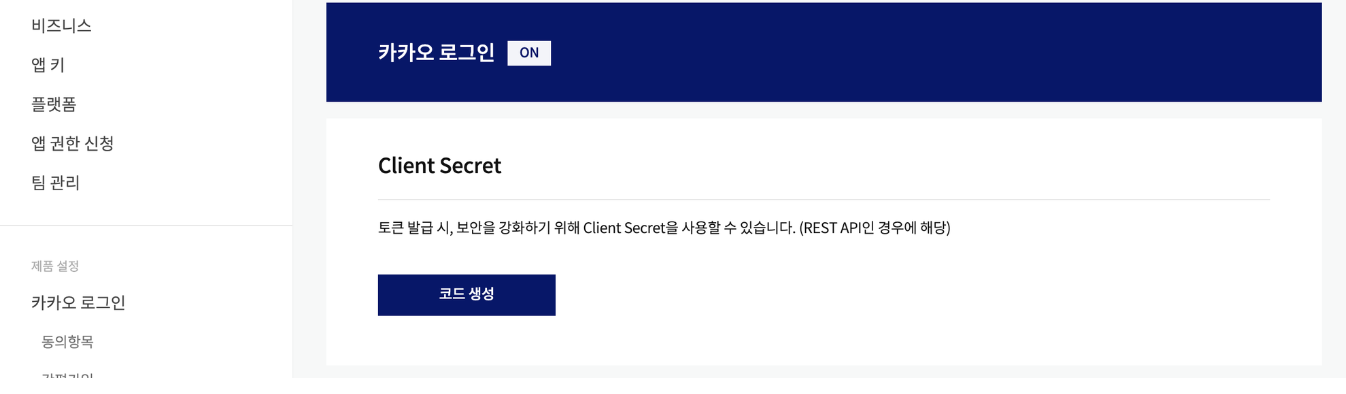
-
Client-Secret 생성
3. application.properties 설정
spring.security.oauth2.client.registration.kakao.client-id={클라이언트 ID(REST API 키)}
spring.security.oauth2.client.registration.kakao.client-secret={클라이언트 비밀번호}
spring.security.oauth2.client.registration.kakao.scope= account_email, profile_nickname
spring.security.oauth2.client.registration.kakao.authorization-grant-type=authorization_code
spring.security.oauth2.client.registration.kakao.redirect-uri=http://localhost:8080/login/oauth2/code/kakao
spring.security.oauth2.client.registration.kakao.client-name=Kakao
spring.security.oauth2.client.registration.kakao.client-authentication-method=none
spring.security.oauth2.client.provider.kakao.authorization-uri=https://kauth.kakao.com/oauth/authorize
spring.security.oauth2.client.provider.kakao.token-uri: https://kauth.kakao.com/oauth/token
spring.security.oauth2.client.provider.kakao.user-info-uri: https://kapi.kakao.com/v2/user/me
spring.security.oauth2.client.provider.kakao.user-name-attribute: id- 카카오 로그인 요청 쿼리 파라미터를 보며 참고하시면 됩니다!
4. OAuthAttributes에 네이버 로그인 관련 메소드 추가
- of 메소드 분기 추가
public static OAuthAttributes of(String registrationId, String userNameAttributeName, Map<String, Object> attributes) {
        if ("naver".equals(registrationId)) {
            return ofNaver(registrationId, userNameAttributeName, attributes);
        } else if ("kakao".equals(registrationId)) {
            return ofKakao(registrationId, userNameAttributeName, attributes);
        }

        return ofGoogle(registrationId, userNameAttributeName, attributes);
}- ofKakao 메소드 구현
private static OAuthAttributes ofKakao(String registrationId, String userNameAttributeName, Map<String, Object> attributes) {
        Map<String, Object> kakaoAccount = (Map<String, Object>) attributes.get("kakao_account");
        Map<String, Object> profile = (Map<String, Object>) kakaoAccount.get("profile");

        return OAuthAttributes.builder()
                .name((String) profile.get("nickname"))
                .email((String) kakaoAccount.get("email"))
                .picture((String) profile.get("profile_image_url"))
                .attributes(attributes)
                .provider(registrationId)
                .providerId(String.valueOf(attributes.get("id")))
                .nameAttributeKey(userNameAttributeName)
                .build();
    }
5. 테스트해보기
- 또다시 index.html에 링크를 추가하고 테스트해보겠습니다!
<!DOCTYPE html>
<html lang="en">
<head>
  <meta charset="UTF-8">
  <title>Title</title>
</head>
<body>
<a href="/oauth2/authorization/google">google login</a><br>
<a href="/oauth2/authorization/naver">naver login</a><br>
<a href="/oauth2/authorization/kakao">kakao login</a>
</body>
</html>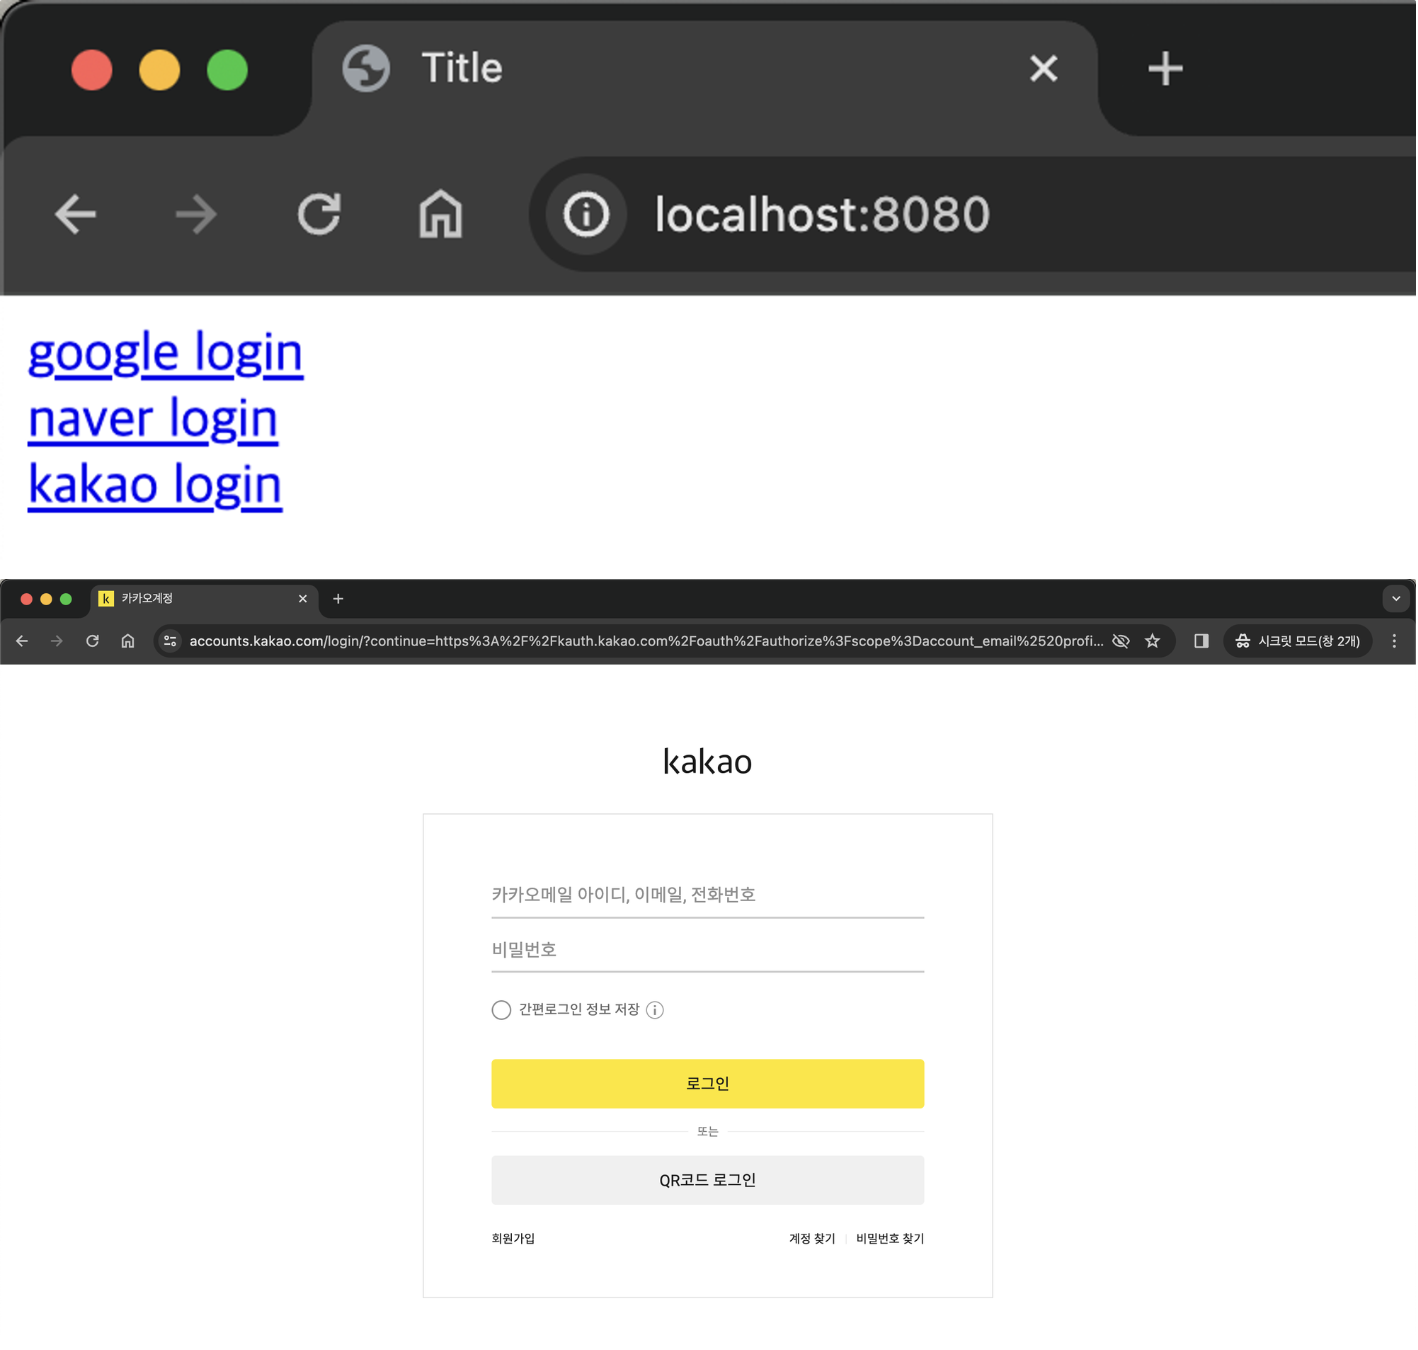
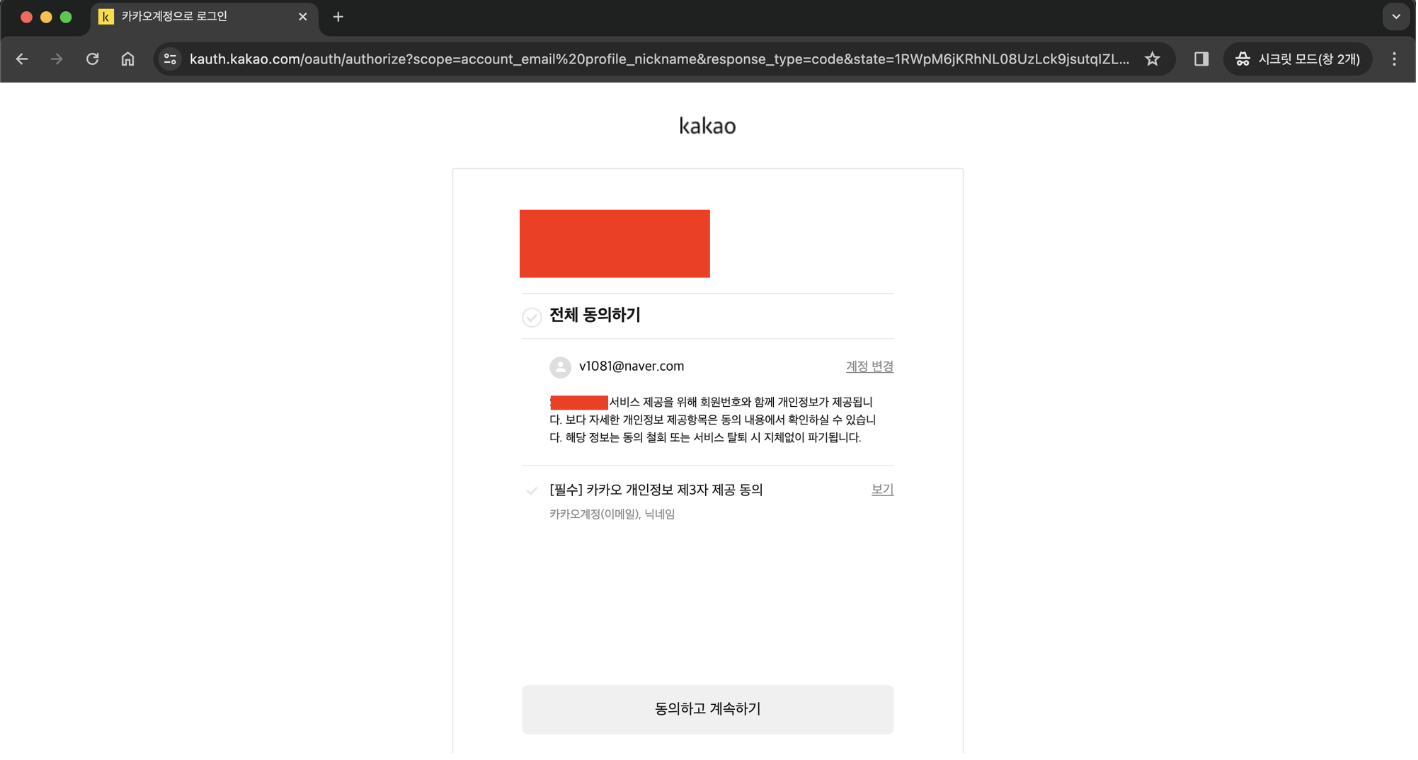
- 리다이렉션 페이지로 잘 넘어갔다면 데이터베이스를 확인하면 됩니다!


블로그 이전했습니다!! 👉 https://alswp006.github.io/