24.03.12 최종 프로젝트 5일차
오늘은 WeaponDB를 생성했다. 이를 활용하면 금방 다른 아이템 DB들도 만들 수 있을 것이다.
문제는 이제 아이템을 생성하고, 아이템이 공격하고 등등 아이템의 처리를 해야하는데, 일단 가장 문제는 아이템을 어떻게 생성할 것인가이다. 현재는 그냥 프리팹에 스크립트를 달아놓고 Start될 때 Id 값으로 WeaponDB에서 가져오는 방식이지만, 아이템이 생성될 때는 그렇게 동작할 수 없을 것이다. 만들고 싶은 아이템의 Id 값을 가져와서 ItemDB에서 데이터를 가져오고, 가져온 데이터를 기반으로 GameObject를 만들어야 할텐데... 아직까진 뾰족한 수가 떠오르지 않는다.
Unity에서 GameObject를 Sprite로 만들기
사실 정말로 GameObject를 Sprite로 변환하는 것은 아니고, 꼼수를 사용해서 GameObject를 Sprite로 만들어 줄 수 있다. 사실 다른 더 좋은 방법이 있을 것 같긴 한데... 난 모르겠음!
일단 새로운 유니티 프로젝트를 생성한다. 생성할 때, 반드시 3D로 생성할 것! URP로 생성하면 해당 방법을 사용할 수 없다.
Screenshot Utility
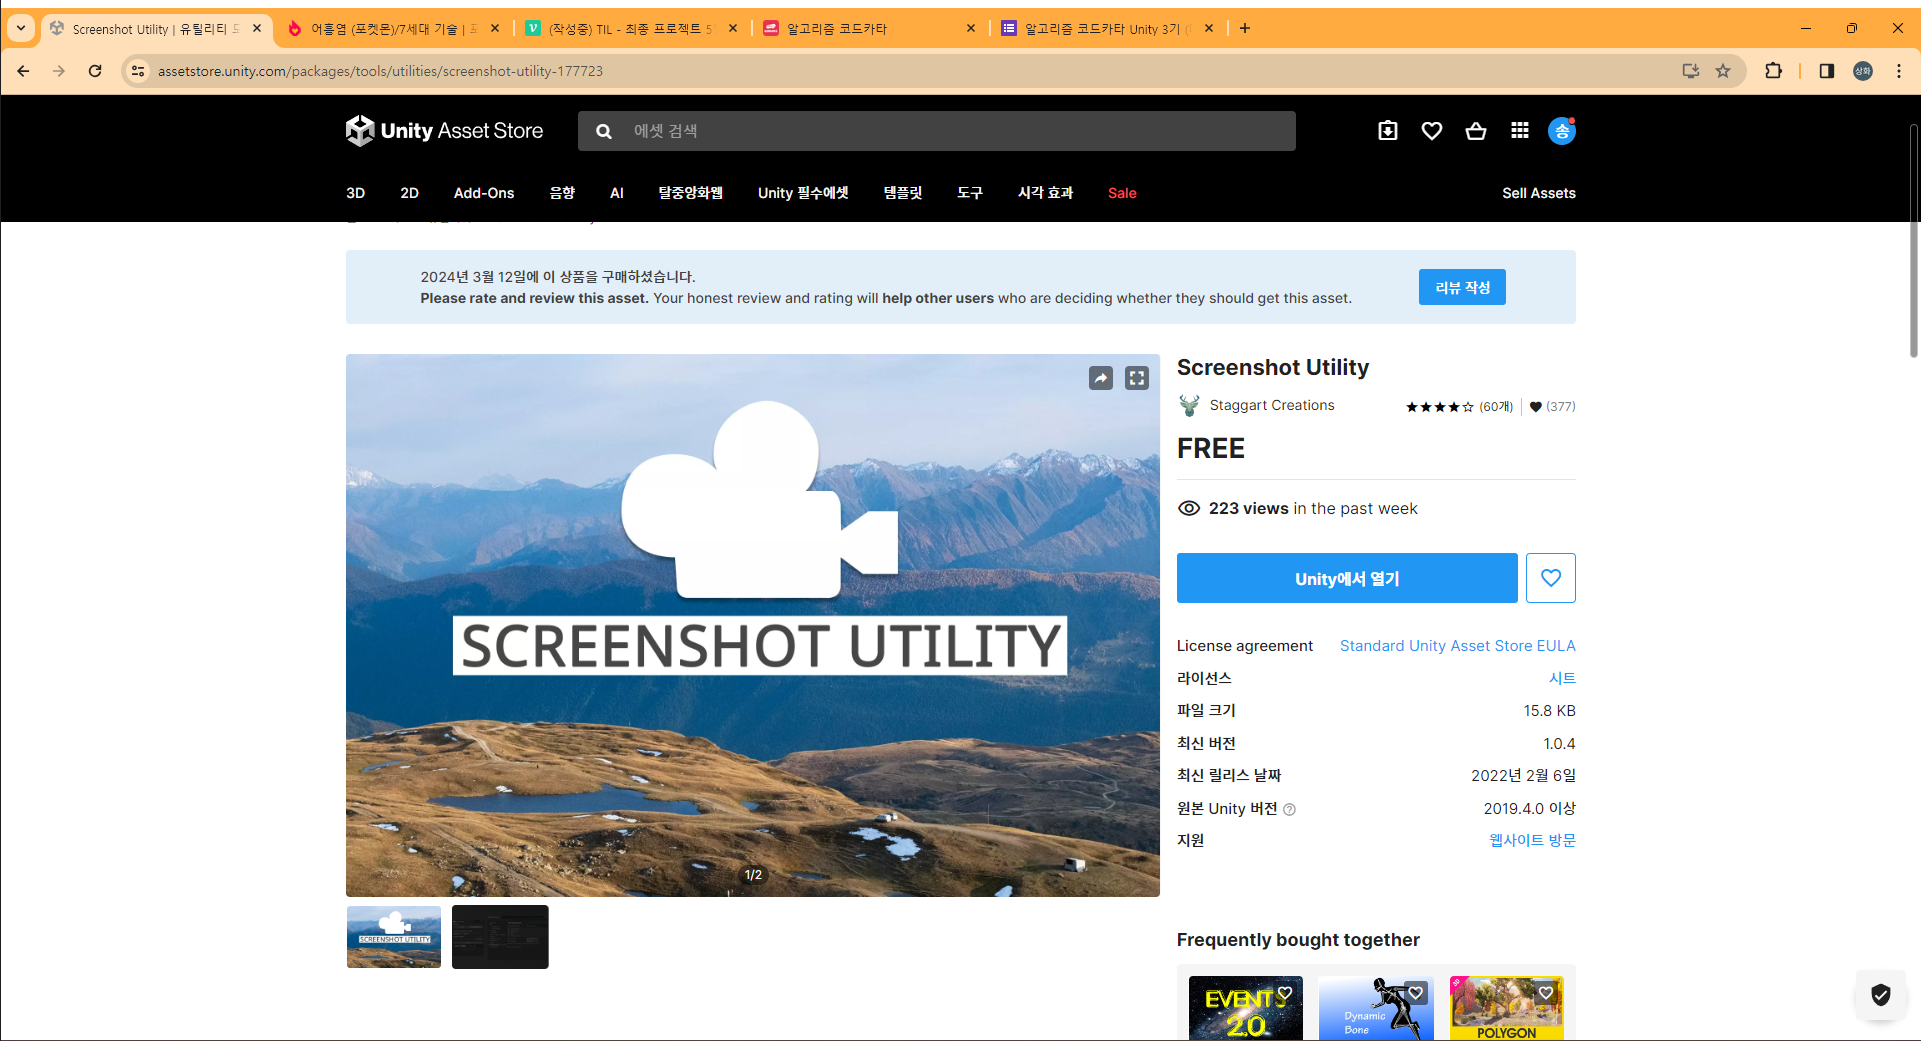
유니티 에셋 스토에서 Screenshot Utility를 Import를 한다.
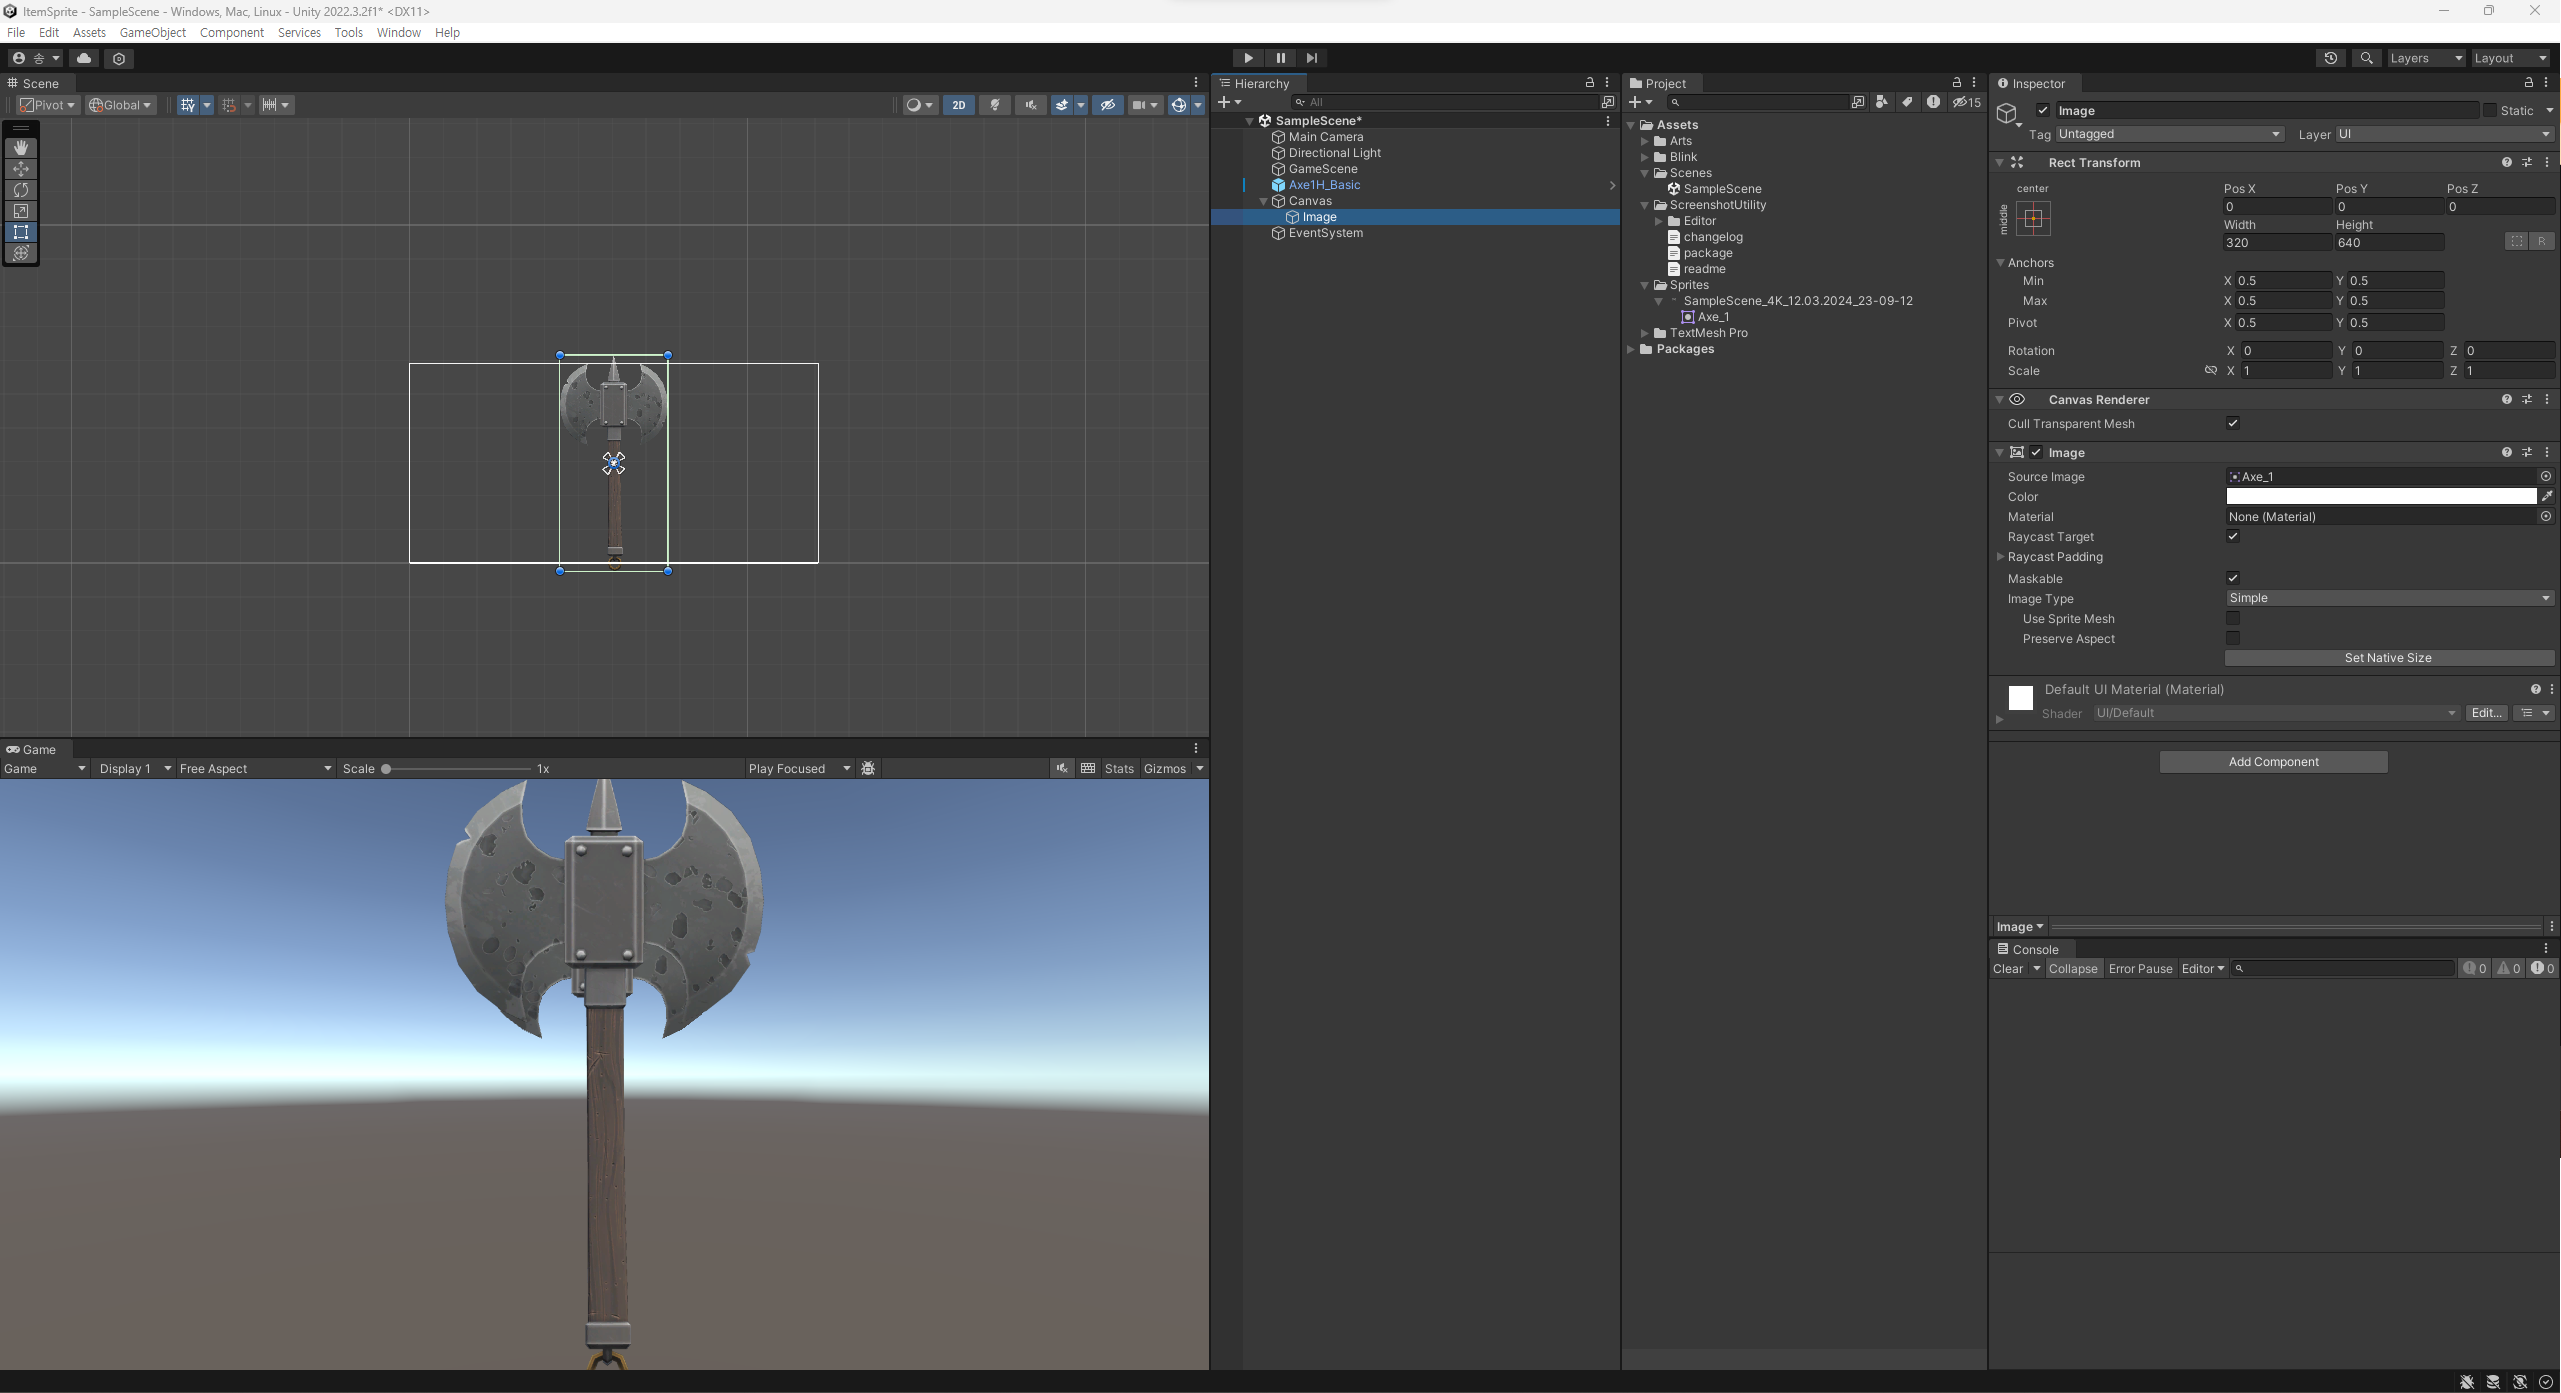
Import가 완료되면 스프라이트로 변환하고 싶은 아이템을 하이어라키에 꺼낸다. 이때, 씬 뷰를 2D로 변경하면 편하다.
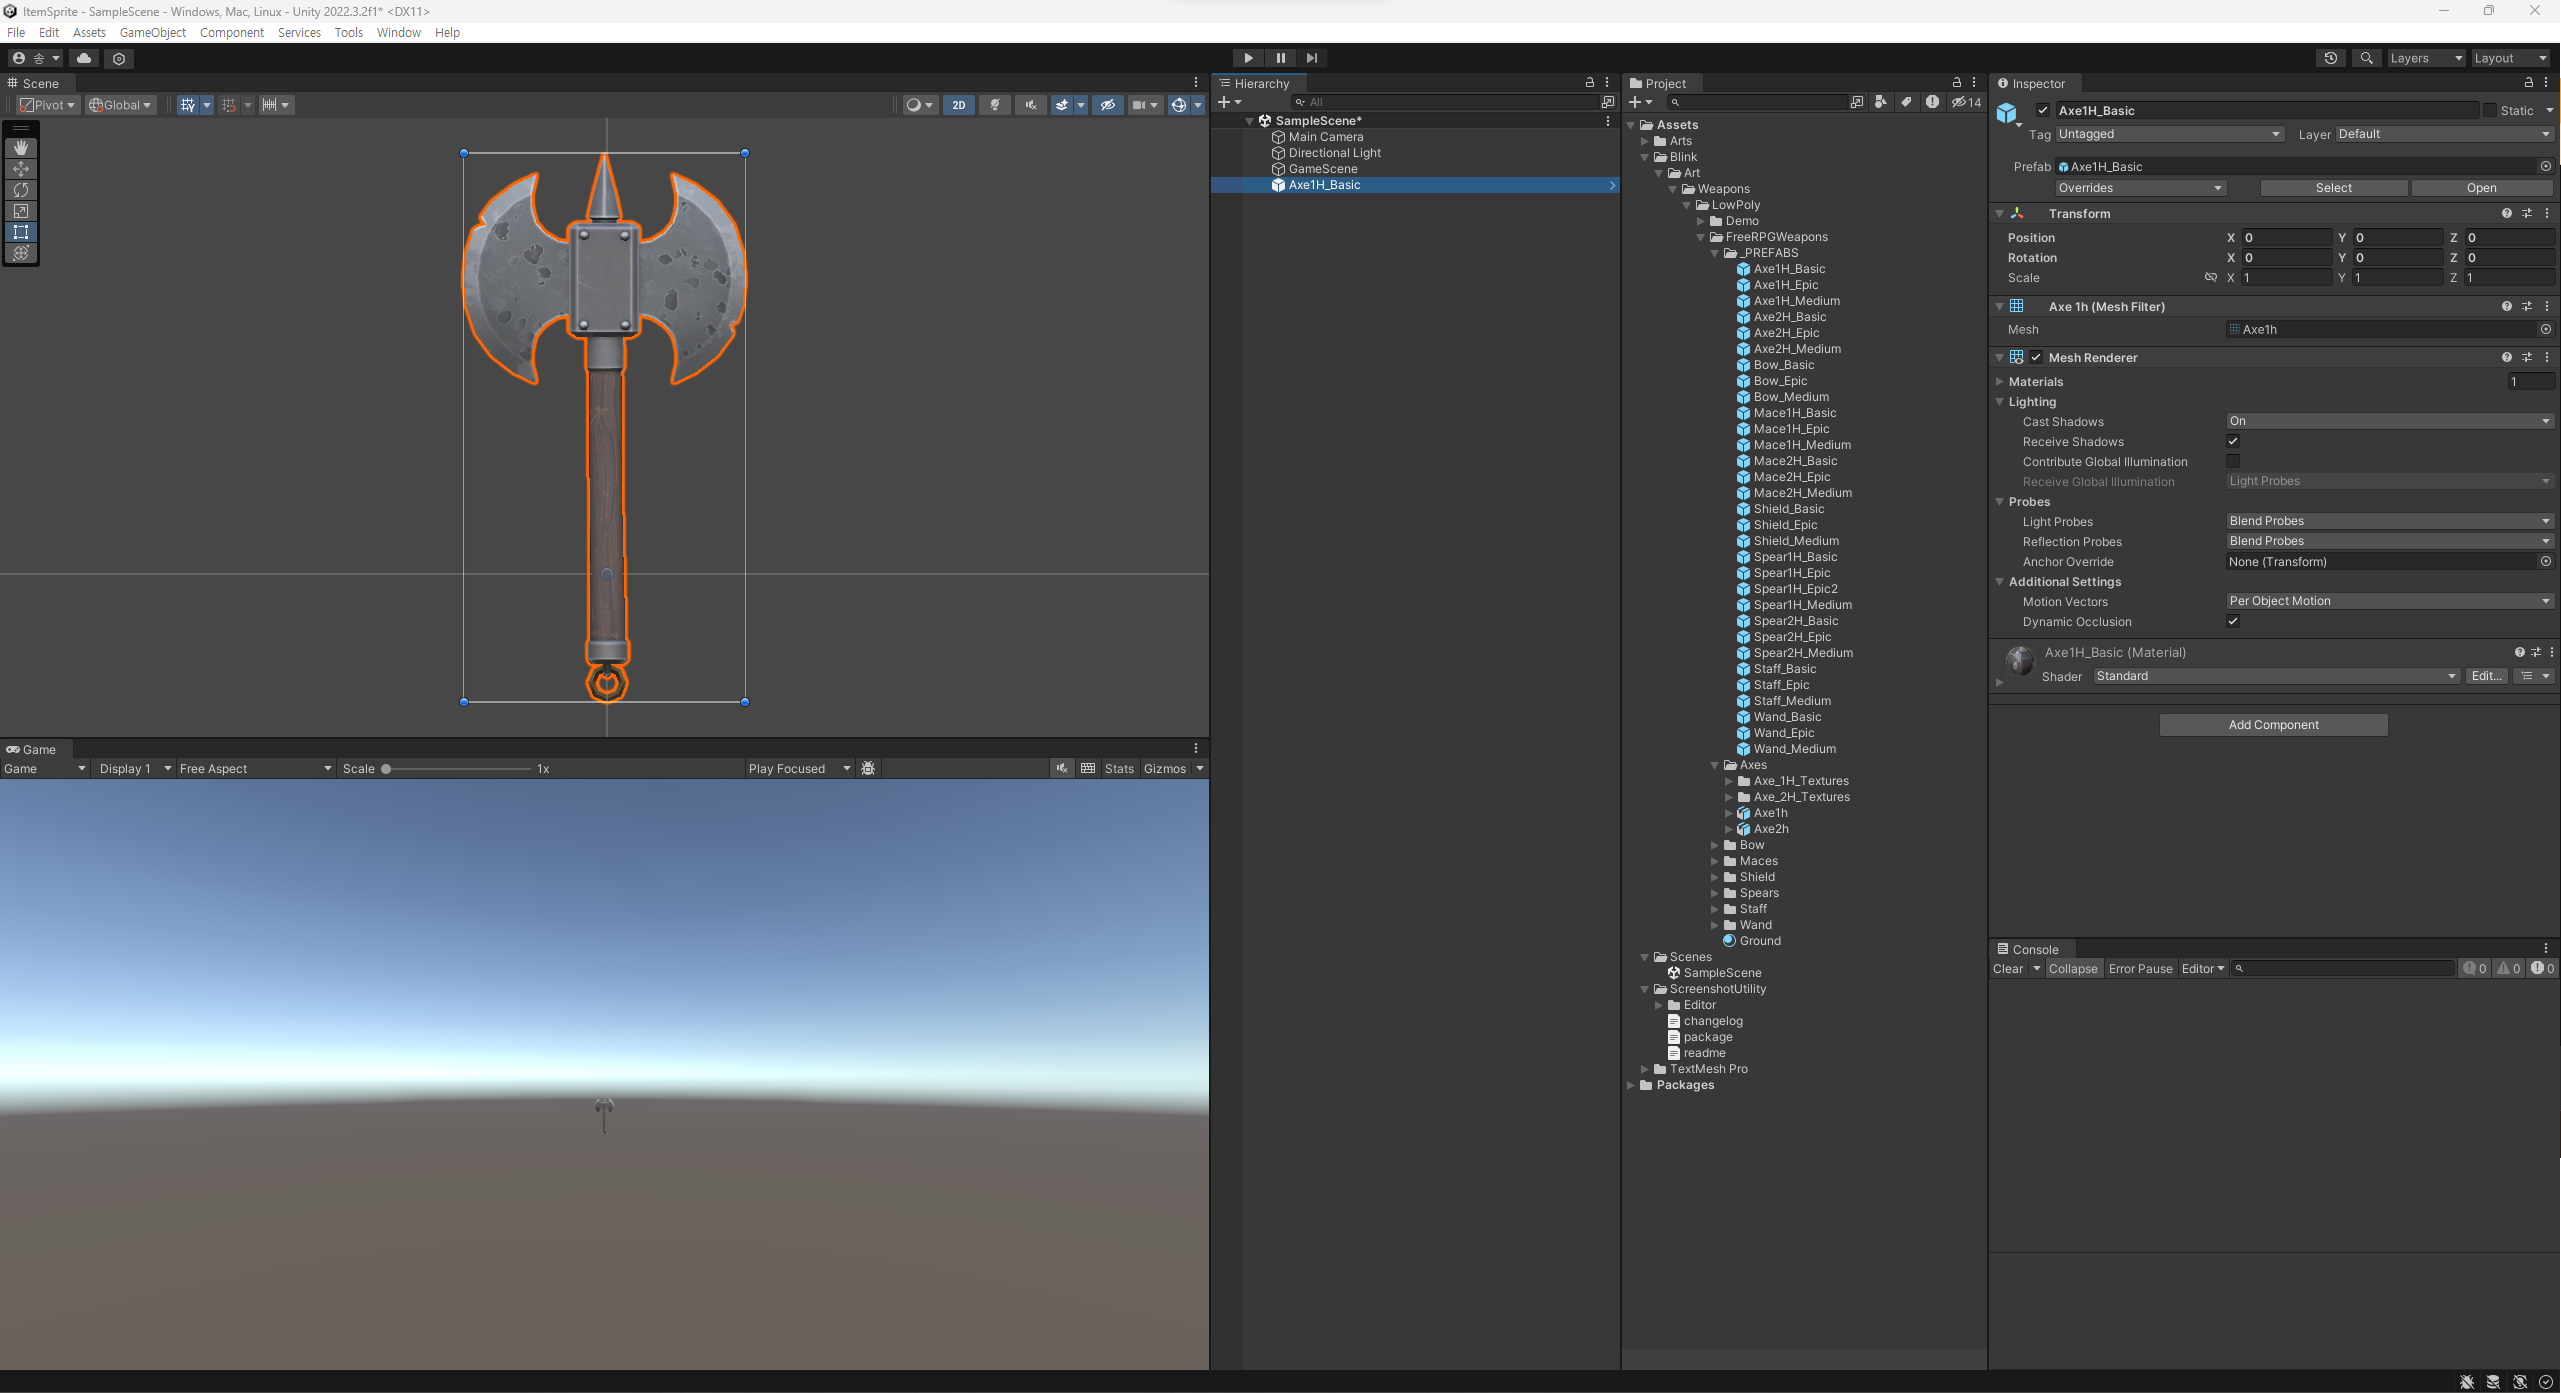
이후, MainCamera를 조절해준다.

Clear Flags를 Depth Only, Projection을 Orthographic으로 설정해준다.

그러면 위 화면처럼 되는데, 적당히 GameObject의 Transform을 조절하여 카메라에 잘 잡히도록 만들어준다.

그 다음에는 Tools에서 Screenshot을 선택하면 Import했던 Screenshot Utility창이 뜨고, Game View를 캡쳐할 수 있게 된다.
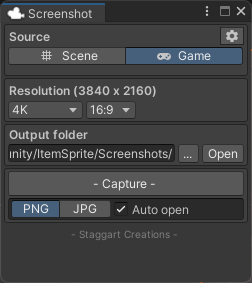

캡쳐를 하면 위처럼 스크린샷으로 png가 나오게 되는데, 이 png를 사용할 프로젝트로 가져가서 수정을 해준다.
우선 Texture Type을 Sprite로 변경한 후, Sprite Mode를 Multiple로 변경해준다.
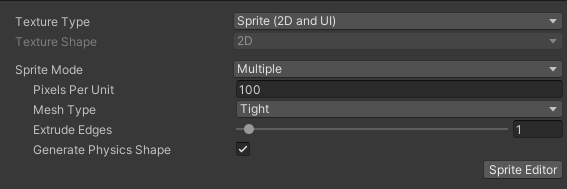
이후 Sprite Editor에서 Slice를 해주면 Sprite로 만들어지게 된다.
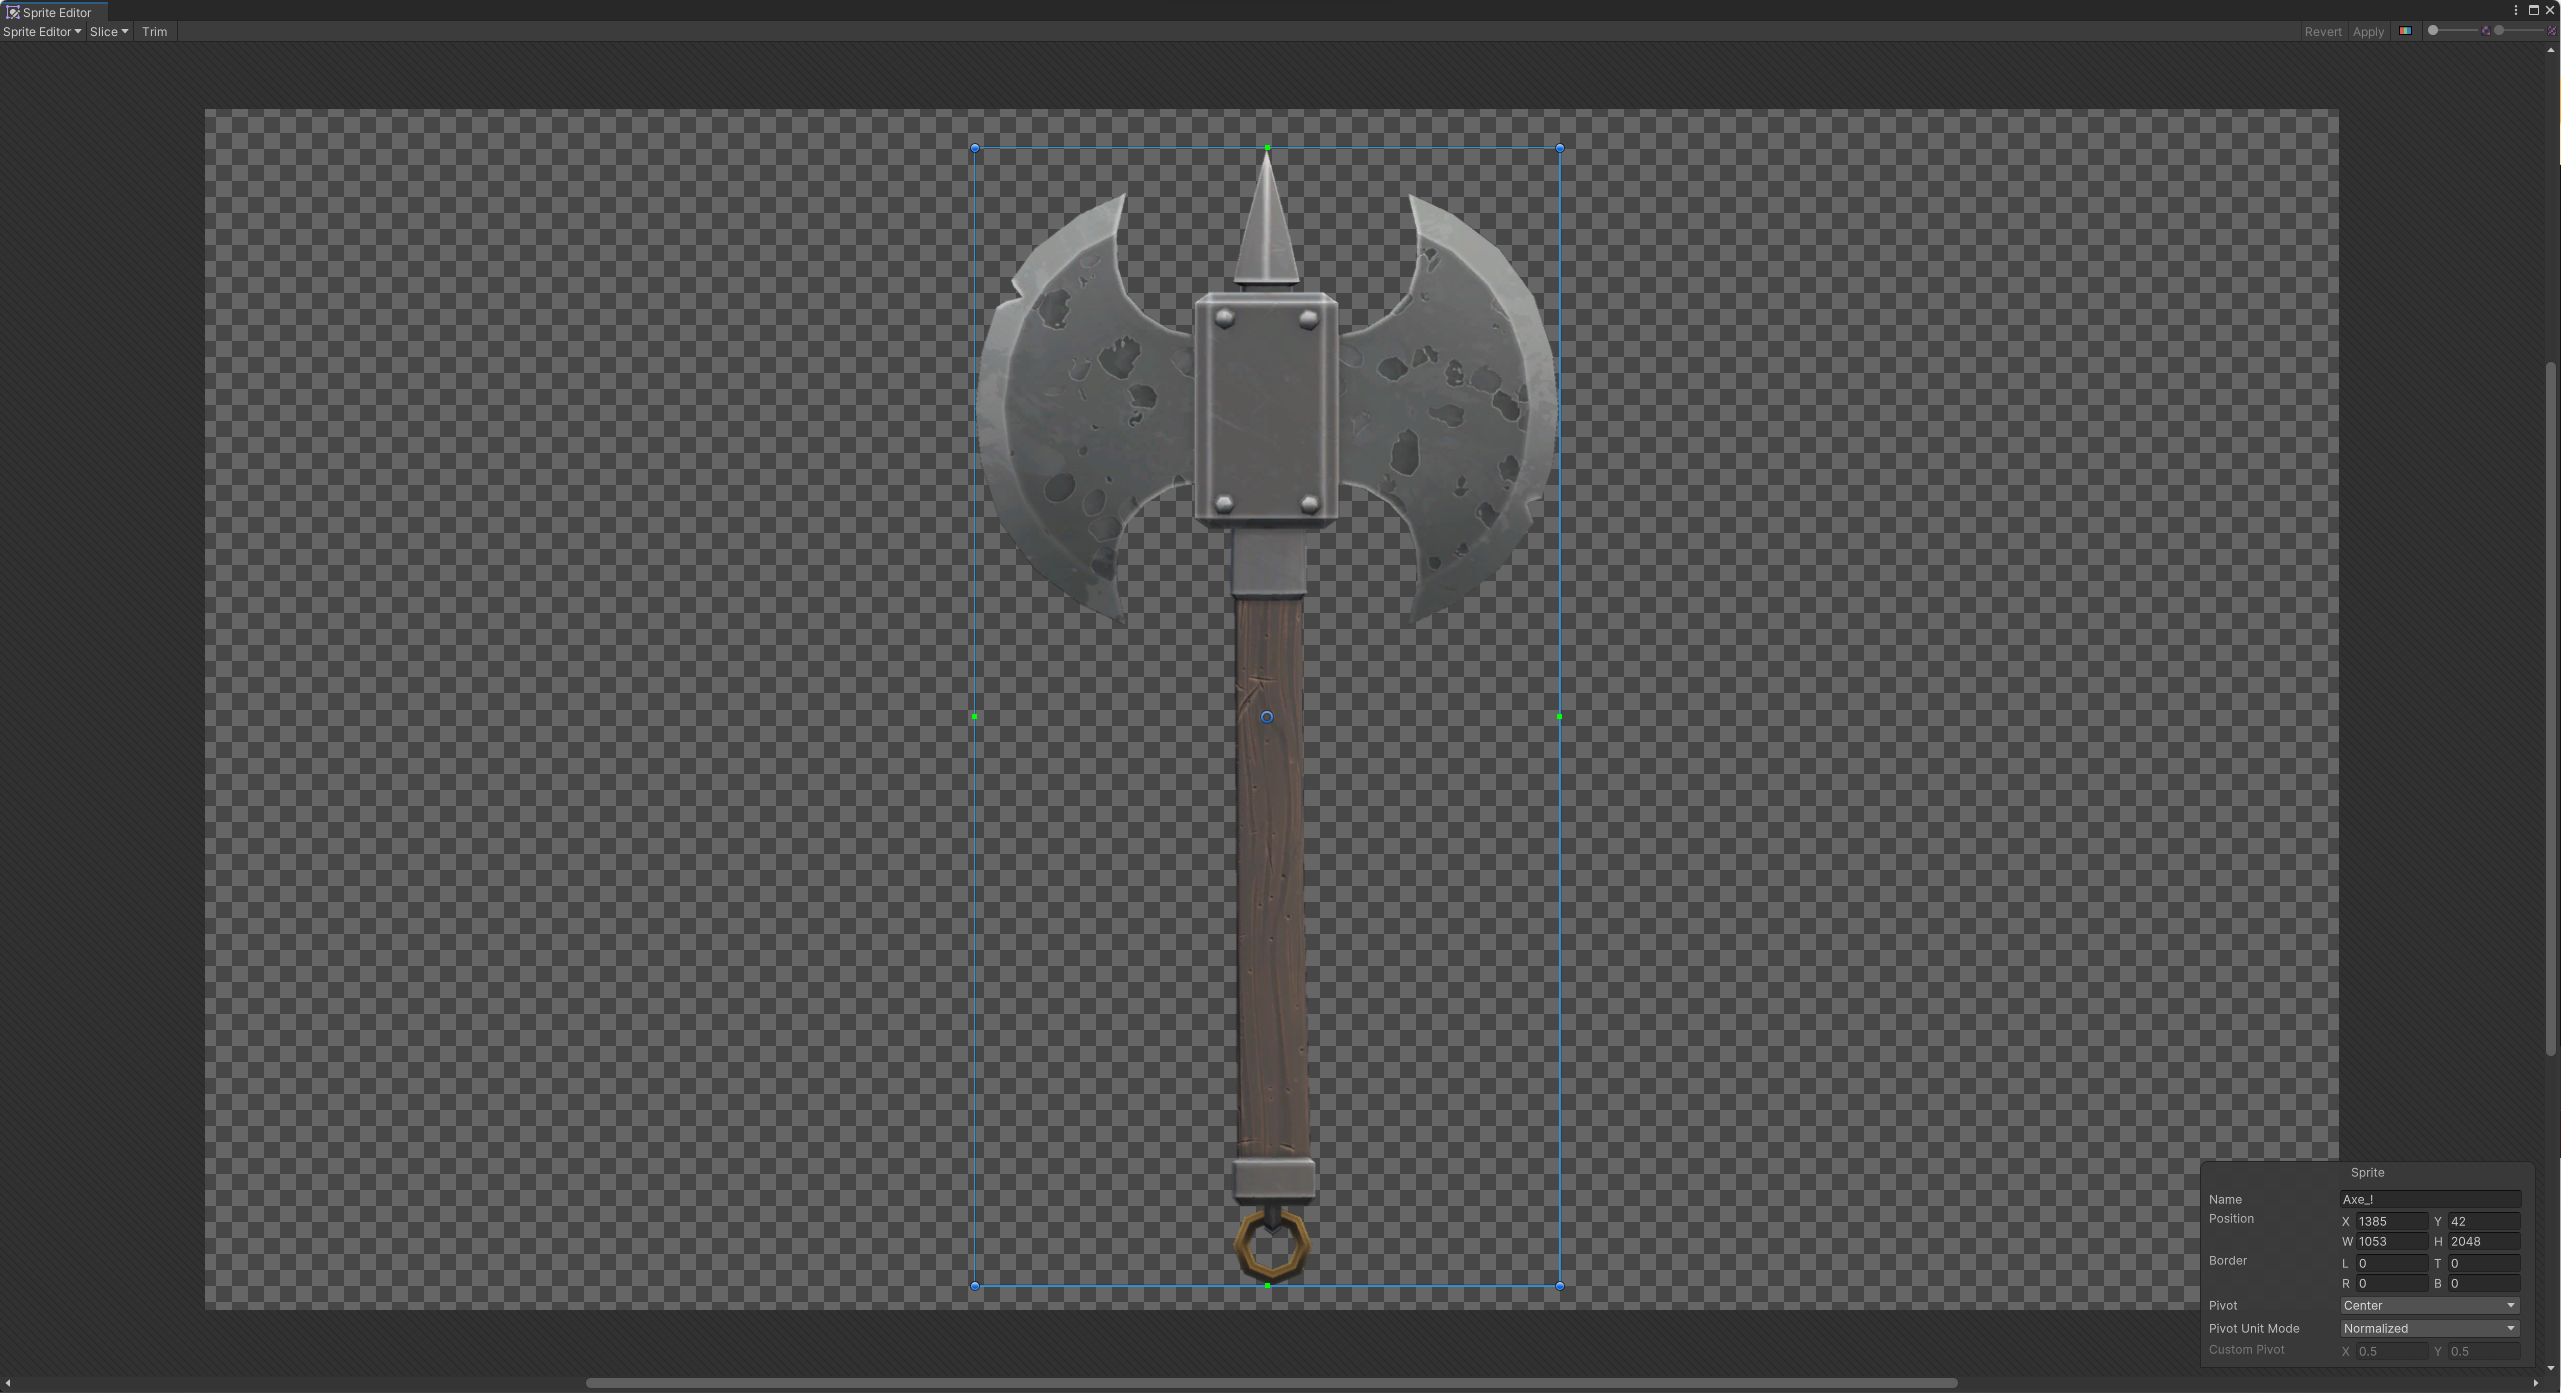

반드시 Alpha Is Transparency가 체크되어 있는지 확인할 것!
완성!
엑셀로 ScriptableObject 만들기
유니티 엑셀 임포터
위의 패키지를 사용하면 굉장히 쉽게 구현할 수 있다.
우선 엑셀에 저장할 데이터 클래스를 만들어준다. 나의 경우 아이템에서 WeaponData를 저장하기 위해 WeaponData 클래스를 작성했다.
// ItemSO

public enum ItemGrade
{
    Normal,
    Rare,
    Unique
}

[Serializable]
public class ItemSO
{
    [field: Header("ItemInfo")]
    [SerializeField] protected int _id;
    [SerializeField] protected string _name;
    [SerializeField] protected string _description;
    [SerializeField] protected string _spritePath;
    [SerializeField] protected int _iconWidth;
    [SerializeField] protected int _iconHeight;
    [SerializeField] protected string _prefabPath;
    [SerializeField] protected int _price;
    [SerializeField] protected ItemGrade _grade;

    public int Id => _id;
    public string Name => _name;
    public string Description => _description;
    public string SpritePath => _spritePath;
    public int IconWidth => _iconWidth;
    public int IconHeight => _iconHeight;
    public string PrefabPath => _prefabPath;
    public int Price => _price;
    public ItemGrade Grade => _grade;
}
// WeaponData
public enum WeaponType
{
Melee,
Range
}
[Serializable]
public class WeaponData : ItemSO
{
[field: Header("Weapon")]
[SerializeField] private float _atk;
[SerializeField] private float _atkRate;
[SerializeField] private float _critRate;
[SerializeField] private float _critDamage;
[SerializeField] private float _range;
[SerializeField] private int _lifeSteal;
[SerializeField] private WeaponType _type;
[field: Header("Projectile")]
[SerializeField] private string _projectilePath;
[SerializeField] private int _numberOfProjectile;
public float Atk => _atk;
public float AtkRate => _atkRate;
public float CritRate => _critRate;
public float CritDamage => _critDamage;
public float Range => _range;
public int LifeSteal => _lifeSteal;
public WeaponType Type => _type;
public string ProjectilePath => _projectilePath;
public int NumberOfProjectile => _numberOfProjectile;
}그 다음엔 사용할 엑셀을 작성해준다.
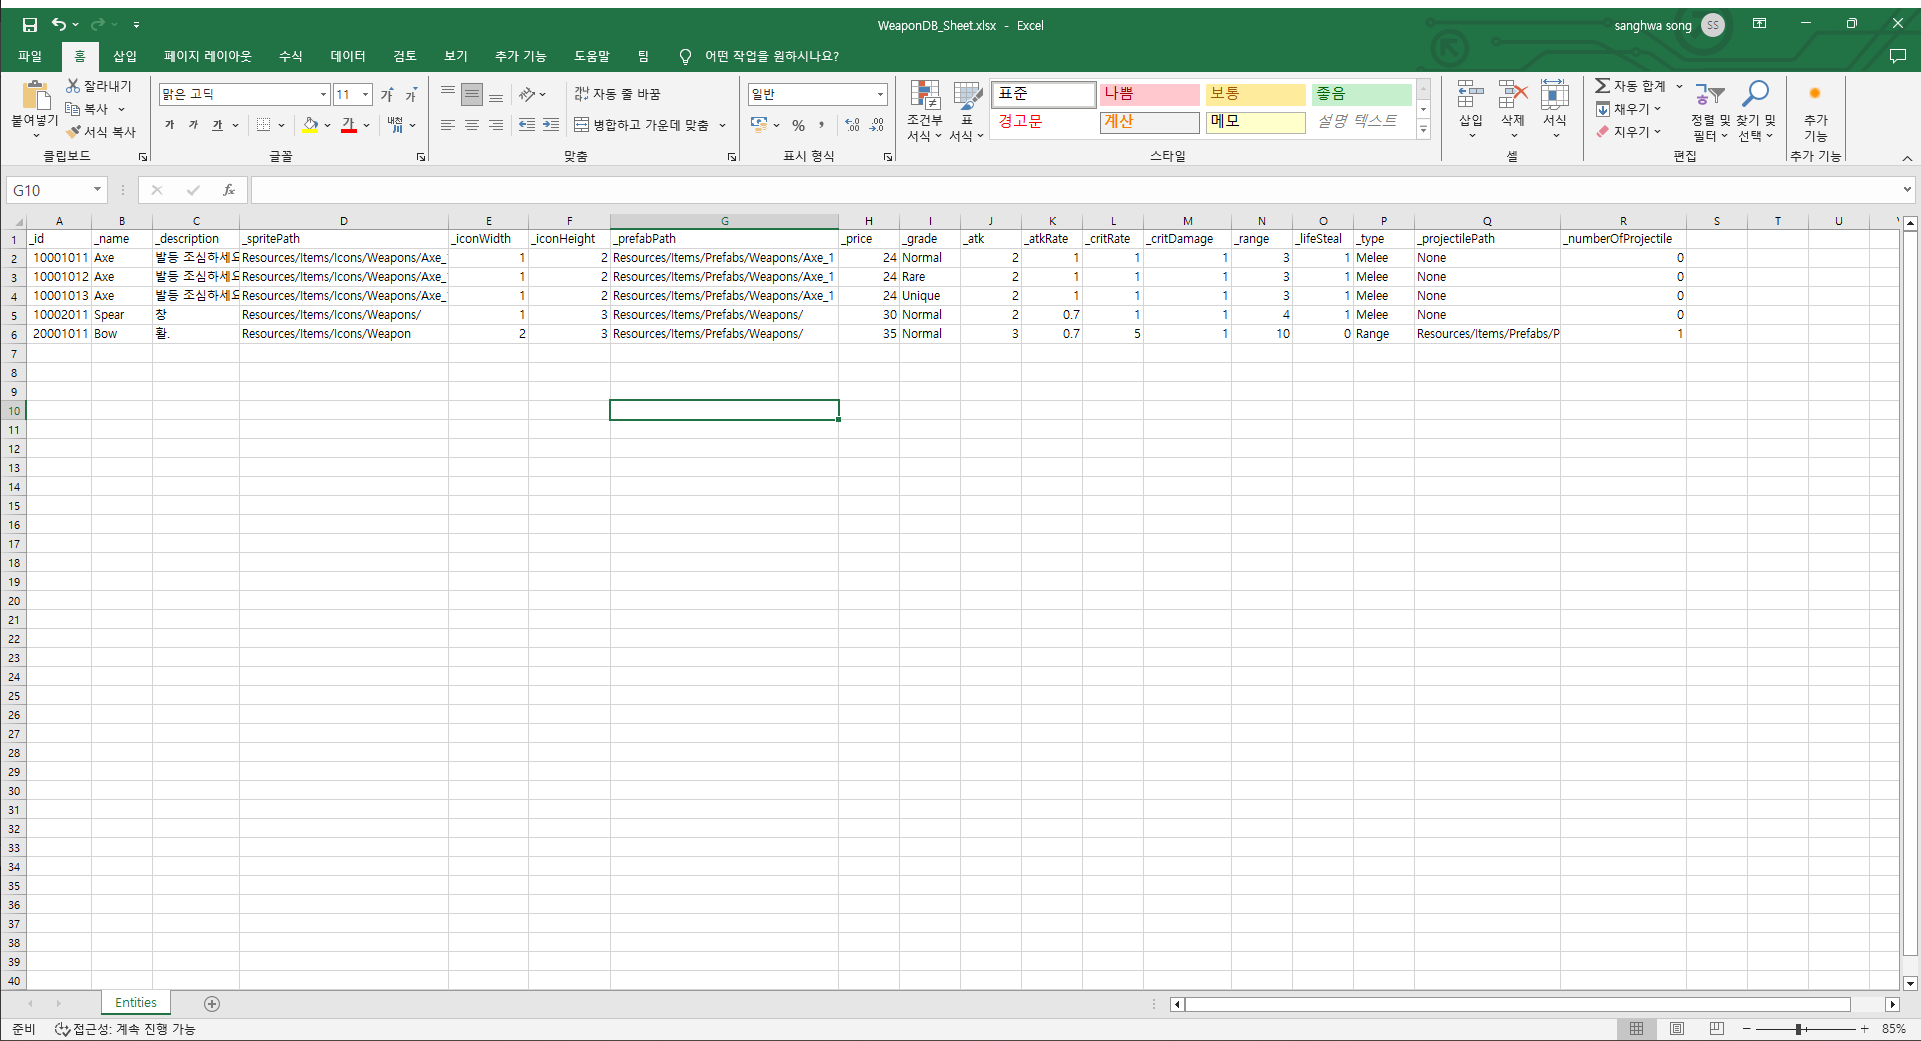
이 때 주의할 점은 반드시 데이터 클래스에서 사용한 변수명과 반드시 일치해야 한다는 점이다.
엑셀이 작성이 완료되면 작성한 엑셀을 프로젝트에 넣어준다.

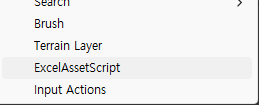
넣은 엑셀 파일을 우클릭 → Create → ExcelAssetScript를 해주면 엑셀파일과 이름이 같은 스크립트를 자동으로 완성해준다.
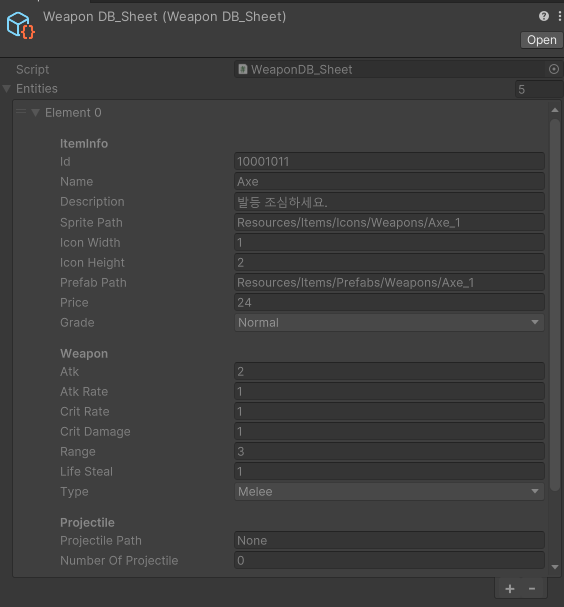
// WeaponDB_Sheet

[ExcelAsset(AssetPath = "Resources/Items/Data")]
public class WeaponDB_Sheet : ScriptableObject
{
	public List<WeaponData> Entities;
}
그렇게 만들어진 DB 스크립트에서 List에 있는 제네릭 타입을 위에서 만든 클래스의 타입으로 넣어준다.
이때 ExcelAsset을 만들어줄 때를 위한 옵션들을 지정해줄 수 있다.
- SO가 만들어질 경로 설정
[ExcelAsset(AssetPath = "경로")] - 원하는 엑셀파일과 연결
[ExcelAsset(ExcelName = "엑셀 파일 이름")]
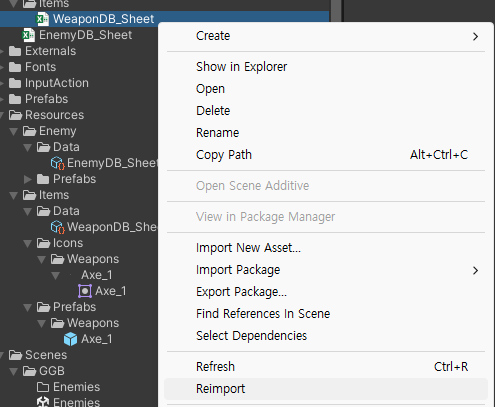
마지막으로 엑셀 파일 우클릭 → Reimport를 해주면 SO파일이 만들어지게 된다.
DB 클래스 만들기
위에서 만든 SO 파일을 Dictionary로 캐싱하여 id를 통해 원하는 데이터를 가져오는 클래스를 만들자.
public class WeaponDB
{
    private Dictionary<int, WeaponData> _weapons = new Dictionary<int, WeaponData>();

    public WeaponDB()
    {
        var res = Resources.Load<WeaponDB_Sheet>("Items/Data/WeaponDB_Sheet");
        var weaponSO = Object.Instantiate(res);
        var entities = weaponSO.Entities;

        if (entities == null || entities.Count <= 0) return;

        var entityCount = entities.Count;

        for(int i = 0; i < entityCount; i++)
        {
            var weapon = entities[i];

            if(_weapons.ContainsKey(weapon.Id)) _weapons[weapon.Id] = weapon;
            else _weapons.Add(weapon.Id, weapon);
        }
    }

    public WeaponData Get(int id)
    {
        if(_weapons.ContainsKey(id)) return _weapons[id];

        return null;
    }

    public IEnumerator WeaponDBEnumerator()
    {
        return _weapons.GetEnumerator();
    }
}
WeaponDB의 생성자에서는 우리가 생성했던 SO파일을 읽어서 Dictionary에 저장한다.
이후 WeaponData Get(int id)에서는 원하는 데이터의 id를 입력하면 그 데이터를 return해준다.
그 밑의 IEnumerator는 전체 Dictionary를 순회할 수 있도록 해준다.
Database 클래스
public class DataBase : SingletoneBase<DataBase>
{
    [SerializeField] WeaponDB _weapon;

    public static WeaponDB Weapon
    {
        get
        {
            if(Instance._weapon == null)
                Instance._weapon = new WeaponDB();

            return Instance._weapon;
        }
    }
}
DataBase라는 클래스를 만들어서 싱클톤 시켜놓고, 원하는 곳에서 데이터에 접근할 수 있도록 만들자.
위와 같이 루트 클래스를 만들어 두면 DataBase - Get을 통해 데이터에 접근이 가능해진다.
public int id;
public WeaponData weaponData;

weaponData = DataBase.Weapon.Get(id);