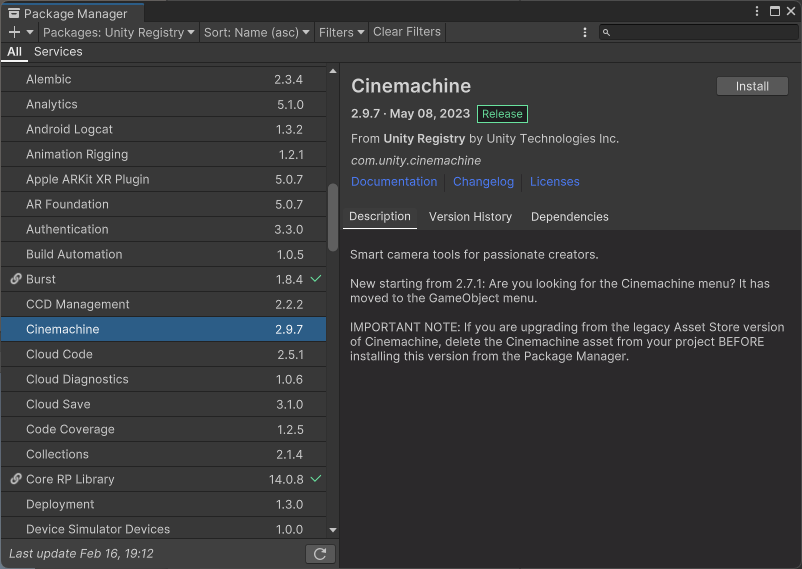
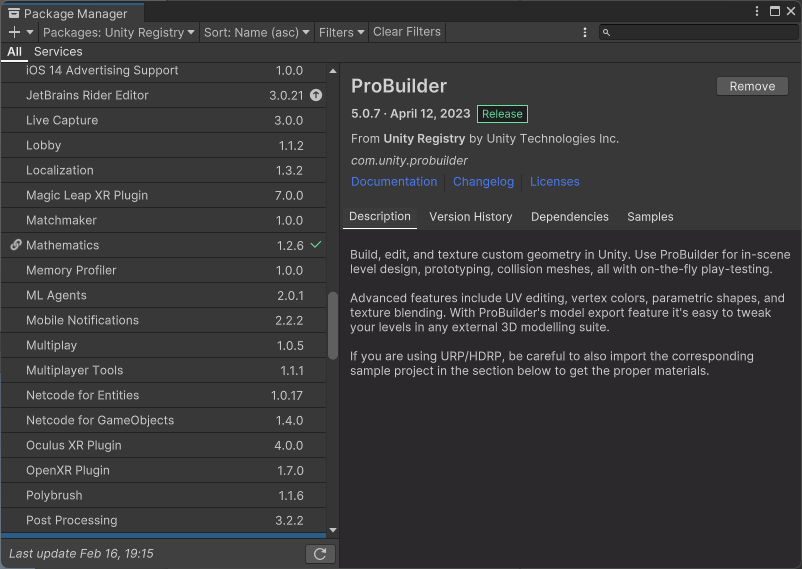
🏗️ 프로빌더(ProBuilder)
프로빌더는 Unity의 유용한 에셋 중 하나로, 개발자들이 빠르고 쉽게 3D 모델을 만들고 편집하는 도구이다. 기본적으로 Unity에서 제공하는 기능으로, 유료 라이센스가 필요 없어 무료로 사용할 수 있다.
프로빌더의 주요 기능 및 특징
-
3D 모델링 : 프로빌더는 내장된 도구들을 사용하여 3D 모델을 쉽게 생성할 수 있다. 기본적인 기하 도형을 생성하거나, 다른 모델링 도구를 사용하여 더 복잡한 모델을 만들 수 있다.
-
편집과 수정 : 프로빌더는 객체를 선택하고 이동, 회전, 스케일 등을 수행하는 편집 도구를 포함하고 있다. 또한 정점, 엣지, 면 수준에서 세부적인 편집이 가능하다.
-
UV 매핑 : 3D 모델의 텍스처 UV 매핑을 프로빌더에서 직접 할 수 있다. 이를 통해 텍스처를 정확하게 적용할 수 있다.
-
Collision 설정 : 프로빌더는 간단한 Collision 메쉬를 만들 수 있으며, 이를 통해 게임 캐릭터나 객체와 상호작용하는데 사용할 수 있다.
-
성능 최적화 : 프로빌더는 다른 모델링 도구와 함께 사용하여 메쉬의 폴리곤 개수를 최적화하고 게임 성능을 향상시킬 수 있다.
프로빌더에 관한 블로그 게시글
https://unitysquare.co.kr/growwith/unityblog/webinarView?id=266&utm_source=facebook-page&utm_medium=social&utm_campaign=unityblog_fb_probuilder
🧑 캐릭터 컨트롤러(character Controller)
캐릭터 컨트롤러는 Unity에서 캐릭터나 플레이어의 움직임과 충돌을 관리하기 위해 사용되는 컴포넌트이다. 이 컴포넌트는 물리 엔진이 아닌 캐릭터의 움직임을 프레임 기반으로 처리하므로, 주로 3D 캐릭터를 제어하는 데 사용된다.
캐릭터 컨트롤러의 주요 기능과 특징
-
캐릭터 이동 : 캐릭터 컨트롤러는 단순한 이동을 쉽게 구현할 수 있도록 메서드를 제공한다. 주로 이동 방향과 속력을 설정하여 캐릭터를 움직이게 한다.
-
중력 적용 : 캐릭터 컨트롤러는 중력을 적용하여 점프나 떨어짐을 자연스럽게 처리할 수 있다.
-
충돌 처리 : 캐릭터 컨트롤러는 물리 엔진을 사용하지 않고, 캐릭터의 충돌을 감지하고 처리할 수 있다. 다른 Collider와의 충돌을 통제하고, 경사로와의 상호작용 등을 지원한다.
-
바닥 검출 : 캐릭터 컨트롤러는 캐릭터가 바닥 위에 놓이도록 바닥 검출을 처리한다. 바닥과의 거리, 표면 노멀 등을 고려하여 캐릭터의 높이를 조절하거나 점프를 가능하게 한다.
-
움직임 제한 : 캐릭터 컨트롤러는 움직임을 제한하는 기능도 제공한다. 지정된 영역 내에서만 움직이도록 하거나, 지형의 경사를 따라 이동할 수 있도록 설정할 수 있다.
Character Controller
https://docs.unity3d.com/kr/2021.3/Manual/class-CharacterController.html
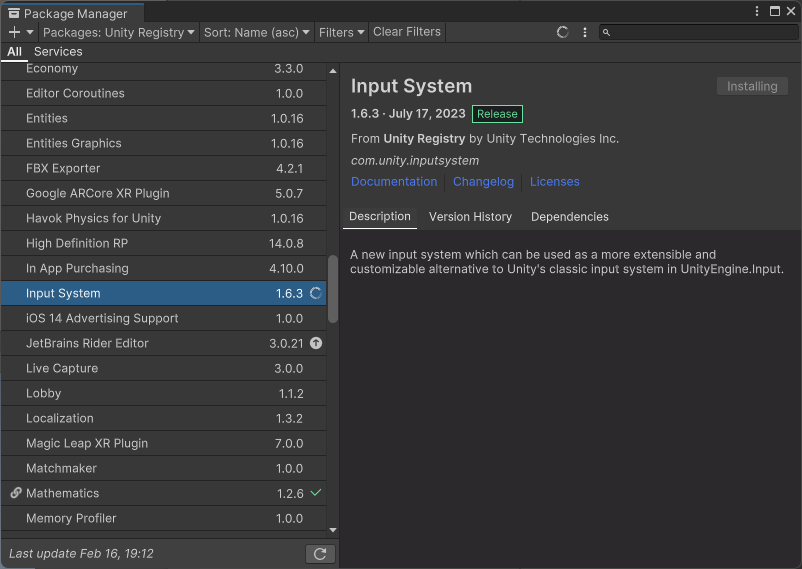
🛠️ 패키지 설치하기
이번 RPG_FSM 프로젝트를 진행하기 위해서는 패키지를 설치해줘야 한다.
Global Volume
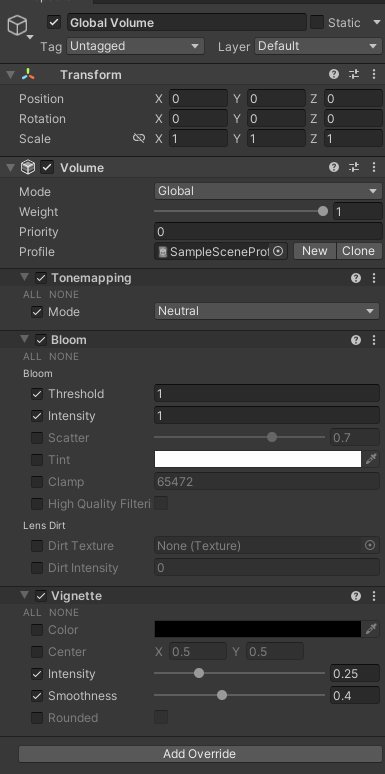
하이라키 창을 확인해보면 Global Volume이 있는 것을 확인할 수 있다. 이는 URP로 프로젝트를 생성했기 때문에 추가된 것으로, 포스트 프로세싱에 대한 처리를 해준다.
👷 지형 만들기
프로빌더를 활용하여 플레이어가 움직일 지형을 만들어 보자.
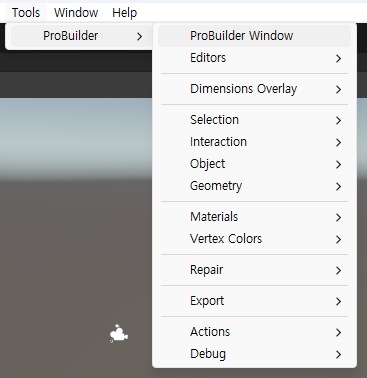
Tool → ProBuilder → ProBuilder Window를 연다.
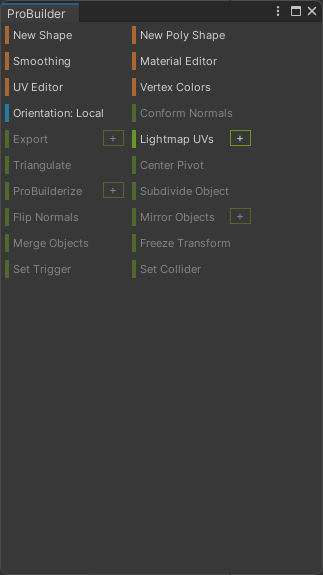
ProBuilder Window ▼
바닥면 설치하기
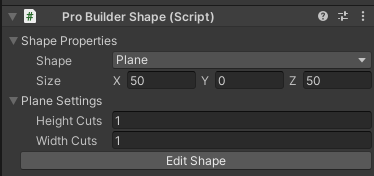
New Shape를 눌러 Plane을 찾아 깔아준다.
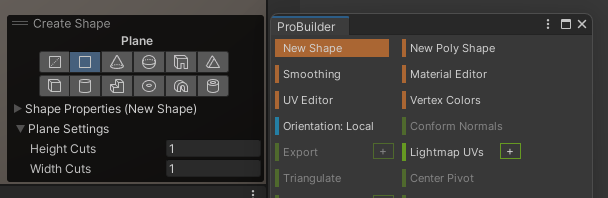
Plane을 깔고 ProBuilder Shape Component에서 Size를 X : 50, Z : 50으로 변경해준다.
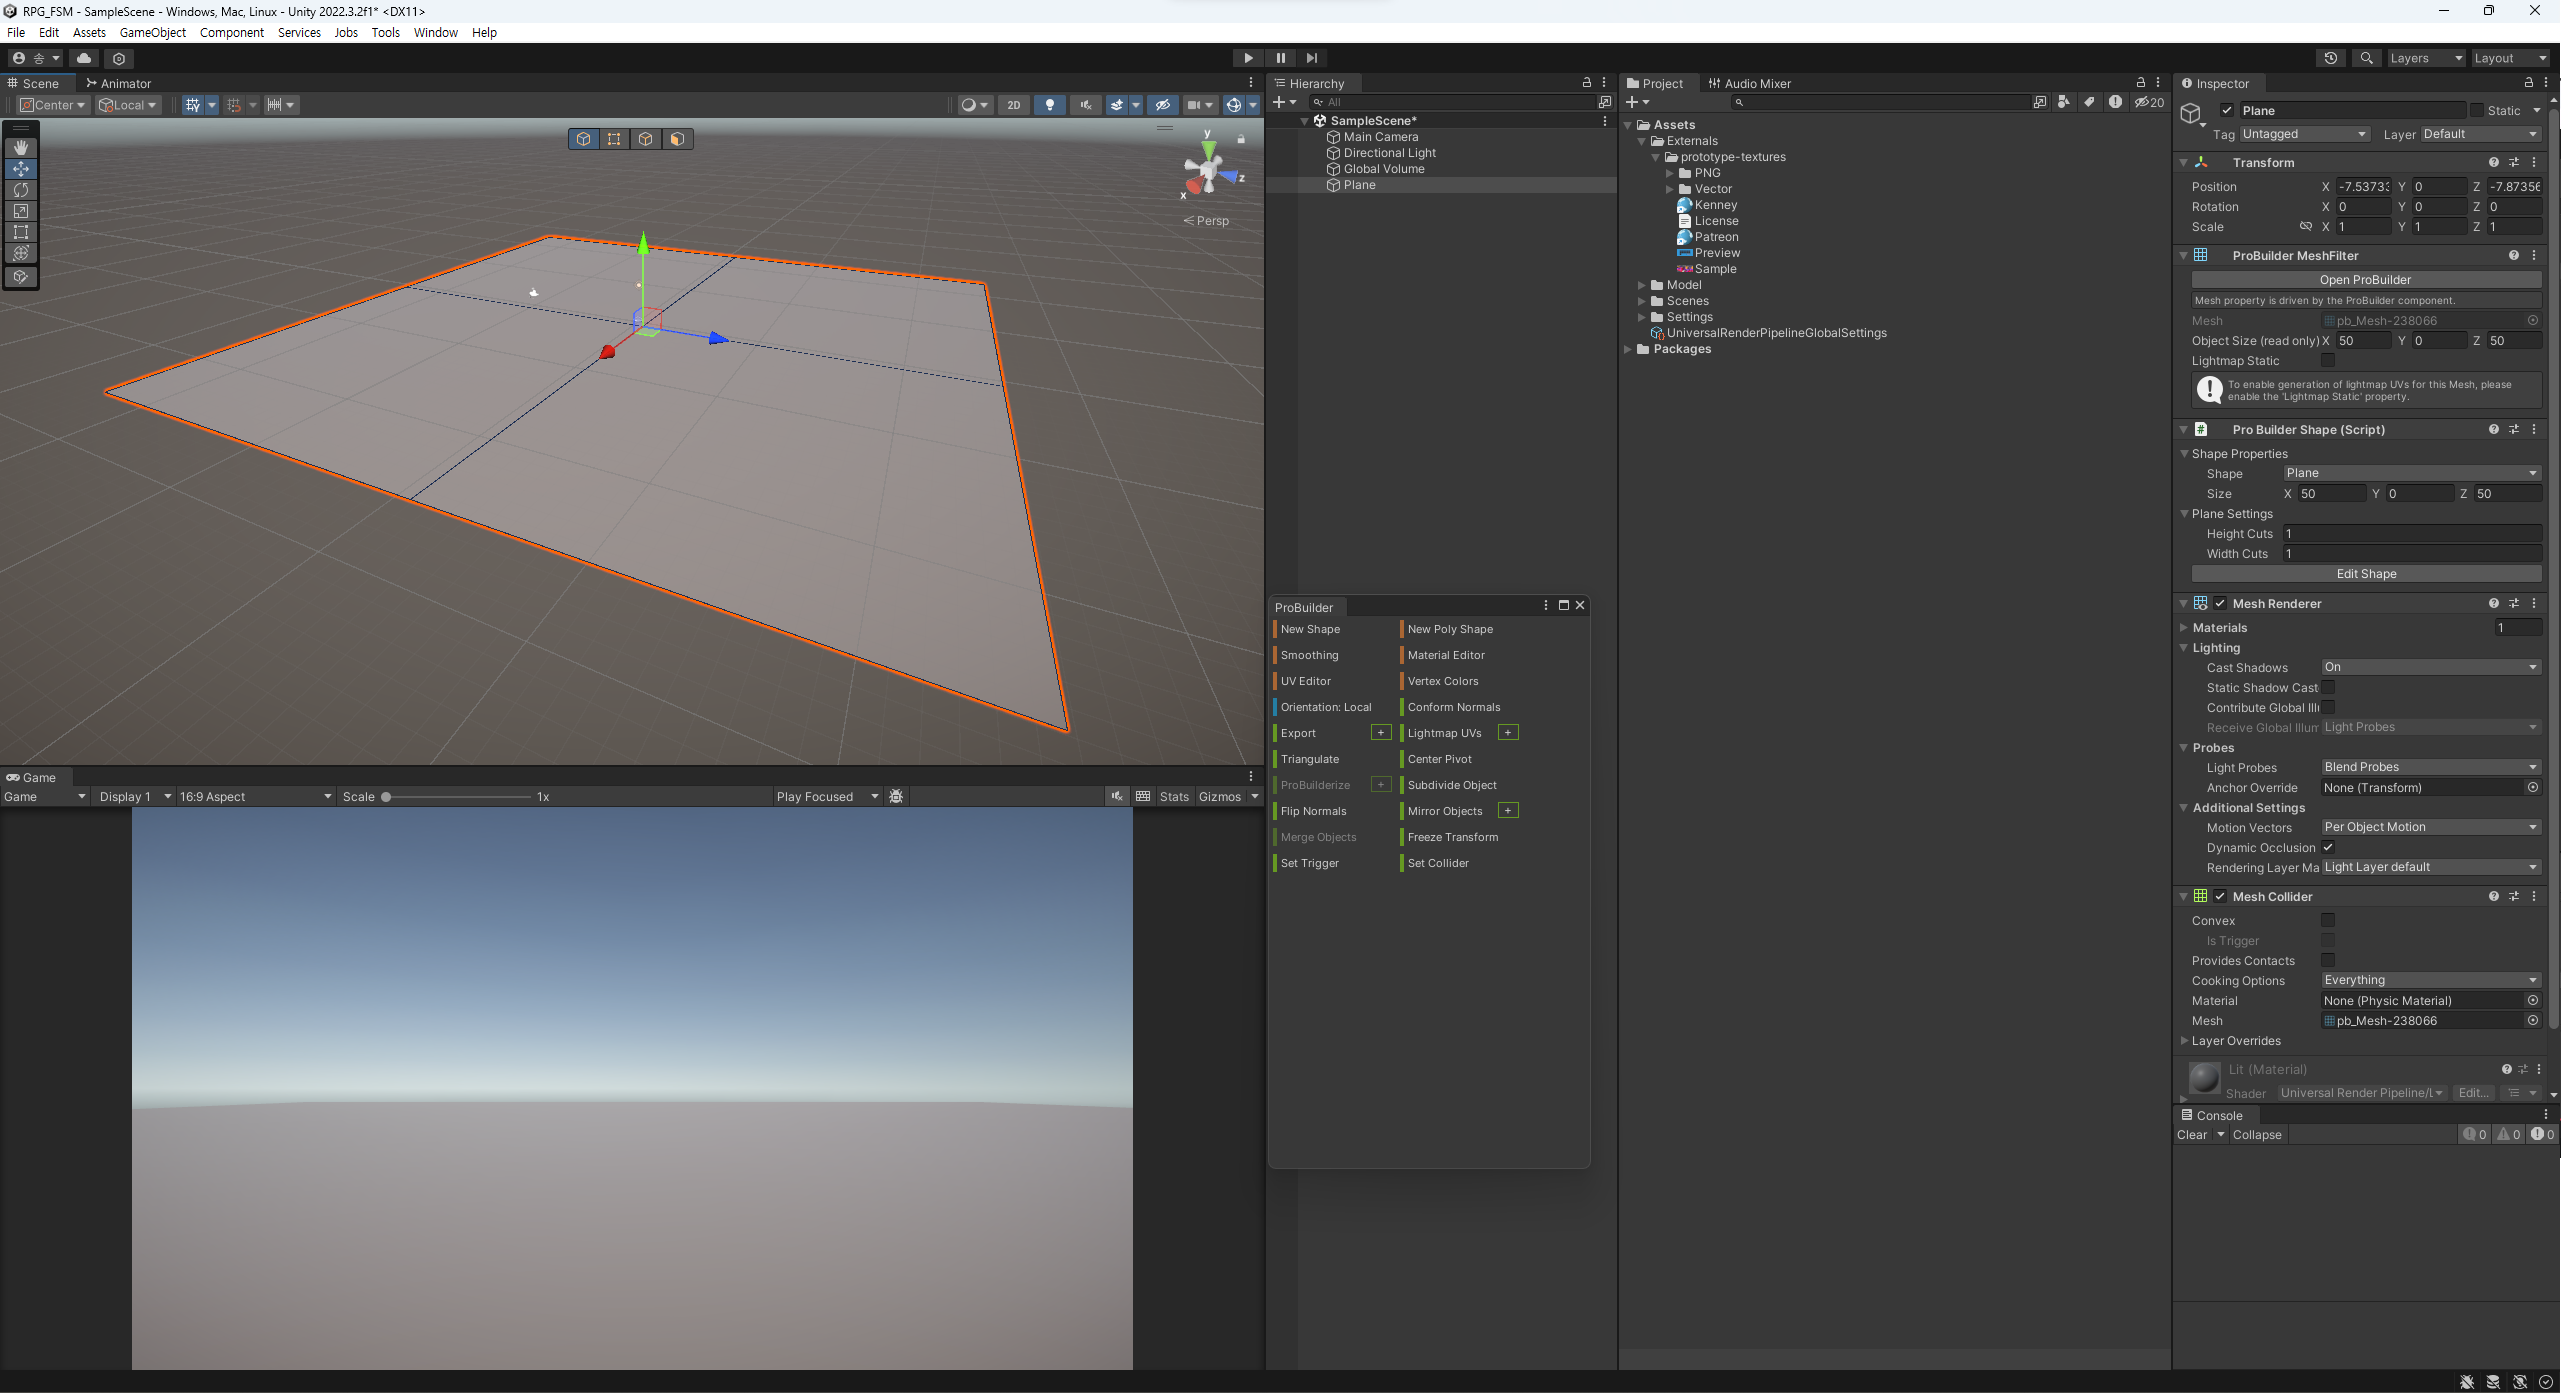
자동으로 추가되는 ProBuilder Shape Script ▼
바닥면 텍스쳐 추가하기
사용할 텍스쳐를 드래그 앤 드랍하여 미리 만든 Plane에 추가해준다.
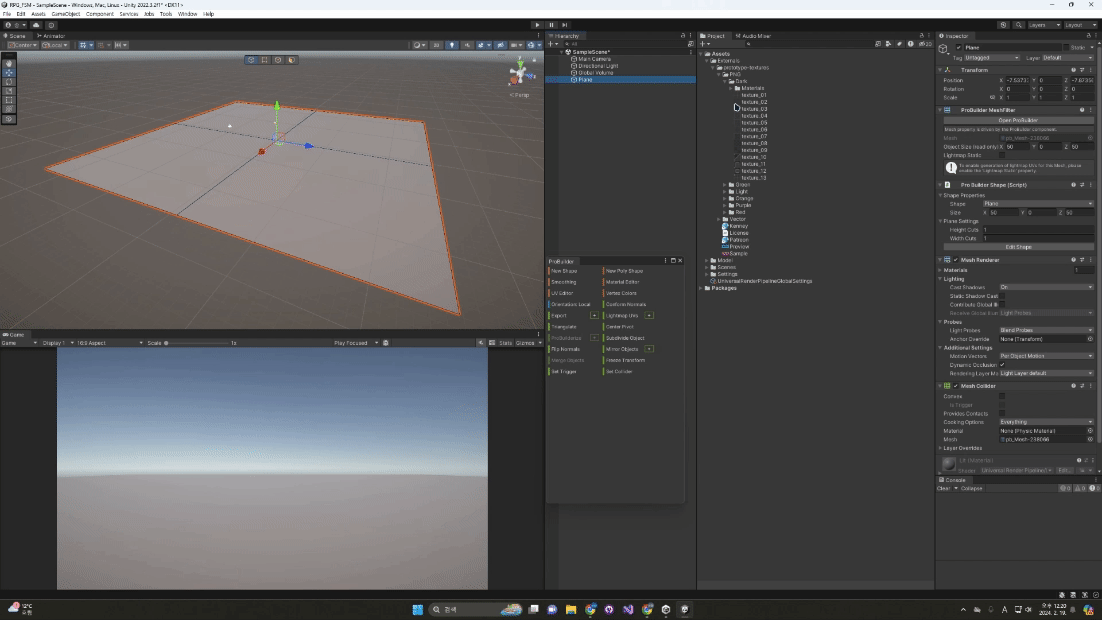
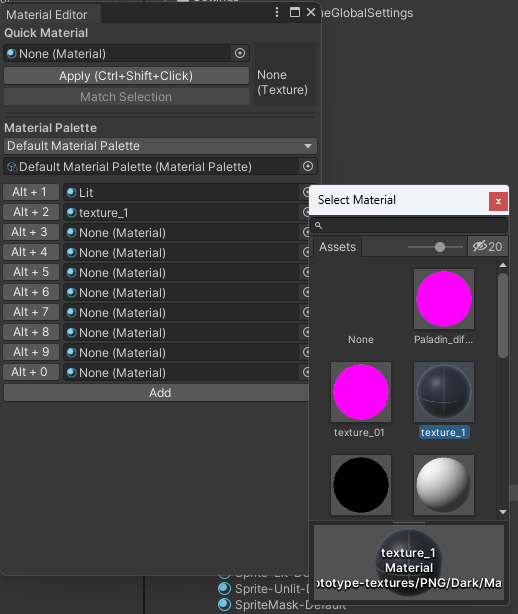
정상적으로 적용이 되었다면 ProBuilder Window에서 Material Editor를 열어보면 방금 입힌 텍스처가 자동으로 생성된 것을 확인할 수 있다.
생성한 텍스처를 Material Palette에 적용하여 단축키로 변경하도록 등록할 수 있다.
Alt + 2에 생성한 텍스처를 등록한 모습 ▼
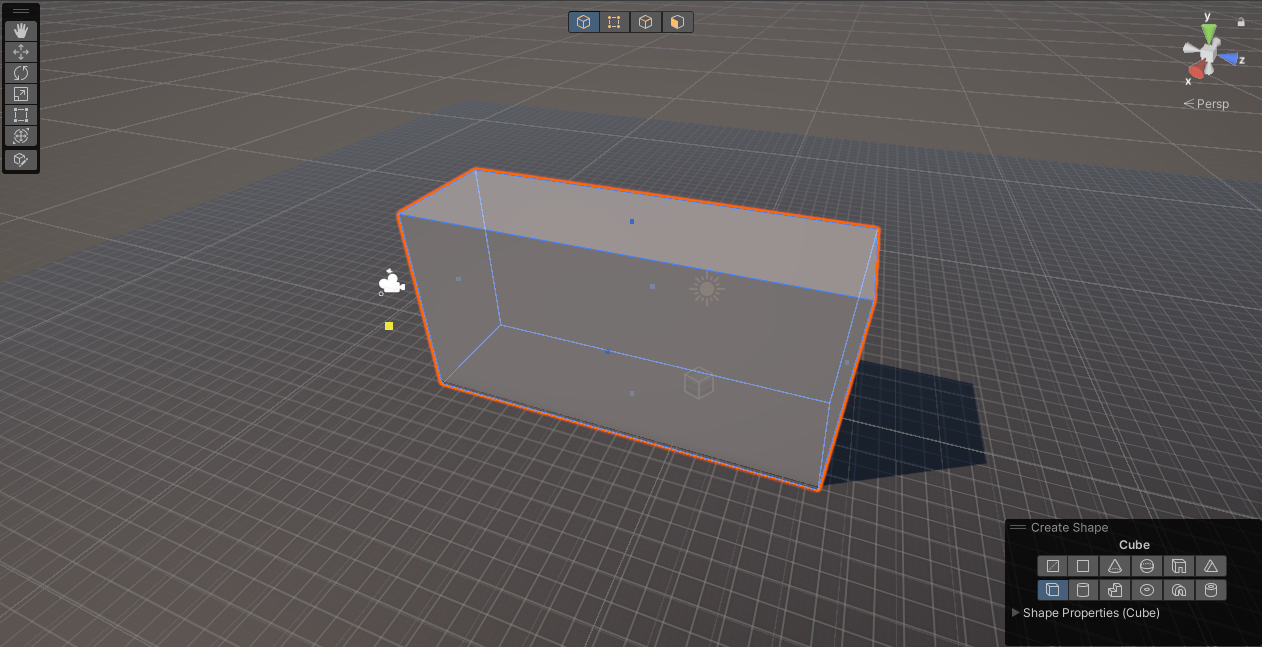
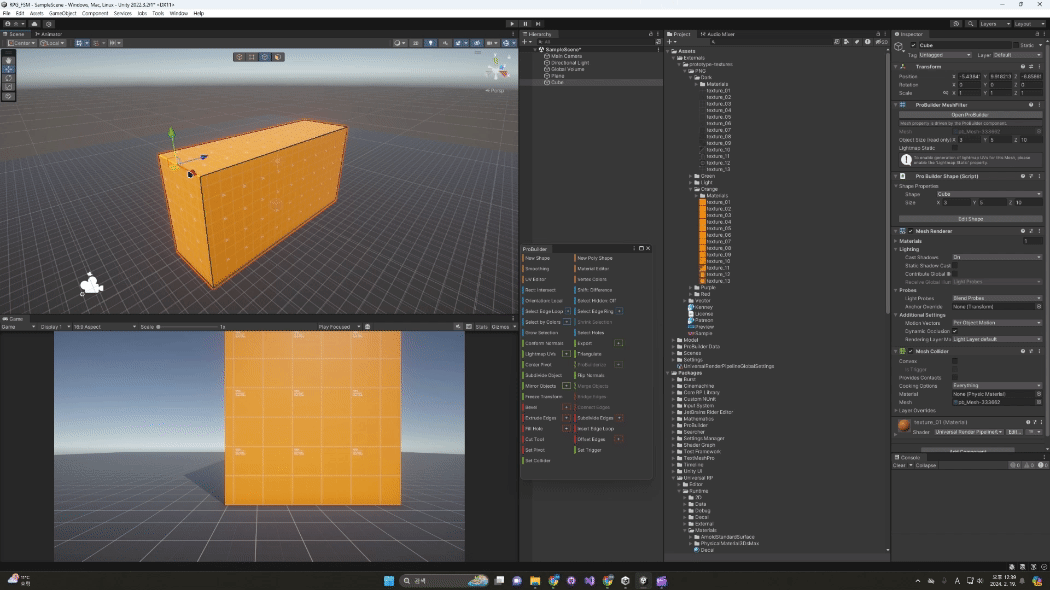
큐브 만들기
ProBuilder에서 New Shape을 통해 Cube를 골라서 만들어준다.
이후 Plane과 마찬가지로 사이즈를 수정해준다. X : 3, Y : 5, Z : 10.
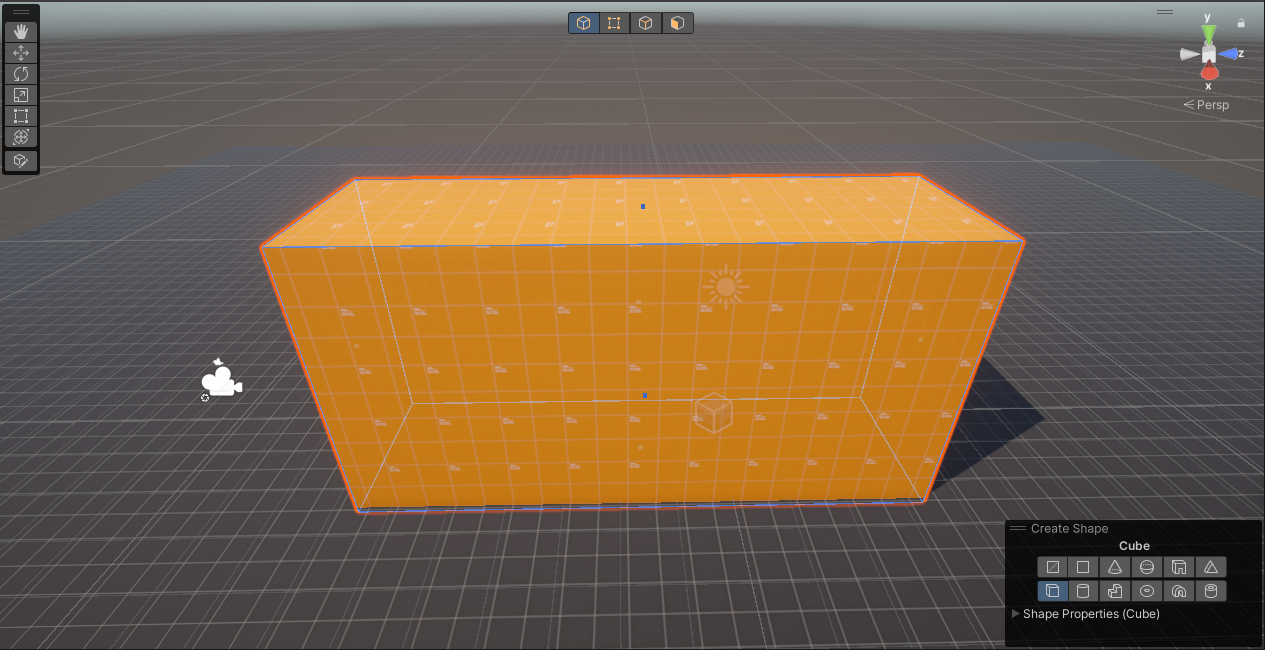
큐브 텍스처 적용하기
위의 바닥면과 마찬가지로 적용을 해준다.
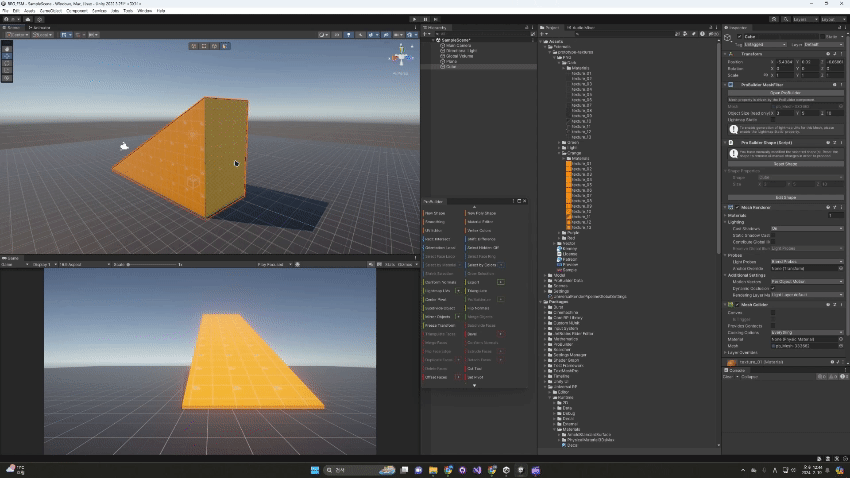
👷 큐브 형태 수정하기
해당 큐브를 플레이어가 경사면을 올라가거나 뛰어내리도록 만들어줄 것이기 때문에, 그에 맞춰 모양을 바꿔주자.
경사로 만들기 - Edge Selection
Scene View를 확인해보면 Cube의 모서리를 선택할 수 있는 Edge Selection 메뉴가 있다. 이를 키게 되면 Cube의 모서리가 짙은 색으로 변하게 되는 것을 확인할 수 있다.
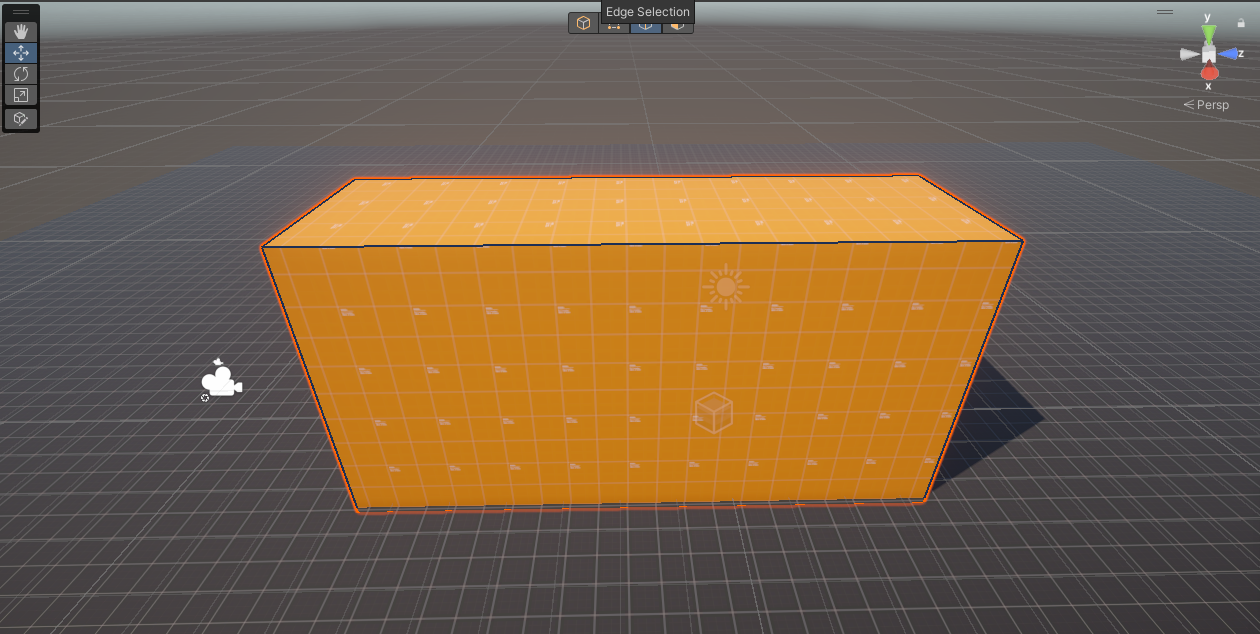
이제 Edge를 선택하여 경사로를 만들어보자.
새로운 면 만들기 - Extrude Face
현재 경사로가 올라가는 지점밖에 없기 때문에, 올라간 뒷부분을 만들어주자. 이를 위해서 Cube의 면을 선택하기 위해 Face Selection 메뉴를 선택해준다. 선택을 하면 ProBuilder Window에서 Extrude Face를 선택할 수 있게 되는데, 이를 선택하면 새로 면이 생기고, 이를 늘려줄 수 있게 된다.
배치하기
완성된 경사로를 배치해주기 위해 Object Selection 모드로 변경을 해주고, ProBuilder에서 Center Pivot을 눌러준다.
그러면 중심점이 가운데로 변경된다.
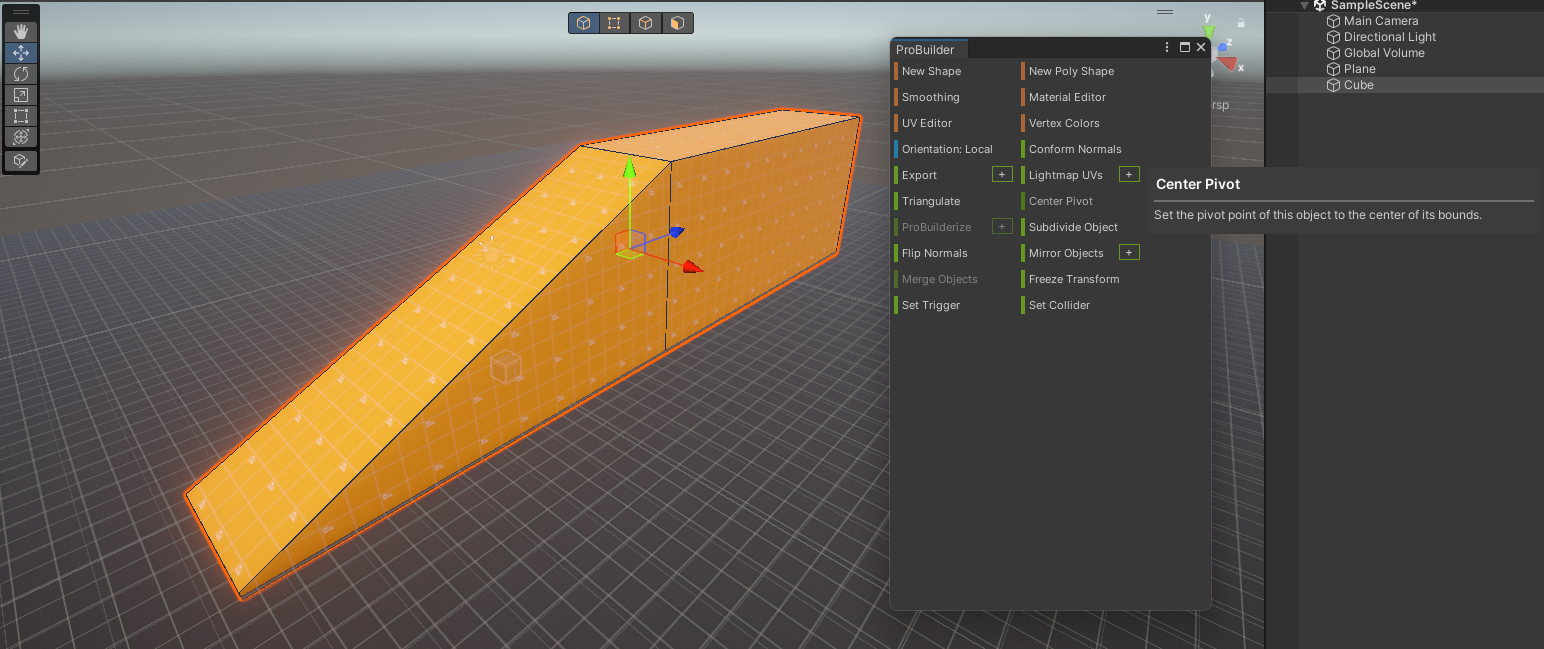
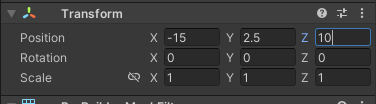
이후 Position의 값을 조절하여 경사로의 높이, 위치를 조절해준다.
👷 지형 추가하기
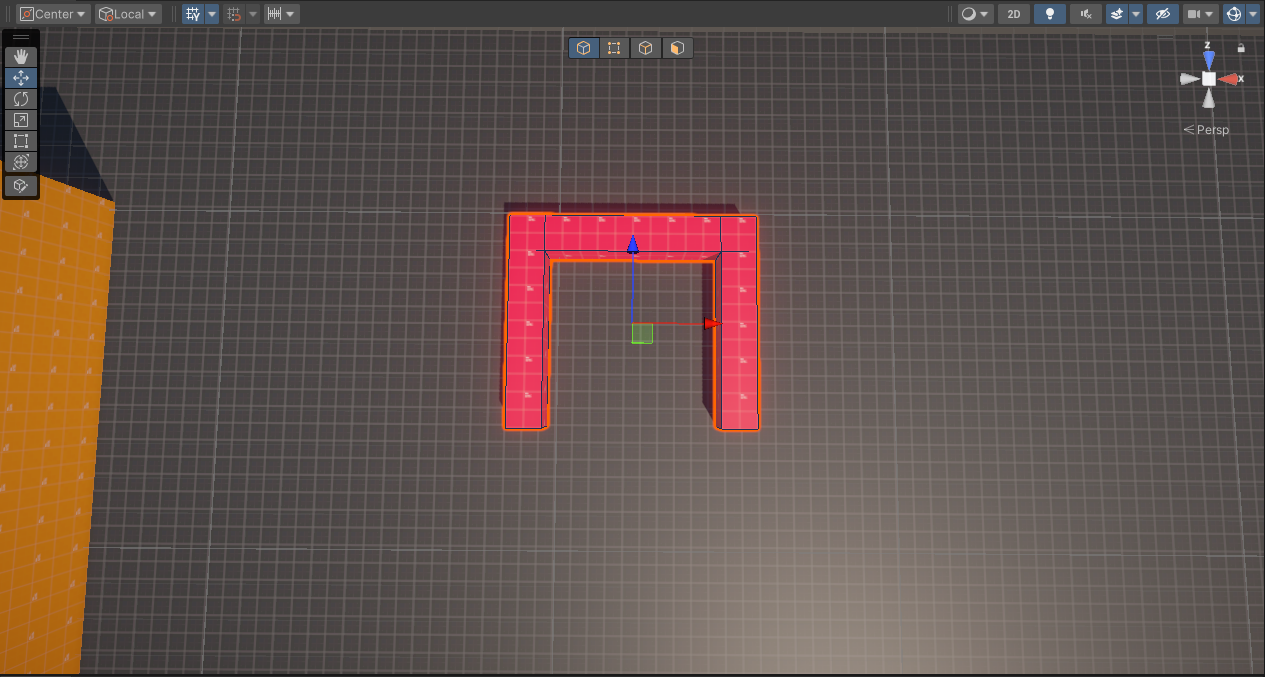
경사로 외에 다른 지형들을 추가해주자. New Shape을 통해 Cube를 하나 더 만들고, 크기를 (1, 1, 6)으로 변경한다.
이후, 앞서와 마찬가지로 Face Selection의 Extrude Face를 통해 아래와 같이 만들어준다.
👷 Arch 지형 만들기
ProBuilder의 New Shape에서 Arch를 선택하여 만들어준다.
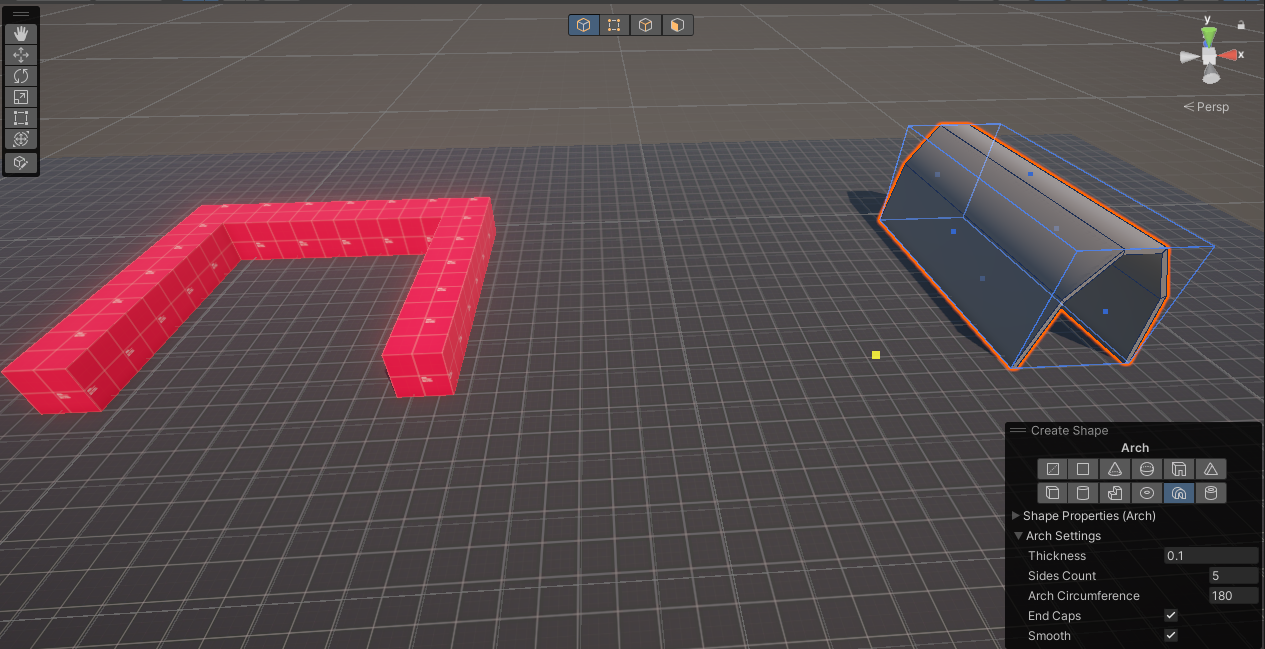
이후 사이즈는 (10, 5, 10), Center Pivot을 통해 PosY를 2.5로 설정해주고, 텍스처를 적용시켜주자.

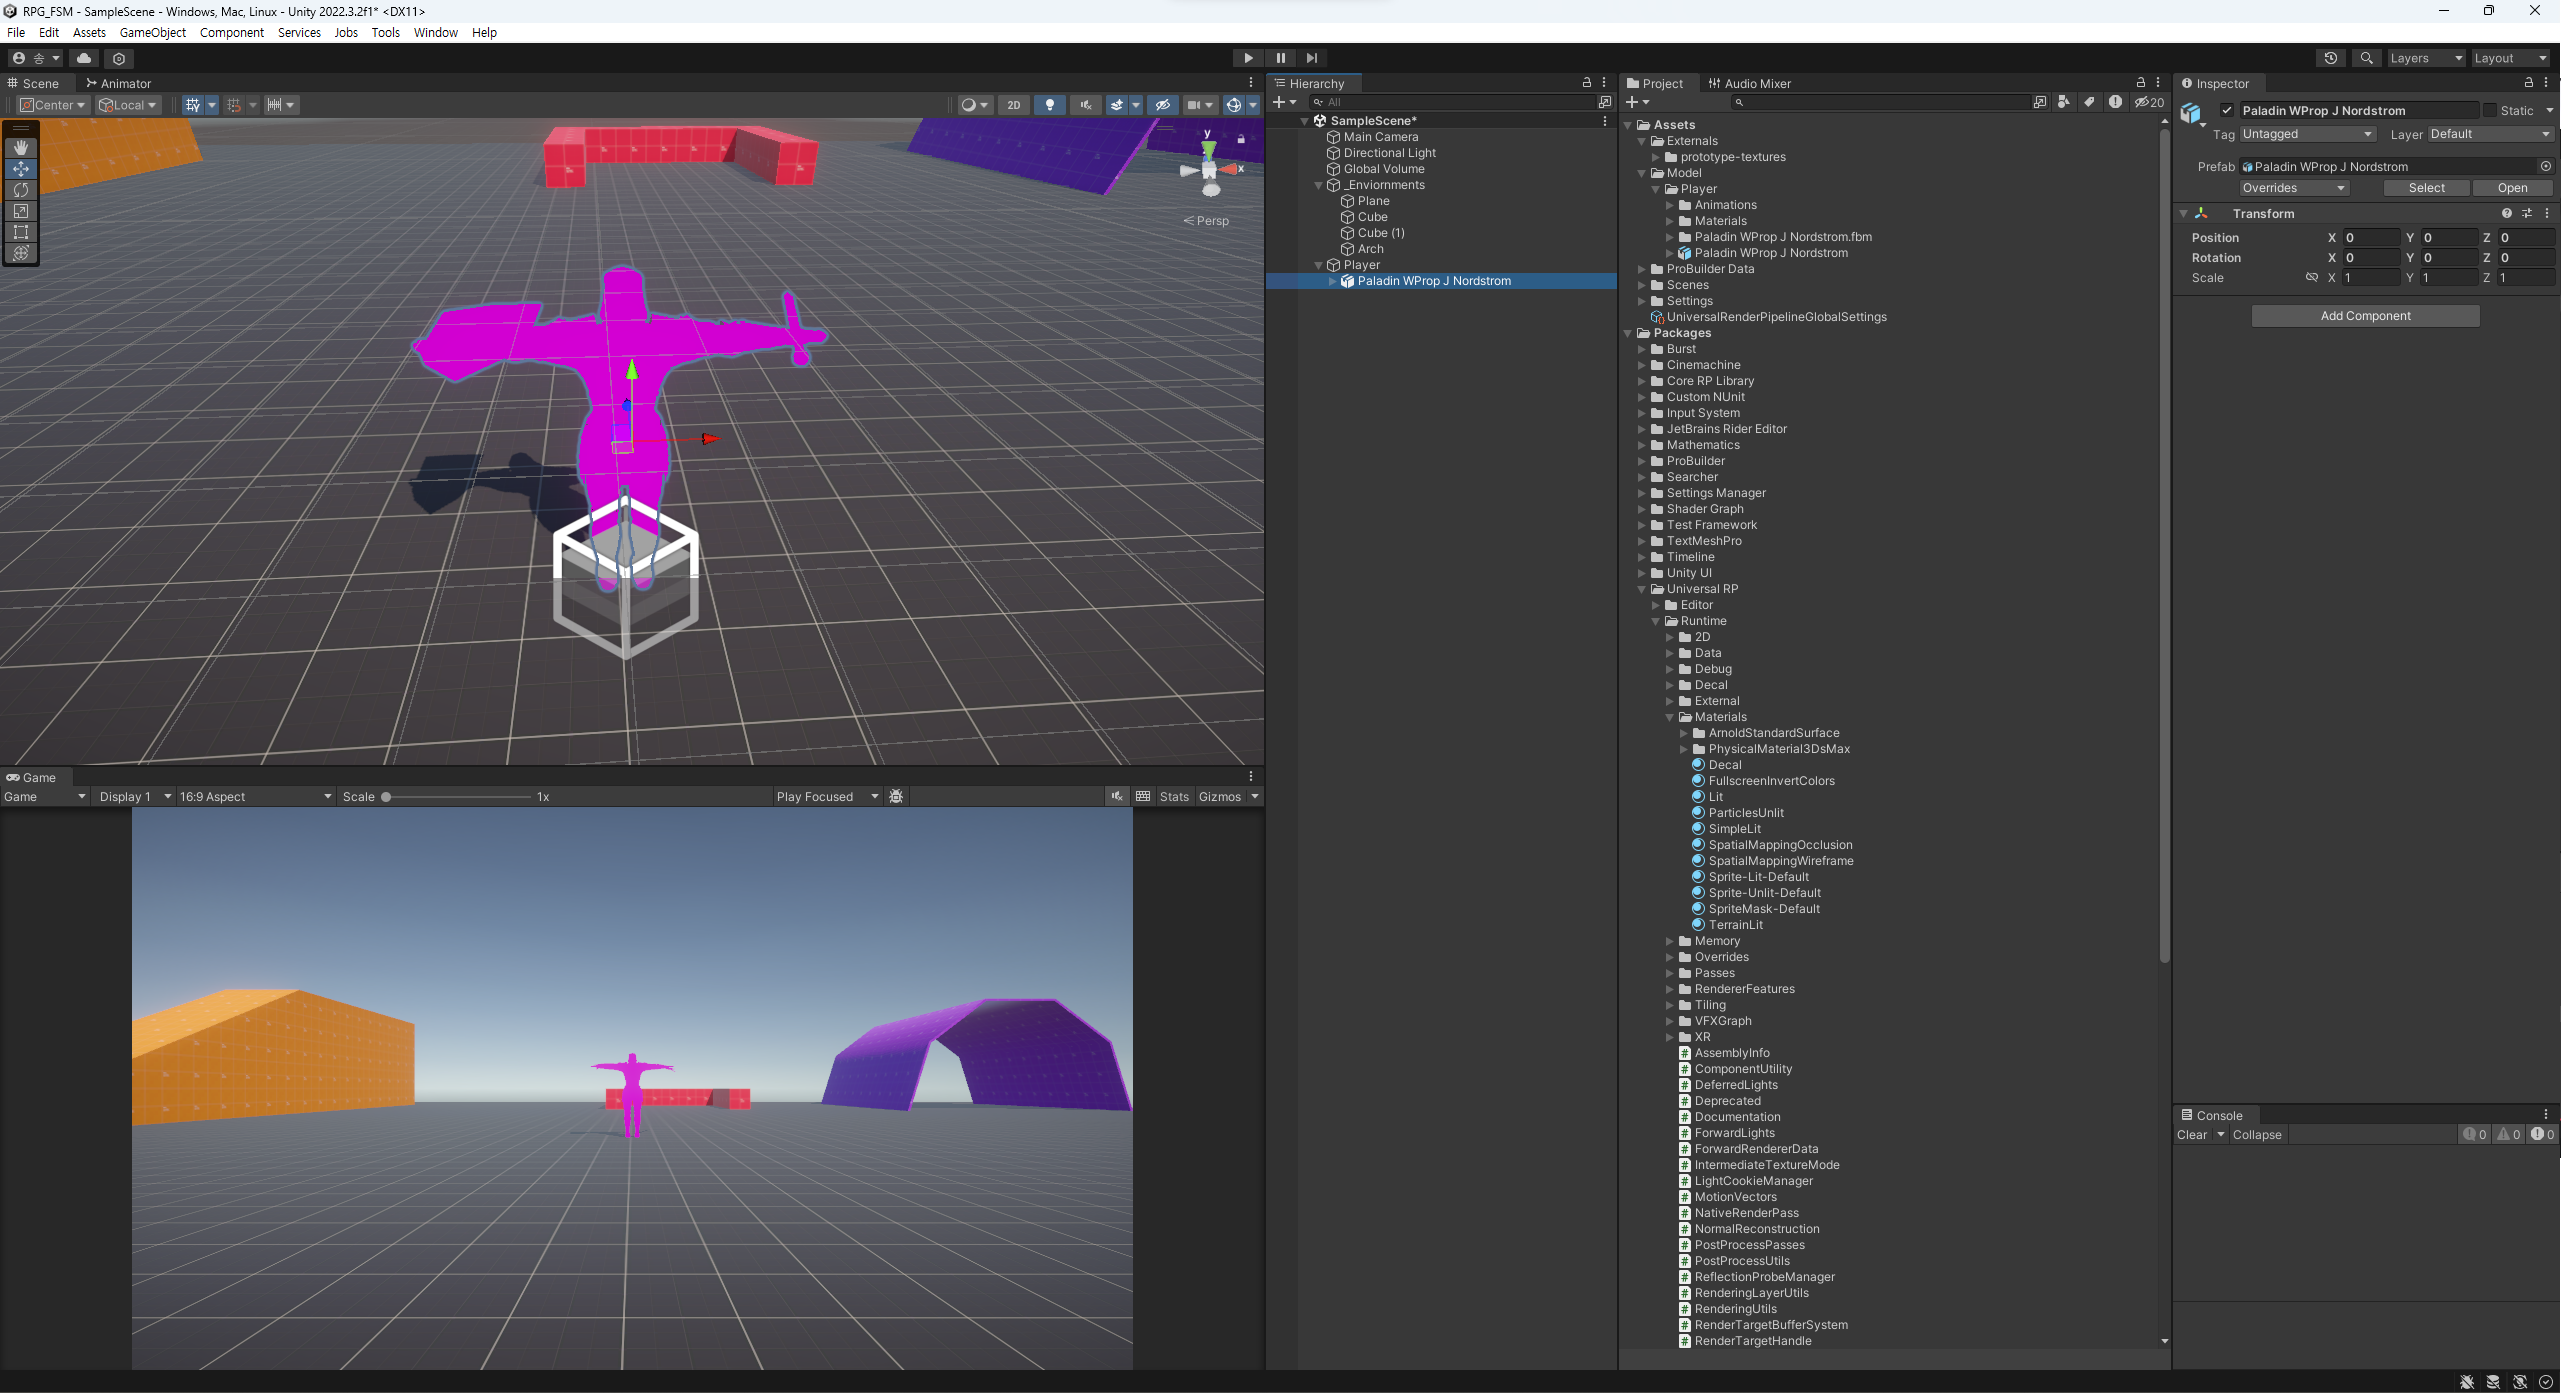
GameObject를 하나 만들고 완성된 지형들을 넣어준다. 그리고 이름을 _Environments 로 변경해주자.

🕹️ 플레이어 Object 만들기
빈 오브젝트를 만들어주고, 이름을 Player로 바꾼다.
그리고 사용할 플레이어 모델을 넣어준다.
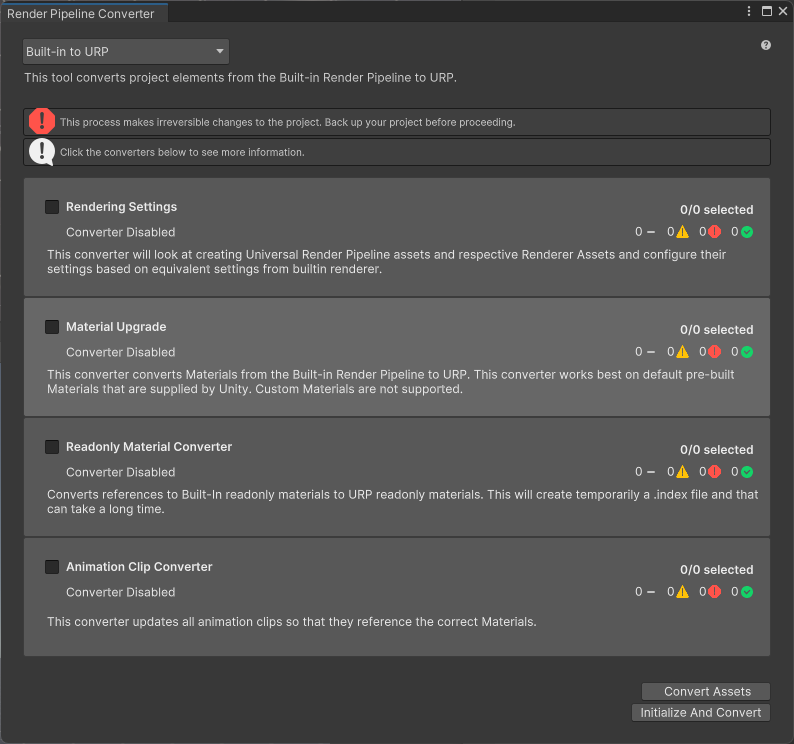
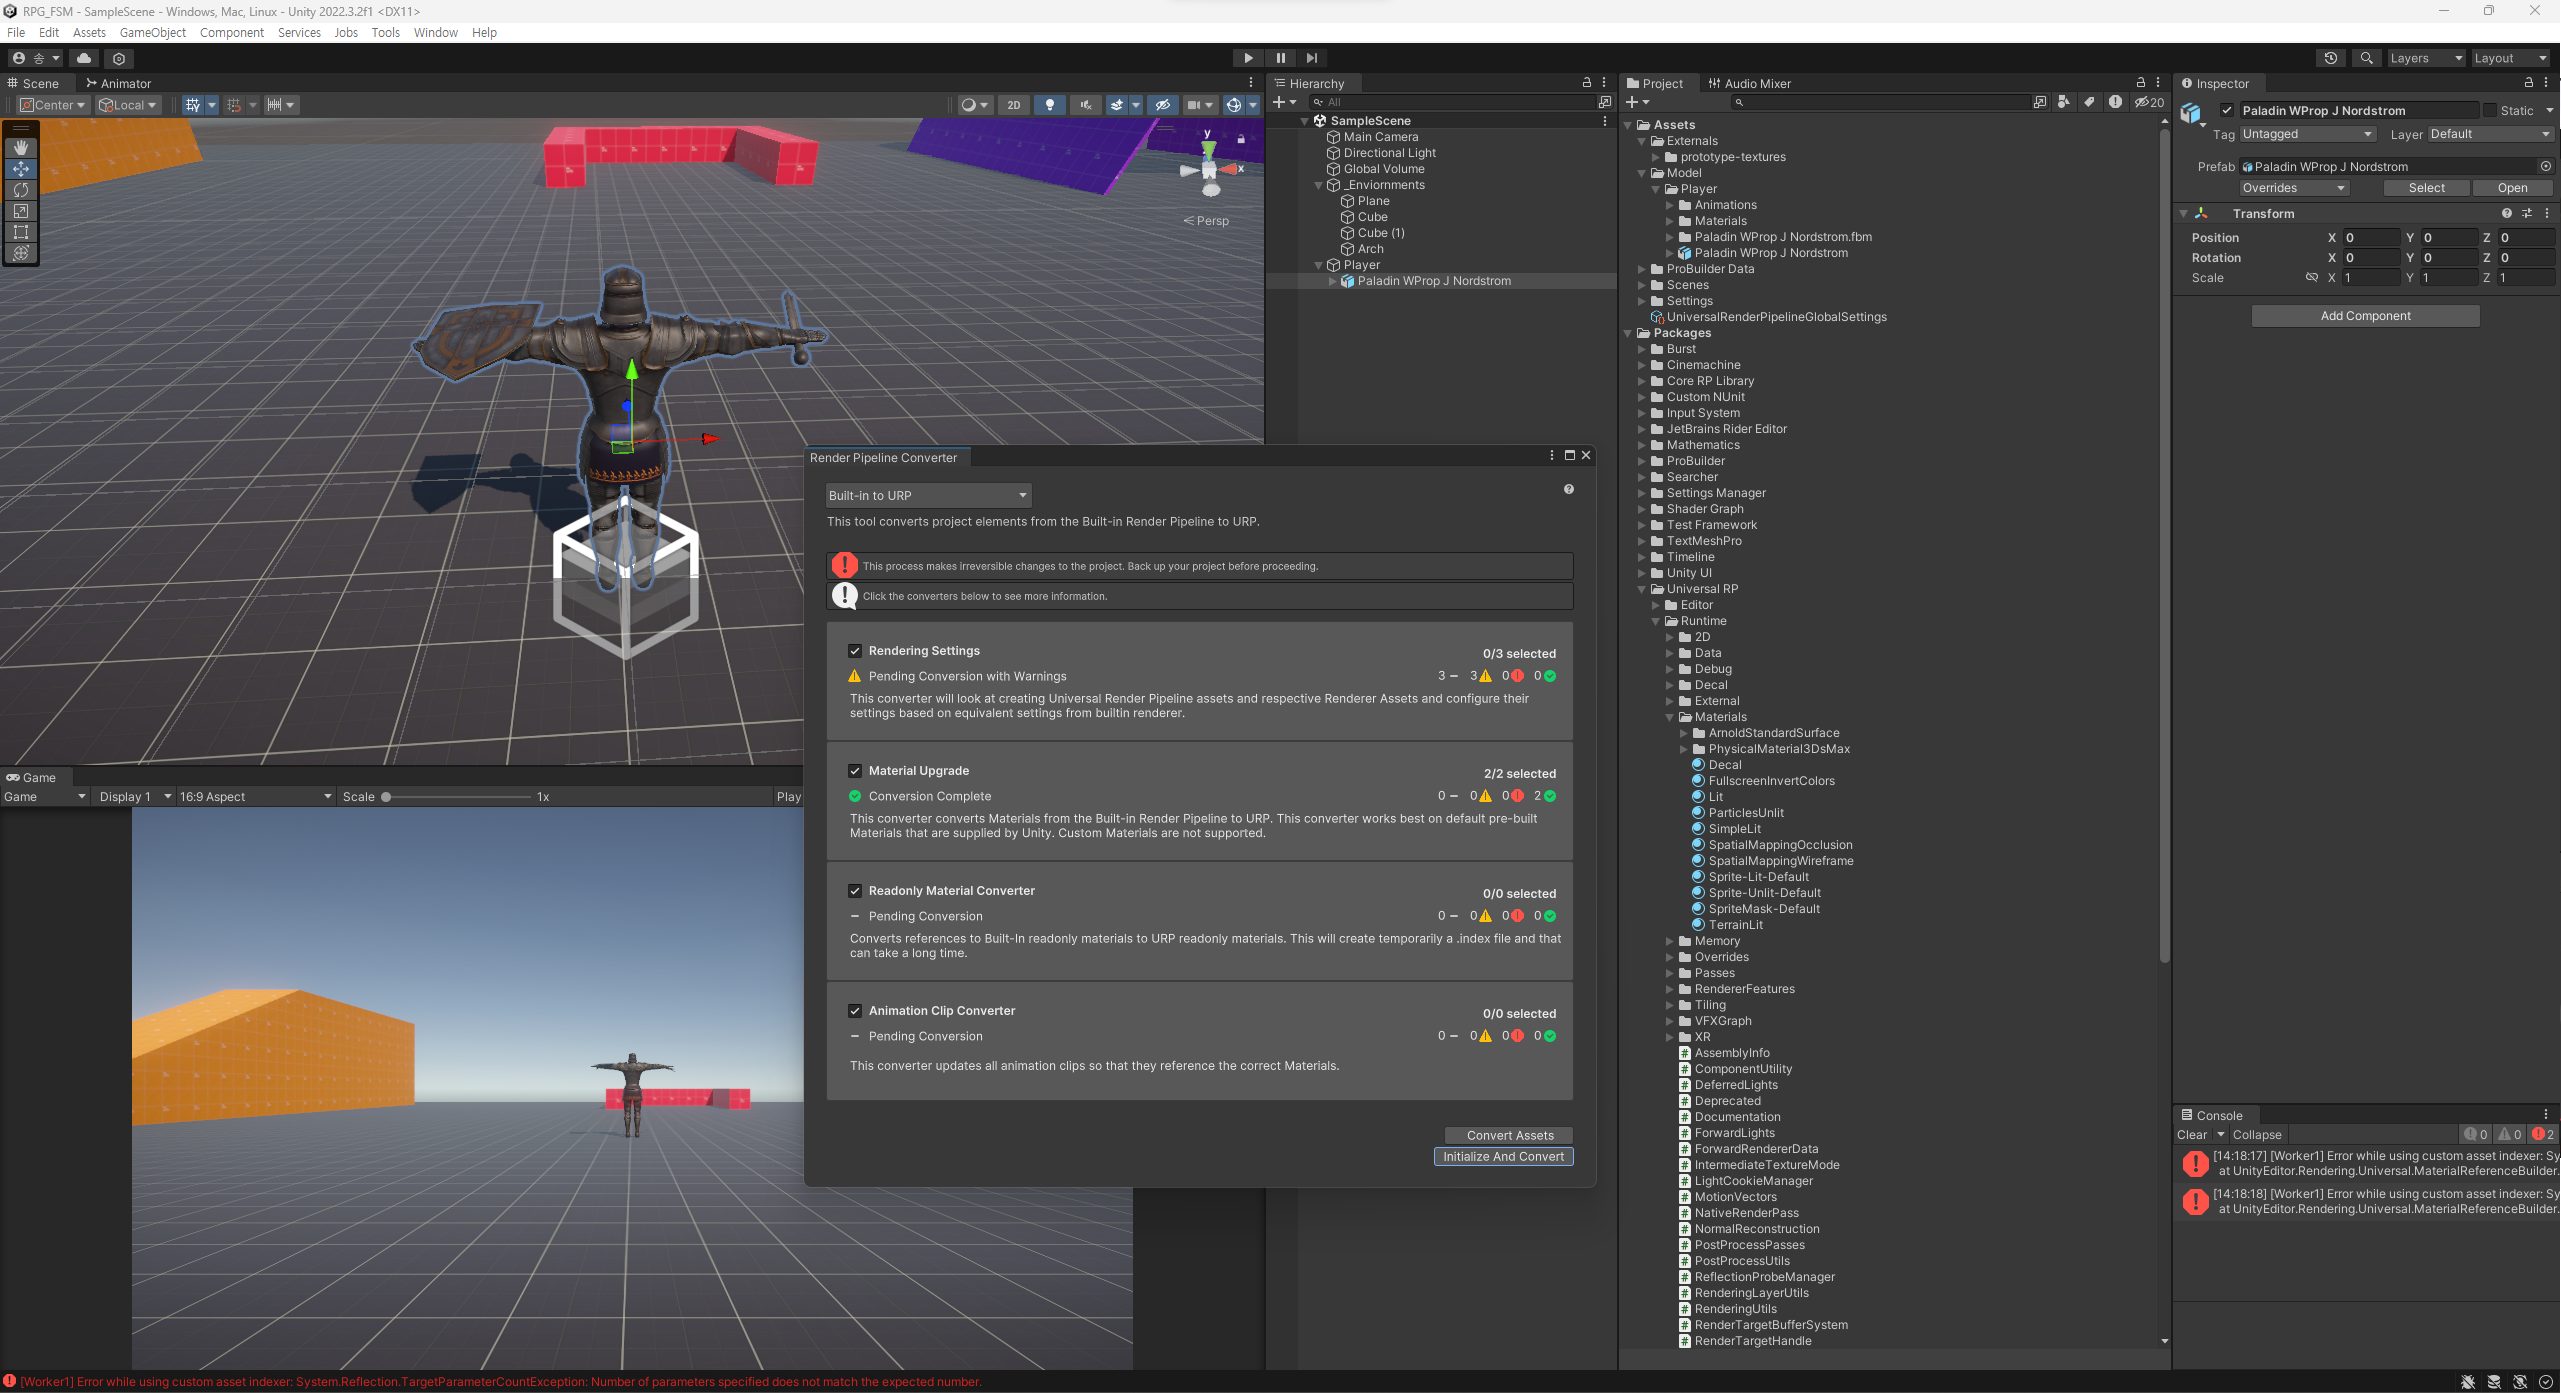
Render Pipeline Converter
그런데 플레이어의 모델링의 색이 이상한 것을 확인할 수 있다!! 이를 수정해주기 위해 Window → Rendering → Render Pipeline Converter에서 URP 처리를 해주면 된다.
URP의 적용이 제대로 되어 있지 않은 모습 ▼
전부 선택해주고 Initialize And Convert를 해주면 URP에서 사용 가능한 텍스처로 Material들을 수정해준다. 수정이 완료되면 플레이어 모델이 제대로 적용되는 것을 확인할 수 있다.
⌨️ Player Input 만들기
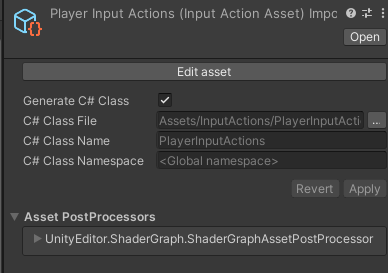
먼저 Assets 폴더 밑에 InputActions 폴더를 만들고, 그 밑에 InputAction을 생성하고 이름을 PlayerInputActions로 해준다.
그 다음에 Movement, Look, Run, Jump, Attack에 대한 InputAction들을 만들어 준다.
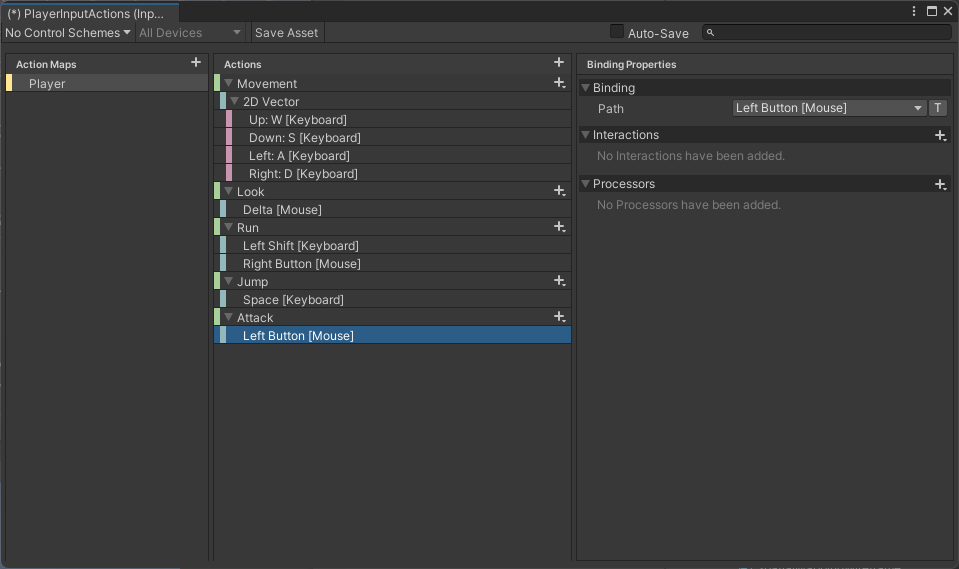
Movement와 Look만 Action Type : Value, Control Type : Vector2로 설정해주고, 나머지는 Button으로 놔두면 된다.
이후, 만들어진 InputAction의 Inspector에서 Generate C# Class를 Apply 해준다.
👨💻 Script 작성하기
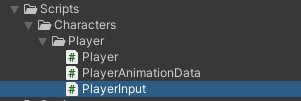
Player, PlayerAnimationData, PlayerInput 스크립트를 만들어준다.
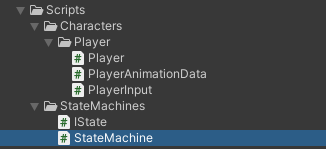
다음으로 Istate, StateMachine이라는 스크립트를 만들어준다.
📕 PlayerInput.cs
public class PlayerInput : MonoBehaviour
{
    // Generate C# Class를 통해 만든 Player Input Action Class.
    public PlayerInputActions InputActions { get; private set; }

    // PlayerInputActions에 만든 Player Actions. Movement, Look 등 앞서 만든 Action들이 저장되어 있다.
    public PlayerInputActions.PlayerActions PlayerActions { get; private set; }

    private void Awake()
    {
        InputActions = new PlayerInputActions();

        // PlayerInputActions에 저장되어 있는 InputActionAsset은 Json 형태의 파일로 저장되어 있는데,
        // 이 때 우리가 만든 Action Map의 이름을 통해 이를 가져올 수 있다.
        PlayerActions = InputActions.Player;
    }

    private void OnEnable()
    {
        InputActions.Enable();
    }

    private void OnDisable()
    {
        InputActions.Disable();
    }
}
앞서 PlayerInputAction을 C# Class으로 생성을 했기 때문에 스크립트에서 Class로 사용을 할 수 있다.
뇌피셜
Visual Studio를 통해 PlayerInputActions를 확인해보면 다음과 같이 Json 형식으로 되어 있는 것을 확인할 수 있다.

짐작컨데 위의 코드의 맨 윗줄 public PlayerInputActions InputActions { get; private set; }은 해당 @PlayerInputActions를 불러오는 것 같다. PlayerInputActions 라 정의되어 있는 InputAction 클래스를 가져오는 듯 하다.
그 아랫줄 public PlayerInputActions.PlayerActions PlayerActions { get; private set; }은 확인해보면 아래와 같은 구조체를 불러오는 것을 알 수 있다.
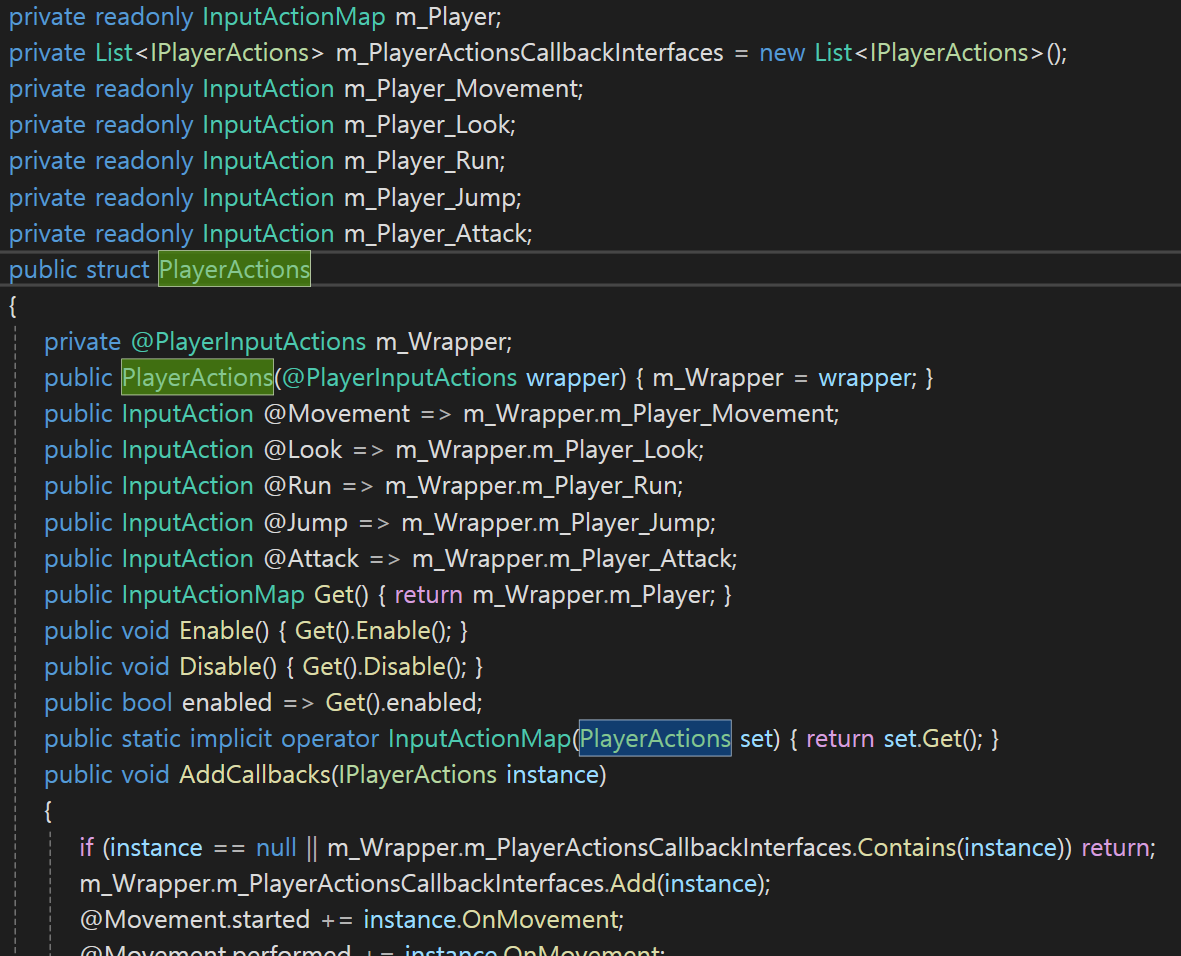
PlayerActions = InputActions.Player;에서 InputActions.Player를 확인해보면 같은 구조체를 가리킨다. 따라서 PlayerActions에 현재 PlayerInputActions에 정의되어 있는 InputAction 중 Player로 이름이 명명된 Action Map을 가져와서 받는 것인 것 같다. 따라서 다음에 이러한 방식으로 InputAction Class를 사용할 때, 만들어 놓은 InputAction들 중에서 원하는 Action Map을 이러한 방법으로 가져오면 될 것이다.
📗 PlayerAnimationData.cs
using System;
using UnityEngine;

[Serializable]
public class PlayerAnimationData : MonoBehaviour
{
    // Animation의 이름을 해쉬 값으로 비교할 때, 값이 변경되어도 가져올 수 있도록 SerializeField로 Parameter 키를 만들어준다.
    [SerializeField] private string groundParameterName = "@Ground";
    [SerializeField] private string idleParameterName = "Idle";
    [SerializeField] private string walkParameterName = "Walk";
    [SerializeField] private string runParameterName = "Run";

    [SerializeField] private string airParameterName = "@Air";
    [SerializeField] private string jumpParameterName = "Jump";
    [SerializeField] private string fallParameterName = "Fall";

    [SerializeField] private string attackParameterName = "@Attack";
    [SerializeField] private string comboAttackParameterName = "ComboAttack";

    public int GroundParameterHash {  get; private set; }
    public int IdleParameterHash { get; private set; }
    public int WalkParameterHash { get; private set; }
    public int RunParameterHash { get; private set; }

    public int AirParameterHash { get; private set; }
    public int JumpParameterHash { get; private set; }
    public int FallParameterHash { get; private set; }

    public int AttackParameterHash { get; private set; }
    public int ComboAttackParameterHash { get; private set; }

    public void Initialize()
    {
        GroundParameterHash = Animator.StringToHash(groundParameterName);
        IdleParameterHash = Animator.StringToHash(idleParameterName);
        WalkParameterHash = Animator.StringToHash(walkParameterName);
        RunParameterHash = Animator.StringToHash(runParameterName);

        AirParameterHash = Animator.StringToHash(airParameterName);
        JumpParameterHash = Animator.StringToHash(jumpParameterName);
        FallParameterHash = Animator.StringToHash(fallParameterName);

        AttackParameterHash = Animator.StringToHash(attackParameterName);
        ComboAttackParameterHash = Animator.StringToHash(comboAttackParameterName);
    }
}
해당 코드는 Player의 Animation을 가져올 때, 애니메이션 파라미터에 따라 가져올 애니메이션을 비교하기 위해 해쉬값을 통해 이름을 비교하게 된다.
📘 Player.cs
using UnityEngine;

public class Player
{
    [field: Header("Animations")]
    [field: SerializeField] public PlayerAnimationData AnimationData { get; private set; }

    public Rigidbody Rigidbody { get; private set; }
    public Animator Animator { get; private set; }
    public PlayerInput Input { get; private set; }
    public CharacterController Controller { get; private set; }

    private void Awake()
    {
        AnimationData.Initialize();

        Rigidbody = GetComponent<Rigidbody>();
        Animator = GetComponentInChildren<Animator>();
        Input = GetComponent<PlayerInput>();
        Controller = GetComponent<CharacterController>();
    }

    private void Start()
    {
        // 마우스 커서 안보이게 하기
        Cursor.lockState = CursorLockMode.Locked;
    }
}
📙 IState.cs
public interface IState
{
    public void Enter();

    public void Exit();

    public void HandleInput();

    public void Update();

    public void PhysicsUpdate();
}
게임 내 객체들의 StateMachine을 만들어주기 위한 Interface로 IState를 만들어준다.
📚 StateMachine.cs
public abstract class StateMachine
{
    protected IState currentState;

    public void ChangeState(IState newState)
    {
        currentState?.Exit();
        currentState = newState;
        currentState?.Enter();
    }

    public void HandleInput()
    {
        currentState?.HandleInput();
    }

    public void Update()
    {
        currentState?.Update();
    }

    public void PhysicsUpdate()
    {
        currentState?.PhysicsUpdate();
    }
}
StateMachine은 자체적으로 객체화를 할 수 없게 추상 클래스(Abstract)로 만들어 준다. 또한 currentState라는 IState를 사용하여 상태를 Update 해주는 데, ChangeState()에서는 이전의 상태를 Exit하고 바뀐 상태를 newState로 currentState에 넣어준다. 이후 해당 상태로 Enter()를 해준다.