우리가 일반적으로 생각하는 alert창은 너무나 못생겼다^^!
sweetAlert을 통해 예쁜 알랏창을 구현 해 보자
자세한 사용법은 SweetAlert2 공식 깃헙 홈페이지를 참고하면 아주아주 친절히 설명되어 있으므로, 여기서는 지난 포스팅인 ajaxWrapper처럼 커스텀 하는 방법을 알아보자
import Swal from 'sweetalert2'

const swalButton = Swal.mixin({
  customClass: {
    confirmButton: '버튼 스타일 클래스',
    cancelButton: '버튼 스타일 클래스'
  },
  buttonsStyling: false
})

const confirm = (
  icon,
  title,
  text,
  confirmButtonText = '확인',
  showConfirmButton = true
) => {
  return swalButton.fire({
    icon,
    title,
    text,
    confirmButtonText,
    showConfirmButton,
    timer: showConfirmButton ? '' : 1500
  })
}
const sweetAlert = {
  success (title, text, showConfirmButton, buttonText) {
    return confirm('success', title, text, buttonText, showConfirmButton)
  },
  error (title, text, buttonText) {
    return confirm('error', title, text, buttonText)
  },
  warning (title, text, buttonText) {
    return confirm('warning', title, text, buttonText)
  },
  question (
    title,
    text,
    confirmButtonText = '네',
    cancelButtonText = '아니오'
  ) {
    return swalButton.fire({
      icon: 'question',
      title,
      text,
      showCancelButton: true,
      confirmButtonText,
      cancelButtonText
    })
  }
}
export default sweetAlert
먼저 sweetAlert2에서 제공하는, 커스텀 할 수 있는 범위 내 속성들을 const swalButton 쪽에 초기화 해 준다.
Swal.mixin을 불러와 안에 여러가지 속성을 넣을 수 있다.
다음 const confirm에 화면에서 각종 인자들을 받아 Swal.fire라는 sweetAlert 내장 API로 예쁜 alert창을 출력할 수 있도록 해 준다.
이제 sweetAlert 이라는 이름으로 export해 주면 되는데 이 경우 성공, 실패, 경고, 질문(confirm창)로 구분해 sweetAler.success() 같은 방법으로 불러다 쓸 수 있다.
예시 코드와 화면은 다음과 같다!
성공
sweetAlert.success('제목입니다.', '내용입니다.', '확인')
실패
sweetAlert.error('제목입니다.', '내용입니다.', '확인')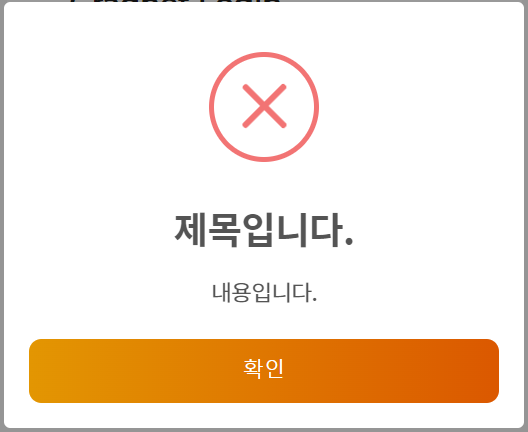
질문
sweetAlert.question('제목입니다.', '질문입니다.', '예', '아니오')
기본 창 외에도 버튼 3개짜리나 html을 직접 작성해서 넣는 등 다양한 sweetAlert이 공식 홈페이지에 있고, ajax처럼 then문을 통해 각 버튼 클릭 시 후처리도 가능하다.
각자 잘 커스텀 해서 사용 해 보자!

웹 개발자(FE / BE) anna입니다.