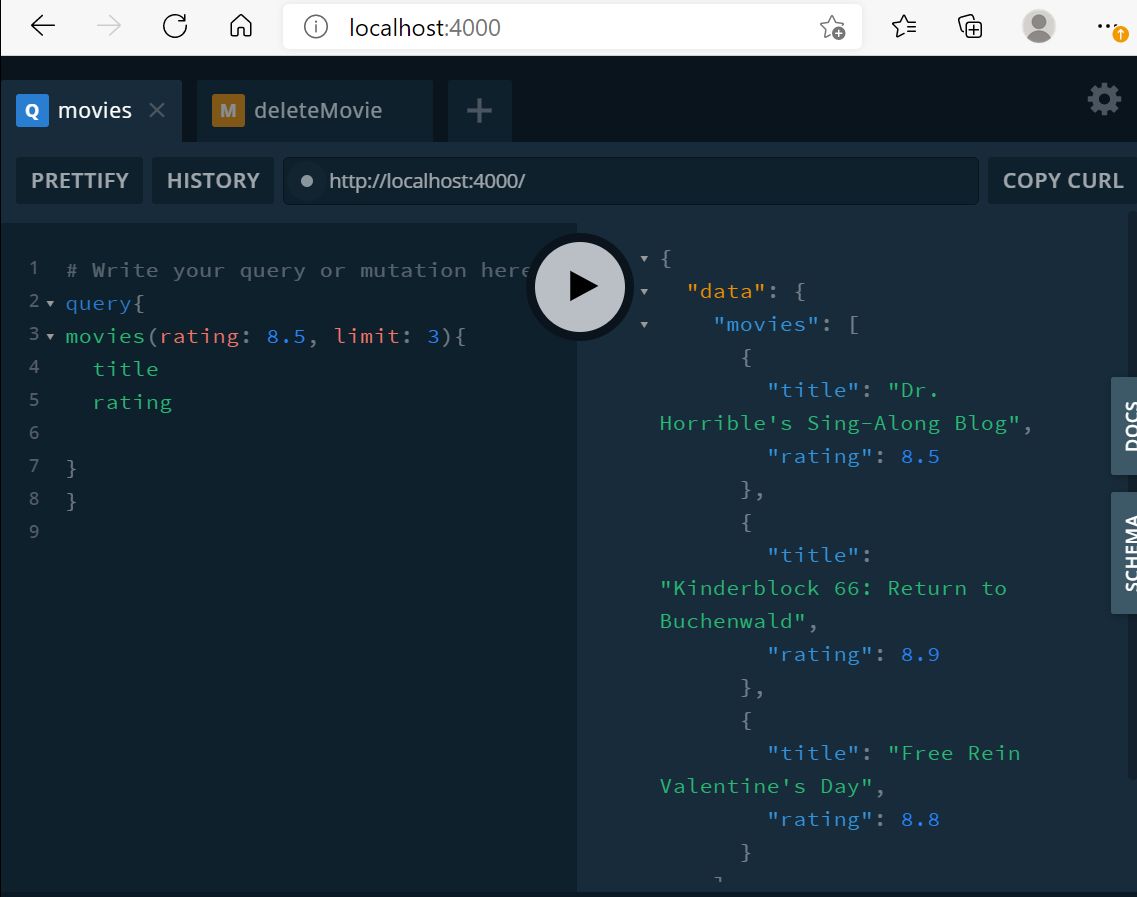
GraphQL 공부
Graph QL로 해결할 수 있는 두 가지 문제
-
Over-fetching
내가 요청한 영역의 정보보다, 많은 정보를 서버에서 받는 것
/users/ GET (profile info)
만약 내가 처음 리스트에서 GET 요청을 users에 보내면 프로필사진, 이름, 성, 이메일 영역은 사용하지 않고 필요한 것은 오직 사용자 명 뿐이다.
그런데 사용도 안할 것들을 전달받는다.
-> Graphql은 Frontend가 Database에 오직 사용자명만 요청 -
Under-fetching
어떤 하나를 완성하기 위해 네가 다른 요청들을 해야할 때 발생
ex) 앱을 처음 시작하려면 세가지 요청을 해야한다.
즉 3가지 요청이 3번 오고가야 앱이 시작된다.
REST에서 하나를 완성하려고 많은 소스를 요청하는 것
-> 한 query에 내가 정확하게 원하는 정보만 받을 수 있다.
GraphQL에서 URL은 존재하지 않다. URL 체계도 없다.
하나의 종점만 있다.
//REST
/feed
/notifications/
  /user/1/

//GraphQL
query {
       feed {
           comments
           likeNumber
             }
       notifications {
           isRead
            }
       user {
           username
           profilePic
           }
       }
이런 query를 GraphQL의 Backend에 보내면 이와 같은 요청 정보를 담은 object를 보낸다.
{
  feed: [
    {
      comments:1,
      likeNumber: 20
    }
    ],
    notifications: [
      {
        isRead: true
      },
      {
        isRead: false
      }
      ],
      user: {
        username: "nico"
        profile: "http:"
      }
}
내가 요청한 정보들만 받을 수 있고 내가 원하는 방식으로 조정할 수도 있다.
Graph QL 프로젝트 만들기
설치
yarn global add nodemon
//nodemon은 내가 파일을 수정할 때마다 서버를 재시작해준다.
Graph QL 서버로 서버 시작하기
$ yarn add babel-node --dev
$ yarn global add babel-cli --ignore-engines
$ yarn add babel-cli babel-preset-env babel-preset-stage-3 --dev
package.json
{
  "name": "GraphQL",
  "version": "1.0.0",
  "description": "Movie API with Graphql",
  "main": "index.js",
  "repository": "https://github.com/annie1004619/GraphQL",
  "author": "jiwon kim",
  "license": "MIT",
  "dependencies": {
    "graphql-yoga": "^1.18.3"
  },
  "scripts": {
    "start": "nodemon --exec babel-node index.js"
  },
  "devDependencies": {
    "babel-cli": "^6.26.0",
    "babel-node": "^0.0.1-security",
    "babel-preset-env": "^1.7.0",
    "babel-preset-stage-3": "^6.24.1"
  }
}
.babelrc
{
  "presets": ["env", "stage-3"]
}
index.js
import {GraphQLServer} from "graphql-yoga";graphql-yoga는 create-react-app 같은 것
간단하게 서버를 시작할 수 있다.
Schema
: 내가 사용자에게 보내거나 사용자로부터 받은 data에 대한 설명
Query
: 단지 내가 정보를 받을 때만 쓰인다.
Mutation(변형)
: 내가 정보를 변형할 때 내 서버에서 혹은 Database에서, 메모리에서 정보를 바꾸는 작업을 할 때 사용.
우리가 GraphQL 서버에 할건 어떤 Mutations 그리고 어떤 Query들을 우리가 가졌는지 알려준다.
typeDefs
: 모든 type들에 대한 정의
const server = new GraphQLServer({
    typeDefs: "graphql/schema.graphql"
});
resolver
: Query를 resolve(해결) 하는 것이다.
Query는 database에게는 문제 같은 것이다.
그래서 우리는 이 Query를 어떤 방식으로 resolve 해야한다.
ex)
resolve(해결)하고 싶은 Query의 이름은 name이다.
어떤 사용자가 name Qurey를 보내면 jiwon을 반환하는 함수로 답한다.
graphql/resolver.js
const resolvers = {
    Query: {
        name: () => "jiwon"
    }
}

export default resolvers;
graphql/schema.graphql
//여기에 모든 query들을 넣는다. 사용자에게 정보를 주는 모든 것들
// 단지 어떤 사용자가 Query에 이름을 보내면 string을 보낸다는 설명을 했을 뿐이다.
type Query {
    name: String!
}
//Mutation을 가지고 있으면 나중에도 있는 것이다.

    ```
index.js
```js
import {GraphQLServer} from "graphql-yoga";
import resolvers from "./graphql/resolver";

const server = new GraphQLServer({
    typeDefs: "graphql/schema.graphql",
    resolvers
});

server.start(() => console.log("Graphql Server Running"));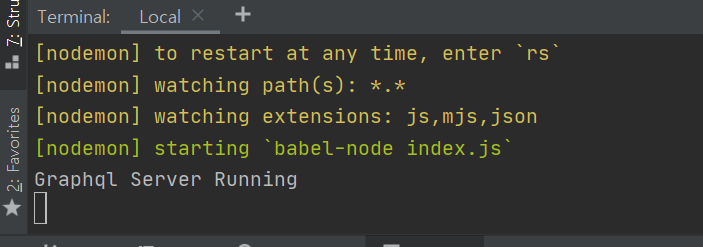
localhost:4000으로 들어가면 playground가 나오고 거기에 query{name}을
query에 name을 넣어 보내면 graphQL이 내 서버에서 해당하는 것을 찾아서 보내준다.
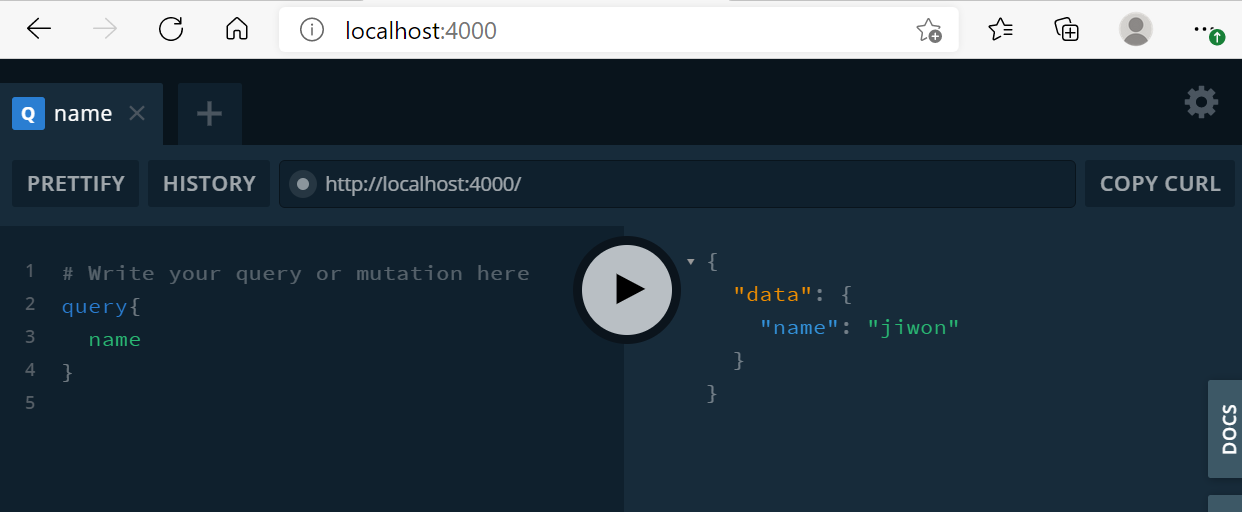
playground: graphql-yoga에 따라오는 것인데 내 database를 테스트하게 해주는 것이다.
Query practice ex2)
graphql/resolver.js
const jiwon = {
    name: "Jiwon",
    age: 25,
    gender: "female"
}

const resolvers = {
    Query: {
        person: () => jiwon
    }
}

export default resolvers;
graphql/schema.graphql
type Jiwon {
    name: String!
    age: Int!
    gender: String!
}

type Query {
    person: Jiwon!
}
원하는 정보만 가져올 수 있다.
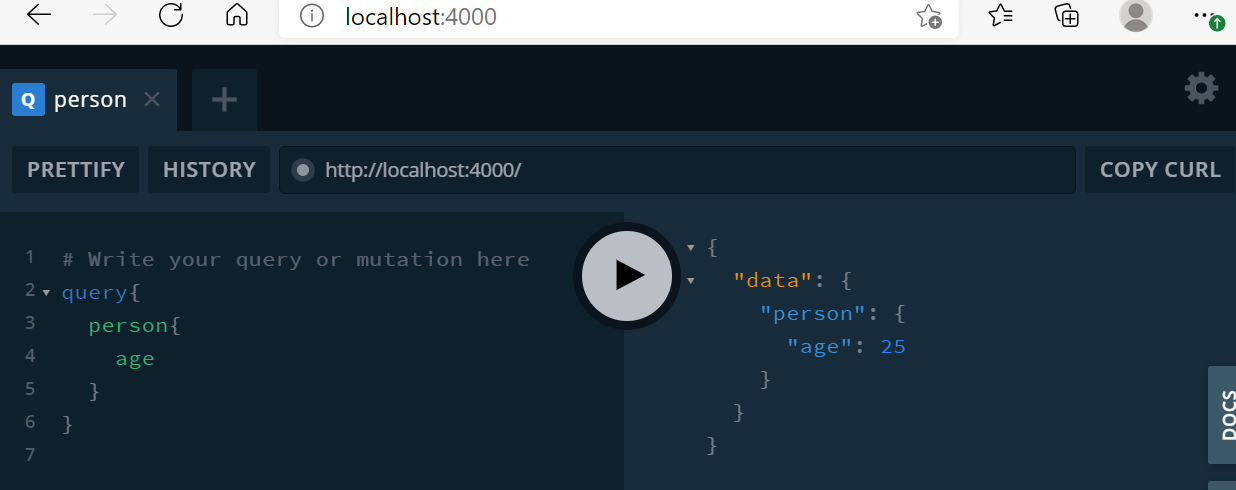
graphql 기본 요점
이미 정의 된 세 종류의 형식이 있다.
Query, Mutation, Subscription(설명)
그리고 이제 Query를 관찰하고 뭐든지 내가 원하는 만큼 많은 형식을 만들 수 있다.
Query practice ex3)
다수의 person을 보내려면 person을 array로 보낸다
!는 필수 구현사항이라는 뜻이다. null일 수 없다.
id에 해당하는 person 받아오기
user가 우리한테 준 id를 어떻게 받을까?
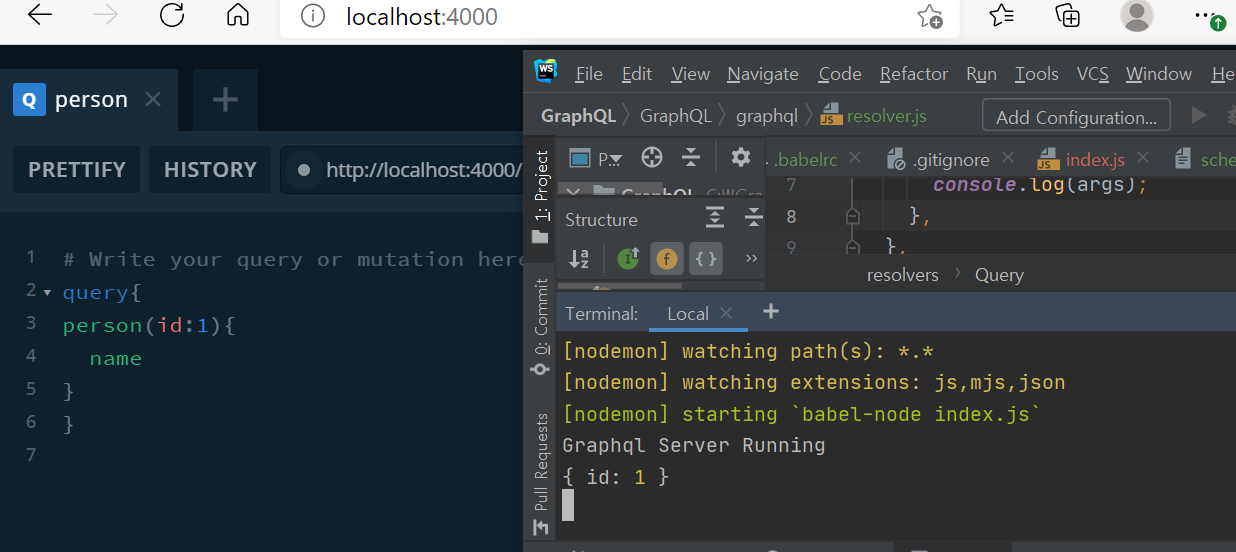
GraphQL Resolvers는 GraphQL 서버에서 요청을 받는다.
GraphQL 서버가 Query나 Mutation의 정의를 발견하면
Resolver를 찾을 것이고, 해당 함수를 실행할 것이다.
여기서 argument를 주는데,
첫번째는 현재 Object를 보낸다.
person: (_,args) => {
  console.log(args);
}
db.js
export const people = [
  {
    id: 0,
    name: "Jiwon",
    age: 25,
    gender: "female",
  },
  {
    id: 1,
    name: "Choco",
    age: 13,
    gender: "male",
  },
  {
    id: 2,
    name: "annie",
    age: 25,
    gender: "female",
  },
];

export const getById = (id) => {
  const filteredPeople = people.filter((person) => person.id === id);
  return filteredPeople[0];
};
schema.graph.ql
type Person {
    id: Int!
    name: String!
    age: Int!
    gender: String!
}

type Query {
    people: [Person]!
    person(id: Int!): Person
}
resolver
import { people, getById } from "../db";

const resolvers = {
Query: {
  people: () => people,
  person: (_, { id }) => getById(id),
},
};

export default resolvers;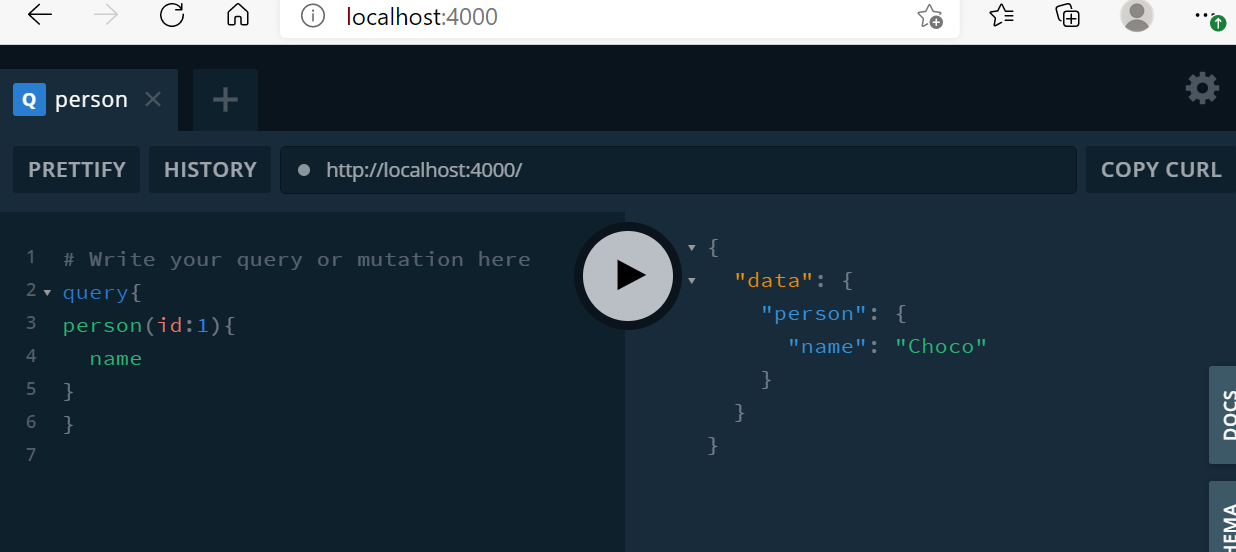
Resovlers는 어떤 것도 될 수 있다.
다른 API에 갈수도 있고, database에 갈수도 있다.
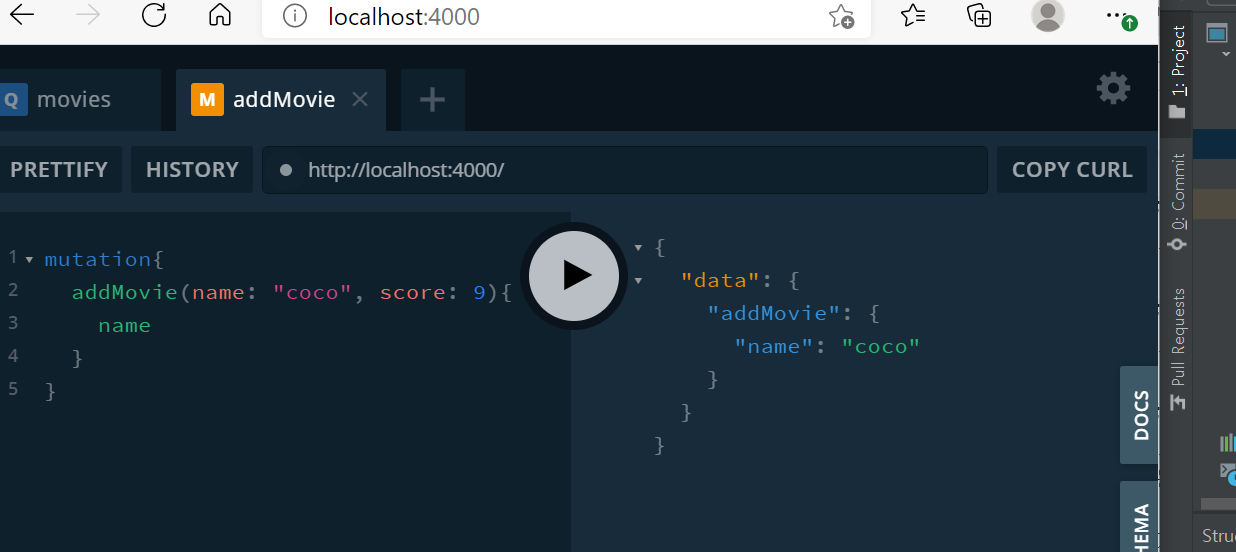
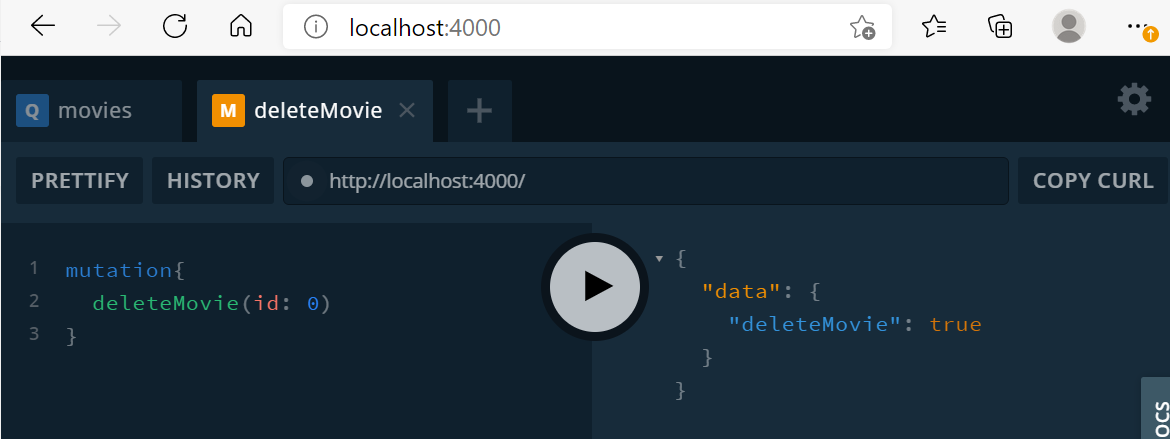
Mutation으로 addMovie, deleteMovie 만들기
db.js
export let movies = [
  {
    id: 0,
    name: "Star Wars - The new one",
    score: 1,
  },
  {
    id: 1,
    name: "Avengers - The new one",
    score: 8,
  },
  {
    id: 2,
    name: "The Godfather 1",
    score: 2,
  },
];

export const getMovies = () => movies;
export const getById = (id) => {
  const filteredMovies = movies.filter((movie) => movie.id === id);
  return filteredMovies[0];
};
export const deleteMovie = (id) => {
  const cleanMovies = movies.filter((movie) => movie.id !== id);
  if(movies.length > cleanMovies.length){
    movies = cleanMovies;
    return true;
  } else {
    return false;
  }
};

export const addMovie = (name, score)=>{
  const newMovie = {
    id: movies.length +1,
    name,
    score
  };
  movies.push(newMovie);
  return newMovie;
}
schema.graphql
type Movie {
    id: Int!
    name: String!
    score: Int!
}

type Query {
   movies: [Movie]!
   movie(id: Int!): Movie
}

type Mutation {
    addMovie(name: String!, score: Int!): Movie!
    deleteMovie(id: Int!):Boolean!
}
resolver.js
import { getMovies, getById, addMovie, deleteMovie } from "../db";

const resolvers = {
  Query: {
    movies: () => getMovies(),
    movie: (_, { id }) => getById(id),
  },
  Mutation: {
    addMovie: (_, { name, score }) => addMovie(name, score),
    deleteMovie: (_, { id }) => deleteMovie(id),
  },
};

export default resolvers;
영화 정보를 받을 때 Query를 사용했고, Database의 상태를 바꾸기 위해서 Mutation을 사용한다..
REST API GraphQL로 감싸기
사용할 movie API: https://yts.mx/api/v2/list_movies.json
설치
$yarn add node-fetch
Node.js에서 fetch를 할때 필요
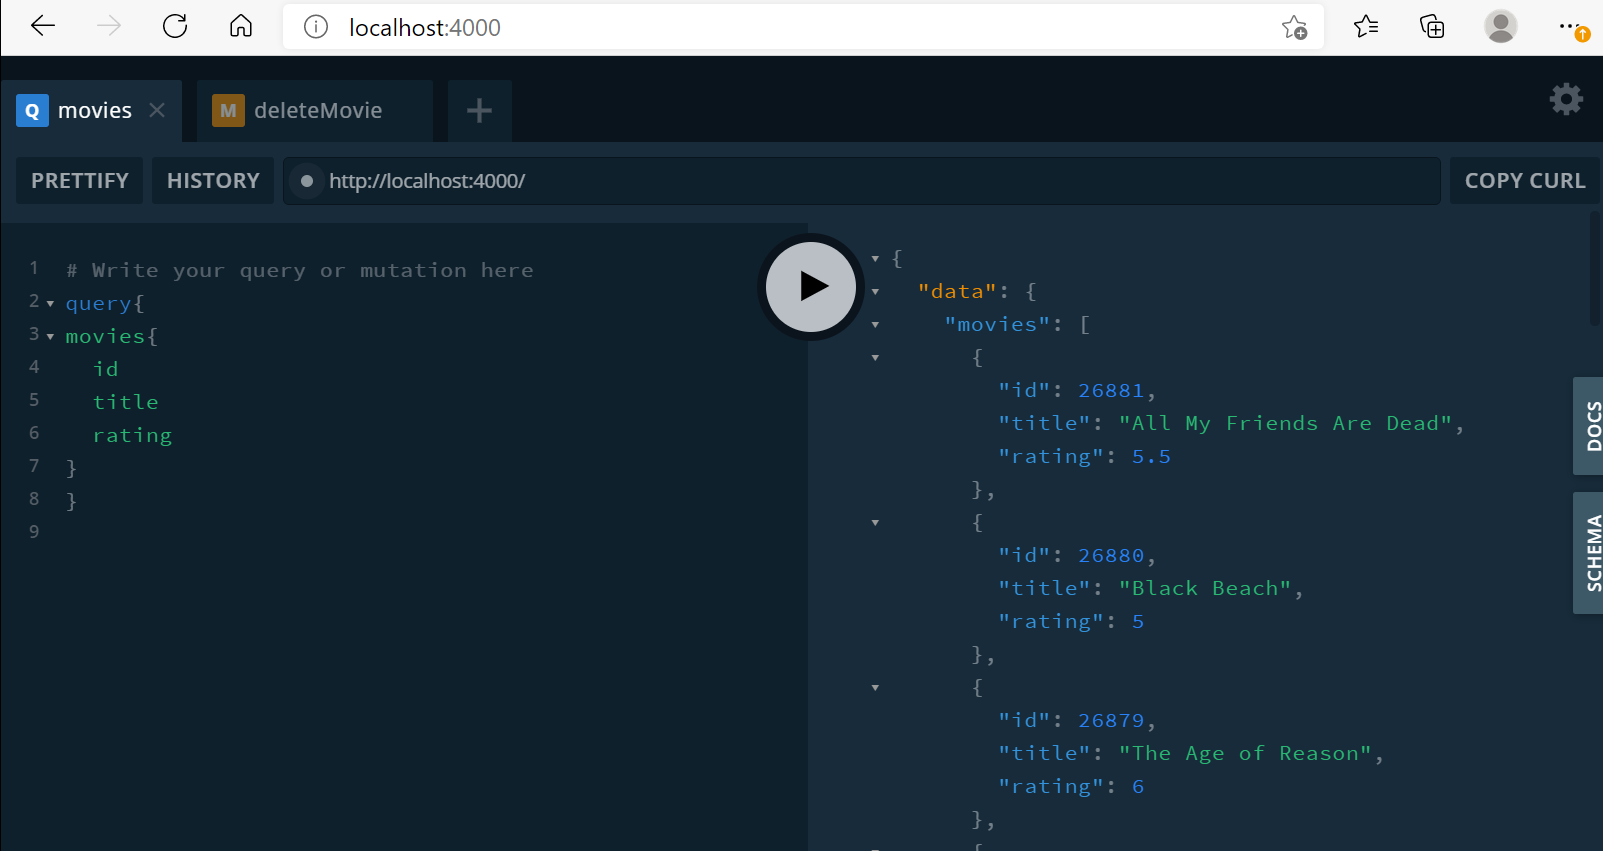
schema.graphql
type Movie {
    id: Int!
    title: String!
    rating: Float!
    summary: String!
    language: String!
    medium_cover_image: String!
}

type Query {
   movies(limit: Int, rating: Float): [Movie]!

}
resolver.js
import { getMovies } from "../db";

const resolvers = {
  Query: {
    movies: (_, {limit, rating}) => getMovies(limit, rating),
  }
};

export default resolvers;
db.js
import fetch from "node-fetch";

const API_URL = "https://yts.mx/api/v2/list_movies.json?";

export const getMovies = (limit, rating) => {
  let REQUEST_URL = API_URL;
  if (limit > 0) {
    REQUEST_URL += `limit=${limit}`;
  }
  if (rating > 0) {
    REQUEST_URL += `&minimum_rating=${rating}`;
  }
  return fetch(REQUEST_URL)
    .then((res) => res.json())
    .then((json) => json.data.movies);
};