# 외부 디바이스 붙이기(Raspberry Pi)
## L9110S 모터 드라이버 붙이기
※9v건전지가 없으니 pi에서 5v에 연결한다.
- 양쪽 모터 구동
전진 -> 멈춤 -> 호진 -> 멈춤 -> 전진 -> ... 반복 - python_test/motor/L9110S.py
import RPi.GPIO as GPIO
import time

B_IA_pwm = 18
B_IB = 17
B_IA_pwm2 = 19
B_IB2 = 16

GPIO.setmode(GPIO.BCM)

GPIO.setup(B_IA_pwm, GPIO.OUT)
GPIO.setup(B_IB, GPIO.OUT)
GPIO.setup(B_IA_pwm2, GPIO.OUT)
GPIO.setup(B_IB2, GPIO.OUT)

pwm = GPIO.PWM(B_IA_pwm, 1000.0)
pwm2 = GPIO.PWM(B_IA_pwm2, 1000.0)
pwm.start(0.0)
pwm2.start(0.0)

try:
  while True:
    GPIO.output(B_IB, False)
    GPIO.output(B_IB2, False)
    pwm.ChangeDutyCycle(0.0)
    pwm2.ChangeDutyCycle(0.0)
    time.sleep(1.0)

    GPIO.output(B_IB, True)
    GPIO.output(B_IB2, True)
    pwm.ChangeDutyCycle(0.0)
    pwm2.ChangeDutyCycle(0.0)
    time.sleep(1.0)

    GPIO.output(B_IB, True)
    GPIO.output(B_IB2, True)
    pwm.ChangeDutyCycle(100.0)
    pwm2.ChangeDutyCycle(100.0)
    time.sleep(1.0)

    GPIO.output(B_IB, False)
    GPIO.output(B_IB2, False)
    pwm.ChangeDutyCycle(100.0)
    pwm2.ChangeDutyCycle(100.0)
    time.sleep(1.0)
except KeyboardInterrupt:
  pass

pwm.ChangeDutyCycle(0.0)
pwm2.ChangeDutyCycle(0.0)

pwm.stop()
pwm2.stop()
GPIO.cleanup()
## Serial에 HM10 블루투스 디바이스 붙이기 p181
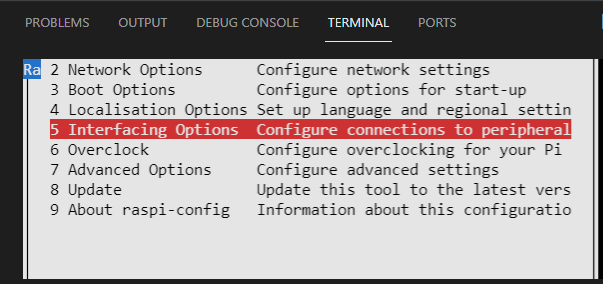
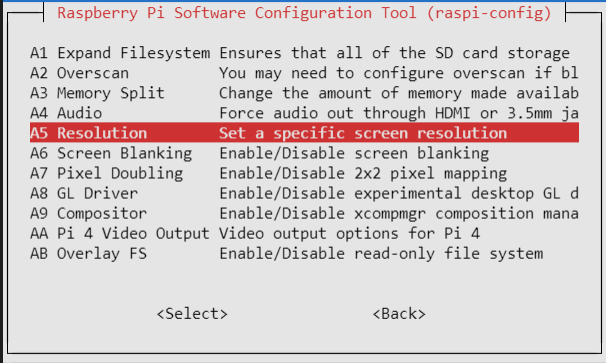
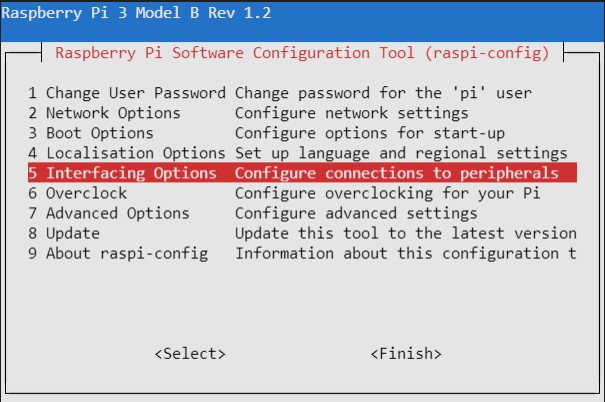
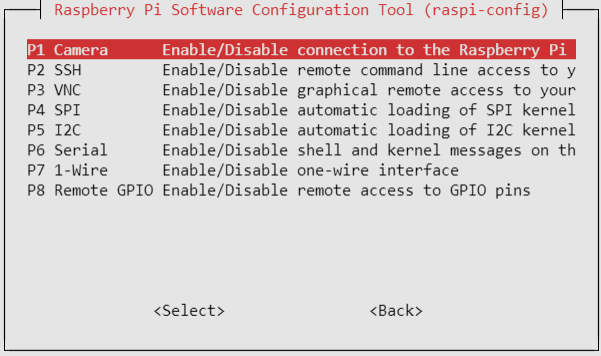
### Serial 모듈 활성화 하기
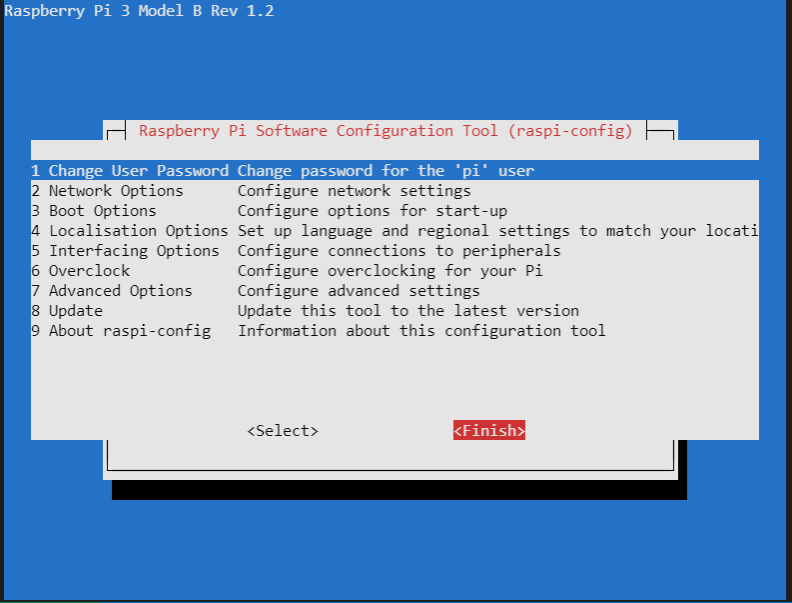
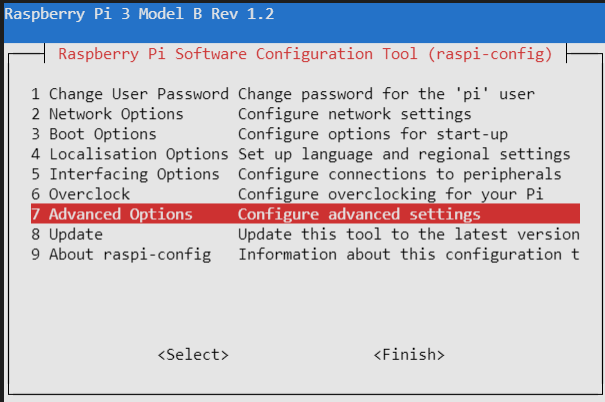
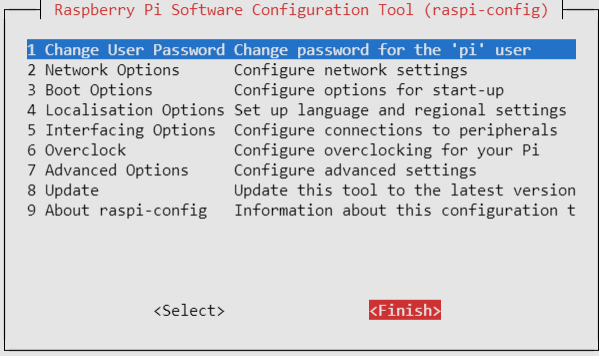
sudo reaspi-config 입력
명령어 기반 라즈베리파이 설정 프로그램임.
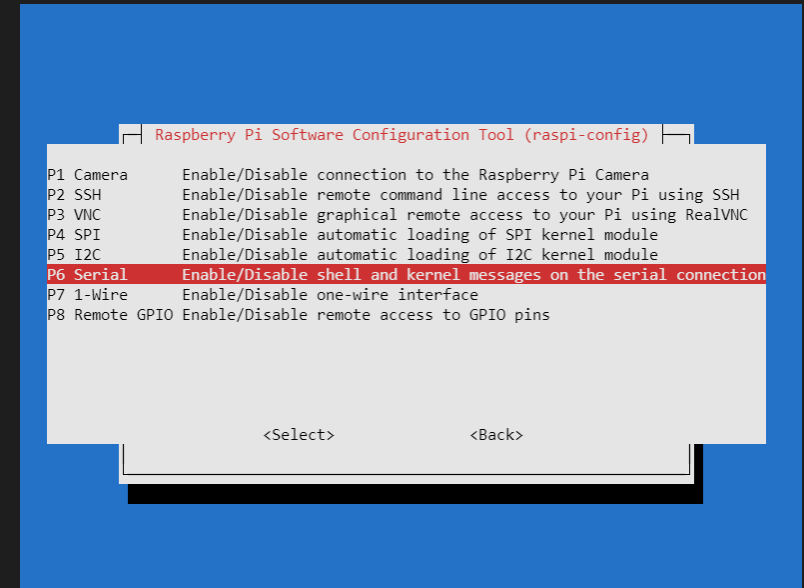
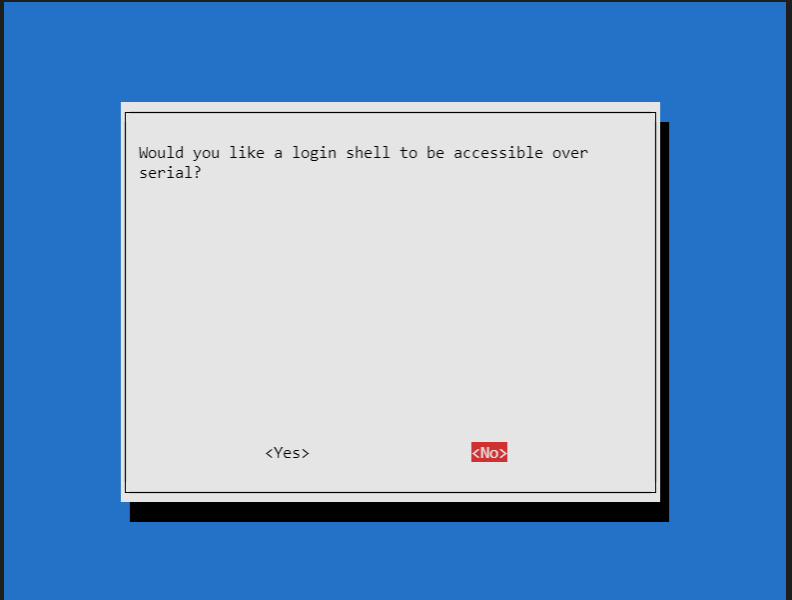
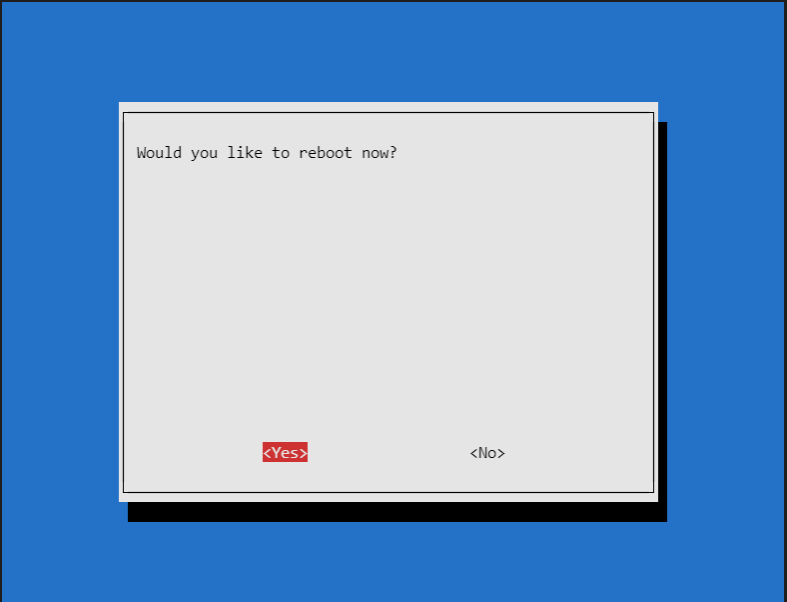
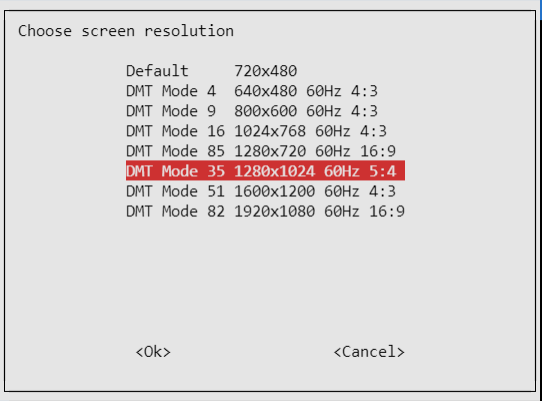
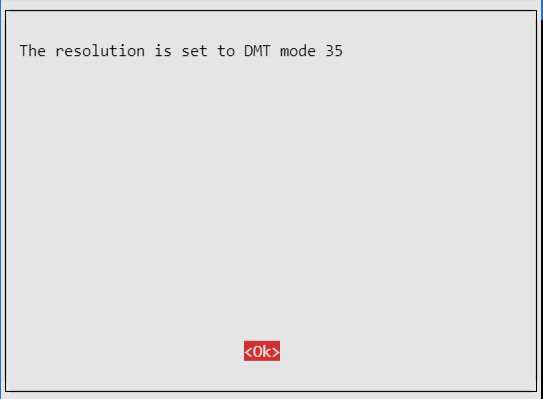
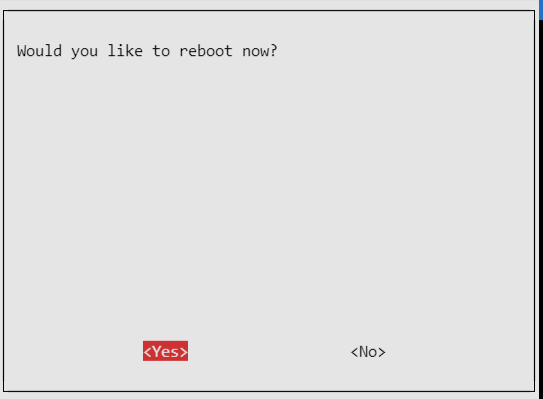
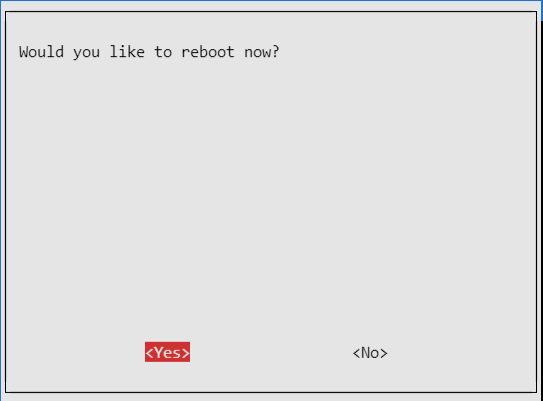
아래 사진과 같이 설정하고 라즈베리파일을 재부팅 한다.
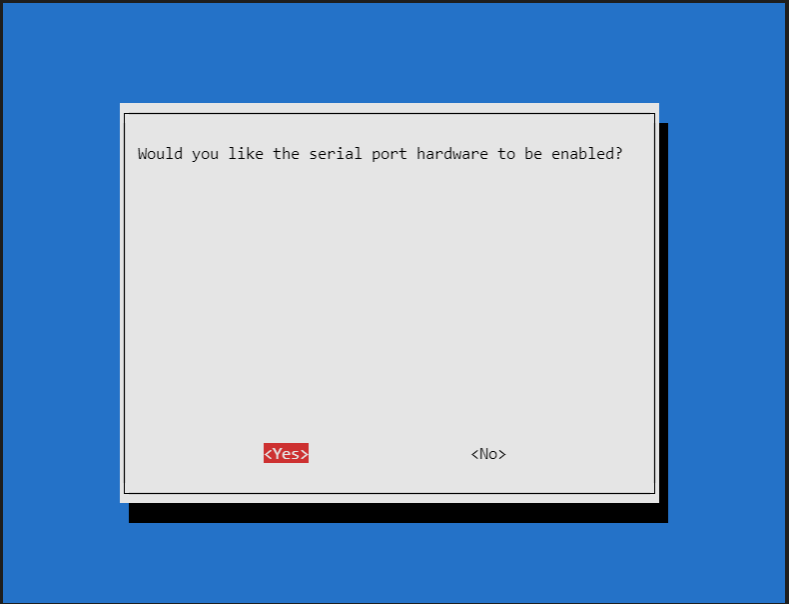

ls -l /dev/ | grep serial입력하여 ttyS0을 확인한다.

import serial

serialP = serial.Serial('/dev/ttyS0', baudrate = 9600, timeout = 30.0)

serialcmd = 'AT+ADDR?'
serialP.write(serialcmd.encode())

try:
  while True:
    dat = serialP.read(100)
    print(dat)
except KeyboardInterrupt:
  pass

serialP.close()
코드를 짜서 내 블루투스 모듈의 맥주소 확인은 가능하나 책에서 안내한 BLEJoystick앱에서 블루투스검색을 못하고 있다.
최신 스마트폰에서 작동을 안하는 것일까? 어플 업데이트가 필요해 보인다.
아이폰은 된다.
## SPI 버스에 MCP3208 디바이스 붙이기
빵판 내부를 연결할 때 필요한 회로 선이 없어서 패스
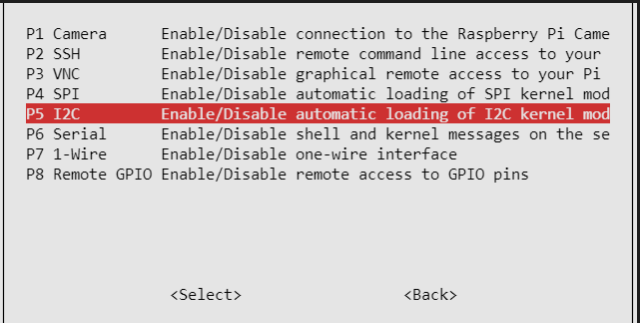
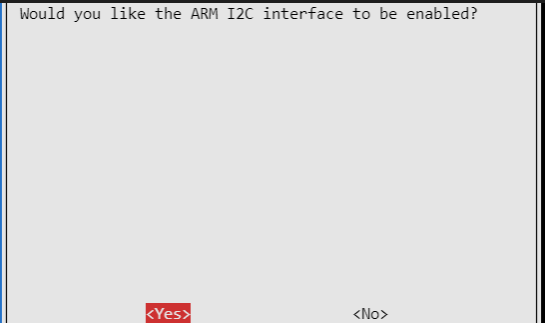
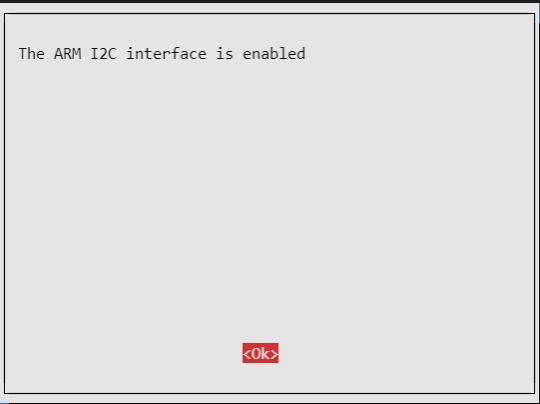
## I2C 버스에 PCA9685 디바이스 붙이기
pca9685.py 본 라이브러리를 사용해야 한다.
sudo raspi-config입력하여 아래와 같이 설정
### LED 점멸 반복해보기
- _18_pca9685_blink.py
import smbus
import pca9685
import time

led_pin = 11

i2c_bus = smbus.SMBus(1) # 1 : /dev/i2c-1 (port I2C1)
pwm = pca9685.PWM(i2c_bus)

pwm.setFreq(1000)

try:
  while True:
    pwm.setDuty(led_pin, 0)
    time.sleep(0.5)
    pwm.setDuty(led_pin, 4095)
    time.sleep(0.5)
except KeyboardInterrupt:
  pass
pwm.setDuty(led_pin, 0)
i2c_bus.close()
### LED 밝기 4095 단계로 조절해보기
- _18_pca9685_fading.py
import smbus
import pca9685
import time

led_pin = 11

i2c_bus = smbus.SMBus(1) # 1 : /dev/i2c-1 (port I2C1)
pwm = pca9685.PWM(i2c_bus)

pwm.setFreq(1000)

try:
  while True:
    # pwm.setDuty(led_pin, 0)
    # time.sleep(0.5)
    # pwm.setDuty(led_pin, 4095)
    # time.sleep(0.5)
    for dutyCycle in range(0,4096,8):
      pwm.setDuty(led_pin, dutyCycle)
      time.sleep(0.001)
    for dutyCycle in range(4095,-1,-8):
      pwm.setDuty(led_pin, dutyCycle)
      time.sleep(0.001)
except KeyboardInterrupt:
  pass
pwm.setDuty(led_pin, 0)
i2c_bus.close()
### 응용실습 입력값에 따라 LED밝기 조절하기
A누르면 밝기 최대, S누르면 꺼짐, D누르면 LED점멸
아래와 같이 하면 D입력후 while에서 나갈 수 없다.
import smbus
import pca9685
import time

led_pin = 11

i2c_bus = smbus.SMBus(1) # 1 : /dev/i2c-1 (port I2C1)
pwm = pca9685.PWM(i2c_bus)

pwm.setFreq(1000)

try:
  while True:
    userInput = input()
    if userInput == 'A':
      pwm.setDuty(led_pin, 4095)
      # time.sleep(0.5)
    elif userInput == 'S':
      pwm.setDuty(led_pin, 0)
    elif userInput == 'D':
      while True:
        pwm.setDuty(led_pin, 0)
        time.sleep(0.5)
        pwm.setDuty(led_pin, 4095)
        time.sleep(0.5)
except KeyboardInterrupt:
  pass
pwm.setDuty(led_pin, 0)
i2c_bus.close()
# 강사님코드
import smbus
import pca9685
import time
import threading
led_pin =11
i2c_bus = smbus.SMBus(1)
pwm = pca9685.PWM(i2c_bus)
pwm.setFreq(1000)
flag_exit = False
userInput ="f"
def blink_led():
global userInput
while True:
if userInput == "a":
pwm.setDuty(led_pin, 4095)
elif userInput == "s":
pwm.setDuty(led_pin, 0)
elif userInput == "d":
pwm.setDuty(led_pin, 4095)
time.sleep(0.5)
pwm.setDuty(led_pin, 0)
time.sleep(0.5)
else:
pwm.setDuty(led_pin, 0)
if flag_exit: break
tBL = threading.Thread(target=blink_led)
tBL.start()
try:
while True:
userInput = input() # for string
print(userInput)
except KeyboardInterrupt:
pass
tBL.join()
pwm.setDuty(led_pin,0)
i2c_bus.close()### 부저 울리기
- _18_pca9685_buzzer.py
import smbus
import pca9685
import time

buzzer_pin = 11

i2c_bus = smbus.SMBus(1) # 1 : /dev/i2c-1 (port I2C1)
pwm = pca9685.PWM(i2c_bus)

pwm.setDuty(buzzer_pin, 2047)

try:
  while True:
    for cnt in range(3):
      pwm.setFreq(262)
      time.sleep(1.0)
      pwm.setFreq(294)
      time.sleep(1.0)

except KeyboardInterrupt:
  pass
pwm.setDuty(buzzer_pin, 0)
i2c_bus.close()
부저를 멜로디로 울리기
- _18_pca9685_melody.py
import smbus
import pca9685
import time

buzzer_pin = 11
melody = [262,294,330,349,392,440,494,523]

i2c_bus = smbus.SMBus(1) # 1 : /dev/i2c-1 (port I2C1)
pwm = pca9685.PWM(i2c_bus)

pwm.setDuty(buzzer_pin, 2047)

try:
  while True:
    for note in range(8):
      pwm.setFreq(melody[note])
      time.sleep(0.5)
except KeyboardInterrupt:
  pass

pwm.setDuty(buzzer_pin, 0)
i2c_bus.close()
응용 실습 입력값에 해당하는 주파수로 소리내기
import smbus
import pca9685
import time

buzzer_pin = 11
melody = 0

i2c_bus = smbus.SMBus(1) # 1 : /dev/i2c-1 (port I2C1)
pwm = pca9685.PWM(i2c_bus)

pwm.setDuty(buzzer_pin, 2047)

try:
  while True:
    userInput = input()
    print(type(userInput))
    userInput = int(userInput)
    print(type(userInput))
    pwm.setFreq(userInput)
    time.sleep(0.5)
except KeyboardInterrupt:
  pass

pwm.setDuty(buzzer_pin, 0)
i2c_bus.close()
# 인공지능 라이브러리 활용하기
## 이미지로 얼굴 인식하기
### python3-opencv 설치하기
sudo apt update입력
모두y입력sudo apt install python3-opencv입력 모두y입력
sudo python3 <파일명>입력하여
이미지를 불러오려 하니 에러가 난다.
일반 터미널로는 불가하다

## 원격접속 환경 구성하기
### VNC 서버 활성화하기
sudo raspi-config입력후 설정필요 p351

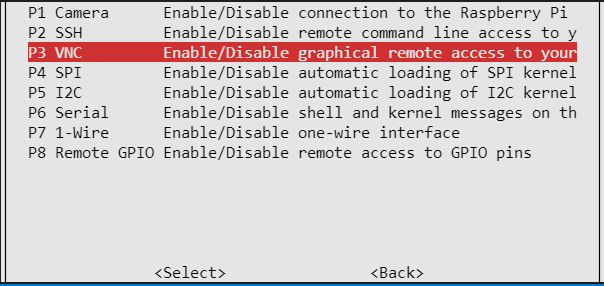

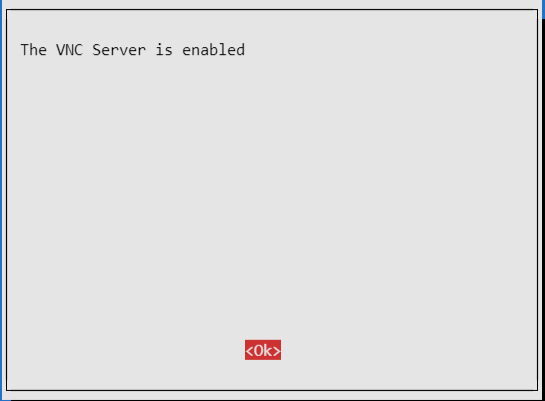
아래와 같이 터미널에 출력되며 VNC서버가 활성화 된다.

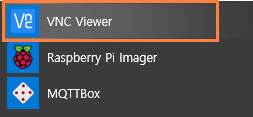
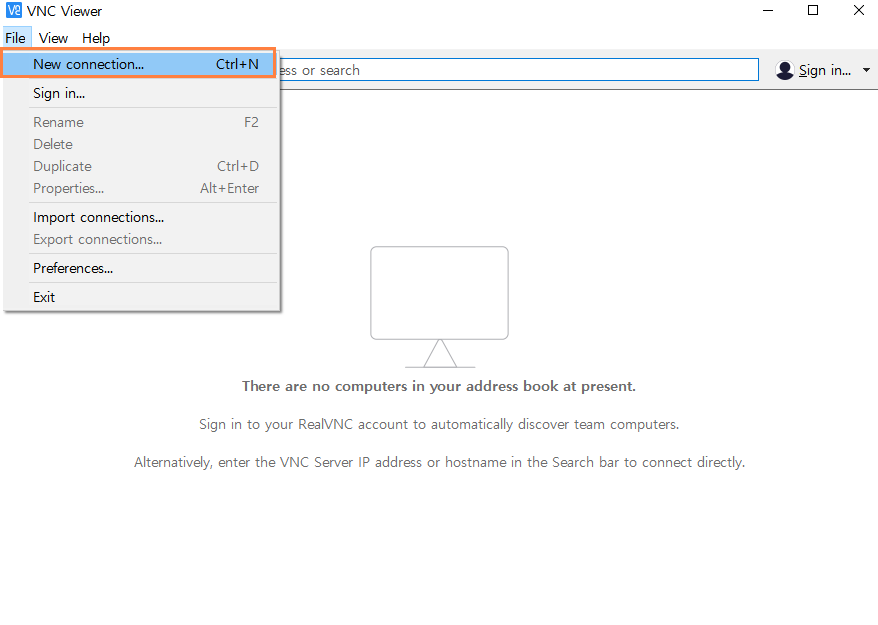
### vnc viewer설치 및 원격 접속
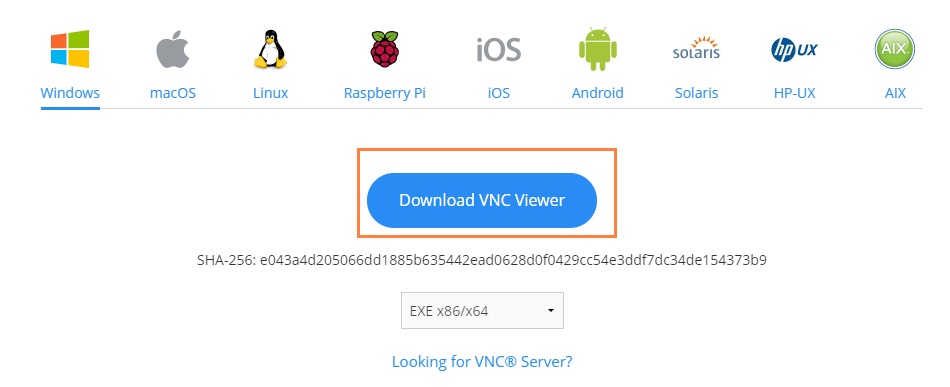
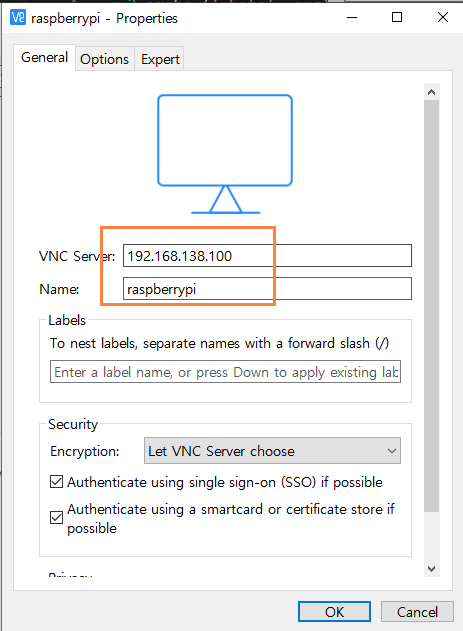

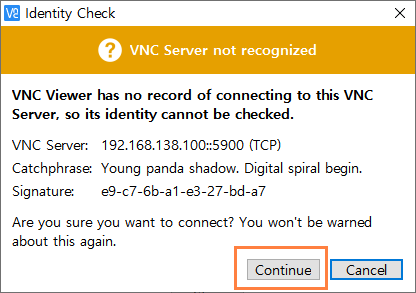
비밀번호는 raspberry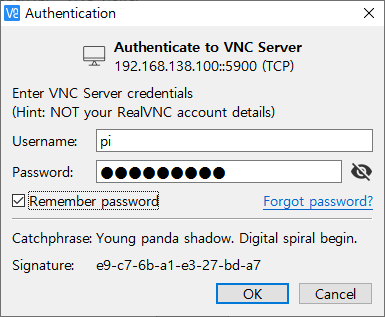
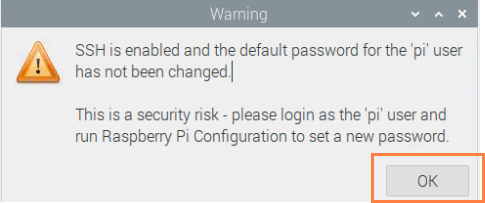
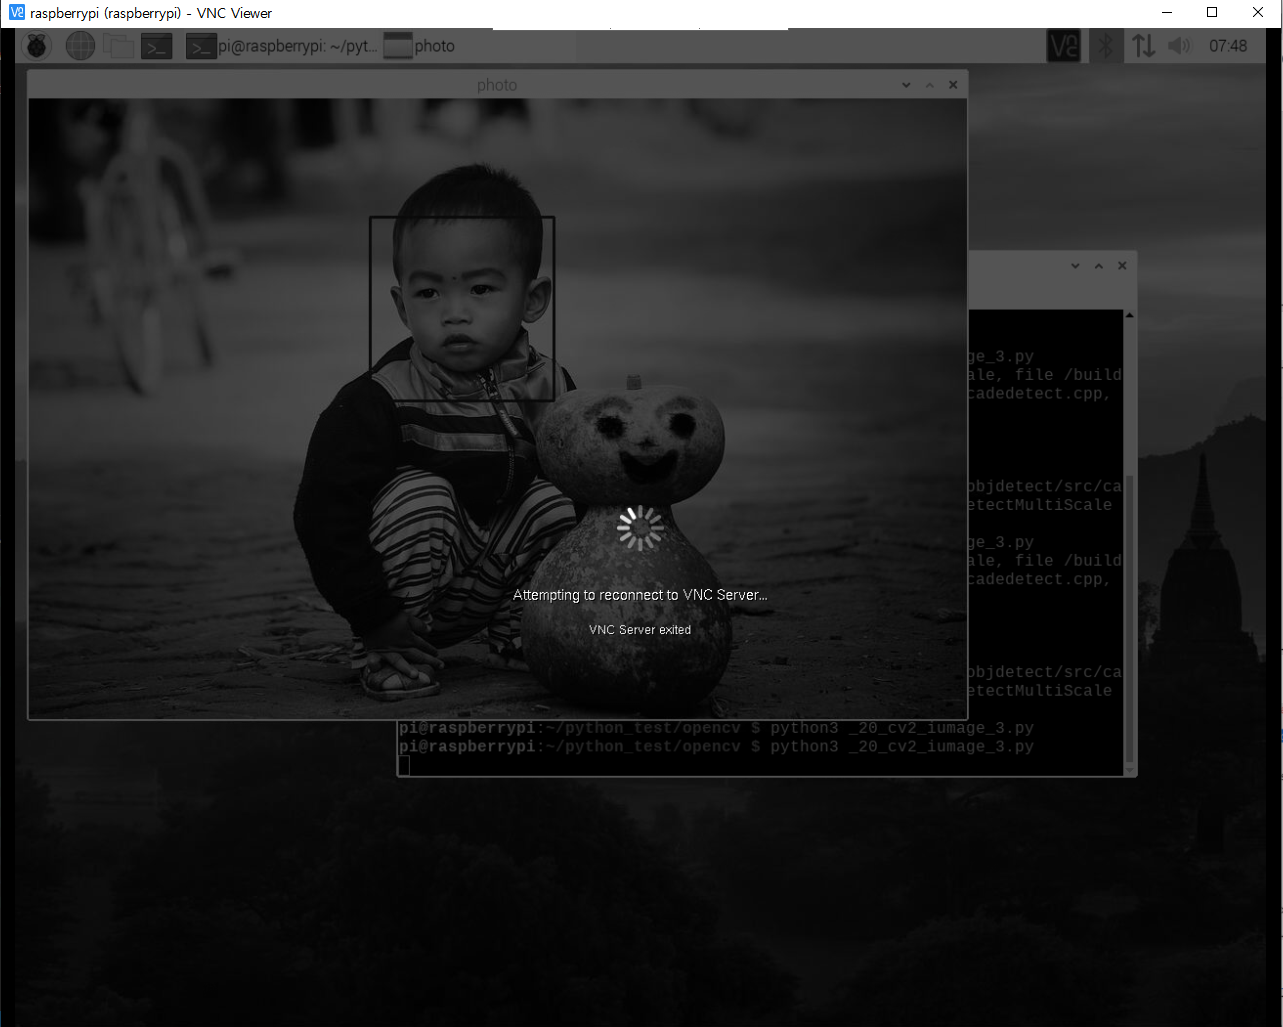
### 라즈베리파이 초기 설정
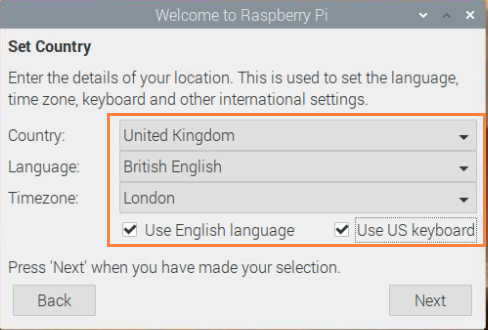
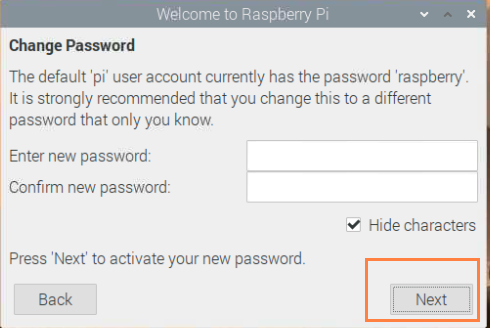
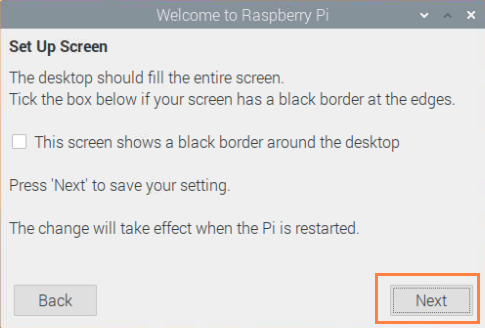

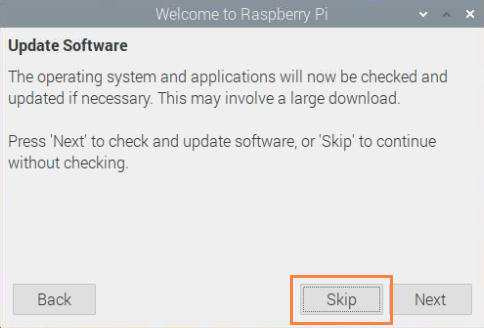
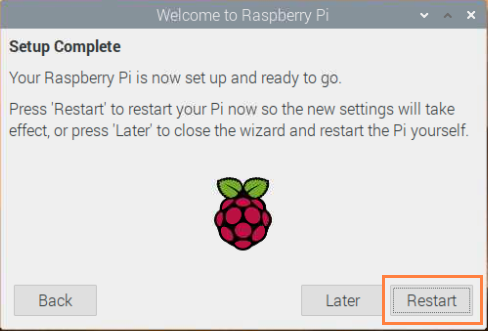
- 최종 접속 화면
이제 코딩은 vscode에서 하고 실행은 vns에서 할 것이다.
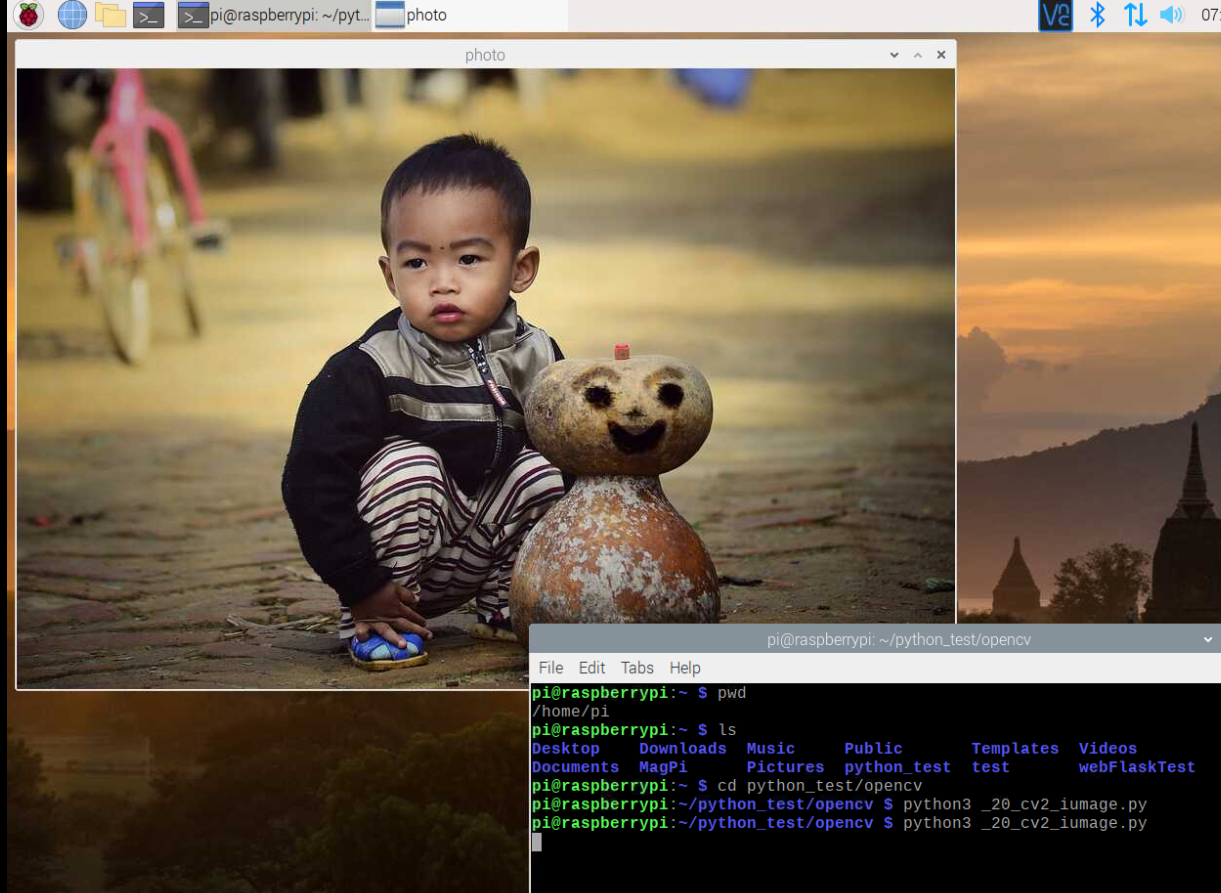
이미지 읽고 출력하기
사진은 미리 폴더에 넣어주자
- _20_cv2_iumage.py
import cv2
img = cv2.imread('photo.jpg')

cv2.imshow('photo', img)
cv2.waitKey(0)
cv2.destroyAllWindows()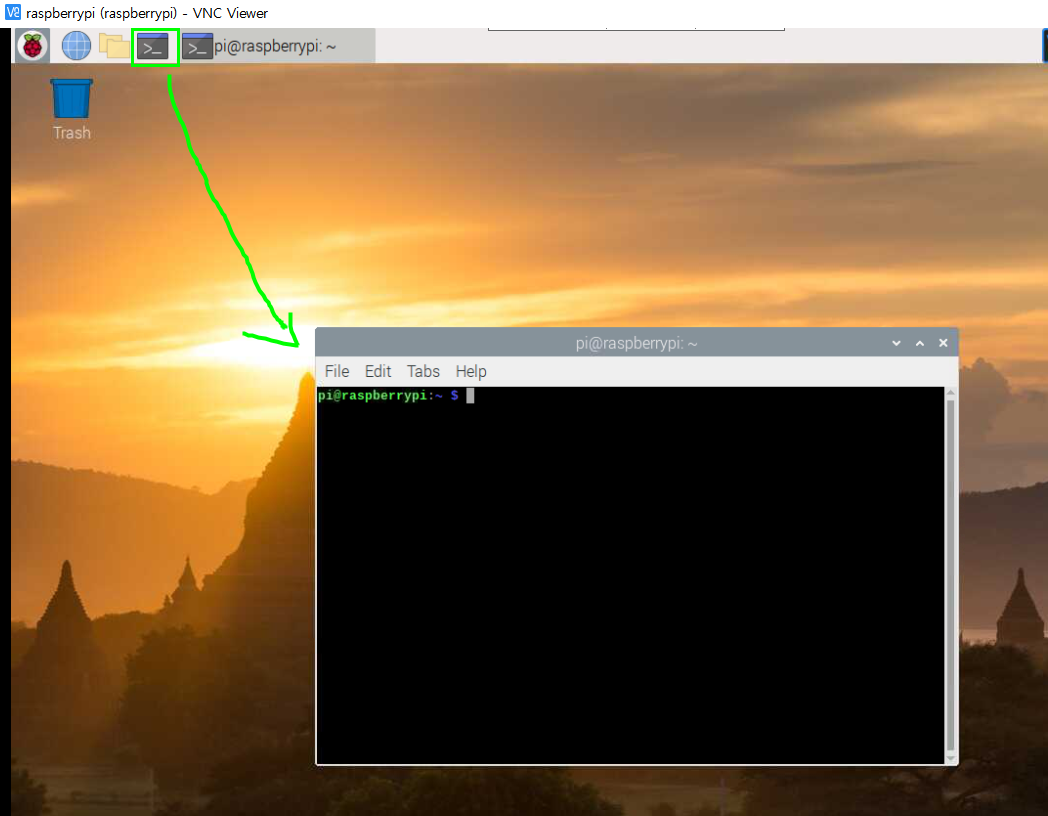
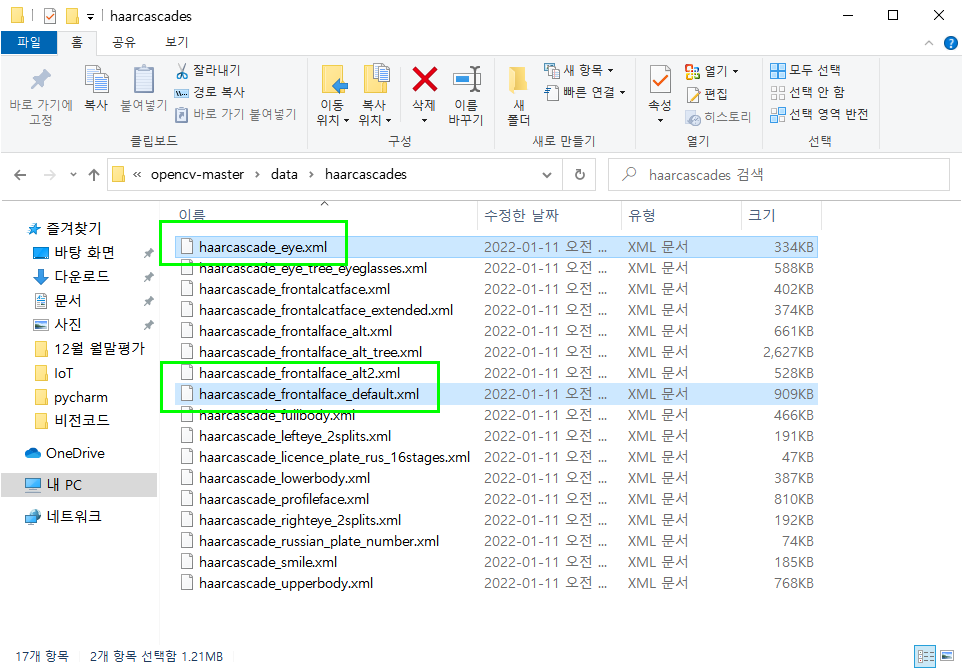
얼굴인식하기 p267
- haar Cascade 머신 러닝 필터 파일 가져오기
아래 github사이트에서 master branch로 파일을 다운받는다.

압축해제한 폴더 자체를 home/pi/Downloads에 넣어주고
실습에서 사용할 아래 두 파일을 코딩파일과 동일한 폴더에 넣어준다.
- _20_cv2_iumage_3.py
import cv2
img = cv2.imread('photo.jpg')
gray = cv2.cvtColor(img, cv2.COLOR_BGR2GRAY)

face_cascade = cv2.CascadeClassifier('haarcascade_frontalface_default.xml')
faces = face_cascade.detectMultiScale(gray, 1.3, 5)
for (x,y,w,h) in faces:
  img = cv2.rectangle(img,(x,y),(x+w,y+h),(255,0,0),2)

cv2.imshow('photo', img)
cv2.waitKey(0)
cv2.destroyAllWindows()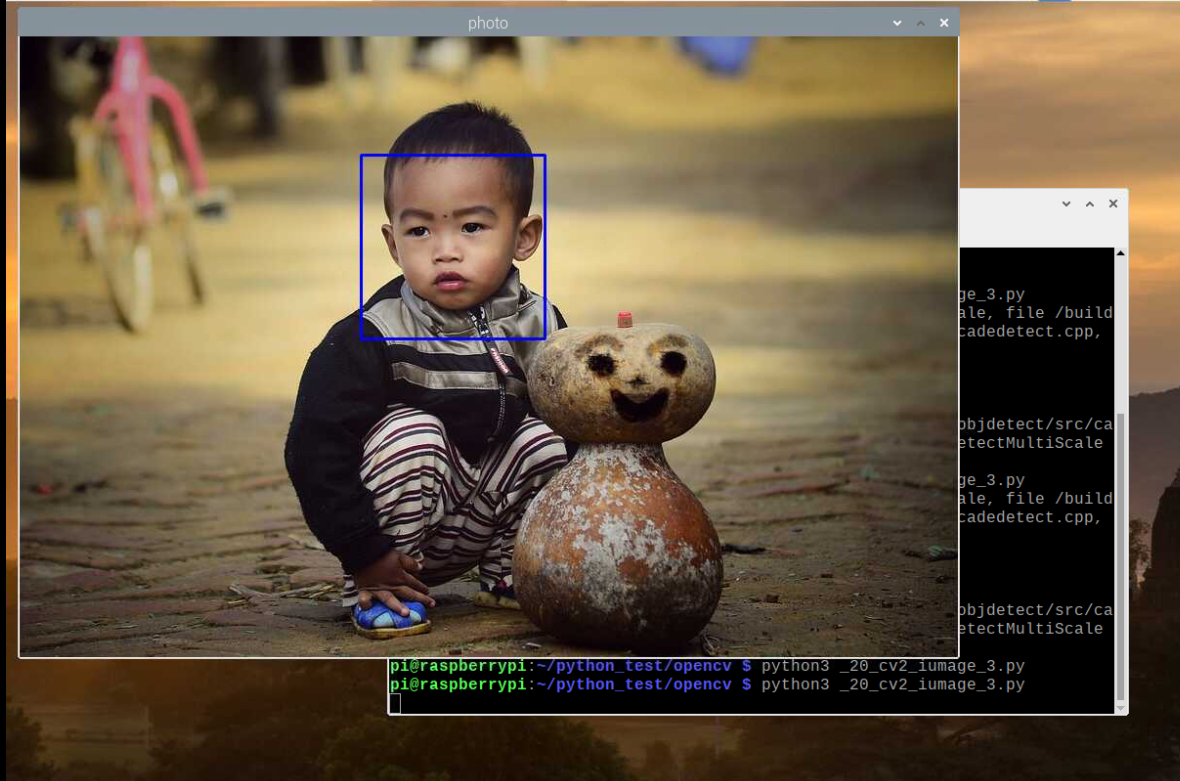
카메라로 얼굴 인식하기 p272
카메라 모듈 활성화
sudo raspi-config입력
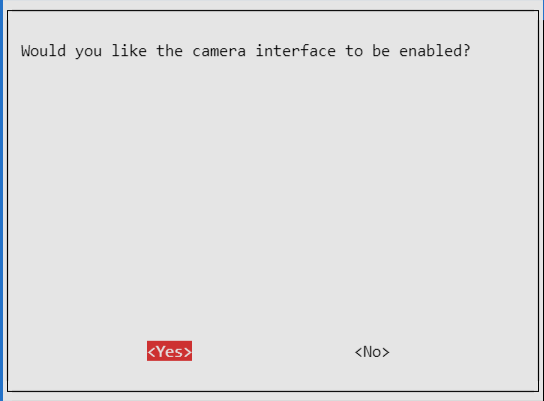
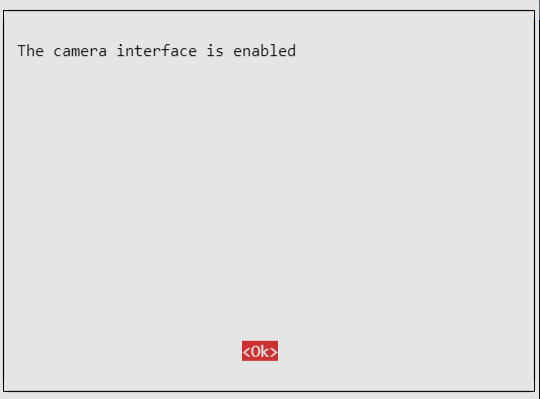
카메라 연결후 테스트
카메라 인식이 안되서 패스
얼굴인식 실습 p282
코드는 콜라비 참조할 것
# code1
import cv2

face_cascade = cv2.CascadeClassifier('haarcascade_frontalface_default.xml')

cap = cv2.VideoCapture(0)

while cap.isOpened():
  ret, img = cap.read()

  if ret:
    gray = cv2.cvtColor(img, cv2.COLOR_BGR2GRAY)
    faces = face_cascade.detectMultiScale(gray, 1.3, 5)
    for (x, y, w, h) in faces:
      img = cv2.rectangle(img, (x,y), (x+w, y+h), (255, 0, 0), 2)
      cv2.imwrite('faces_capture.jpg',img)

    cv2.imshow('Video Capture', img)

    key = cv2.waitKey(1) &0xFF
    if key ==ord('k'):
      cv2.imwrite('capture.jpg',img)
    if key == 27:
      break

cap.release()
cv2.destroyAllWindows()
# code2
import cv2
import datetime
face_cascade = cv2.CascadeClassifier('haarcascade_frontalface_default.xml')
cap = cv2.VideoCapture(0)
now = datetime.datetime.now().strftime("%d_%H-%M-%S")
while cap.isOpened():
ret, img = cap.read()
if ret:
gray = cv2.cvtColor(img, cv2.COLOR_BGR2GRAY)
faces = face_cascade.detectMultiScale(gray, 1.3, 5)
for (x,y,w,h) in faces:
img = cv2.rectangle(img,(x,y),(x+w,y+h),(255,0,0),2)
cv2.imwrite("captureface"+ str(now)+".png", img)
cv2.imshow('Video Capture', img)
key = cv2.waitKey(1) &0xFF
if key == 27:
break
elif key == ord('k'):
print("캡쳐")
cv2.imwrite("capture"+ str(now)+".png", img)
cap.release()
cv2.destroyAllWindows()# code3
import cv2
face_cascade = cv2.CascadeClassifier('haarcascade_frontalface_default.xml')
cap = cv2.VideoCapture(0)
count = 0
def captureImg(img):
global count
cv2.imwrite('output' + str(count) + '.png', img)
count = count + 1
while cap.isOpened():
ret, img = cap.read()
if ret:
gray = cv2.cvtColor(img, cv2.COLOR_BGR2GRAY)
faces = face_cascade.detectMultiScale(gray, 1.3, 5)
for(x, y, w, h) in faces:
img = cv2.rectangle(img, (x, y), (x + w,y + h), (255, 0, 0), 2)
captureImg(img)
cv2.imshow('Video Capture', img)
key = cv2.waitKey(1) &0xFF
if key == 27:
break
elif key == ord('k'):
captureImg(img)
cap.release()
cv2.destroyAllWindows()# code4
import cv2
capture = cv2.VideoCapture(0)
print("aa")
if capture.isOpened():
print('width:', capture.get(cv2.CAP_PROP_FRAME_WIDTH))
print('height:', capture.get(cv2.CAP_PROP_FRAME_HEIGHT))
print('fps:', capture.get(cv2.CAP_PROP_FPS))
else :
print("fail")
num = 0
numface=0
while capture.isOpened():
ret, img = capture.read()
gray = cv2.cvtColor(img, cv2.COLOR_BGR2GRAY)
face_cascade = cv2.CascadeClassifier('haarcascade_frontalface_default.xml')
faces = face_cascade.detectMultiScale(gray, 1.3, 5)
for (x, y, w, h) in faces:
img = cv2.rectangle(img, (x, y), (x + w, y + h), (255, 0, 0), 2)
cv2.imwrite("./photoface{0}.jpg".format(numface), img)
numface+=1
if ret:
cv2.imshow('aa',img)
key = cv2.waitKey(1) &0xFF
if key == 27:
break
if key == ord('k'):
num += 1
cv2.imwrite("./photo{0}.jpg".format(num), img)
capture.release()
cv2.destroyAllWindows()
공정 설비 개발/연구원에서 웹 서비스 개발자로 경력 이전하였습니다. Node.js 백엔드 기반 풀스택 개발자를 목표로 하고 있습니다.