일단 서비스 아키텍처는 어찌 만들었으니, 이어서 로그인 시스템을 구현하고자 한다.
필자는 본래 데이터 전공자로 보안에 대한 지식은 전무하다.
열심히 공부하고 헤매면서 만든 내용이지만 잘못된 내용이 존재할 수 있으니 사전에 양해를 구한다.
로그인은 Cognito User Pool을 사용하고자 하며, 이때 Identity Provider(IDP)로 Kakao를 사용하고자 했다.
카카오는 Cognito에서 네이티브로 제공되는 IDP가 아니기 때문에 별도의 연결 작업이 필요하다.
Auth Flow
여기서 사용된 인증 흐름은 이후 단계에서 폐기되어, 현재 사용되지 않고 있음을 밝힌다.
초안에서는 이 레포지토리를 활용하여 구축하고자 하는 환경에 맞게 수정하는 과정을 거쳤다. 9편에서 다루겠지만 카카오는 최근 OIDC 규격의 인증 흐름을 지원하기 시작했다. 이 레포지토리는 그 이전에, OAuth2 패턴을 구현하여 Kakao 기반의 인증이 가능하도록 만들어진 것으로 보인다.
카카오 로그인과 Cognito를 연결해 JWT 토큰을 발급받고 이를 활용해 권한 부여와 더불어 사용자 정보를 클라이언트로 전달한다. 구축된 인프라를 내 세팅에 맞게 수정하고 배포하여 인증 흐름을 만들었다.
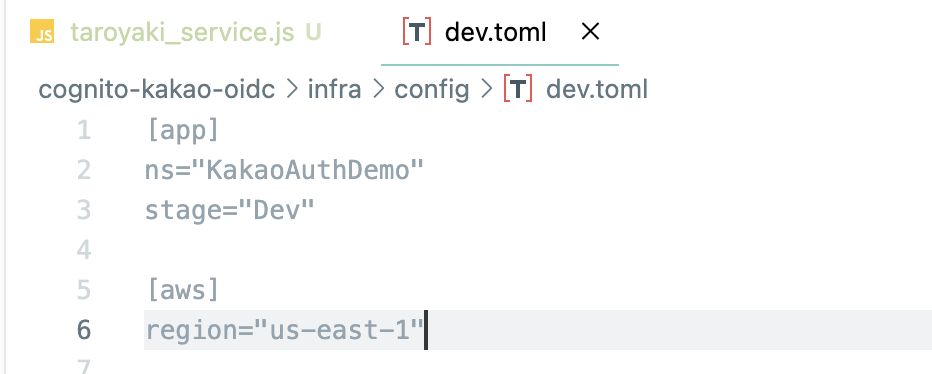
infra/config/dev.toml
- 원본 코드는 us-east-2 리전을 사용하나 us-east-1 리전에서 프로비저닝할 것이기 때문에 리전 설정을 수정
infra/config/loader.ts
- config을 담당하는 dev.toml 파일을 찾지 못하는 에러 수정
//기존 코드
const cfg = toml.parse(
fs.readFileSync(path.resolve(__dirname, '..', 'dev.toml'), 'utf-8')
);
console.log('loaded config', cfg);
// 에러 해결
const stage = process.env.STAGE || 'dev';
const cfg = toml.parse(
fs.readFileSync(path.resolve(__dirname, `${stage}.toml`), 'utf-8')
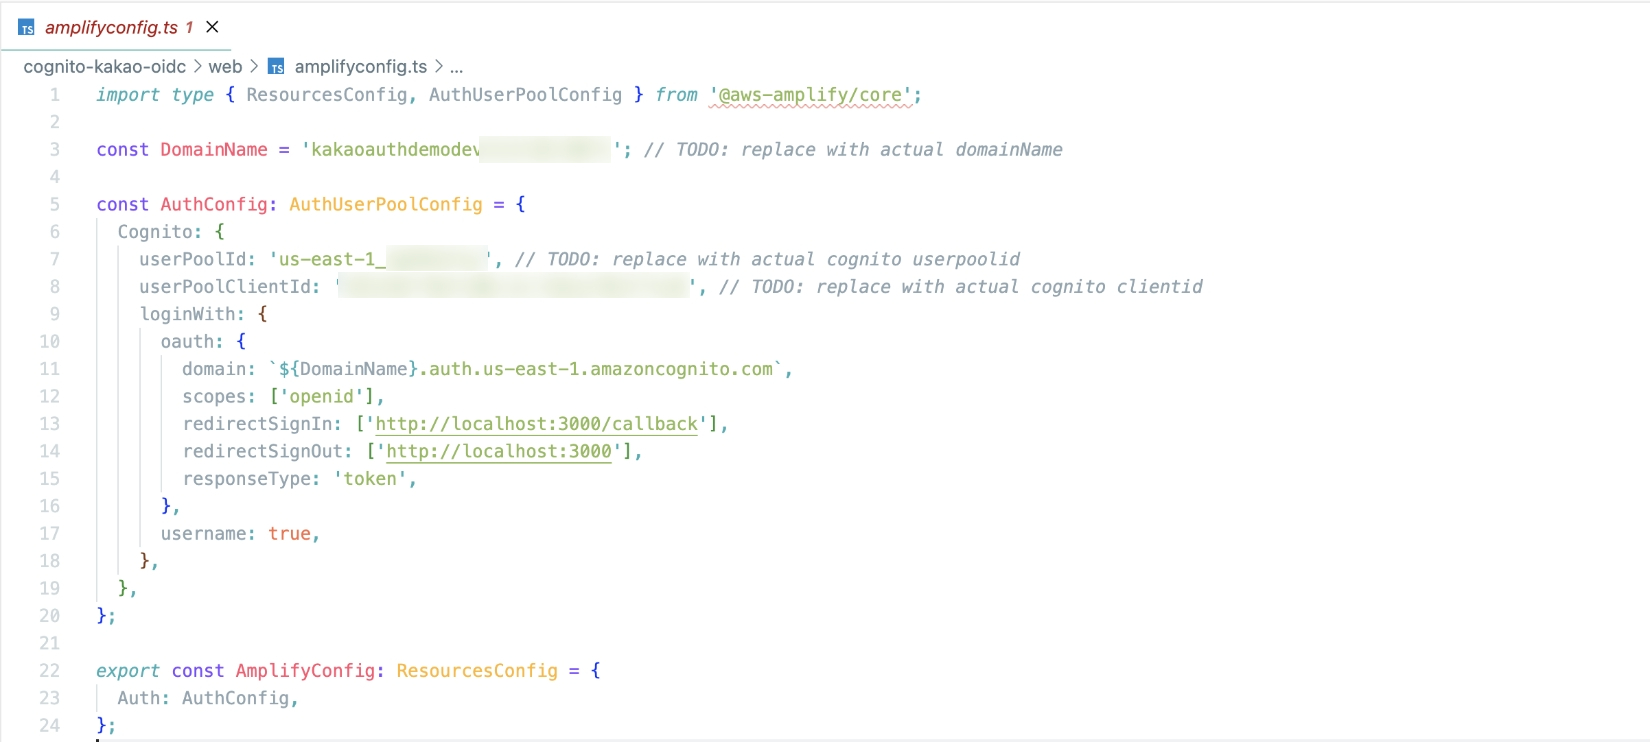
);web/amplifyconfig.ts
포트 3000(로그인) 페이지로 리다이렉션될 수 있도록 수정
web/pages/callback.vue
유효한 로그인이 발생하면 포트 3001(서비스) 페이지로 리다이렉션 되도록 URI를 수정
if (userEmail && userId) {
        // Redirect to tarot.html on port 3001 with the token, email, nickname, and sub
        const redirectUrl = `http://localhost:3001/tarot.html#id_token=${idToken}&user_email=${encodeURIComponent(userEmail)}&user_nickname=${encodeURIComponent(userNickname)}&sub=${encodeURIComponent(userId)}`
        console.log('Redirecting to:', redirectUrl)
        window.location.href = redirectUrl
      } else {
        console.error('No email or sub found in the id_token', { email: userEmail, sub: userId })
infra/lib/stacks/auth-kakao-stacks.ts
- OIDC에서 사용자 정보를 조회하는 로직을 추가
this.addRoute({
      api: props.api,
      authorizer: props.authorizer,
      routeId: 'GetUserInfo',
      path: '/user-info',
      method: apigwv2.HttpMethod.GET,
      handler: getUserInfoFunction,
    });

// 인증 람다 함수에 AdminGetUser 권한 부여
    fn.addToRolePolicy(new iam.PolicyStatement({
      actions: ['cognito-idp:AdminGetUser'],
      resources: [`arn:aws:cognito-idp:${this.region}:${this.account}:userpool/${userPoolId}`],
    }));
infra/lib/functions/get-user-info.ts 파일 추가
- 카카오에서 넘어오는 토큰에서 이메일 정보를 추출
import { CognitoIdentityProviderClient, AdminGetUserCommand } from "@aws-sdk/client-cognito-identity-provider";

export const handler = async (event) => {
  const client = new CognitoIdentityProviderClient();
  const username = event.requestContext.authorizer.jwt.claims.sub;

  try {
    const command = new AdminGetUserCommand({
      UserPoolId: process.env.USER_POOL_ID,
      Username: username,
    });
    const response = await client.send(command);

    const email = response.UserAttributes.find(attr => attr.Name === 'email')?.Value;
    const nickname = response.UserAttributes.find(attr => attr.Name === 'nickname')?.Value;


    return {
      statusCode: 200,
      headers: {
        "Access-Control-Allow-Origin": "*", // CORS 설정
        "Content-Type": "application/json"
      },
      body: JSON.stringify({ email, nickname }),
    };
  } catch (error) {
    console.error(error);
    return {
      statusCode: 500,
      headers: {
        "Access-Control-Allow-Origin": "*", // CORS 설정, 필요에 따라 수정
        "Content-Type": "application/json"
      },
      body: JSON.stringify({ error: 'Internal Server Error' }),
    };
  }
};
해당 정보를 수정한 후 cdk deploy --all로 해당 인프라를 배포하였다.
Kakao Developers
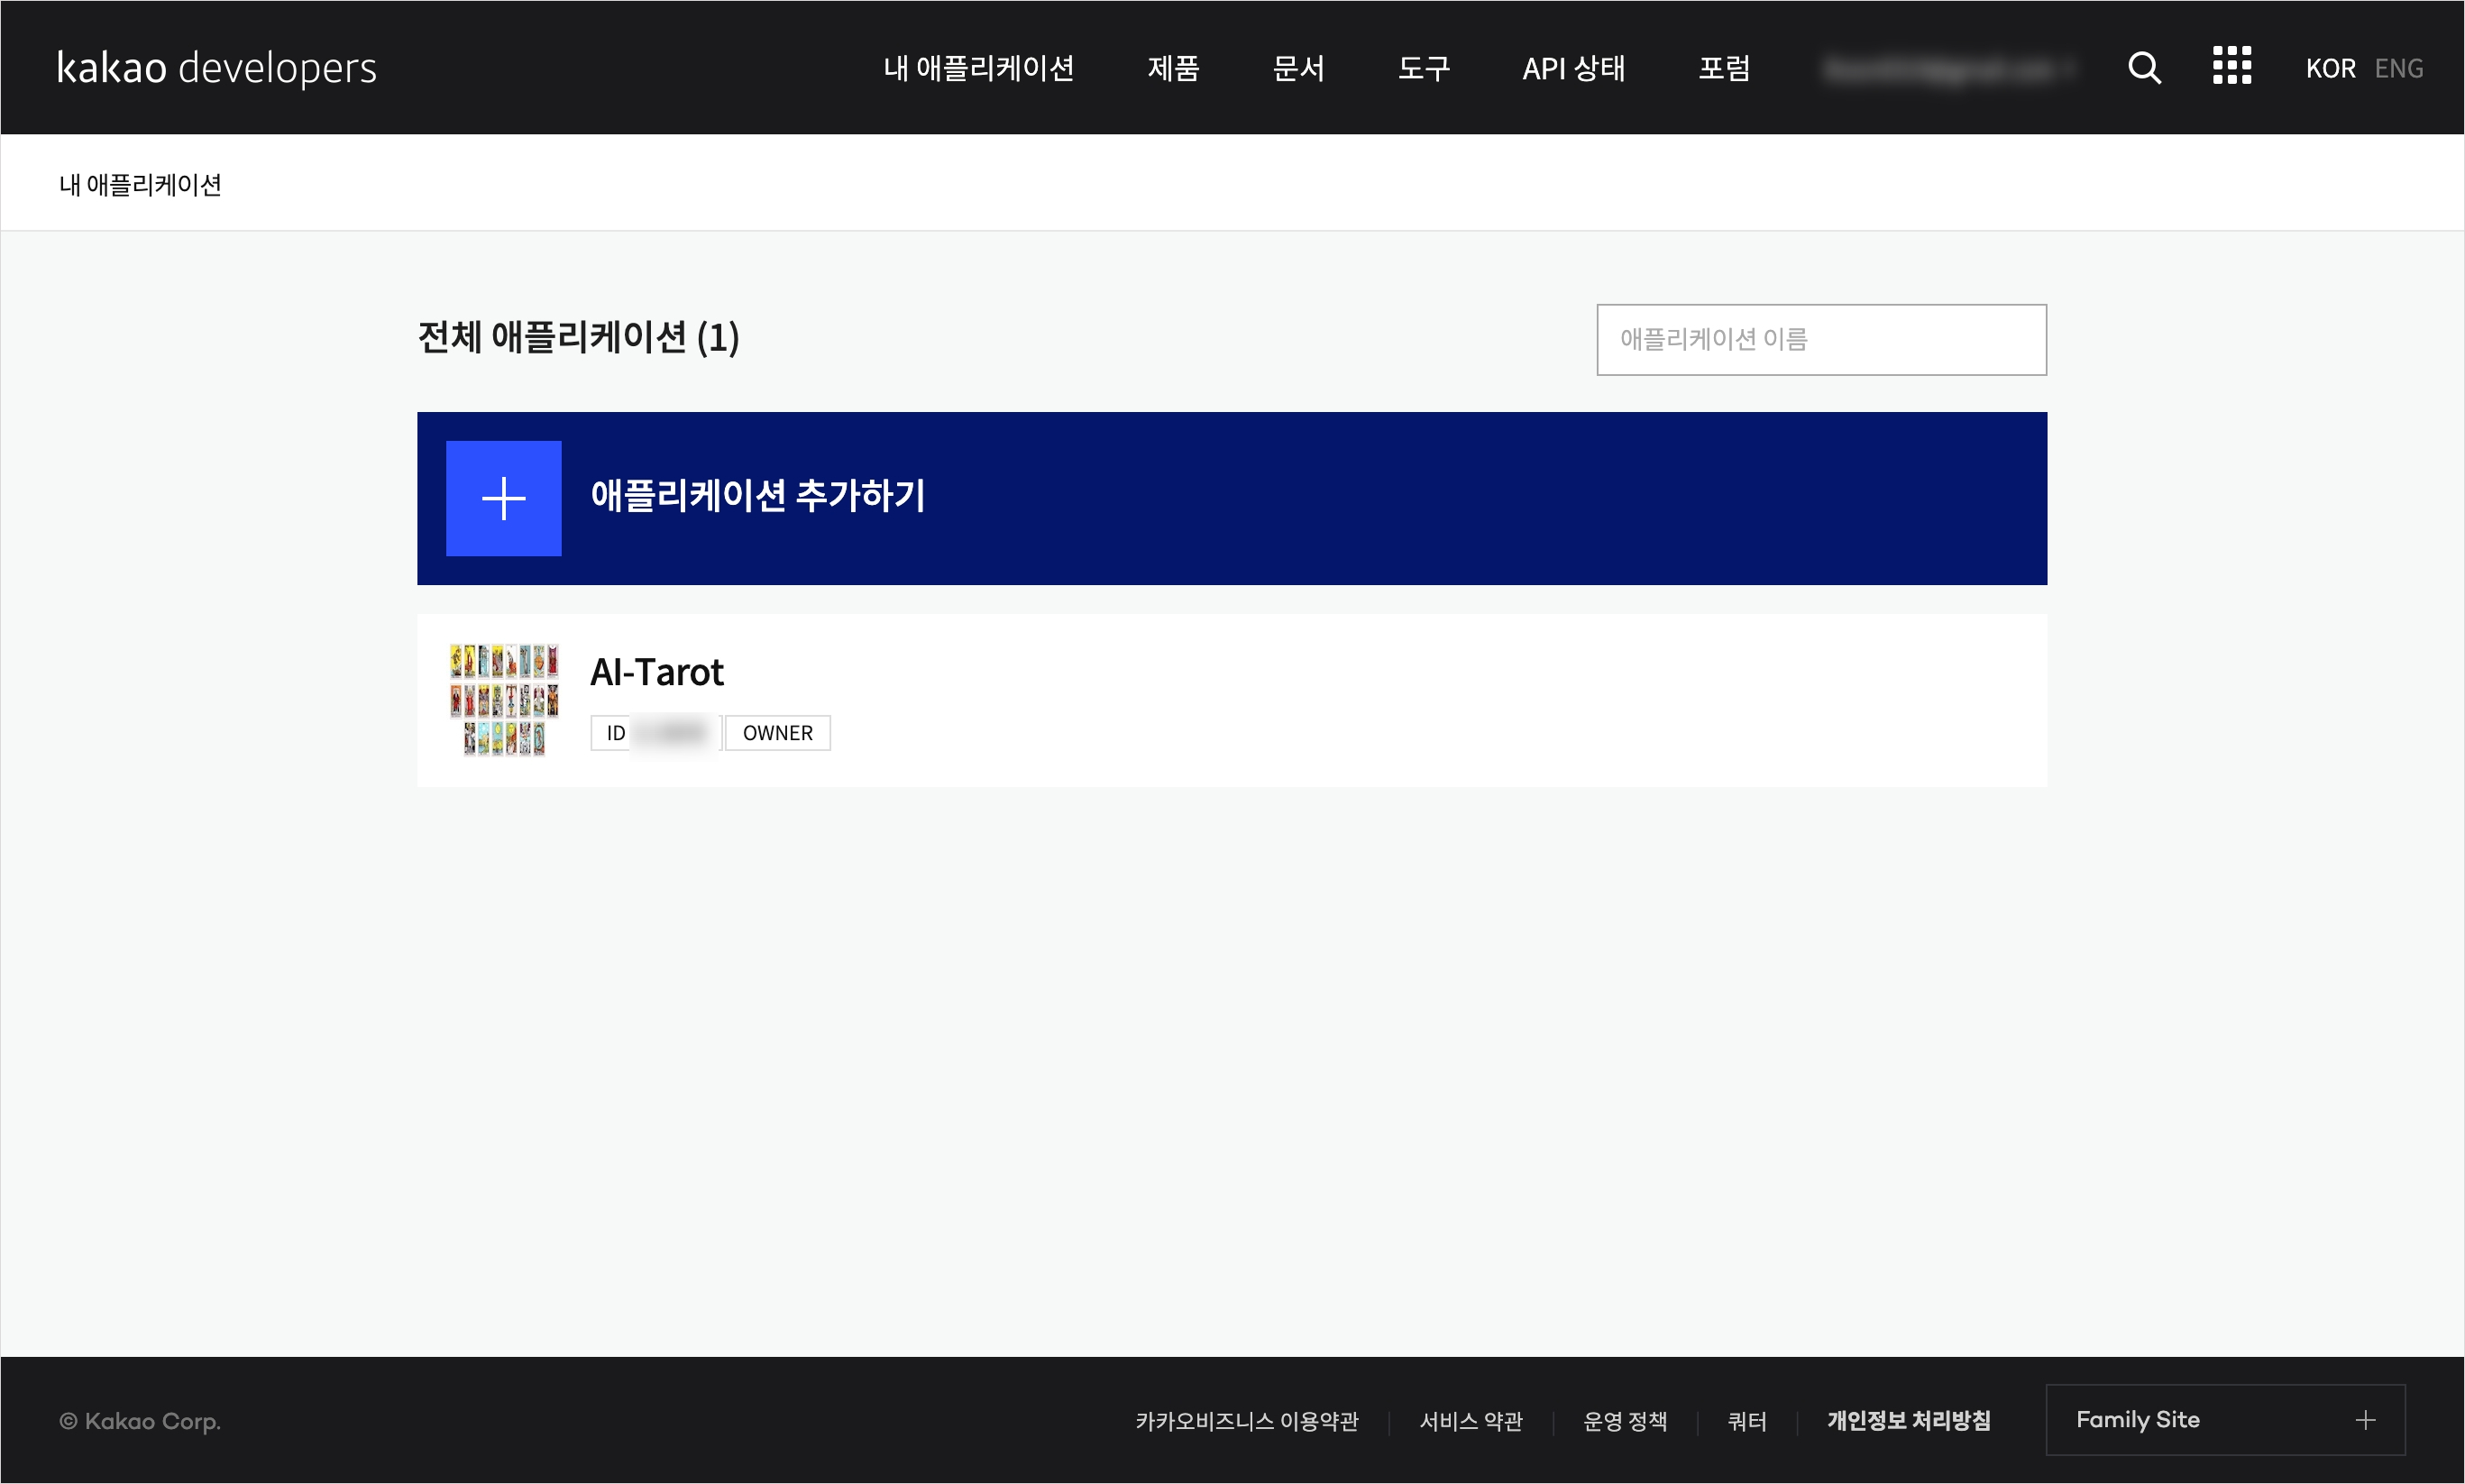
이어서 Kakao Develoeprs 페이지에 접속하자. 먼저 내 애플리케이션 > 애플리케이션 추가하기 에서 개발 단계의 앱을 등록해야 한다.
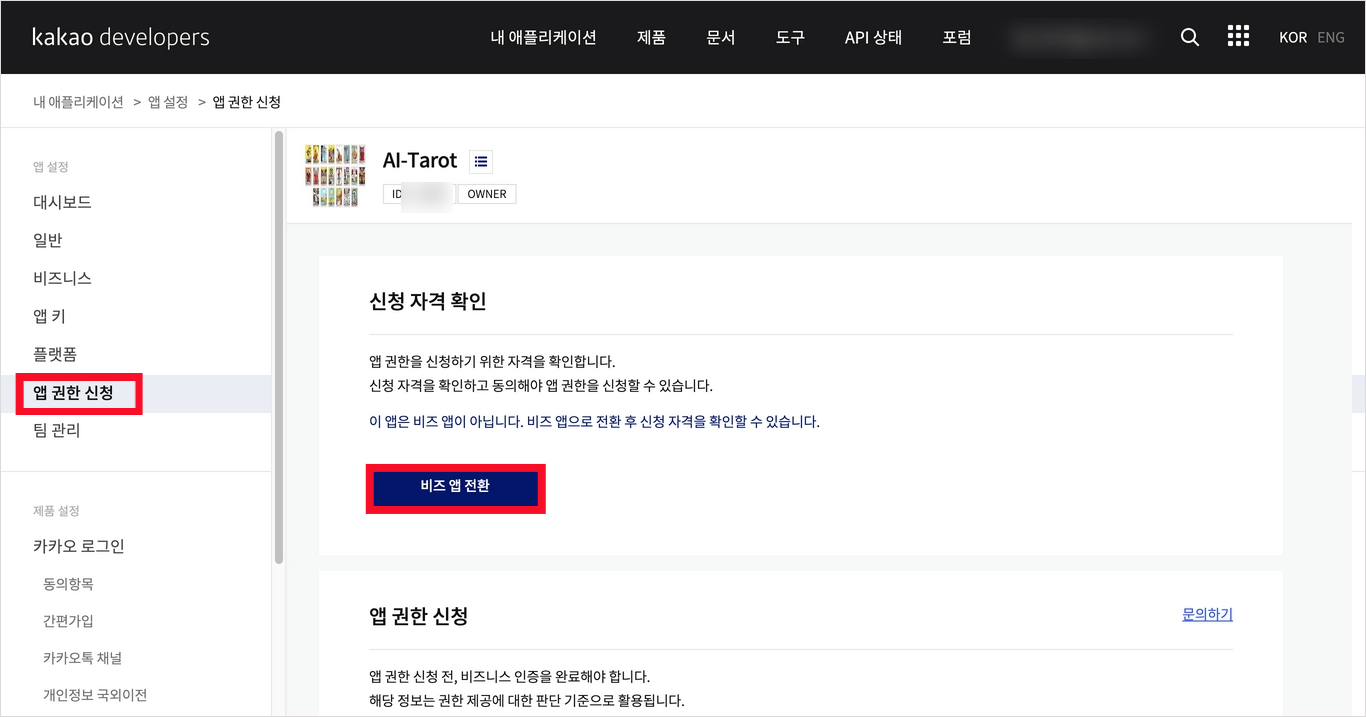
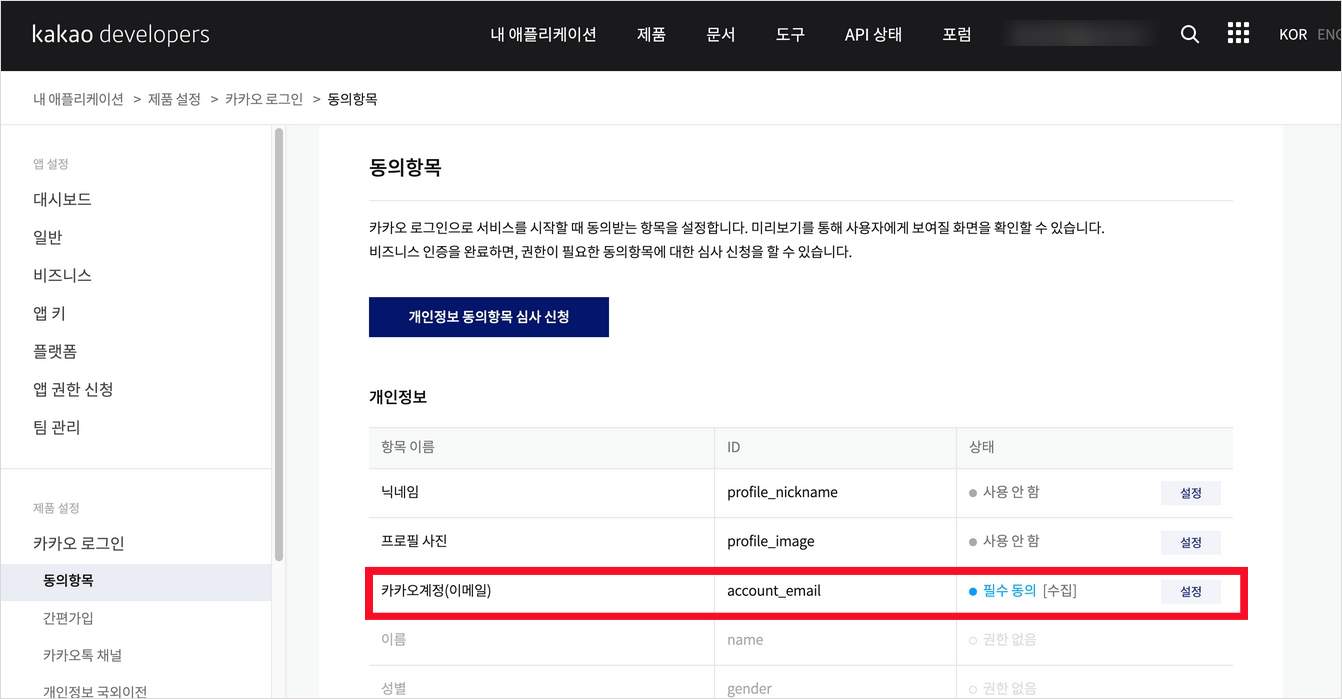
다음으로 이메일 동의를 받기 위해 앱 권한 신청 > 비즈 앱 전환을 한다.
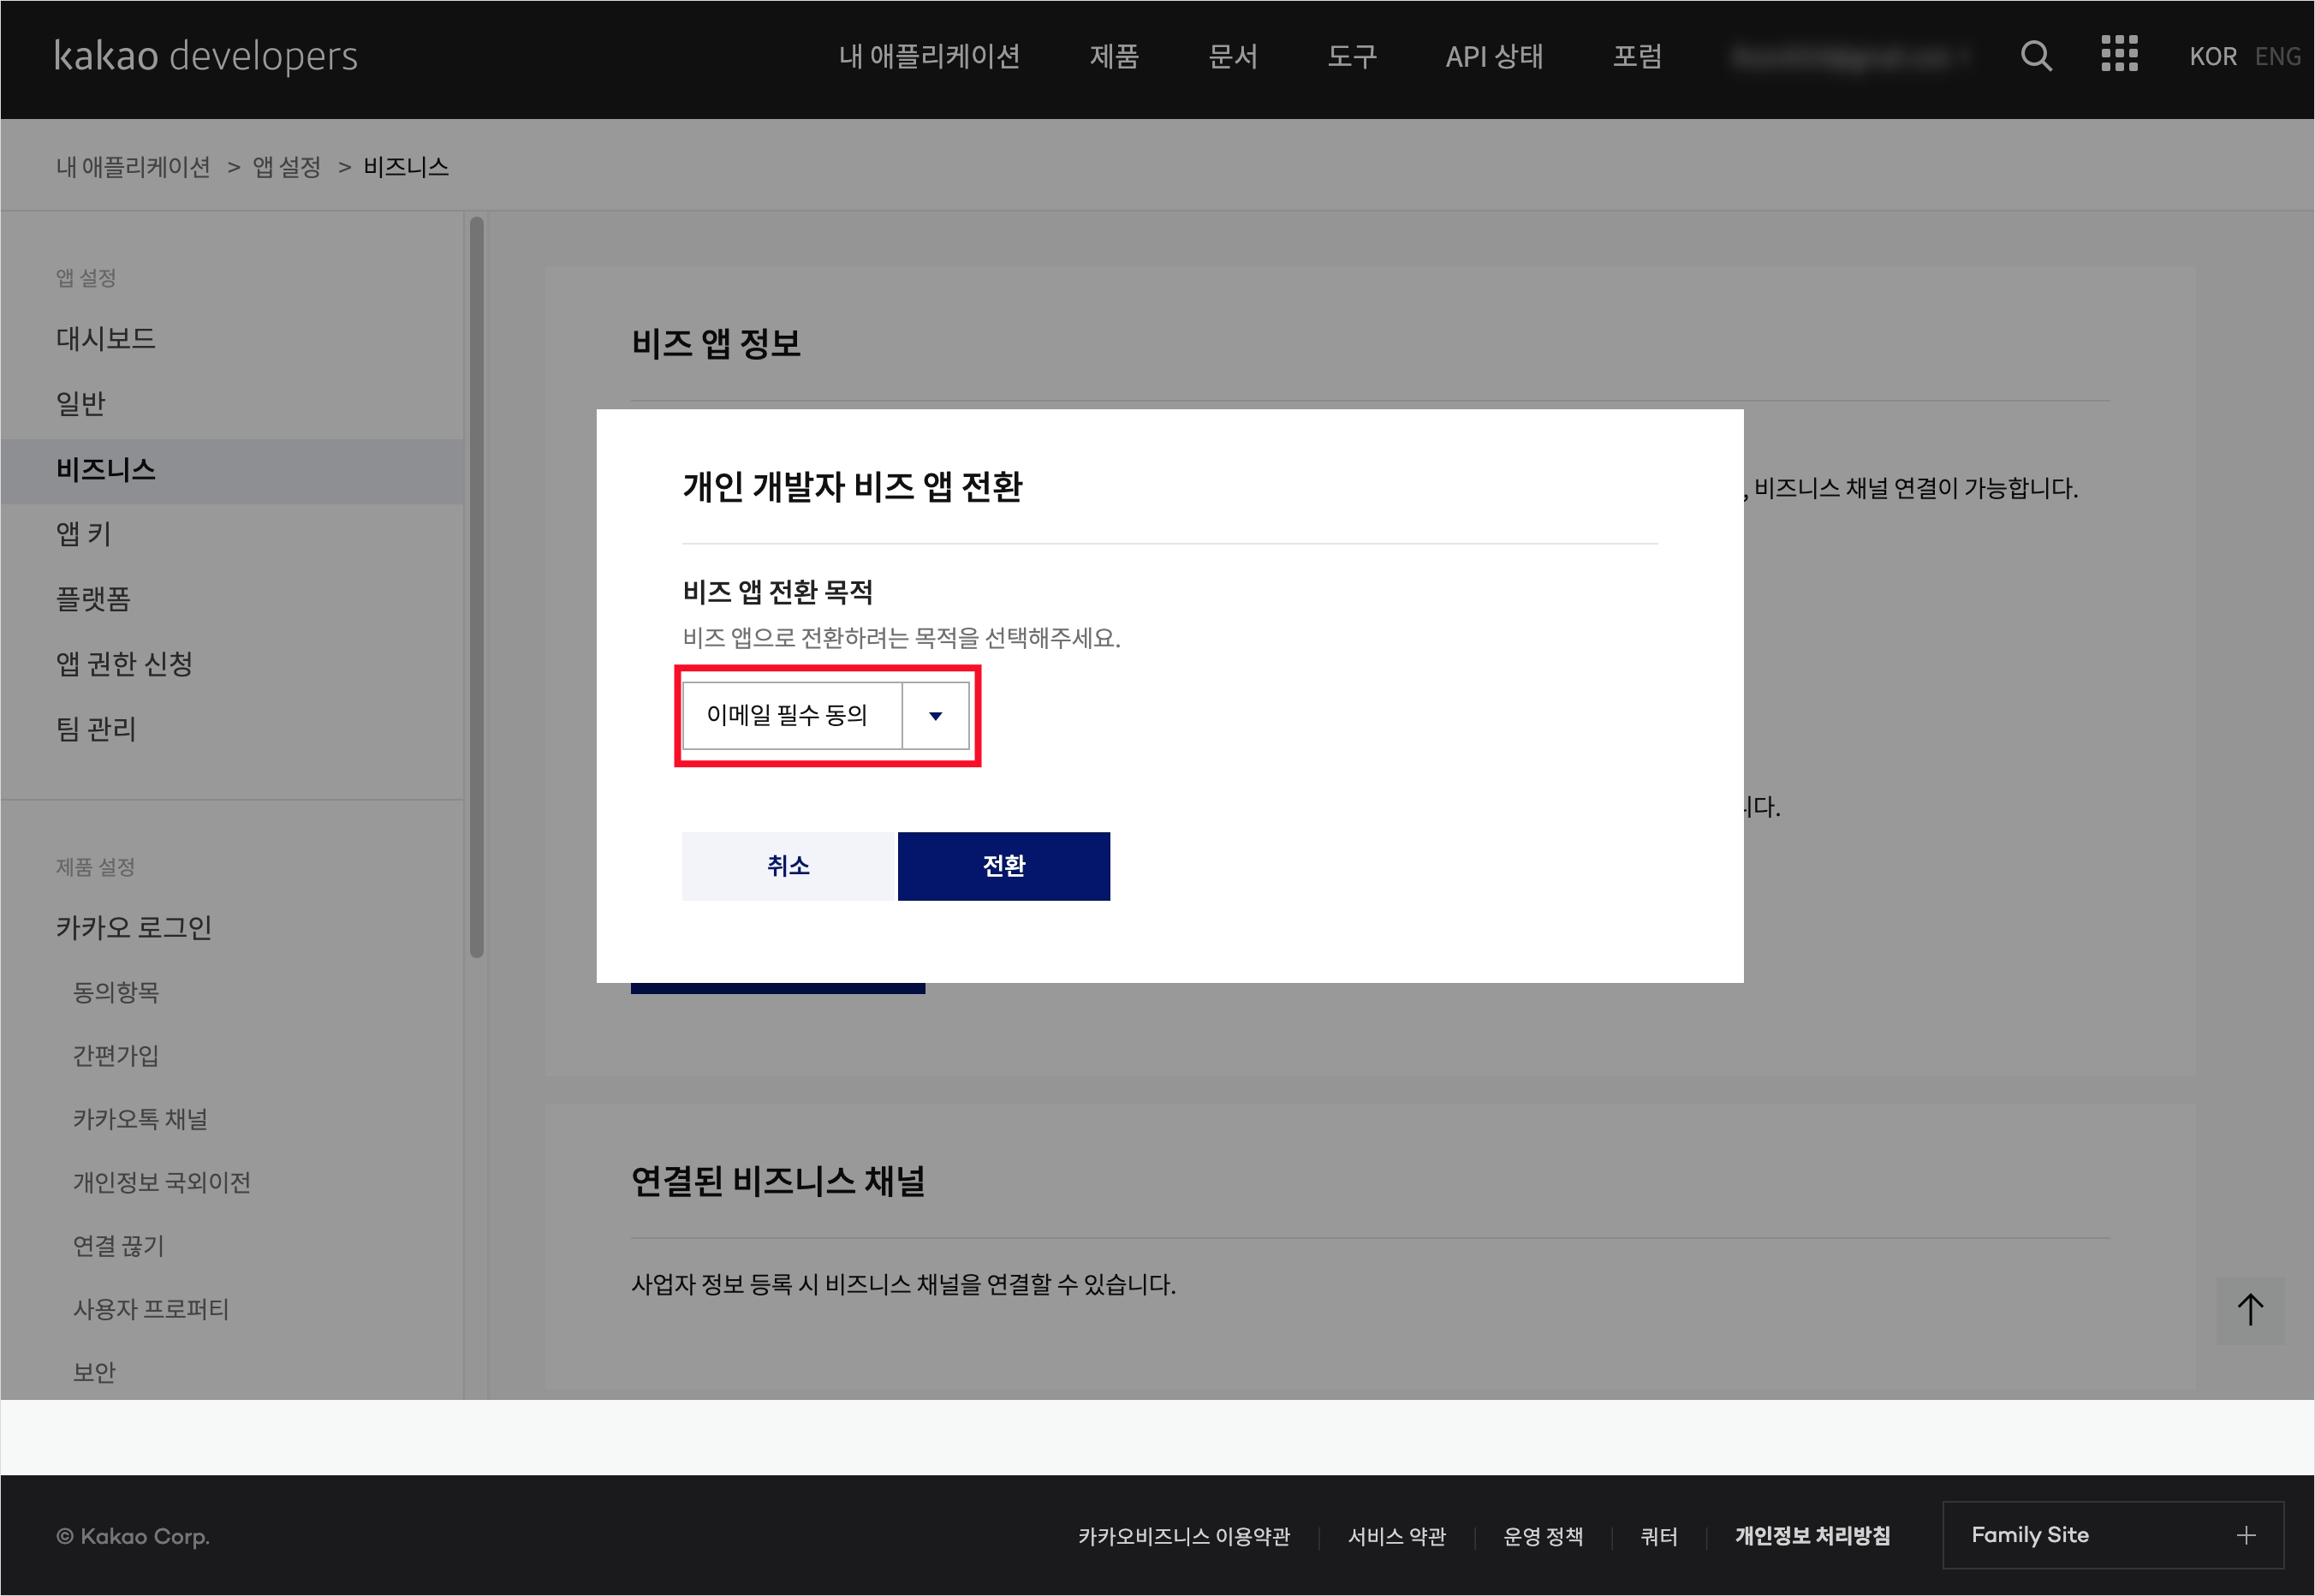
개인 > 비즈 앱 전환 > 이메일 필수 동의 선택하여 전환하였다.
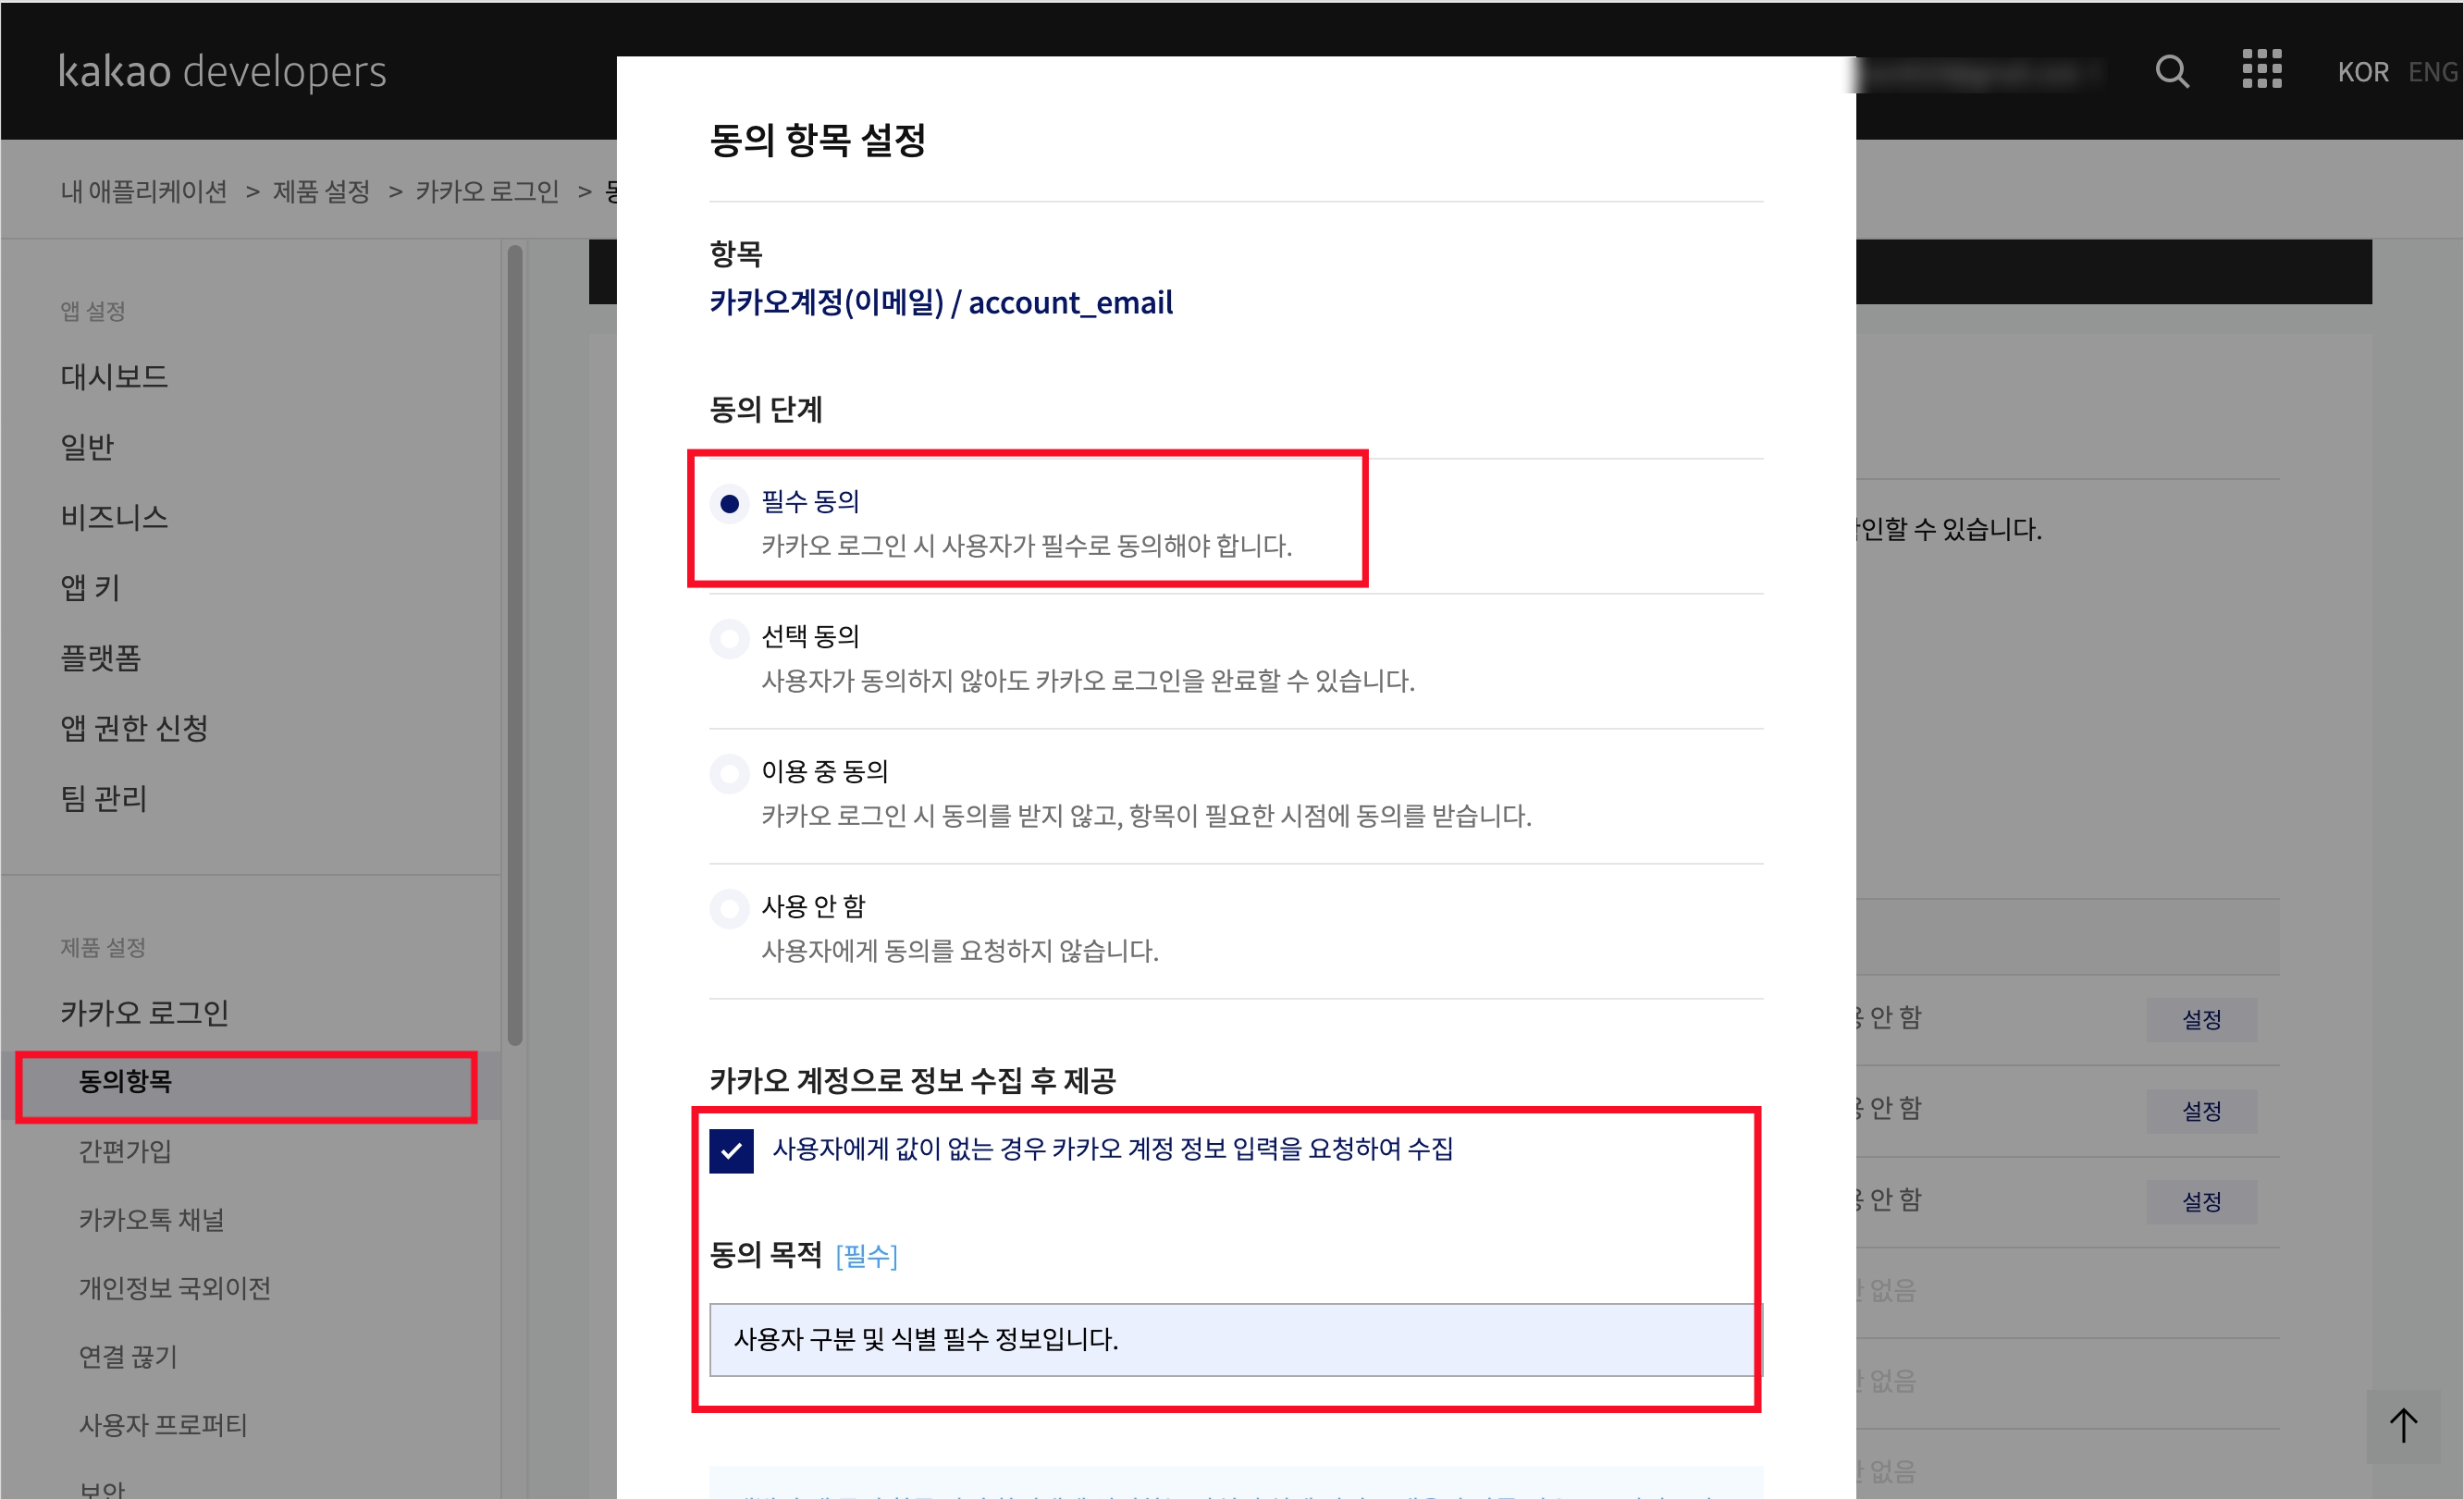
다음으로 동의항목 탭으로 넘어가 이메일 사용을 활성화한다.
Cognito
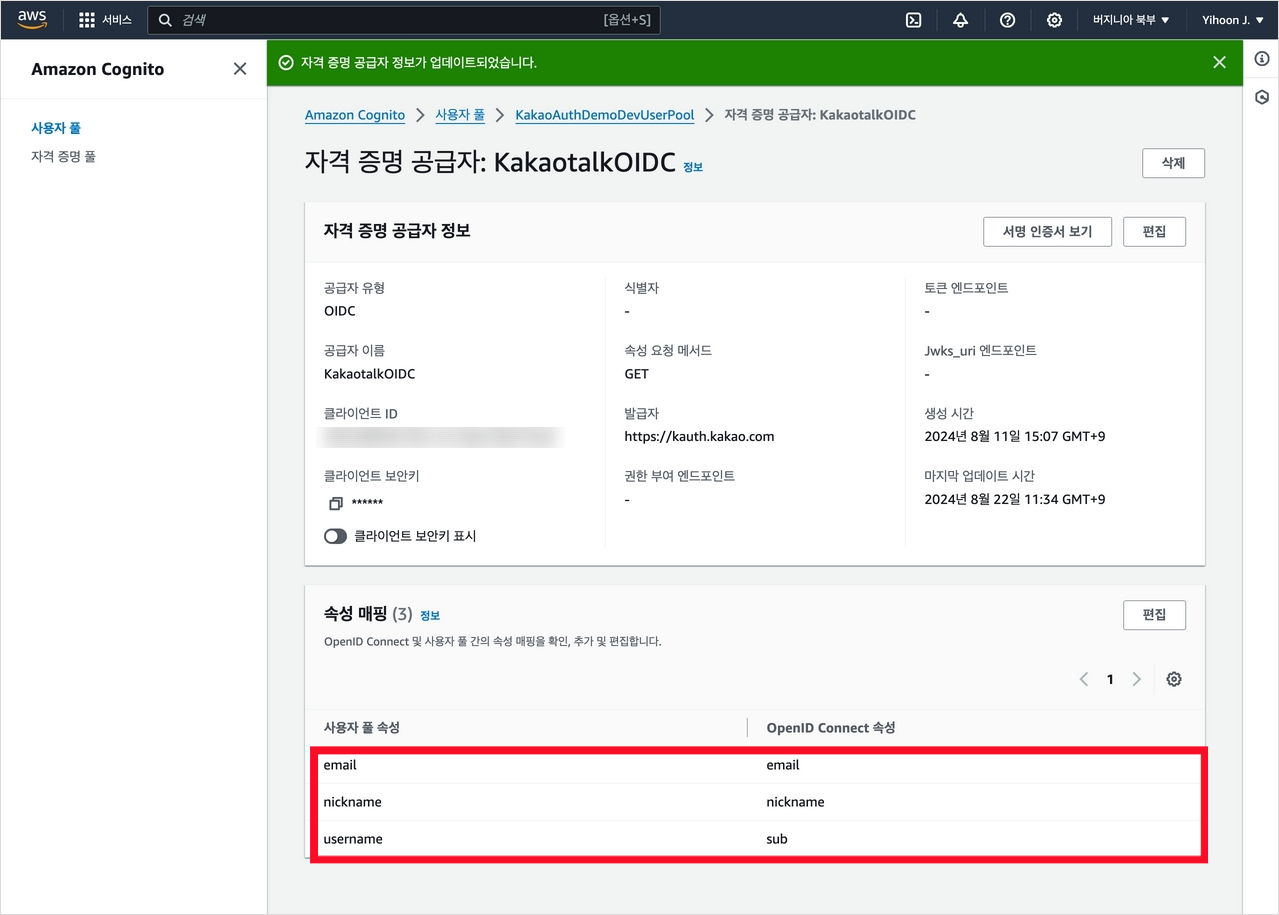
이제 구축된 Cognito User Pool로 이동하자. User Pool의 OIDC 속성 매핑을 변경해 주어야 한다. 사용자 풀 속성 'email'과 'nickname'에 대해 일차하는 OIDC 속성 을 연결한다.
IAM
CUP에서 사용자 정보를 읽어오는 로직을 구현하는 함수가 cdk로 자동으로 배포되어 있지만, 이를 Python으로 다시 만들어보고자 한다.
먼저 IAM에서 적절한 권한을 부여해야 하는데, Cloudwatch 로깅, 그리고 Cognito User Pool을 읽을 수 있는 권한을 만들 것이다. 아래와 같이 정책을 생성하였다.
{
    "Version": "2012-10-17",
    "Statement": [
        {
            "Sid": "VisualEditor0",
            "Effect": "Allow",
            "Action": [
                "logs:CreateLogStream",
                "logs:CreateLogGroup",
                "logs:PutLogEvents"
            ],
            "Resource": "*"
        },
        {
            "Effect": "Allow",
            "Action": [
                "cognito-idp:AdminGetUser"
            ],
            "Resource": "arn:aws:cognito-idp:us-east-1:312210210072:userpool/us-east-1_qo0eomUul"
        }
    ]
}
해당 정책을 사용하는 사용하는 tarotchat-cognitoauth role을 생성하였다.

Lambda
이제 해당 정책을 Role로 가지는 lambda 함수를 생성한다. 함수는 Cognito에서 넘어오는 JWt 토큰 정보에서 사용자 정보를 복호화하는 역할을 한다.
import json
import boto3

cognito_client = boto3.client('cognito-idp')
USER_POOL_ID = 'us-east-1_0000000'
먼저 Authorization 헤더의 존재 여부를 확인한다. 헤더가 없다면 접근을 거부한다.
def lambda_handler(event, context):
    print(f"Event: {json.dumps(event)}")

    auth_header = event.get('headers', {}).get('Authorization')
    if not auth_header:
        print("No Authorization header found")
        return generate_policy(None, 'Deny', event['methodArn'])

    user_identifier = auth_header.replace('Bearer ', '')
    print(f"User identifier: {user_identifier}")
이어서 CUP에서 사용자 정보를 조회하고, 성공할 경우 generate_policy라는 함수를 리턴한다.
    try:
        user_info = cognito_client.admin_get_user(
            UserPoolId=USER_POOL_ID,
            Username=user_identifier
        )

        print(f"User info: {json.dumps(user_info, default=str)}")

        # Check both Username and sub
        if user_identifier == next((attr['Value'] for attr in user_info['UserAttributes'] if attr['Name'] == 'sub'), None):
            return generate_policy(user_identifier, 'Allow', event['methodArn'], user_info)
        else:
            print("User identifier mismatch.")
            return generate_policy(user_identifier, 'Deny', event['methodArn'])

    except cognito_client.exceptions.UserNotFoundException:
        print(f"User {user_identifier} not found")
        return generate_policy(None, 'Deny', event['methodArn'])
    except Exception as e:
        print(f"Error: {str(e)}")
        return generate_policy(None, 'Deny', event['methodArn'])
이때 generate_policy 함수는 execute-api:Invoke IAM 정책을 반환한다.
def generate_policy(principal_id, effect, resource, user_info=None):
    policy = {
        'principalId': principal_id,
        'policyDocument': {
            'Version': '2012-10-17',
            'Statement': [{
                'Action': 'execute-api:Invoke',
                'Effect': effect,
                'Resource': resource
            }]
        }
    }

    if user_info:
        policy['context'] = {
            'user_id': user_info['Username'],
            'provider': 'KakaotalkOIDC',
            'sub': next((attr['Value'] for attr in user_info['UserAttributes'] if attr['Name'] == 'sub'), None)
        }

    print(f"Generated policy: {json.dumps(policy, default=str)}")
    return policy
함수를 테스트하기 위해서는 아래와 같이 테스트 케이스를 만들었다. methodArn에는 WSS Websocket의 $connect ARN을 넣고, Authorization에는 풀에 존재하는 OID, 존재하지 않는 OID를 넣어 성공/실패 케이스를 확인하였다.
{
  "type": "TOKEN",
  "methodArn": "arn:aws:execute-api:us-east-1:00000000:00000000/*/$connect",
  "headers": {
    "Authorization": "Bearer KakaotalkOIDC_000000000"
  }
}
API Gateway
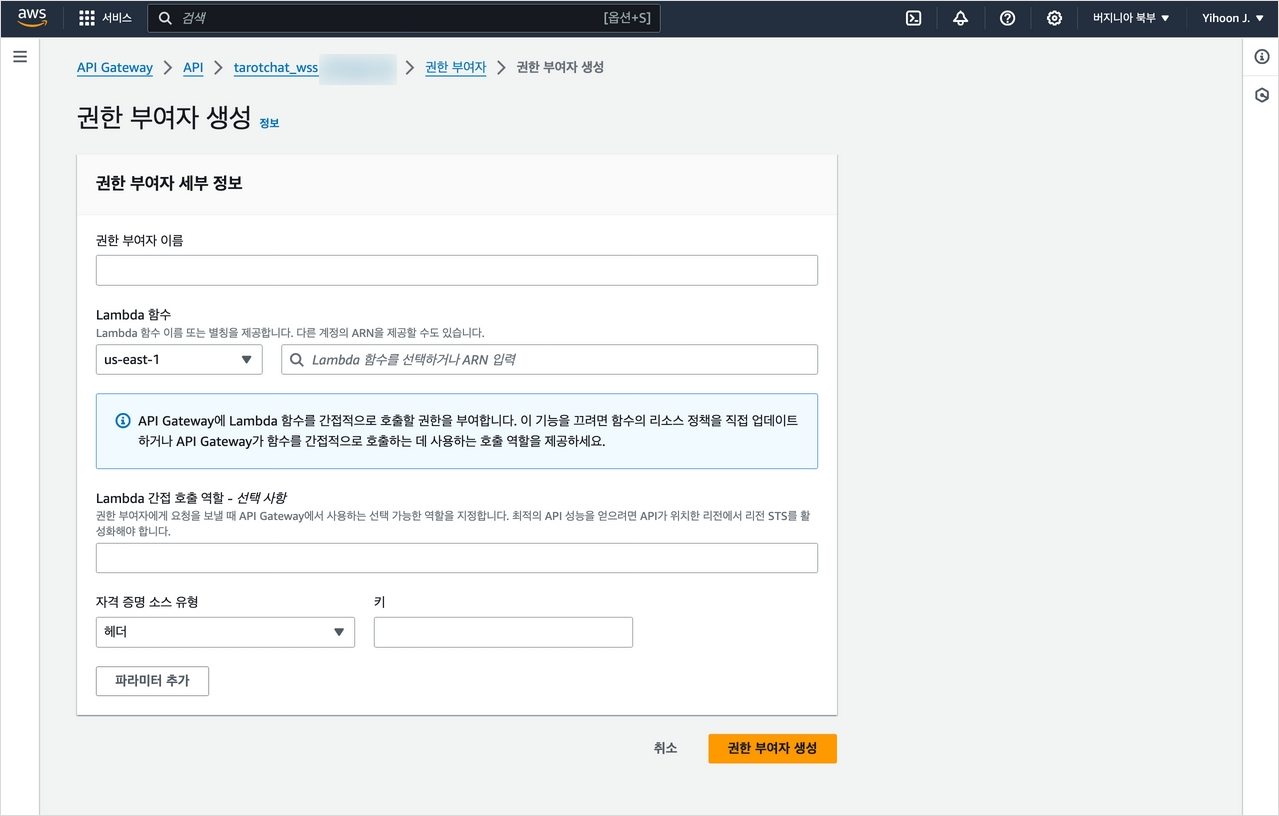
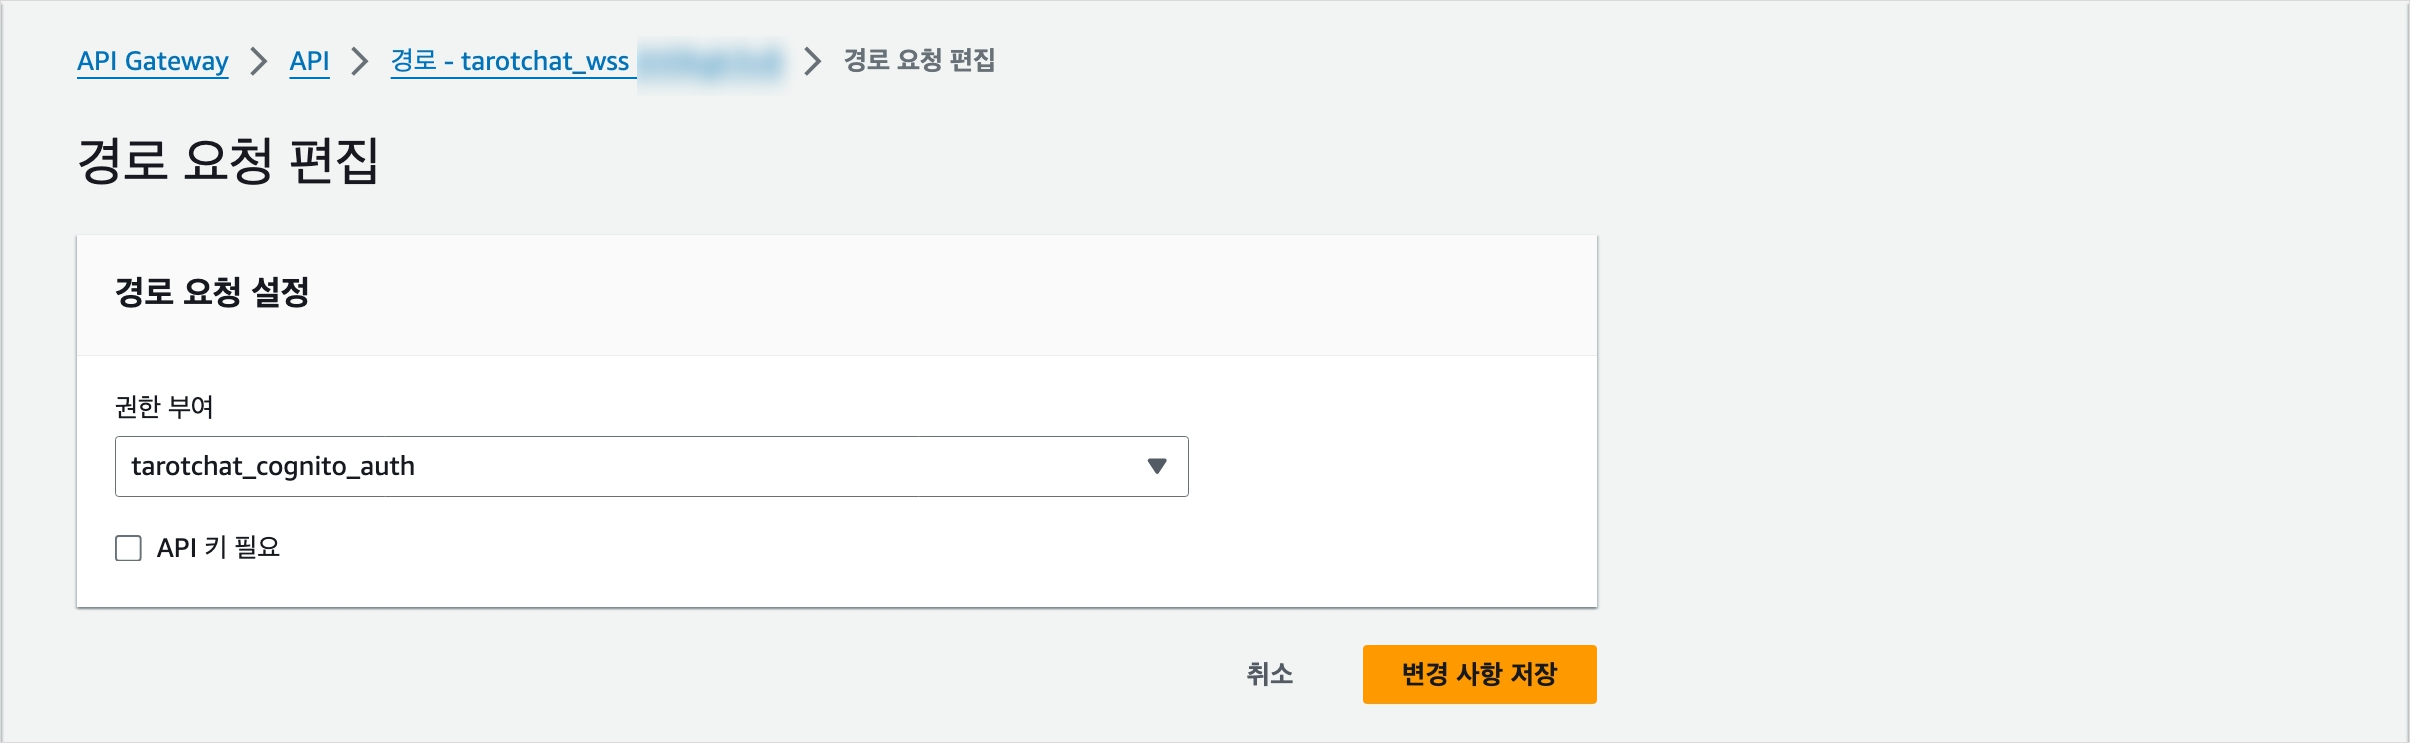
이렇게 만든 함수는 WS API의 권한 부여자로 역할을 하게 된다. 해당 함수를 Cognito Authorizor로 등록하고, 또 Connect 경로의 권한 부여자로도 등록한다.
Client Code
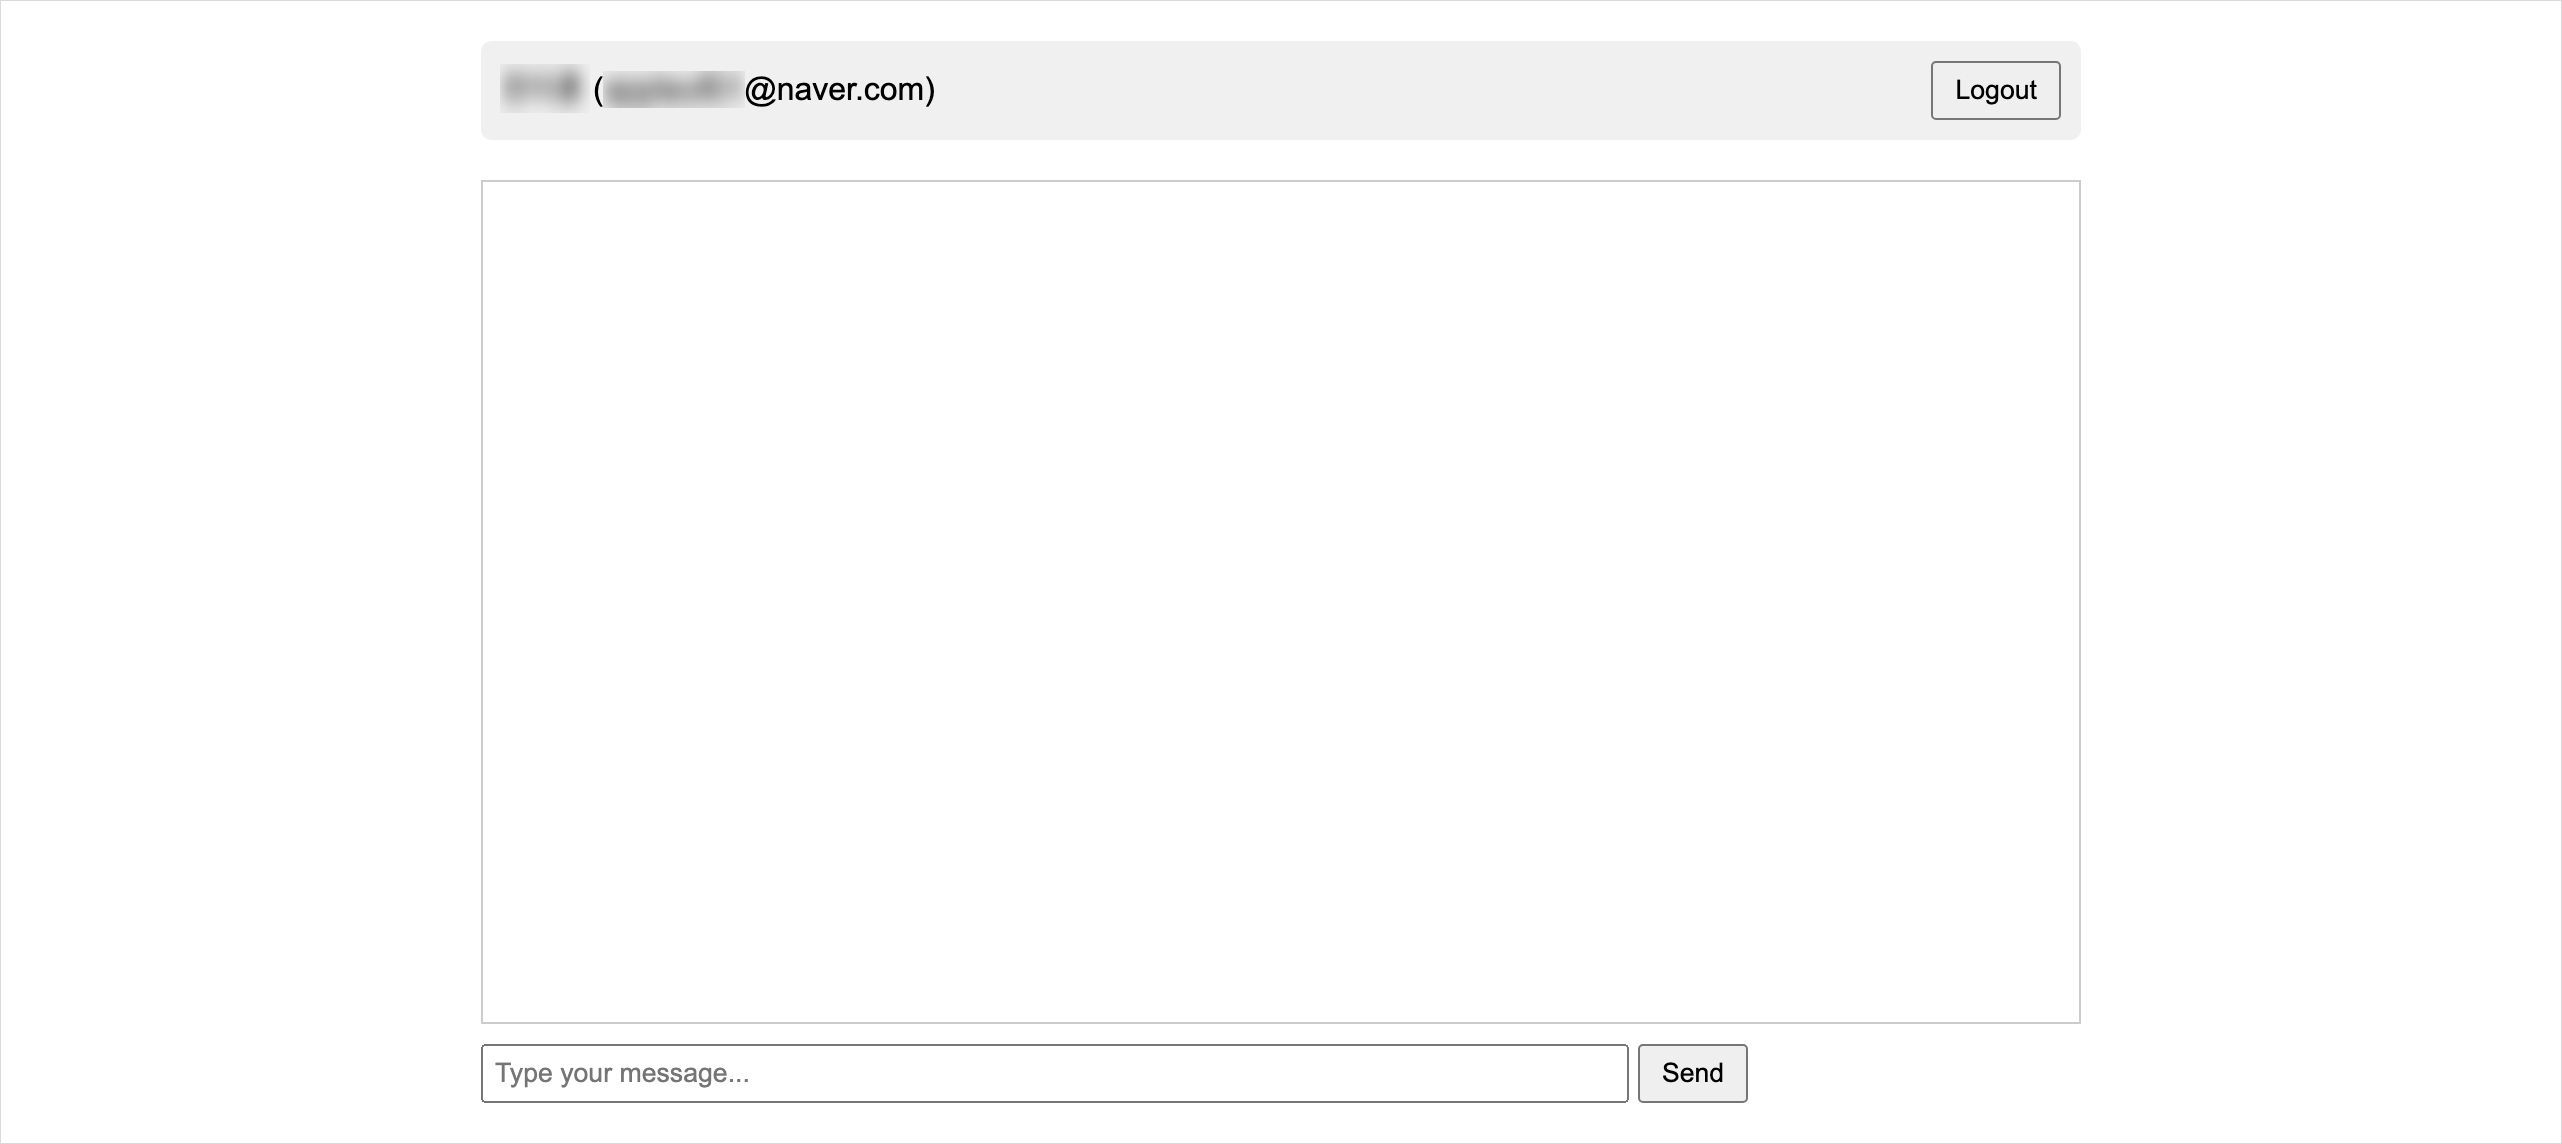
프론트 코드 양이 방대한 관계로 클라이언트 코드들의 중간 버전은 별도로 다루지 않겠다. 카카오 도메인을 통해 로그인하고 나면 아래와 같이 원시적인 형태의 챗봇 화면이 표시된다. 위쪽 회색 박스에 사용자 정보가, 그리고 가운데 흰 박스에 대화가 표시되는 형식.