Firebase 사용하기
1. 홈페이지에서 프로젝트 생성하기
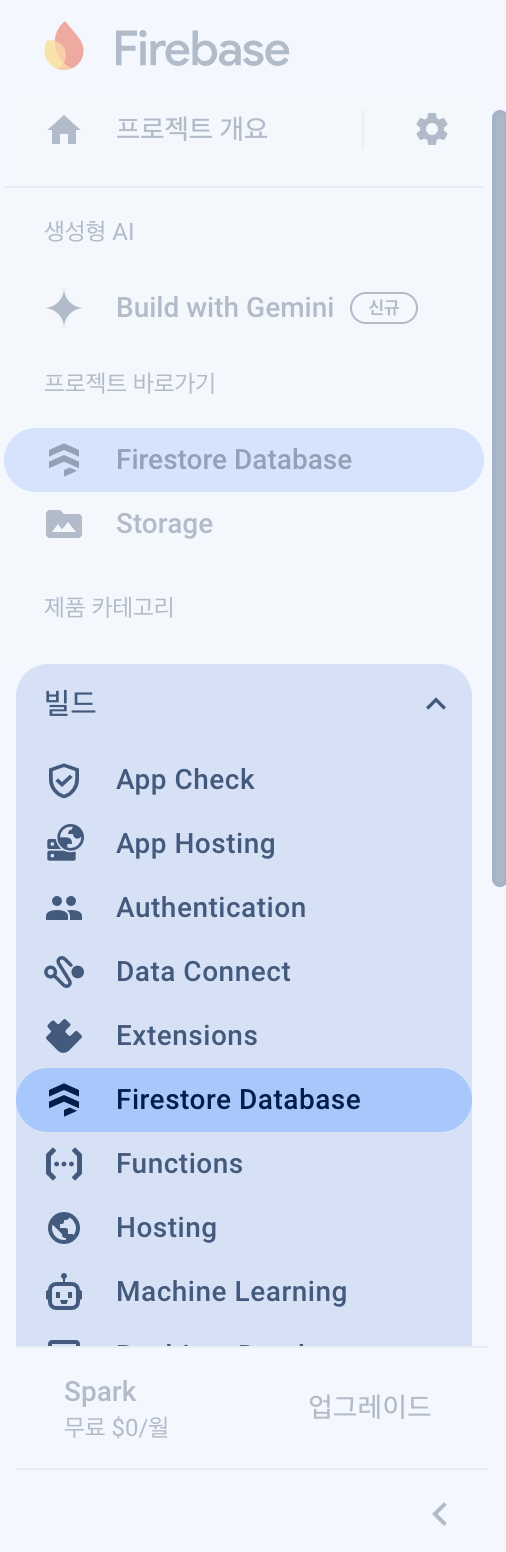
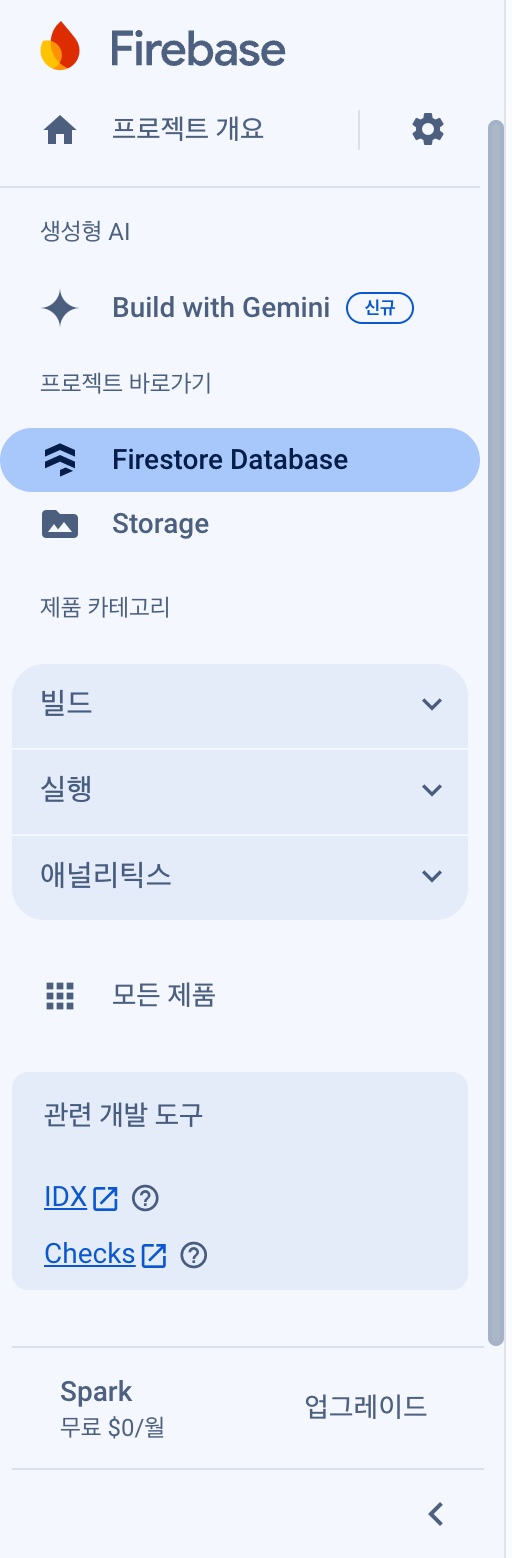
먼저 구글 파이어베이스 홈페이지에 접속해서 프로젝트 생성 후 빌드에서 내가 사용할 기능들을 시작하면 된다.
|
|
- 빌드를 눌러서 기능을 추가할 수 있다.
- 지역은 서울로 설정했다.
2. Firebas CLI를 설치
파이어베이스를 터미널에서 조작하기 위해 Firebas CLI를 설치했다. 프로젝트의 루트 디렉토리로 이동 후 아래의 명령어를 실행해 설치하면 된다.
npm install -g firebase-toolsfirebase login그리고 구글아이디와 파이어베이스를 연동시키기 위해 위의 명령어를 이용해서 로그인을 했다.
firebase init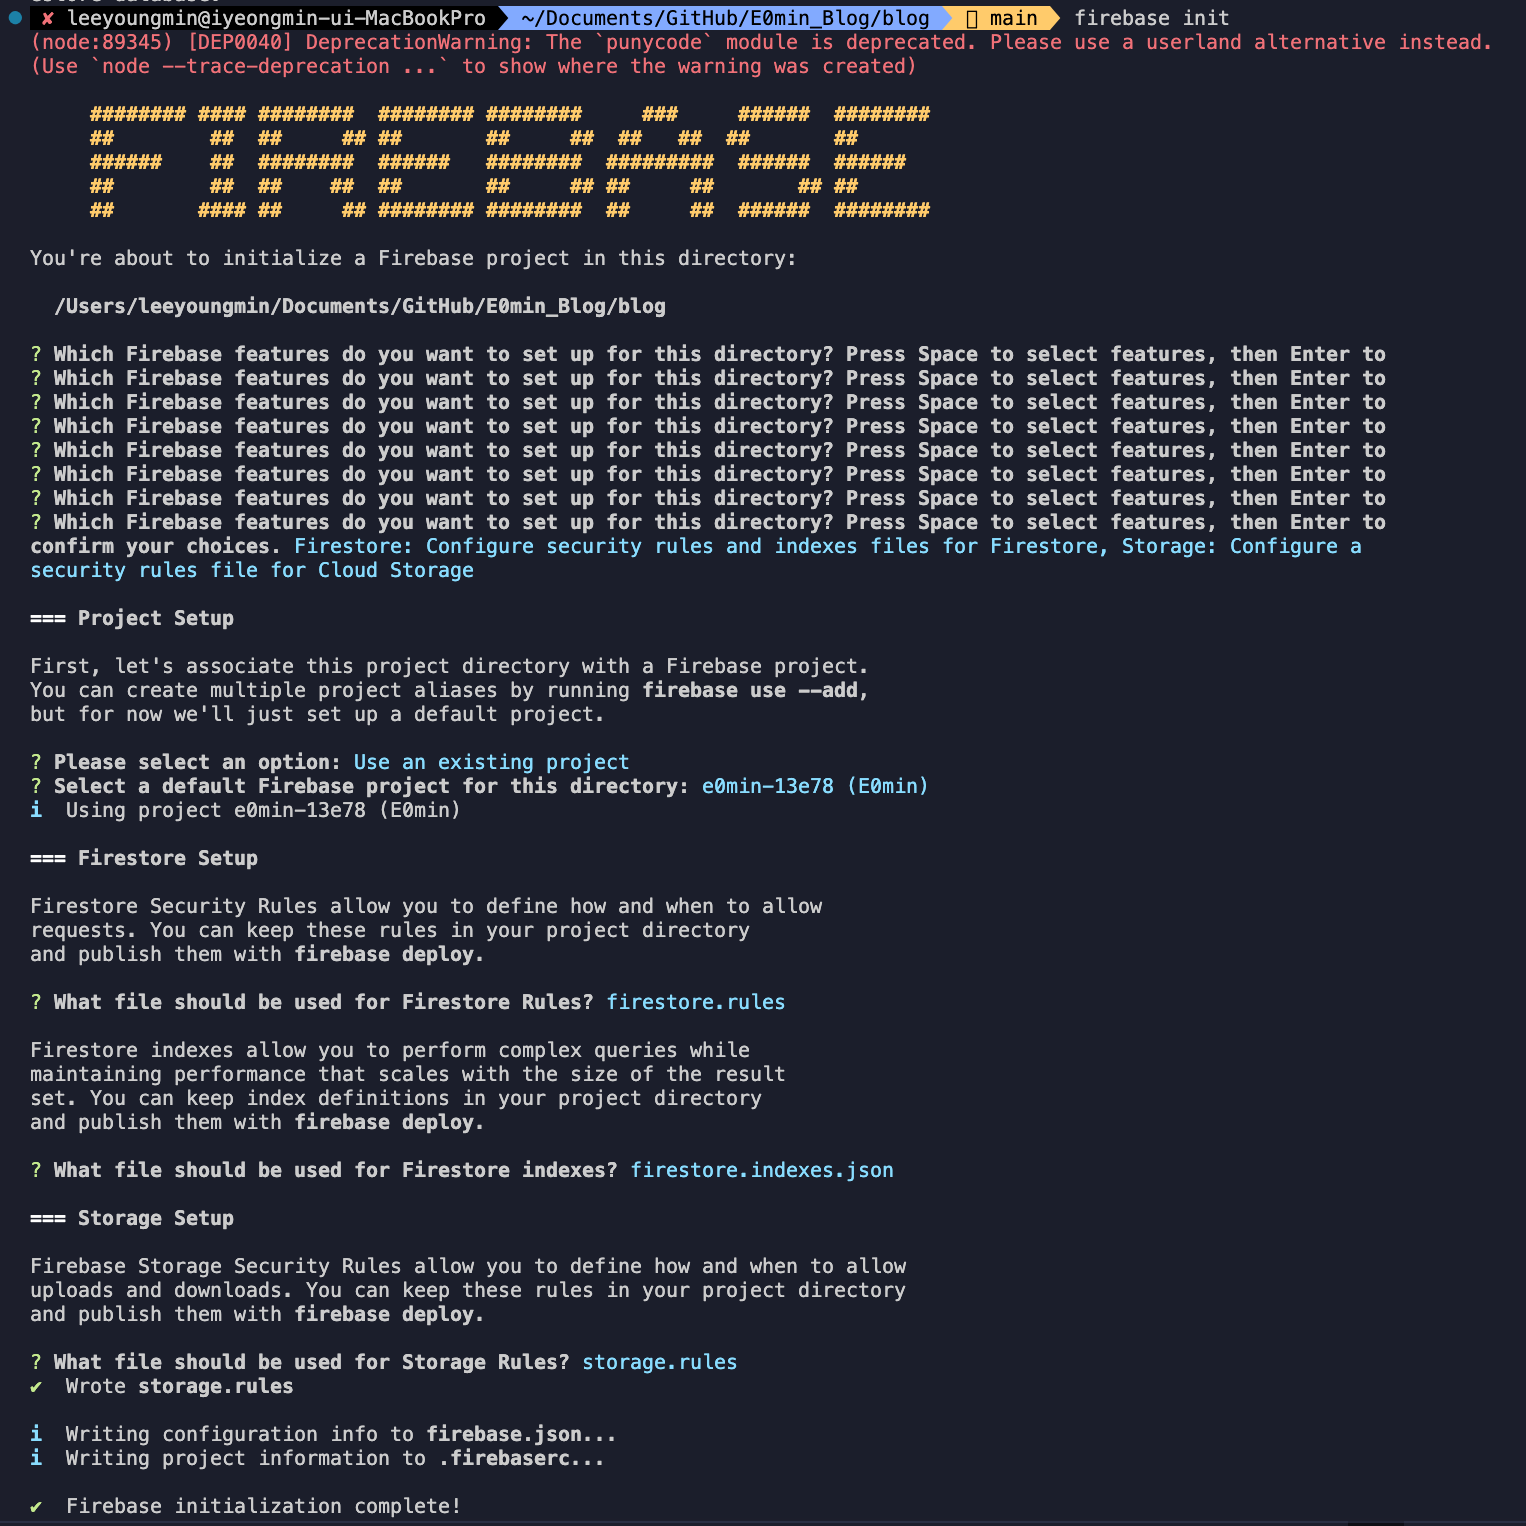
firebase init명령어를 실행한 후 set up를 마친 모습이다.- 중간에 에러가 난 적 있는데 파이어베이스 홈페이지에서 프로젝트를 생성하고 내가 사용하기로 추가한 기능과 init을 통해 추가할 기능이 똑같이 매치 되어야 한다.
- 내가 파이어베이스 홈페이지에서는 firestorage를 이용안한다고 했는데 init 명령어로 세팅할 때는 firestorage를 이용한다고 하면 안된다.
3. firebase SDK 설치
npm install firebaseGPT에게 물어보니 firebase SDK에 대한 자세한 설명이 나온다.
Firebase JavaScript SDK란?
Firebase JavaScript SDK는 웹 애플리케이션 또는 Node.js 환경에서 Firebase의 다양한 기능(인증, 데이터베이스, 스토리지, 클라우드 함수 등)을 사용할 수 있게 해주는 라이브러리입니다.
설치 후 사용할 수 있는 주요 기능:
- Authentication: 이메일/비밀번호 로그인, Google, Facebook 등 소셜 로그인 기능을 구현할 수 있습니다.
- Firestore: 클라우드 기반의 NoSQL 데이터베이스로, 실시간 데이터를 저장하고 동기화할 수 있습니다.
- Realtime Database: 실시간 데이터베이스로 실시간으로 데이터를 전송하고 동기화할 수 있습니다.
- Cloud Functions: 서버리스 방식으로 백엔드 코드를 실행할 수 있습니다.
- Cloud Storage: 이미지, 비디오 등의 파일을 저장할 수 있는 클라우드 스토리지를 제공합니다.
- Firebase Hosting: 웹 애플리케이션을 Firebase의 호스팅 서비스를 통해 배포할 수 있습니다.
사용 예시:
npm install firebase명령어로 SDK를 설치한 후, Firebase 기능을 애플리케이션에서 사용할 수 있습니다.import { initializeApp } from "firebase/app"; const firebaseConfig = { apiKey: "your-api-key", authDomain: "your-auth-domain", projectId: "your-project-id", storageBucket: "your-storage-bucket", messagingSenderId: "your-messaging-sender-id", appId: "your-app-id" }; // Firebase 초기화 const app = initializeApp(firebaseConfig);
firebase 프로젝트 설정에 들어가면 SDK 설정을 위한 자바스크립트 코드들이 있다. 위 파일들의 키값들은 외부 유출 위험이 있으니 .env 파일에 저장해두면 좋다. .env 파일은 프로젝트의 루트 디렉토리에 존재해야한다. 추가로 Vite를 사용하는 경우에도 .env 파일 설정과 환경 변수 접근 방식이 약간 다를 수 있다. Vite에서는 환경 변수를 사용할 때 VITE_ 접두사를 사용해야 한다.
4. Firebase로 CRUD하기
1. 데이터 저장하기 (Create)
Firestore에 데이터를 저장하려면 addDoc 또는 setDoc을 사용할 수 있다.
addDoc: Firestore가 자동으로 문서 ID를 생성해준다.setDoc: 문서 ID를 직접 지정할 수 있다.
import { collection, addDoc, setDoc, doc } from "firebase/firestore";
import { db } from "./firebase"; // Firebase 초기화한 파일

// 자동 ID로 저장하기 (addDoc 사용)
const addComment = async () => {
  try {
    await addDoc(collection(db, "comments"), {
      postId: "some_post_id",
      text: "This is a comment",
      createdAt: new Date(),
    });
    console.log("Document successfully written!");
  } catch (error) {
    console.error("Error adding document: ", error);
  }
};

// 수동으로 ID 지정하여 저장하기 (setDoc 사용)
const addCommentWithCustomID = async () => {
  try {
    const docRef = doc(db, "comments", "custom_comment_id");
    await setDoc(docRef, {
      postId: "some_post_id",
      text: "This is a comment",
      createdAt: new Date(),
    });
    console.log("Document successfully written with custom ID!");
  } catch (error) {
    console.error("Error adding document: ", error);
  }
};
2. 데이터 불러오기 (Read)
Firestore에서 데이터를 불러오기 위해서는 getDoc, getDocs, 또는 실시간으로 데이터를 받아오는 onSnapshot을 사용할 수 있다.
import { collection, query, where, getDocs, doc, getDoc, onSnapshot } from "firebase/firestore";

// 특정 조건으로 데이터 불러오기
const getComments = async () => {
  const q = query(collection(db, "comments"), where("postId", "==", "some_post_id"));

  try {
    const querySnapshot = await getDocs(q);
    querySnapshot.forEach((doc) => {
      console.log(doc.id, " => ", doc.data());
    });
  } catch (error) {
    console.error("Error fetching documents: ", error);
  }
};

// 특정 문서 불러오기
const getCommentById = async () => {
  const docRef = doc(db, "comments", "custom_comment_id");

  try {
    const docSnap = await getDoc(docRef);
    if (docSnap.exists()) {
      console.log("Document data:", docSnap.data());
    } else {
      console.log("No such document!");
    }
  } catch (error) {
    console.error("Error getting document: ", error);
  }
};

// 실시간 데이터 구독
const subscribeToComments = () => {
  const q = query(collection(db, "comments"), where("postId", "==", "some_post_id"));

  const unsubscribe = onSnapshot(q, (querySnapshot) => {
    const comments = [];
    querySnapshot.forEach((doc) => {
      comments.push({ id: doc.id, ...doc.data() });
    });
    console.log("Current comments: ", comments);
  });

  // 나중에 구독을 해제할 때 unsubscribe 호출
  return unsubscribe;
};
3. 데이터 수정하기 (Update)
문서를 수정할 때는 updateDoc을 사용한다. 주의할 점은 updateDoc은 이미 존재하는 문서만 수정할 수 있다. 문서가 존재하지 않으면 에러가 발생한다.
import { doc, updateDoc } from "firebase/firestore";

const updateComment = async () => {
  const docRef = doc(db, "comments", "custom_comment_id");

  try {
    await updateDoc(docRef, {
      text: "This is an updated comment",
    });
    console.log("Document successfully updated!");
  } catch (error) {
    console.error("Error updating document: ", error);
  }
};
4. 데이터 삭제하기 (Delete)
문서를 삭제하려면 deleteDoc을 사용한다.
import { doc, deleteDoc } from "firebase/firestore";

const deleteComment = async () => {
  const docRef = doc(db, "comments", "custom_comment_id");

  try {
    await deleteDoc(docRef);
    console.log("Document successfully deleted!");
  } catch (error) {
    console.error("Error deleting document: ", error);
  }
};
정리
- 저장(Create):
addDoc또는setDoc을 사용하여 새로운 문서를 추가. - 불러오기(Read):
getDocs,getDoc,onSnapshot등을 사용해 데이터를 조회. - 수정(Update):
updateDoc을 사용해 기존 문서를 수정. - 삭제(Delete):
deleteDoc을 사용해 문서를 삭제.
이러한 Firebase Firestore의 기본적인 CRUD(Create, Read, Update, Delete) 작업들을 이용하면, 실시간 데이터를 관리하고 저장하는 애플리케이션을 쉽게 구현할 수 있다.